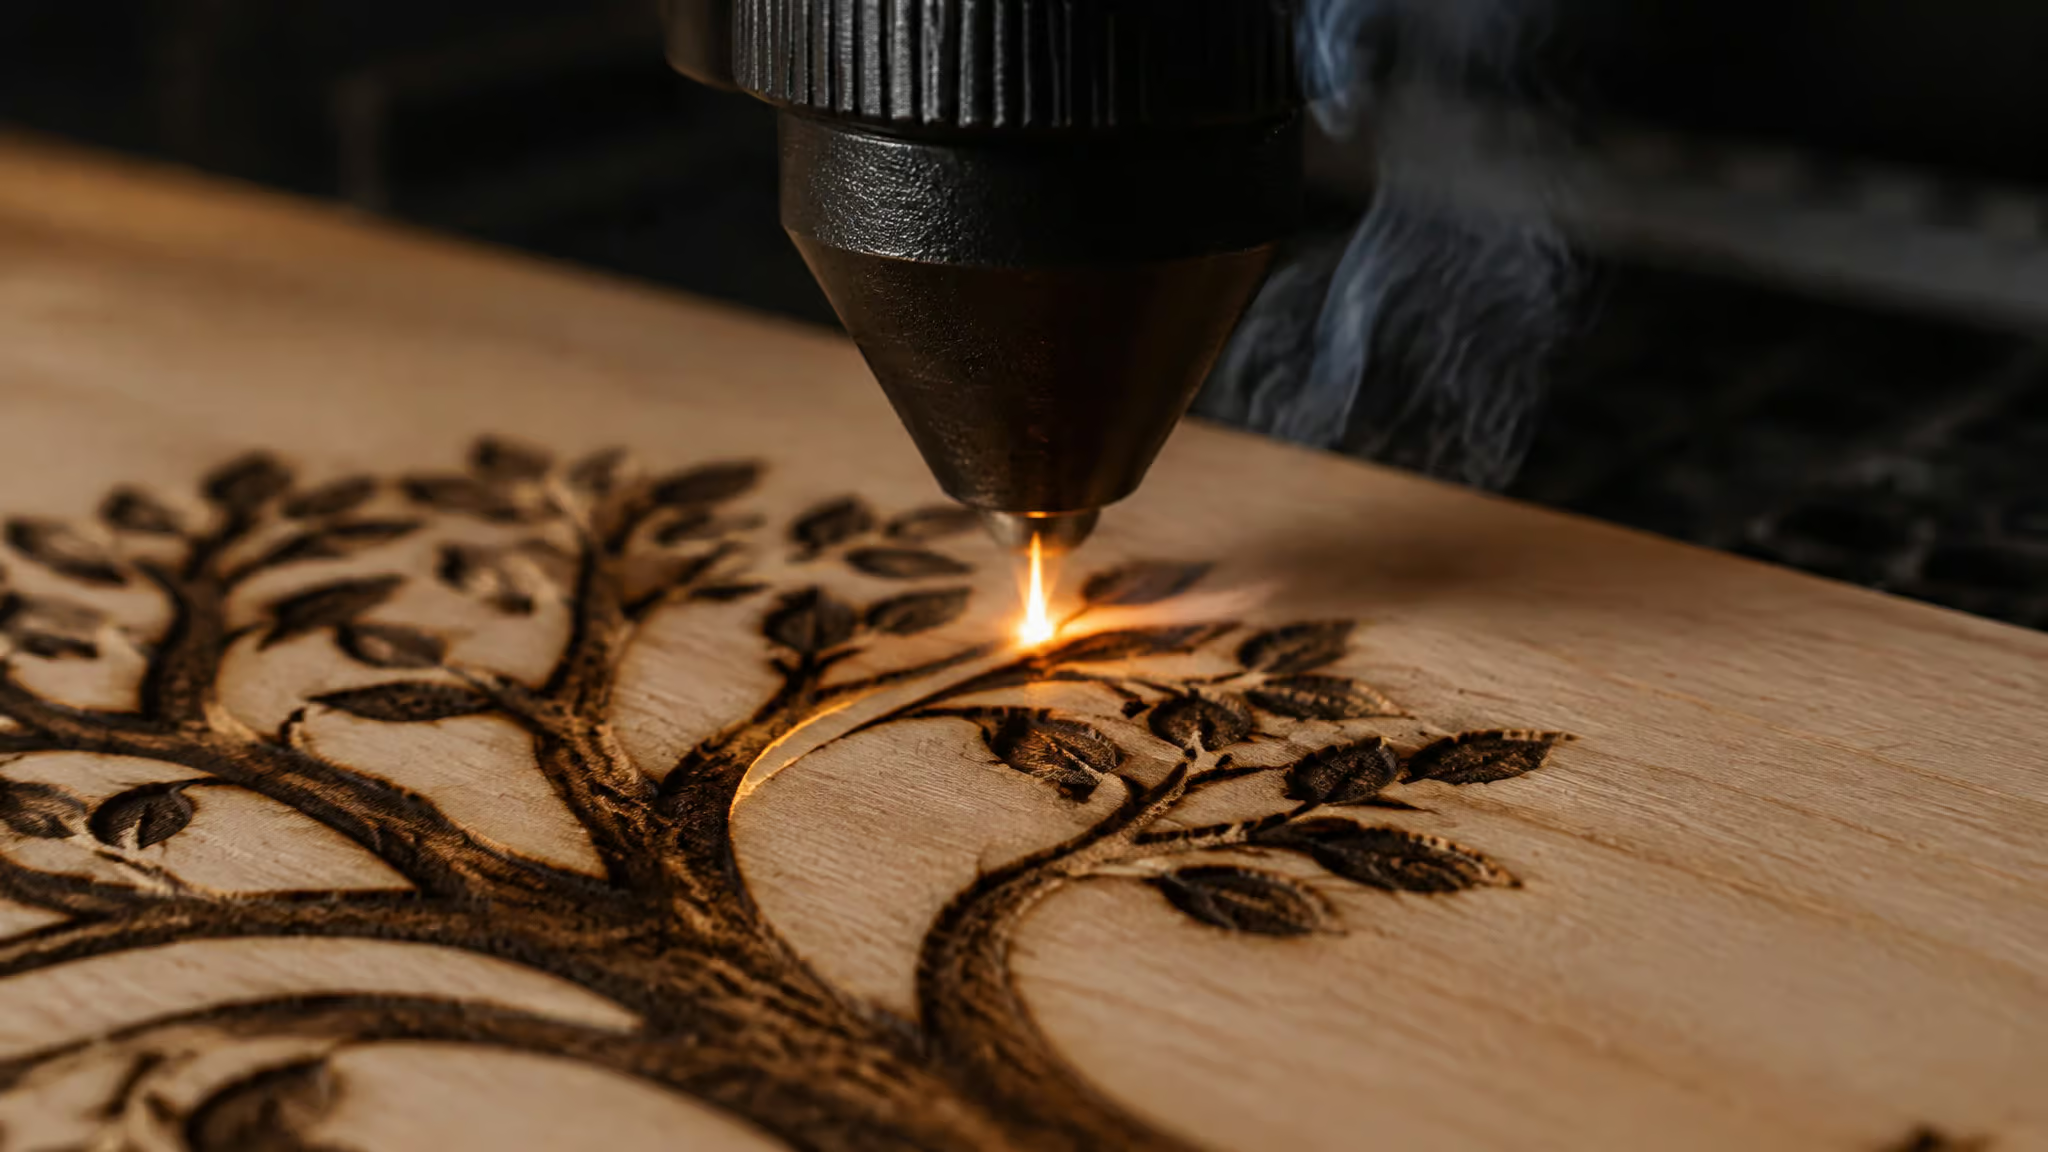
Yes, you can laser engrave wood, and honestly it’s one of the most laser-friendly engraving materials out there, because it chars predictably under laser heat instead of melting or shrugging off the beam. The qualifier comes with the laser type: diode and CO2 machines excel on wood, while fiber lasers are the odd one out. But if you’re reading this, the machine is bought or nearly bought, and your real fear isn’t capability. It’s that first engrave coming out pale, blotchy, or scorched into oblivion. That’s a legitimate outcome, and it usually isn’t the machine’s fault. Everything below comes from Laser Engraving 911, a YouTube channel run by Michael with 126K subscribers, whose wood-tips video drew validation from every skill level in the comments, including a viewer who’d owned a laser for 2 days and said it beat the previous 20 videos he’d watched, and an 81-year-old new woodworker who ordered an xTool F1 after watching.
Key Takeaways
Wood engraves well with diode (~450nm) and CO2 (~10.6µm) lasers; fiber lasers (1064nm) are the wrong wavelength for wood and are better understood as metal tools.
If an engrave comes out pale and spotty in bands running parallel to the grain, rotate the workpiece 90 degrees before you touch power or speed settings.
The engraving is the fast part of a paint-fill project: the tested finishing pipeline includes two 8-hour drying waits, so budget about a day, not one evening.
Table of Contents
How laser engraving on wood actually works
Under the hood, laser engraving is controlled carbonization. The beam’s heat chars and vaporizes a thin layer of the surface, and all your contrast comes from that dark burn sitting against bare wood. No ink, no bit, no dye. Just carefully metered heat.
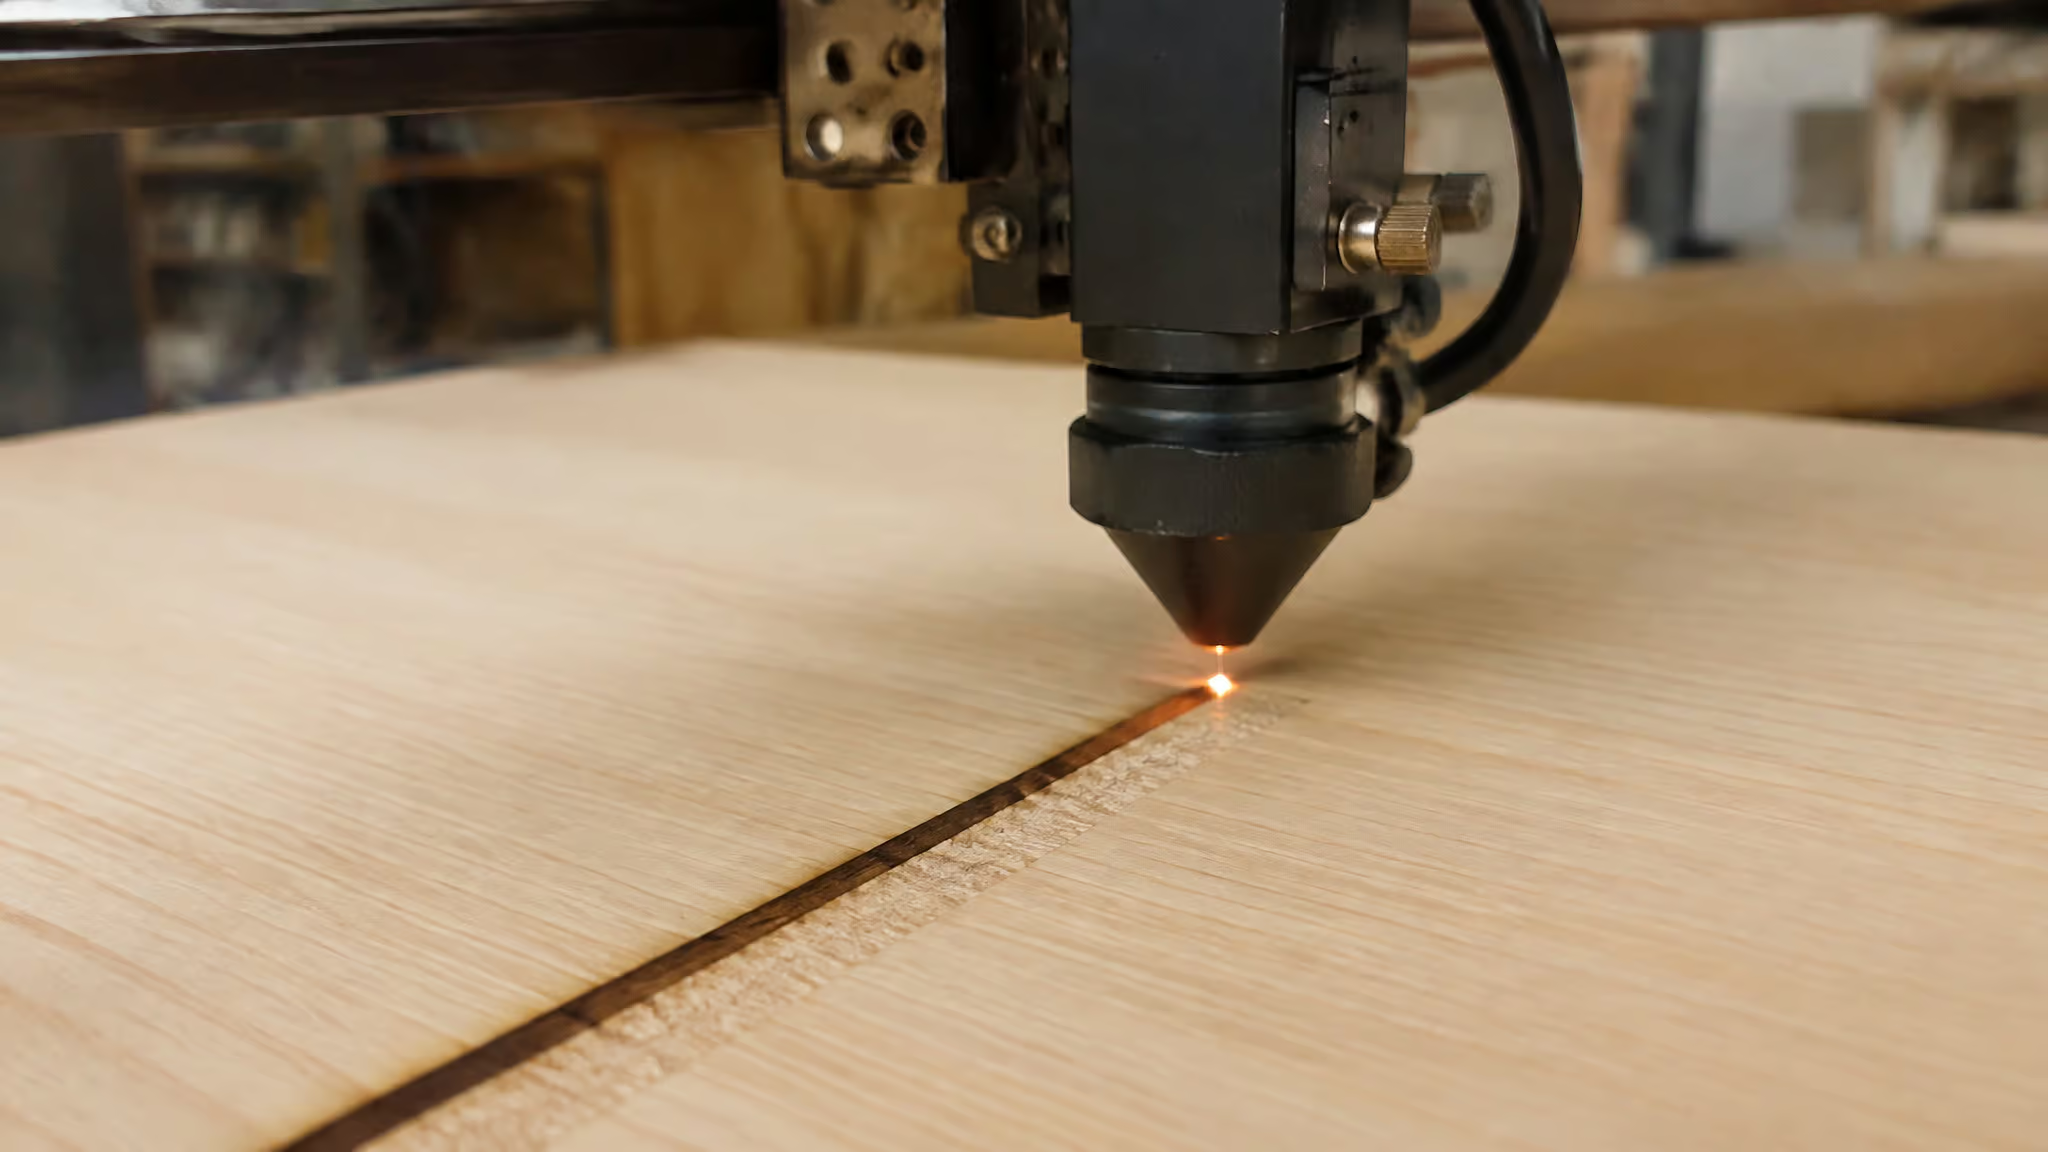
Results vary within a single board, and that falls straight out of how the process actually works. Resin content and grain density change how much heat the wood absorbs, so the same pass can scorch one stripe and barely blush the next. That single fact is the physical cause behind every practical tip below, right down to why your test grid looks like a topographic map. And because the process is literally burning, smoke and soot come with it. They’re byproducts of the mechanism working, not signs something broke, which means residue management is part of the workflow rather than cleanup after a mistake.
Which lasers work on wood: diode, CO2, and fiber
Three laser families show up in hobby and pro shops, and they’re not interchangeable. The real dividing line is wavelength physics, not price tier.
CO2: the wood standard
CO2 lasers run at roughly 10.6µm, and organic material absorbs that wavelength extremely efficiently. That’s why CO2 is the industry standard for wood: deep, dark marks, clean cuts, predictable behavior.
Diode: the hobbyist entry point
Diode lasers push blue light at around 450nm. Wood absorbs it well enough for clean surface marks, which makes diodes the natural first machine, though they cut thicker stock slowly.
Fiber: the wrong wavelength for wood
Fiber lasers run at 1064nm, a wavelength wood doesn’t absorb well, so fiber is generally a poor fit for wood. That’s not a claim that fiber can never mark wood, only that it’s the wrong machine to buy for it. The tell is in the source channel’s own must-have tools list, which includes fiber-specific laser glasses: separate safety gear for a separate toolchain. The same channel later made a metal-tips sequel featuring the xTool F2 Ultra, which tells you how distinct the metal workflow really is.
Buying a fiber laser is a metal commitment, not a wood tool. If you’re still choosing a machine, the laser engraving machine buyer’s guide breaks down which classes make sense for wood work.
Best woods for laser engraving, and where to buy them
The best woods for laser engraving are light, even-grained species. Basswood, alder, maple, cherry, and birch all give you the strongest contrast against burn marks, because pale wood is the backdrop the dark char needs. That’s also why the same species keeps winning across different projects in the source material.
The species worth grabbing
- Basswood. Yes, basswood earns its reputation. It’s soft, even-grained, and forgiving of beginner mistakes, which is exactly what you want for your first dozen attempts. There’s a full rundown on whether basswood is good for laser cutting if you want the honest limitations.
- Maple. Light color, tight grain, high contrast. The deep dive on maple for laser engraving covers its pitfalls, like uneven spots.
- Alder and cherry. The solid-wood classics, and the ones the source channel actually buys from a supplier.
- Birch. Usually in plywood form, which brings us to the caveat.
The plywood caveat
Plywood is excellent for flat, knot-free projects, with one check before you buy: the adhesive. Some plywood glues produce unsafe fumes under a laser, so confirm the glue is laser-safe before the sheet goes anywhere near the bed.
Red flag: If a plywood sheet doesn’t document a laser-safe adhesive, treat it as unsafe until proven otherwise.
Where to actually buy it
Two suppliers come recommended by the source channel itself. Creative Cut Supplies is the affordable pick, and the standout products are the 1/8-inch and 1/16-inch sampler packs (bulk ply is available too). Sampler packs are the smart beginner move, because you can test several species cheaply before committing to a full sheet of anything. Johnson Plastics Plus carries solid alder and cherry, colored plywood, and Baltic birch, and the code ID5-4NB gets you 15% off.
Sharing that one like a tip between friends, because that’s how I got it. These are the channel’s own recommendations, and the channel earns affiliate commission on its links, which doesn’t change the fact that testing species via cheap samplers beats guessing. The broader wood sourcing guide covers what to avoid, too.
Why engraving comes out light and spotty: grain direction first
Grain direction is usually the cause. Engrave with the grain and you get light, spotty results; go across it and the burn evens out. This is tip #1 in the source video, landing just 37 seconds in, which tells you how much it matters. The failure pattern is unmistakable in week one: half a name sign comes out pale, and the tell is that the pale bands run parallel to the grain.
A viewer reported exactly this, light and spotty engraving while cutting with the grain, and fixed it by reorienting the workpiece and weighting the wood flat. “Test your settings” is the most repeated and least useful advice in this hobby. If pale bands run parallel to the grain, no power or speed change will fix it. Rotate the piece 90 degrees first. Then check flatness, because warped stock changes focal distance across the piece, and thin stock should be weighted flat before you ever hit start. That flatness point is its own tip in the source video (tip #6, at 9:21): keeping your wood flat in your shop.
Focus and air assist: the machine techniques that change burn quality
Three named techniques replace three clichés, and all three come from the source video and its commenters.
Air assist timing
Tip #2 (at 1:24) is really a “when do I flip this switch” question, and the answer changes burn quality and scorching. Air on at the wrong moment or off when it matters, and the burn character shifts. One viewer cited it among the most helpful tips in the whole video, which tracks, because it’s the setting beginners leave on defaults.
Focus tricks, from the penny trick to raising the bed
The penny trick for defocusing is peak dumb-clever: use a penny as a physical spacer to set a defocused height, no math required. A viewer praised it, and I get why. The flip side is the depth-of-focus problem: when cutting thick wood, the documented example being 3/4-inch stock, the beam goes out of focus at depth and the cut dies halfway down. One commenter’s field fix is to raise the bed after a few passes so the laser stays focused inside the cut channel.
Credit where due: that’s a community-sourced fix from the comments, not a verified procedure. For the fuller picture on multi-pass work, see deep laser engraving on wood.
How to get a darker engraving on wood that resists darkening
Some woods simply don’t want to engrave dark, and the fix is treating the material, not brute-forcing power. That’s tip #7 in the source video, and the named method is a borax treatment. Yes, borax. The laundry-aisle mineral.
It’s a chemistry-based fix that changes how the wood’s surface burns, and that’s honestly kind of elegant: instead of muscling more heat into a surface that shrugs it off, you change the surface itself. Michael’s channel has a dedicated step-by-step borax tutorial running 26:10, and it’s worth watching rather than reconstructing secondhand here. So pale engraves are usually a settings-plus-material problem, cranking power past the point of scorching is the wrong lever entirely. If borax isn’t your flavor of weird, the Norton White Tile Technique is another contrast approach, but that’s its own rabbit hole.
Burn marks and soot: prevention and cleanup are one system
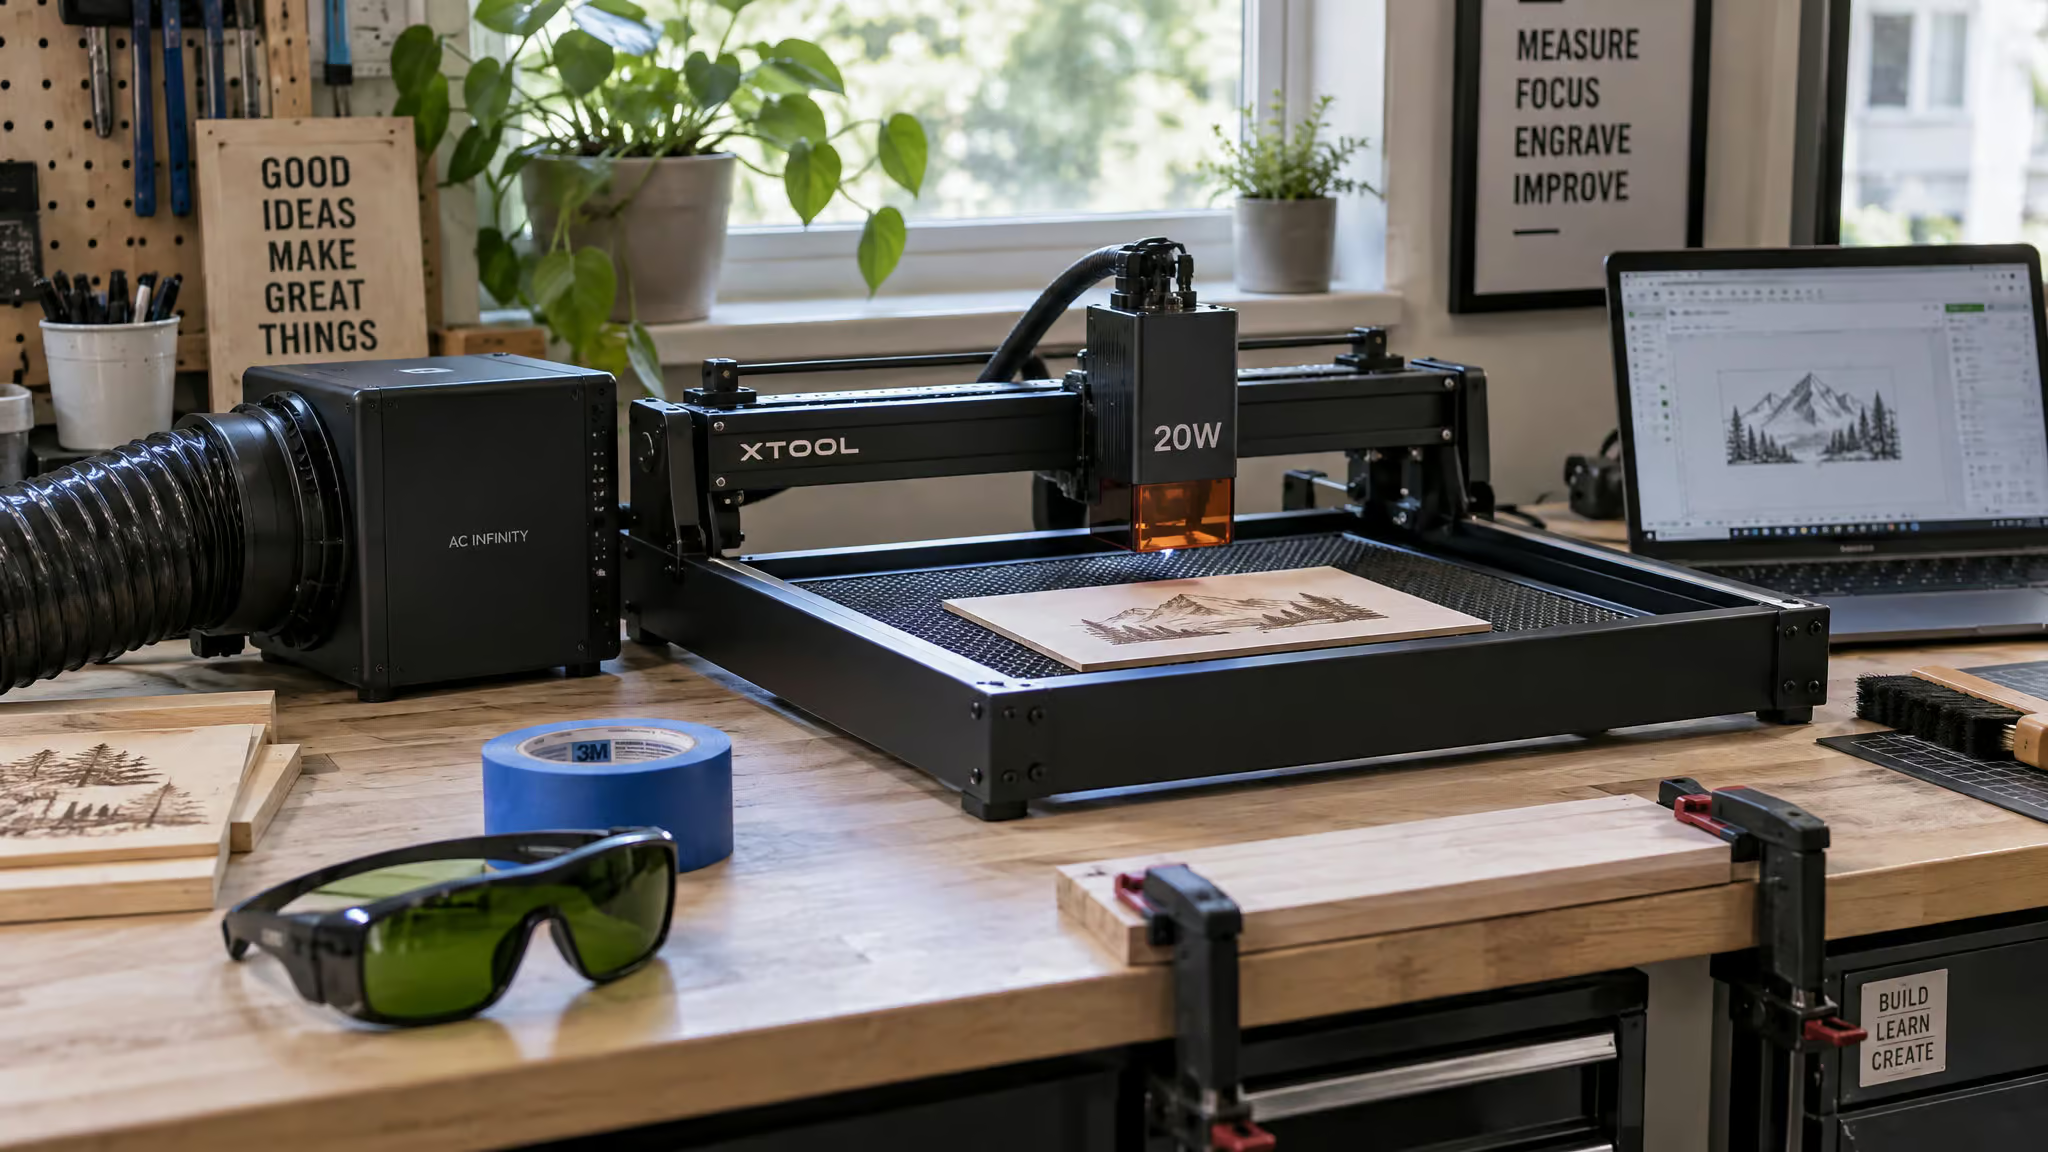
Mask before engraving, and stock the right solvents before the laser ever fires. Soot control starts pre-burn, not post-regret. Tip #8 (at 12:55) covers avoidance and cleanup, and the recommended kit is specific: technical-grade methanol, a large roll of masking tape, and rubbing alcohol. That’s the whole list, and it beats the universal “wipe gently with a damp cloth” advice you’ll find everywhere else.
The two halves of the system connect: air assist prevents scorching with airflow, masking and solvents deal with residue with chemistry. And be honest with yourself going in. Yes, it’ll be smoky. That’s the process working, not a malfunction.
How to laser engrave a photo on wood
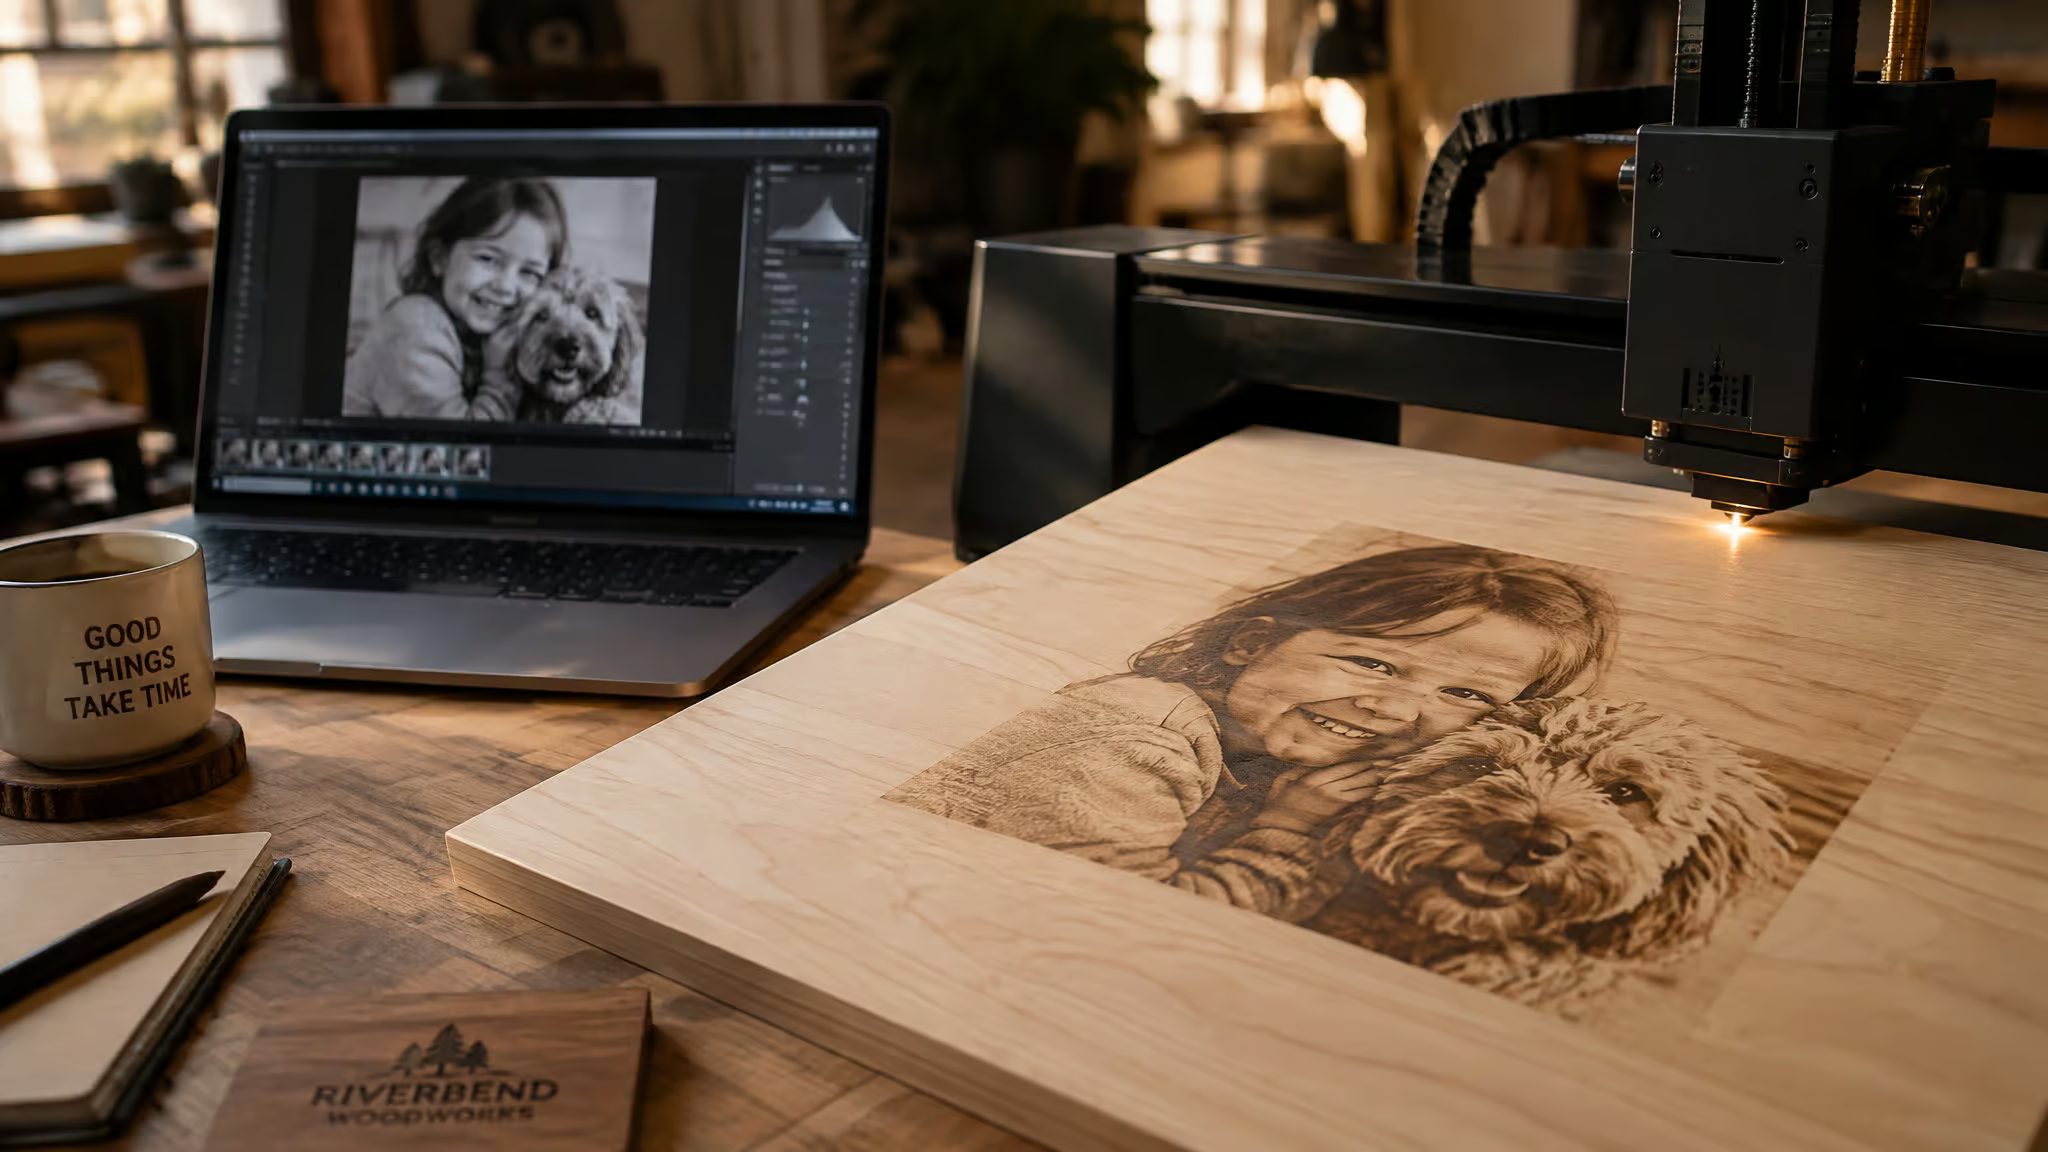
Laser engraving a photo on wood takes two tools: ImagR to prepare the image and Lightburn to drive the laser. Photo work (tip #3, at 3:12) is a distinct skill from line and text engraving, with different prep and a different settings mindset, and it helps to know what materials a laser can actually engrave when you’re weighing how wood and other media behave differently. The genuinely fascinating question underneath is how a grayscale value maps to burn depth: each pixel’s brightness becomes a power decision, and the wood renders the image in char. I could disappear into the dithering lecture, but the practical pointer is the ImagR-then-Lightburn pipeline, which the source channel has tutorials for. One connection back to wood choice: light, even-grained species are the right canvas for photos, which is why the same winners above win again in the photo-wood rankings.
Laser cutting wood: high detail, kerf, and one-piece designs
Cutting is a different discipline from engraving, with its own vocabulary.
High-detail cutting
Fine detail work (tip #4) asks different things of the beam than engraving does, and “how small can a cut go” is its own rabbit hole.
Kerf
Kerf is the width of material the laser removes, the “wait, the laser eats material?” moment, and it determines whether cut parts fit together. It’s tip #10 in the source video (at 17:29), covering kerf and why it matters. Kerf compensation is what makes interlocking one-piece designs (tip #9) actually work; @BigBlueLaserDesigns has dedicated kerf explanation videos, and one viewer used the channel’s kerf links for exactly that kind of interlocking project.
Assembly
For putting parts together, peel-and-stick adhesive is the easy-apply answer, it’s the pick called out as the best adhesive for wood projects in the video’s description links.
Can you laser engrave painted or stained wood?
Yes, you can laser engrave painted wood. The laser burns through the coating, and contrast comes from the underlying wood or the coating itself.
Painted wood
Painted surfaces engrave by the beam removing the coating, which is exactly the mechanism the paint-fill workflow exploits. Seal coats control how a surface burns. The shellac-before-engraving logic in the paint-fill process proves the point: what you put on the wood changes the burn. Finished wood is one more input you control.
Stained wood
Stained wood engraves, with conditions. Stain affects contrast and can produce inconsistent results, so test on scrap before committing the real piece. That’s also where the borax-style darkening tricks from earlier become relevant, since contrast is the whole game with finished surfaces.
| Surface | Engraves? | Contrast source | Fume risk vs bare wood | Prep |
|---|---|---|---|---|
| Bare wood | Yes | The burn itself | Partial (baseline smoke, still ventilate) | Flat, clean stock |
| Painted wood | Yes (burns through coating) | Underlying wood or the coating | Partial (higher, ventilate more) | Test piece; seal-coat logic applies |
| Stained wood | Partial (contrast shifts) | Burn against the stained surface | Partial (varies by finish) | Scrap test first |
One caveat you really can’t skip: coatings and paints release different smoke than bare wood, ventilation matters more, and universal settings don’t exist. Don’t assume any specific paint or treated wood is safe to laser without flagging the fume question first, and expect to tune settings per surface.
Paint-fill finishing: the pipeline, the methods, and the real time cost
The engraving is the fast part; finishing eats the timeline.
The tested pipeline
One creator’s tested order: two black acrylic background coats (1 hour dry after the first, 8 after the second), two shellac seal coats before engraving so paint doesn’t bleed (spray ventilated; 1 hour, then 8 hours cure), masking applied bubble-free like a phone screen protector (painters tape), a fairly deep engrave so paint settles, second shellac coat, two white base coats (1 hour each; tested with and without, and the white makes a huge difference), watery colored acrylics dabbed in, slow masking removal, tiny-brush touch-ups with an X-acto knife on hand, final shellac.
Brush method
Brush dabbing wins on gradients, detail, and inner edges; base coats took 23 minutes.
Sponge method
The sponge ran about 3.5 minutes per coat (7 for base coats) and scales for batches, at the cost of more bleed and touch-ups. There’s also a failed variation worth knowing: a yellow-center/red-outside sponge attempt that didn’t work because orange was already underneath.
Pigments and paint sourcing
Cheap Walmart or dollar-store acrylics actually work better, because higher water content keeps paint thin; Pearl X pigments add vibrancy but are optional.
The real time cost
The 8-hour waits dominate, so budget about a day, not an evening. One creator’s tested workflow, not a universal standard.
Beginner equipment decisions: power, computer, and safety boundaries
Three decisions shape everything downstream, and two of them are easier than the marketing suggests.
20W vs 40W, and the computer question
The 20W vs 40W decision hinges on the thickness you actually want to cut, not the sticker number. Marketing wattage and actual optical output aren’t the same thing, and buyers get burned by that gap; the 20W vs 40W breakdown untangles it. On the computer question: control software like Lightburn runs on a computer, though some machines offer offline workflows, so check before buying. Both of these are general hobby knowledge rather than source-tested claims, so don’t treat them as gospel.
What you cannot safely cut
PVC and vinyl cannot be safely laser cut. They release dangerous fumes, and the never-cut list belongs in your head before first use, not after an accident; the materials-never-to-cut list covers the rest. The source channel’s own bench list is a nice concrete picture of a working setup: fiber laser glasses (for the separate metal toolchain), Scotch Blue Tape for masking, a weeding tool for tape and vinyl removal, clear spray paint for seal coats, an F clamp vice and a Pana vice for holding work, Brilliance Laser Ink for marking, a decimal/machinist ruler for measurements that matter, and a Data Vac blower for clearing debris. Each earns its drawer space by saving time or protecting work. The pre-flight checklist writes itself from there: pick species first, orient against the grain, plan air assist, and budget for masking and cleanup supplies before the first burn.
Frequently Asked Questions
Can you laser engrave wood?
Yes — wood is one of the most laser-friendly engraving materials because it chars predictably under laser heat instead of melting. The qualifier is laser type: diode (~450nm) and CO2 (~10.6µm) machines excel on wood, while fiber lasers (1064nm) are the wrong wavelength and are better understood as metal tools.
How long does a paint-fill engraving project take?
Budget about a day, not one evening. The engraving itself is the fast part — the tested finishing pipeline includes two 8-hour drying waits (shellac cure and background coat dry), plus multiple 1-hour waits between coats.
