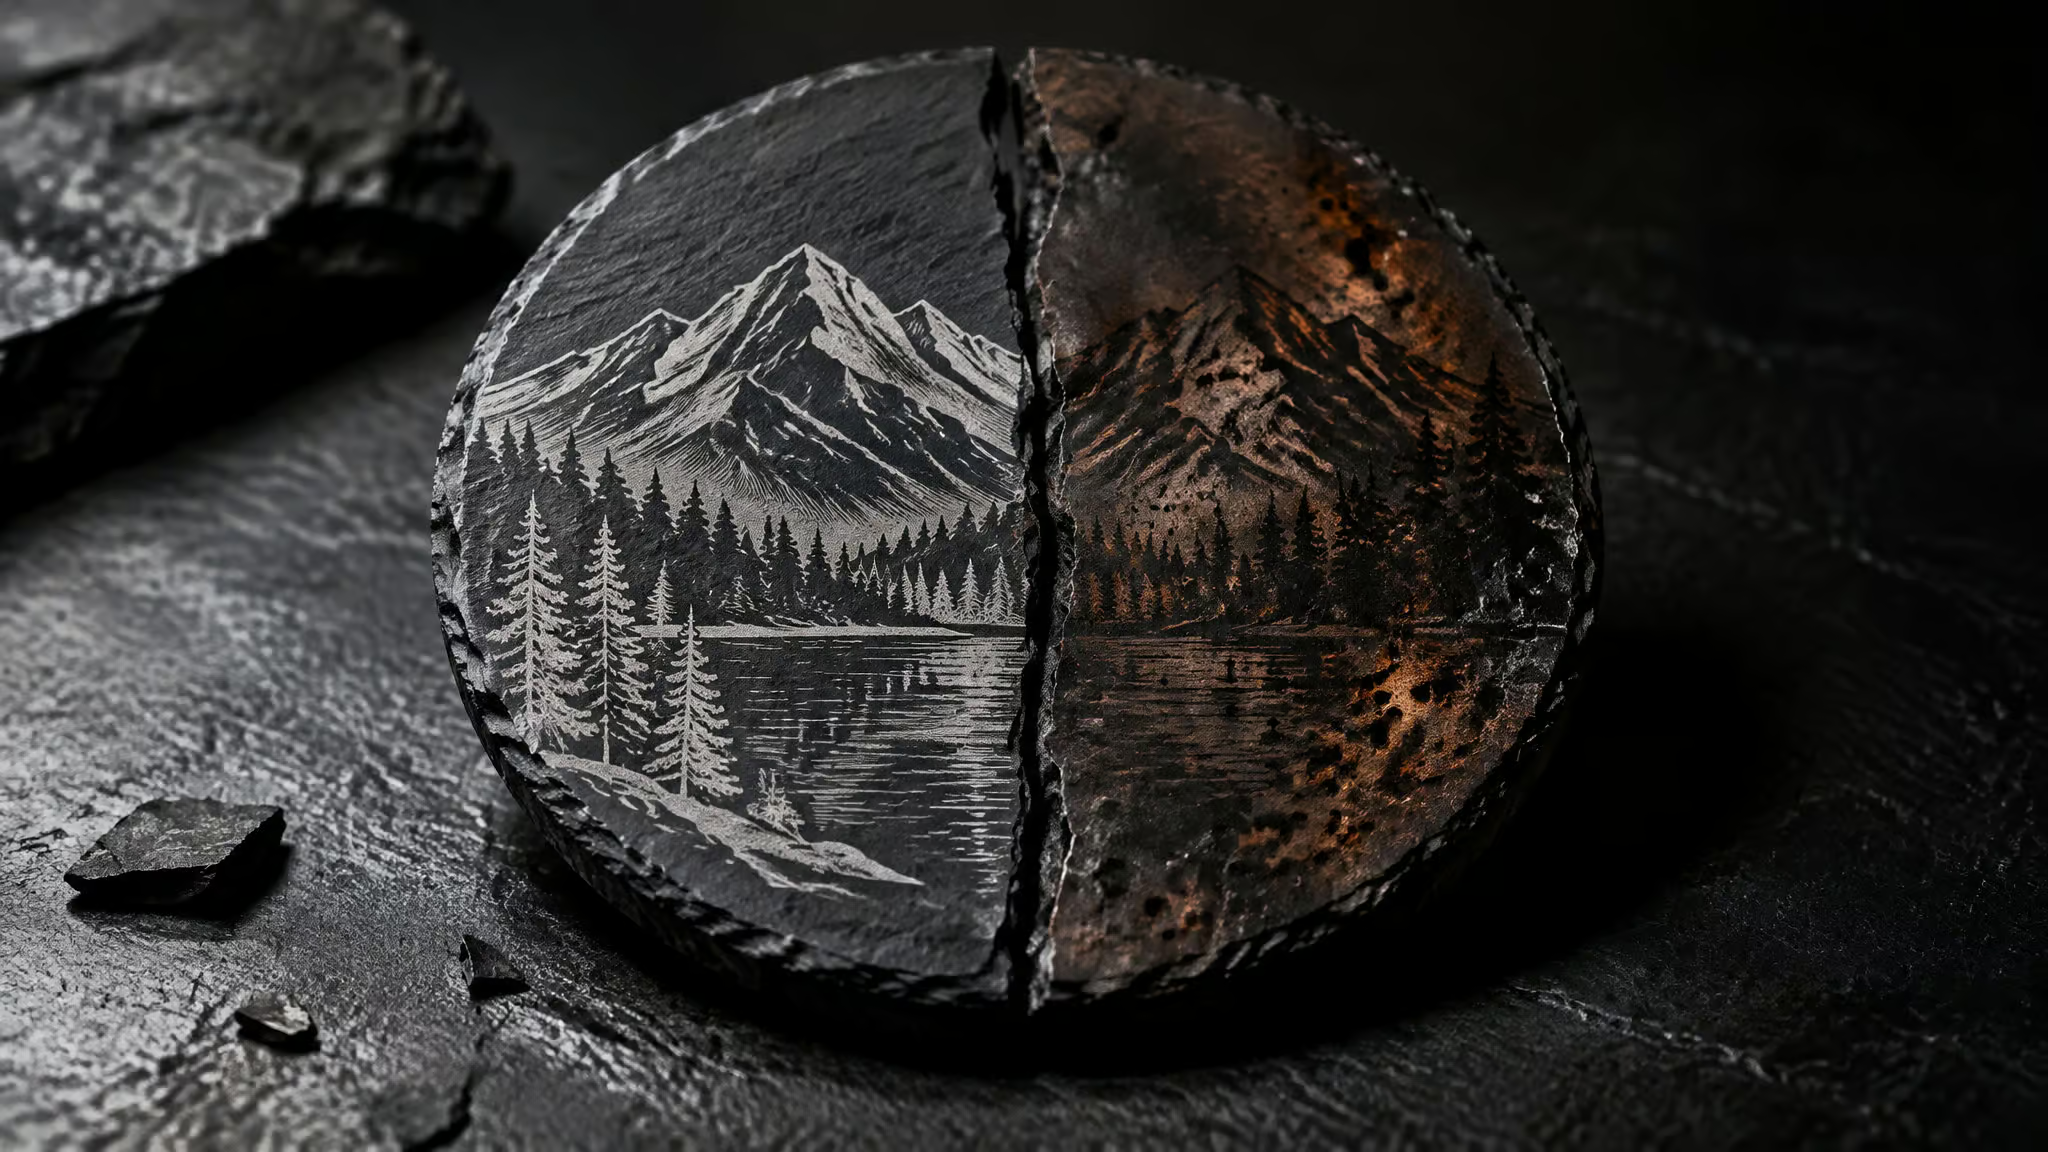
Two slate coasters from the exact same box can run at 30% laser power and finish as opposites: one a crisp 30-minute cat portrait, the other a heavily burned three-hour wreck. Because a power percentage is just a ratio of an unknown laser wattage, copied laser engraver settings for coasters can’t transfer verbatim across machines, and guessing across 10-100% power and 1-600 mm/s speed carries worse odds than flipping heads 16 times straight. Here are wattage-scaled starting windows, a focus-power-speed dial-in order, a numbered test protocol, and the software check that catches false weak-laser symptoms.
Key Takeaways
A 10W Ortur Laser Master 2 Pro diode laser engraves a four-coaster slate batch at 3,000 mm/min and 80% power in about 26 minutes, whereas a 7W JTech diode laser throws burn spots on slate above 40% power and needs 50 ipm at 30% power with a 0.005″ stepover over two passes for photos.
In LightBurn, a default mismatch between Machine Settings max spindle speed (10,000) and Device Settings S-Value Max (1,000) silently caps a 100% power command at 10% of the laser’s actual output.
Systematic dialing-in follows a strict 1 Focus, 2 Power, 3 Speed sequence using small multi-layer test patterns on a single piece of scrap before locking the winner into a saved LightBurn material library file.
Table of Contents
Why copied coaster settings fail: 50% of what?
Borrowed laser settings from another maker’s machine only get you into the general starting area for your own first test grid, because every laser setup differs and same-type materials vary by quarry location, manufacturing process, and even within a single box. On February 23, 2025, LightBurn forum user luke (lessyappinmorezappin) wondered if withholding working numbers was a machine-shop initiation ritual where veterans make newcomers pay their dues, prompting contributor Pete. IRL (Peter O D) to joke that the first five years are the hardest before Jack Wilborn (jkwilborn) stepped in to unpack the hardware variables.
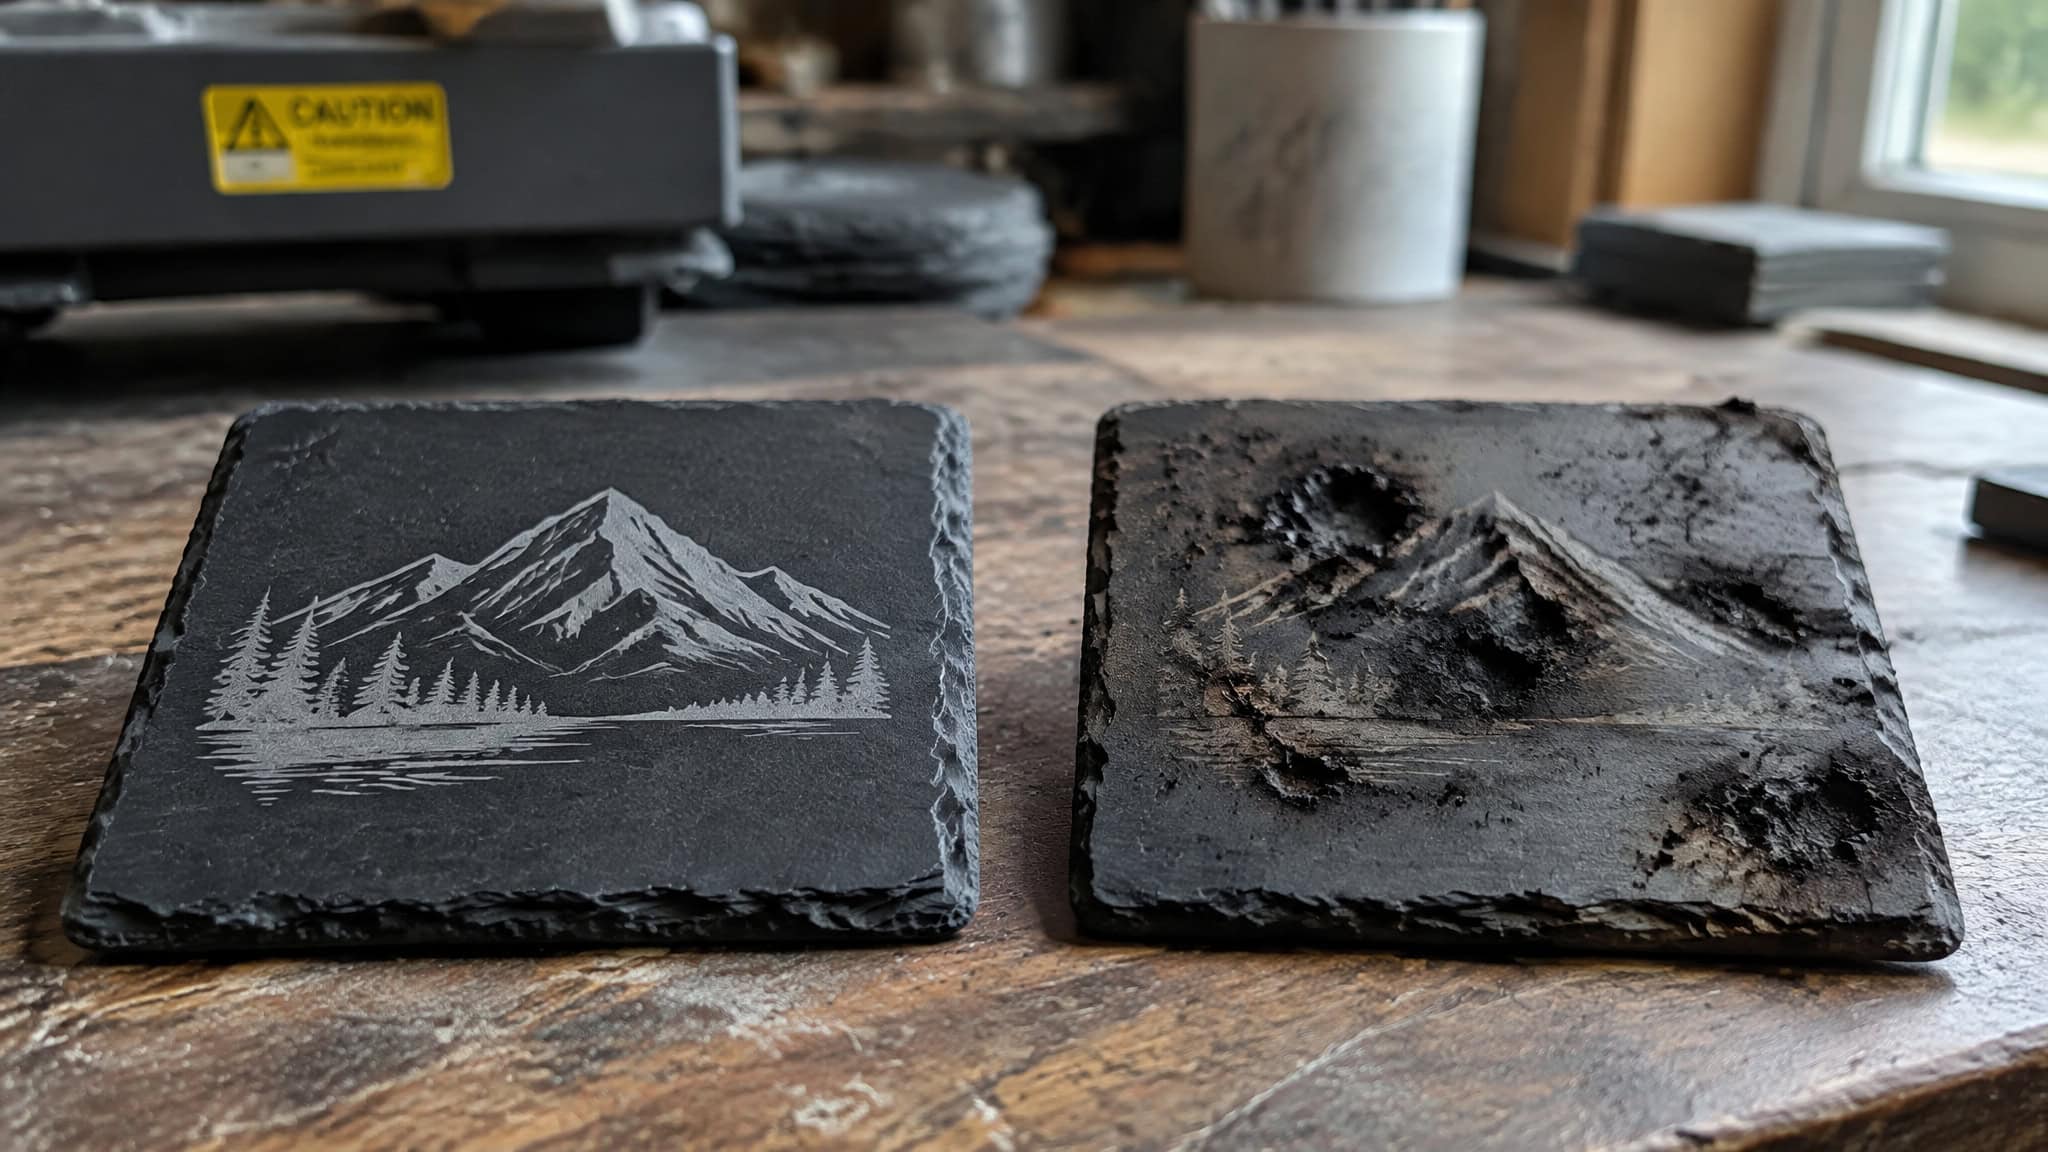
The ‘50% of what?’ problem
Luke sometimes has to pause technique videos just to identify the laser on the bench, because creators rarely state their machine model and a raw power percentage is meaningless without source wattage. Blind to that baseline, he never completed a slate coaster in a single pass on his 7W JTech diode laser, needing two or three runs or sanding and retries while clear coat, black wood stain, and ink pretreatments all failed to deliver consistent results.
Same slate batch, same 30% power, two opposite results
Luke’s first-ever laser project was a cat photo on slate that came out excellent in about 30 minutes at 50 ipm, 30% power, a 0.005″ stepover, and two passes with zero photo preprocessing. A later guns photo on a coaster from that exact same slate batch at 100 ipm, 30% power, a 0.004″ stepover, and one pass caused heavy burning, even across brighter photo areas, as documented in forum attachment 20250223_170850, and wasted three hours.
Slate coaster settings by laser wattage
A 10W diode laser engraves slate from a LightBurn baseline of 3,000 mm/min speed and 80% power. A 7W diode laser, by contrast, must drop to 30% power at 50 ipm (1,270 mm/min) because exceeding 40% power on a 7W JTech diode causes burn spots on slate. Coaster parameters always shift with how each coaster substrate reacts to different laser sources, and on slate the beam reacts with the stone’s iron content to turn the dark surface grayish-white.
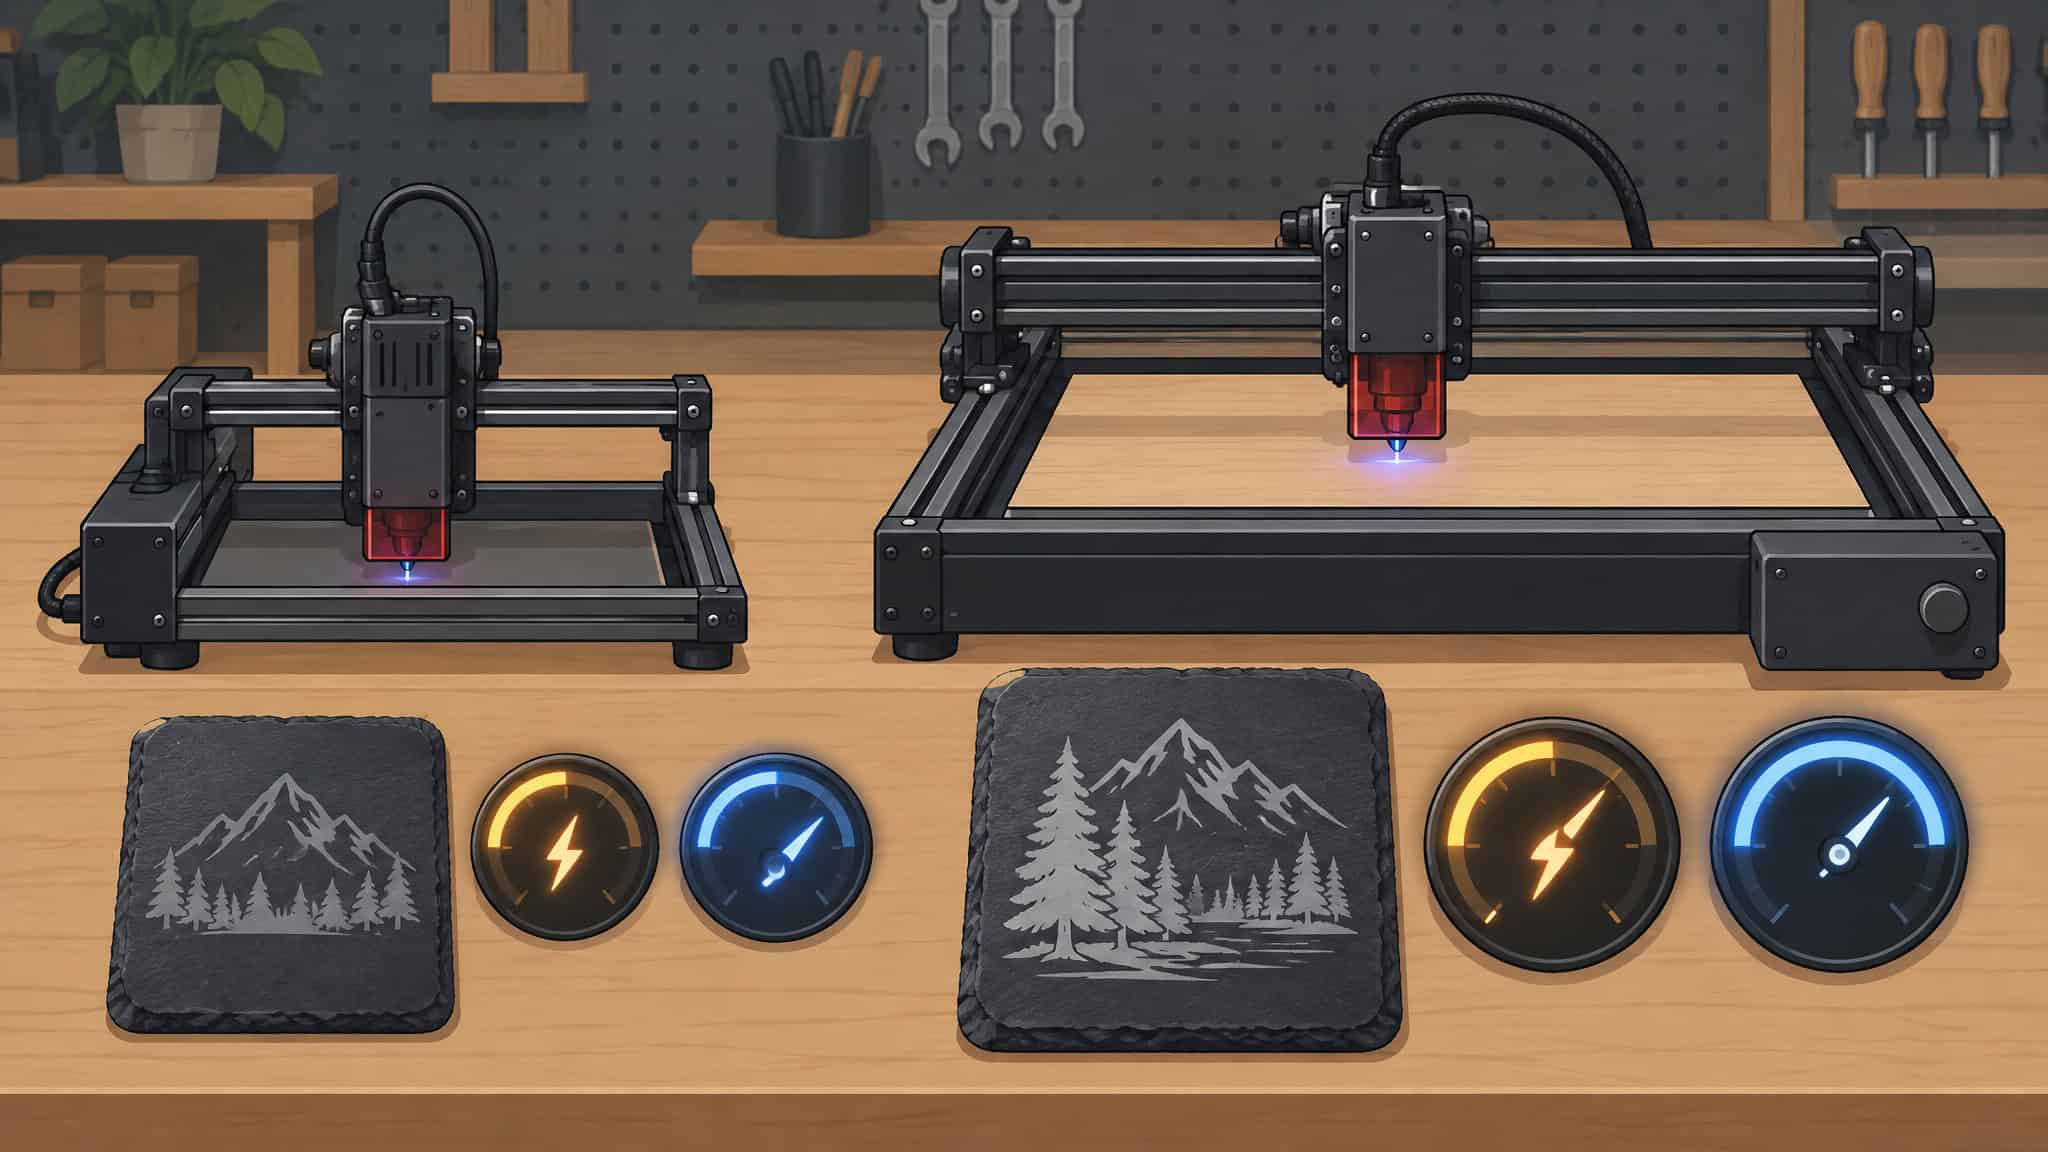
Comparing that 40% ceiling on a 7W JTech against 80% at 3,000 mm/min on a 10W Ortur Laser Master 2 Pro shows why power percentage means nothing without laser wattage and travel speed. The 10W machine moves more than twice as fast, spreading higher power over far less dwell time per millimeter.
| Machine / Wattage | Task Type | Speed | Power % | Stepover / Passes | Batch Run Time | Burn-Spot Ceiling |
|---|---|---|---|---|---|---|
| 7W JTech Diode | Slate photo engrave | 50 ipm | 30% | 0.005″ / 2 passes | ~30 minutes (1 coaster) | 40% power |
| 10W Ortur Laser Master 2 Pro | Slate batch engrave | 3,000 mm/min | 80% | Single pass (template) | ~26 minutes (4 coasters) | Partial (adjust from 80% baseline) |
| Longer RAY5 10W Diode | Pre-painted Kmart coaster (shallow) | 100 mm/s | 100% | Single pass | Partial (single-coaster test) | No (shallow mark) |
| Longer RAY5 10W Diode | Pre-painted Kmart coaster (resin-fill deep) | 50 mm/s | 100% | Single pass (grouped, bottom-to-top) | Partial (single-coaster test) | No (clean deep carve) |
7W diode window
On luke’s 7W JTech diode laser, pushing past the 40% power threshold on slate triggers burn spots, a mismatch that cost him dozens of hours of spoiled stone. His working photo window sits at 50 ipm and 30% power with a 0.005″ stepover across two passes, finishing a coaster in roughly 30 minutes.
10W diode baseline
On a 10W Ortur Laser Master 2 Pro running LightBurn, the documented starting baseline for slate coasters is 3,000 mm/min at 80% power, which pairs naturally with broader 10W diode laser power and speed baselines across other shop materials. The Ortur workflow uses a four-coaster LightBurn template, one layer set as the bed outline template and a second layer as the image engrave, completing all four coasters in about 26 minutes of laser time.
Scaling the numbers to your laser
When you scale that 10W baseline to other diode machines, sub-10W units need slower travel speeds for longer surface dwell time, often with power pushed toward 90-100%. Higher-wattage diodes pull back both power and speed. Mechanical gantry rigidity can also cap your usable speed before the diode itself runs out of headroom.
How to dial in laser settings: focus, power, speed, then test
To dial in laser settings on a chemically safe material, follow Pete. IRL’s strict sequence, 1 Focus, 2 Power, 3 Speed, by running small, simple test patterns on a single scrap piece with different settings per LightBurn layer, starting low with an engraving pass and stepping power up. Diode lasers typically only need power and speed dialed in, whereas Galvo units also need frequency (around 20) and Q pulse (around 130) tuned afterward. Because random guessing across 10-100% power and 1-600 mm/s speed has worse odds than flipping heads 16 times in a row, as maker Steve Makes Everything calculated, systematic iterative grid narrowing (and saving the winning layer to your LightBurn material library) is the only reliable path to a working preset.
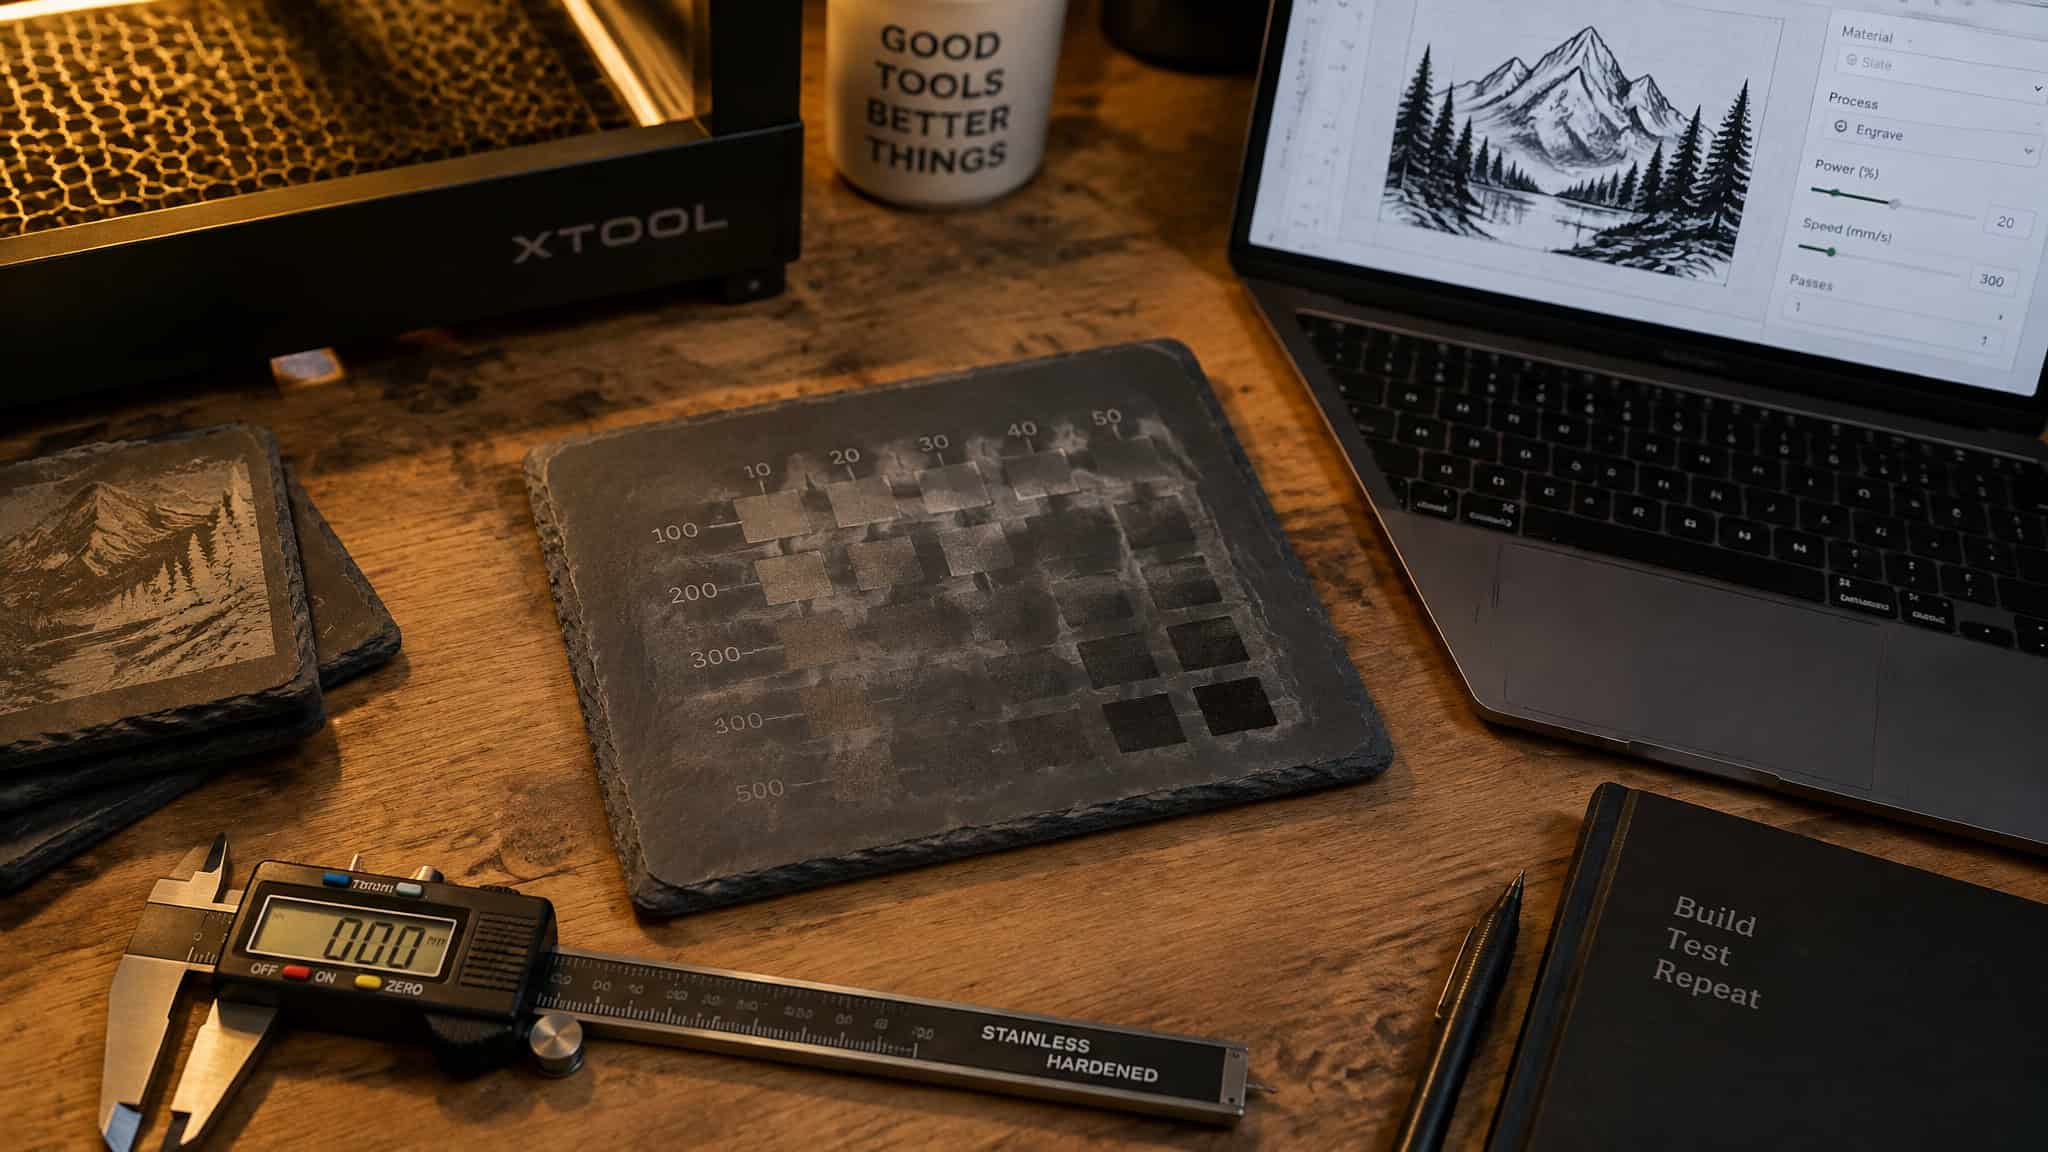
Even on a diode gantry or a CO2 bed lacking established Glowforge-specific slate coaster numbers, you can start with an engraving-first test and step power in 5% increments. Keep Making’s Glowforge jute burlap test at 1000 speed, 5% power, and 256 dpi uses that exact progression to pin down the burning point before touching production stock.
The dial-in order: focus, then power, then speed
Pete. IRL’s sequence locks in optical focus first, tunes power second, and adjusts speed third, leaving deeper software settings for later workflow optimization. Diode lasers usually just need power and speed, while Galvo lasers, like the Comm Marker 60W Mopa demonstrated on matte 3mm black acrylic, also need frequency (~20) and Q pulse (~130) tuned after you set power and speed.
Safety and the engrave-first test
Before laser testing any unfamiliar substrate, Jonathan at Maker Tales (Keep Making) advises researching material safety online and stepping back from anything containing chlorine or high formaldehyde. Start every material test with engraving rather than cutting because engraving uses the lowest power and safely exposes where the material begins to burn.
Start low and step power up. On heat-susceptible jute burlap wrap on a Glowforge (starting at 1000 speed, 5% power, and 256 dpi), 5% increments exposed the heat limit as the 10% and 15% passes fell apart, putting 15% right at the cut threshold where burnout starts. For natural materials with internal inconsistencies, set cut power about 10% above the tested minimum, or slightly higher if back-marking is acceptable; the burlap cut tests started at 20 power and stepped up to 30.
Building the test grid with real numbers
- Set up small, simple test patterns on one piece of material using different settings per LightBurn layer rather than running large-area experiments.
- Include one large block in the test file so the laser head reaches full commanded speed, plus progressively sized lines from 0.5 mm to 3 mm to represent text engraving. On non-Glowforge lasers, tune the correction value matching power ramping to speed ramping so score ends don’t overcut or undercut, using separate settings for long versus short lines if needed.
- Run an iterative LightBurn test grid starting from the 100-1000 mm/s speed and 10-100% power defaults, trimming the ceiling because speeds above 700 mm/s do nothing useful and speeds above 500 mm/s add little value. On matte 3mm black acrylic, 10% power was invisible, narrowing the grid winner to roughly 300 mm/s and 75% power.
Validation and saving what works
Confirm the grid winner with an image test (such as Steve Makes Everything’s octopus test followed by a detail-heavy creepy clown image) or Keep Making’s badge-shaped validation file that combines engraving, a thin line, a fit line, and a cut line in one run. Once verified, open LightBurn’s Material Library, as demonstrated in a Crawlspace Craftsman segment saving the octopus layer preset into a library named “Steve Makes Everything”, create a material from the winning layer, name it (such as matte black acrylic), and save the library file so you never re-test that stock.
If a later job fails after a documented success, run Pete. IRL’s diagnostic checklist: check for a dirty lens, air assist toggled on or off, a focus reset, changed parameters, and job duration or speed differences against the working run, then photograph every failure as learning data, check the LightBurn documentation, and post your work and settings to the forum.
Check your software before blaming the laser: S-Value Max and unit traps
A diode laser fails to reach full power even at 100% when LightBurn’s Machine Settings max spindle speed (which defaults to 10,000) doesn’t match Device Settings S-Value Max (which defaults to 1,000), a configuration mismatch that silently caps a 100% power command at just 10% of the laser’s potential output.
The S-Value Max mismatch that caps power at 10%
In a Crawlspace Craftsman tutorial, two identical cuts commanded at 100% power produced one clean cut-through and one failure that barely scored the wood under a fingernail test. Once S-Value Max matched across Machine Settings and Device Settings, the laser hit full output and made a one-pass cut through quarter-inch plywood. The Crawlspace Craftsman creator admitted making this exact S-Value Max mistake when buying his own Fox Alien 20W diode laser and spending hours wondering why full power was missing.
Unit handling: ipm habits vs mm internals
LightBurn calculates in millimeters internally, so inches-per-minute (ipm) entries are converted under the hood and small converted values can cause odd behavior, as jkwilborn noted on February 24, 2025. You don’t need a calculator to bridge the two: LightBurn entry boxes accept math expressions and mixed units, typing 1/2in while in mm mode automatically resolves to 12.7, a feature LightBurn developer Oz documented in the version 0.8.07 release notes on 2018-12-14.
Slate difficulty depends on the task: line art vs photo engraving
Yes, a laser engraver works reliably on slate coasters when engraving vector line art, text, or solid fills, whereas photo engraving on variable slate is the single hardest laser task and carries a documented 20% success rate on an 8×10″ diode run. Understanding how vector and raster design workflows differ for coasters separates quick batch wins from nine-hour shop heartbreaks.
Why slate forgives line work
For text and vector graphics, slate is remarkably forgiving: it tolerates high power without the scorching and burnout typical of wood, and under-engraved areas can be re-run right over the top as long as the coaster hasn’t moved and parameters stay unchanged. Using vector fill files on a fiber laser, jkwilborn engraved Cheshire cat and US seal slate coasters with consistently crisp contrast. Converting raster art to line art also slashes machine time: on Keep Making’s Glowforge burlap project, a full raster engrave took one hour while the line-art conversion engraved in 12 minutes (after about four hours spent building the vector lines). Makers looking for ready-made line art can pull from the Biodiversity Heritage Library‘s 150,000 public-domain field sketch illustrations on Flickr, highlighted by Seams Legit.
Why slate photos punish
Photo engraving flips that forgiveness on its head. On luke’s 7W diode laser, an 8×10″ slate photo takes about nine hours with roughly a 20% success rate, driving him on February 23, 2025 to offer cash to anyone with a 5W, 7W, or 10W diode laser who gets consistent slate results for their settings. To match image resolution to your beam, Pete. IRL recommends the “laser everything” DPI/LPI video, which jkwilborn noted was likely filmed on a fiber laser but applies to any laser and material. On the software side, jkwilborn and luke noted on February 24, 2025 that ImageR (which requires passthrough enabled in LightBurn) and LightBurn alone produce roughly equal photo results, while Gimp is only needed for edits LightBurn doesn’t support.
Dithering: the free contrast lever
LightBurn’s grayscale dithering mode beat Stucki dithering on contrast and eye realism in luke’s empirical slate test on February 24, 2025 (image 20250224_110823), even though tutorials commonly recommend Stucki or Jarvis dithering. Luke had originally skipped grayscale because the LightBurn preview simulation looked washed out, but after Pete. IRL and jkwilborn asked whether he was running grayscale or dither mode, his first grayscale test produced a noticeably more realistic eye. Slate still varies by batch, so run a quick comparison of grayscale and Stucki on a scrap coaster before starting a multi-hour photo job.
Settings for painted and store-bought coasters: speed is the depth lever
Pre-bought painted coasters engrave deep enough for a resin fill at 100% power and 50 mm/s speed on a 10W diode laser, whereas running that same 100% power at 100 mm/s produces only a shallow surface mark. When you already have power pinned at the ceiling, slowing travel speed is the lever that doubles carve depth.
The 100 vs 50 mm/s depth comparison
Testing pre-painted, pre-cut Kmart coasters (around $6-$7 per pack of 5-6 in the creator’s documented run; retail prices may vary) on a Longer RAY5 10W diode laser, Seams Legit engraved the same design across multiple coasters, flipping the first upside-down run for a side-by-side check. Coaster 1 at 100% power and 100 mm/s came out shallow, while Coaster 2 at 100% power and 50 mm/s (with design elements grouped and engraved bottom-to-top) cut twice as deep, leaving a pocket ready for resin fill. For delicate kiss cuts and score lines on complex designs, Keep Making runs around 200 speed because laser power stays more consistent there than at higher speeds, while inconsistent natural stock like leather, plywood, or knotted wood may need 30-50% extra power to punch through knots and occlusions without causing bottom flashback.
Alignment, grouping, and cleanup on round coasters
Grouping design items in LightBurn minimizes laser head-jumping and trims total run time. When aligning artwork on a round coaster, use LightBurn’s circle/frame tool to trace the pattern’s outer edge, since framing a square boundary inside a circular blank won’t show true centering.
Preparing and finishing slate coasters
Sanding bare slate with 80-grit or 120-grit sandpaper and applying a coat of varnish before laser engraving produces cleaner contrast than pretreating bare stone with clear coat, black wood stain, or ink, all three of which failed to give luke consistent results on his 7W diode runs. LightBurn forum user Ganitta28 (Roswell) backs that 80-grit (or better, 120-grit) sanding and pre-engrave varnish sequence, pointing to Stefan Maker on YouTube as the only creator showing both clean slate engravings and the actual technical why behind them.
Once the laser finishes, Seams Legit brushes away the heavy debris and uses an alcohol wipe or soapy water to lift the fine dust left behind. In the Ortur slate workflow, prepping and sealing finished laser-engraved coasters wraps up by wiping the stone with a dedicated tack cloth and spraying two coats of lacquer with no sanding between coats, while the blank coasters arrive with rubber feet pre-installed.
Environment and machine quirks that settings tables never cover
To keep a laser engraving from shifting or misfiring mid-job, cap your travel speed below the point where your gantry vibrates and shield the laser head from direct shop sunlight that can falsely trip the flame sensor. On February 24, 2025, luke, a former machinist whose speed instincts are hard-wired in ipm, reported keeping his JTech 7W laser under 200 ipm because his large Onefinity CNC gantry jiggles at higher speeds, while Seams Legit had direct sunlight hit a smoking coaster run and trigger the laser’s flame detector mid-engrave, requiring the shop roller door to stay three-quarters shut.
From dialed-in settings to a slate coaster product
Selling laser-engraved slate coasters yields about $31 in profit per $40 uniform four-pack for makers running a dialed-in 26-minute batch workflow, provided you avoid the 80% failure rate of uncalibrated photo engraving that quickly eats a $9 per-set material budget. In the documented batch runs (where blank and retail prices may vary by supplier and market), a 60-count box of slate coasters cost $54.99, under $1 per coaster, putting four blanks at about $4 and clear-coating at roughly $5 for a $9 total cost per set while the laser runs passively during other shop tasks.
Offering mix-and-match coaster sets backfired on the profitability creator, leaving piles of unwanted phrase coasters that had to be bundled in fours and discounted just to clear the shelves; selling uniform four-packs protects both margin and production speed. Across both the Ortur slate workflow and the coaster profitability study, patriotic, law-enforcement, and military-themed slate coasters were local bestsellers. When selling in person, hand a finished coaster directly to the customer: loss aversion and the tactile contrast between rough split-slate edges and the smooth laser-engraved face do the closing for you.
Frequently Asked Questions
Will a laser engraver work on slate coasters?
A laser engraver handles slate coasters easily when you stick to vector line art, text, or solid fills, where the beam reacts with the stone’s iron content to turn the dark surface a crisp grayish-white. If a vector pass looks too light, you can even run a second pass right over it as long as the blank hasn’t shifted. Photo engraving on variable slate is the exact opposite—it is notorious for ruining blanks, carrying roughly a 20% success rate on an 8×10″ diode run.
