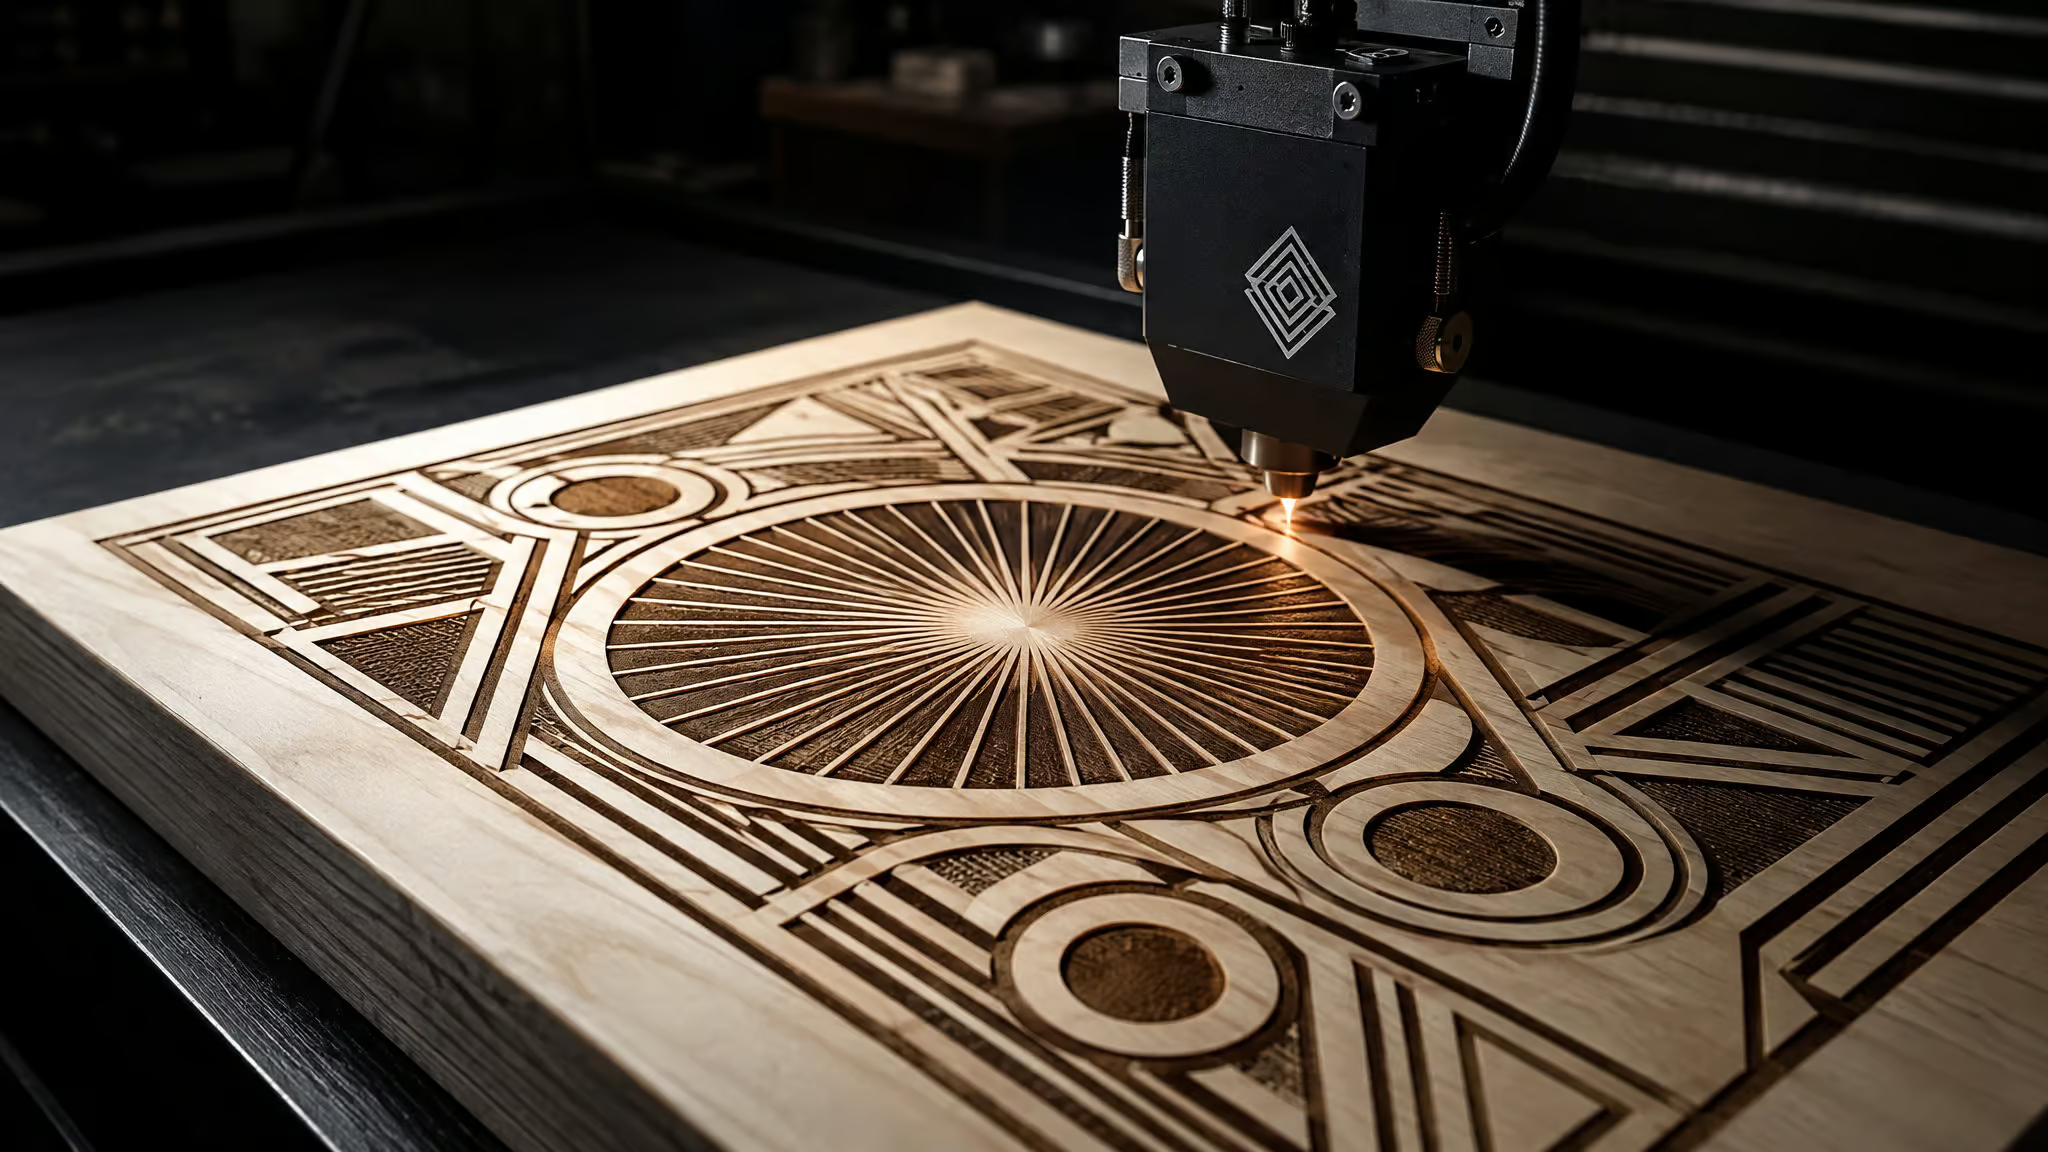
I went down a rabbit hole recently, trying to figure out why pale, fine-grained wood burns so crisply under a laser. The answer turned out to be one causal chain, and it explains most of what goes right and wrong with maple wood for laser engraving. If you’ve got an expensive board or a customer’s cutting-board blank sitting on the bench, one bad pass means burn marks, blurry detail, or uneven patches. Maple’s reputation is real, but it’s conditional: this is the detail-and-contrast specialist, not the fastest or cheapest wood, and it only performs if you understand the mechanism, the settings, and the failure modes.
Key Takeaways
For a 10W diode, start maple at 40-50% power and 200-250 mm/s at 300 DPI, and bump the scan interval from 0.1 to 0.15 mm to cut burn considerably with a nicer finish.
Uneven or burned engravings usually trace to focus, bed level, or power settings, not the wood; check focus first, since CO2 focal distance is typically 2-3 mm from the surface.
Maple is the detail-and-contrast specialist: small text, logos, and photo etching.
Table of Contents
Why maple engraves well: grain, tone, and density
Maple wood is good for laser engraving when detail and contrast matter more than raw speed, and the reason is a clean three-link chain. Start with the grain: maple’s fibers are fine and tightly packed, which gives the laser a uniform surface to penetrate, so the burn lands evenly and edges stay sharp. Compare that to open-grained oak or ash, where fiber density swings across the surface and scatters the burn, which is why an oak test piece looks smudged and blurry under settings that sing on maple.
Then the tone. That ivory surface is what makes dark marks visible without staining or post-processing; lighter woods like birch and maple give high contrast, while darker walnut produces subtler, luxury-leaning results. And the resin: like cherry and alder, maple is low-resin, so it burns cleaner and gums up your machine less. Wood choice protects the engraver, not just the piece.(If you want the wider context on how lasers interact with wood at all, I’ve covered that separately.)
The catch is the flip side of uniformity. Because the surface is so consistent, any focus error or grain irregularity becomes a visible defect instead of hiding in the grain. Maple rewards prep and punishes sloppiness more than softwoods do.
Hard maple vs soft maple: which to buy
Soft maple if your laser is modest or you value speed; hard maple when the piece justifies multi-pass dwell time. That’s the entire decision, and it’s a question of machine capability and job time, not engravability. Burn quality doesn’t change between them, both share the fine grain and light tone that make maple a detail wood in the first place. What changes is the work: soft maple engraves faster on lower-power lasers, while hard maple needs multiple passes for deep engraving but yields crisp, professional results when you give it the time.The pass counts get their numbers in the settings section below.
Maple works on both CO2 and diode lasers. So a diode owner isn’t locked out of hard maple, they pay for it in passes and patience.
Maple laser settings by wattage and laser type
For a 10W diode, start maple at 40-50% power and 200-250 mm/s at 300 DPI. That’s the most-searched number in this article, and it’s the middle rung of a ladder worth seeing whole. CO2 machines get their own worked example below, since the same maple behaves differently under a 40W tube than under a diode.None of these figures are guarantees: wood batches vary, a laser’s actual output rarely matches its rating, and every diode focuses a little differently.
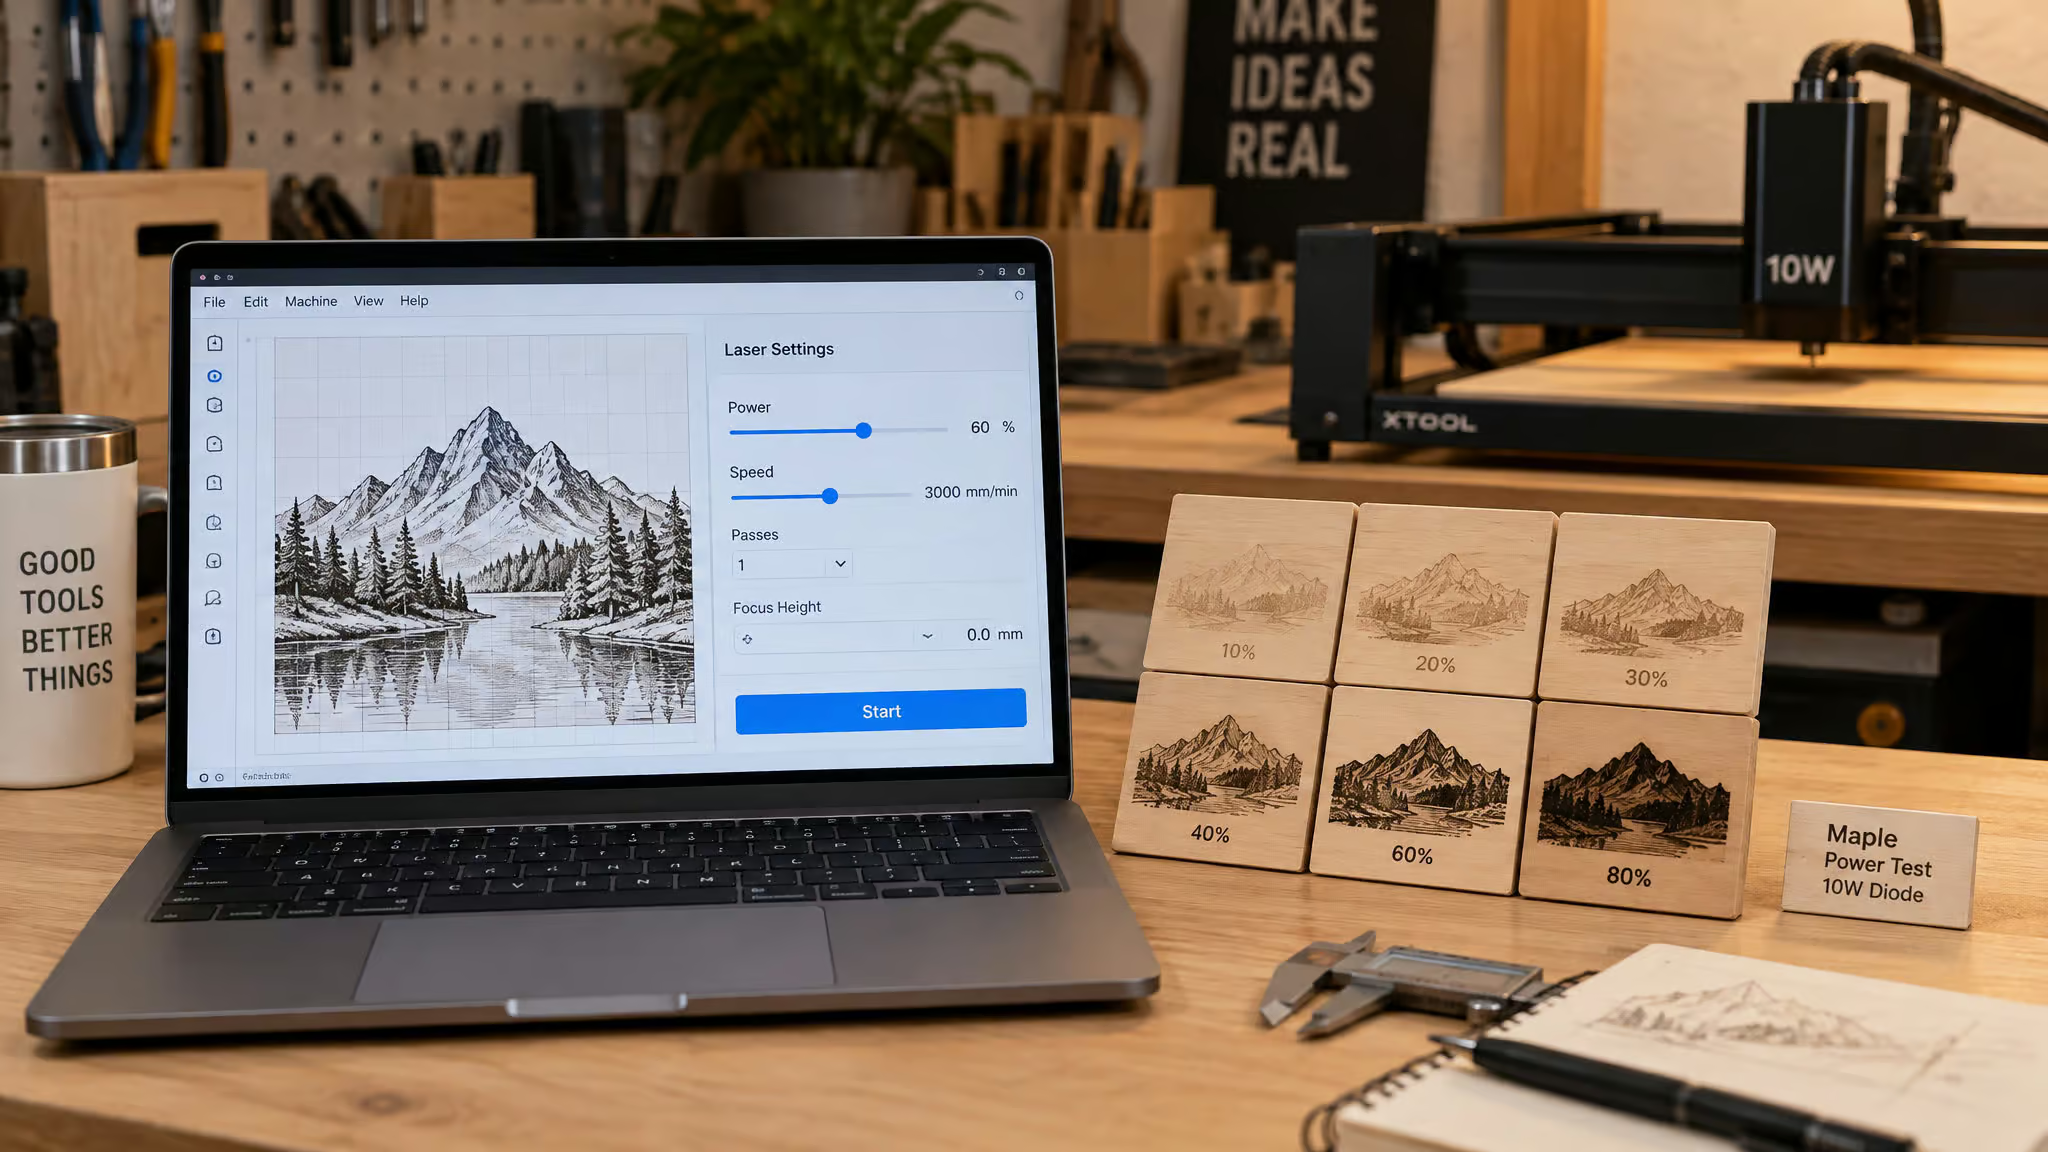
The wattage ladder for maple, as of the 2026 settings guides:
- 5W diode: 70-80% power at 100-150 mm/s. Dark marks may need two passes.
- 10W diode: 40-50% at 200-250 mm/s, 300 DPI.
- 20W+ diode: 35-45% at 250-350 mm/s.
Power percentage falls as wattage rises while speed roughly doubles. A 5W machine needs slower speeds than a 20W to deliver the same energy into the wood.The 10W is the honest sweet spot for most beginners, since it can cut 1/4-inch plywood. The Tyvok A1 Mini is the example 5W/10W beginner machine behind these tables, and the Tyvok P2 galvo runs the same power percentages at much higher speeds, because galvo changes the speed math entirely.
A 40W CO2 worked example on 1/8-inch maple: engraving at 250 mm/s @ 30%, 300 DPI; cutting at 15 mm/s @ 85%, 1-2 passes, surface focus with a 2 mm focal length lens.That’s a real worked example, not a range. The general hardwood band on CO2 lasers: engrave 150-250 mm/s @ 30-50%, and cut 1/4-inch at 8-15 mm/s @ 80-100%.
Task-type adjustments (same wood, different job, different numbers):
- Text: increase power 10% or drop speed 50 mm/s for darker, readable lettering.
- Photos: decrease power 10-15%, keep or slightly raise speed, enable dithering.
- Deep engraving: 2-3 passes at 80% power beats one pass at 100%, and let the wood cool between passes if it smokes heavily.
- Surface marking: decrease power 20-30%, raise speed 100 mm/s.
Fun aside that reframes the whole power dial: engraving removes material, so it’s technically 3D. High power means depth, not just darkness. Also, wet or green wood needs 10-15% more power than dry seasoned stock.
Cutting is a different job that happens to share the machine: slower speeds, higher power. If a cut won’t go through, slow down rather than add power, because more power burns the edges. And running below 100% avoids charring while extending diode life; babying the diode means it lasts longer and your edges look better too.
Then there’s the third tuning lever almost no beginner article mentions: scan interval.One practitioner’s maple settings run 0.15 mm interval / 8000 mm/min @ 35%, and bumping the interval from 0.1 mm to 0.15 mm reduces burn considerably with a nicer finish. Software like LightBurn or RDWorks is where DPI, scan gaps, and pass counts get dialed. Credit where it’s due: that one came out of a good forum thread, shared the way you’d share a thread you found at 1am.
On DPI: 300 is enough for almost all projects. 330 gives slightly more detail but takes longer, classic diminishing returns.One less variable to obsess over. And if you wander past wood, the settings library behind these tables covers other materials too, cork included, so check it before guessing.
Photo engraving on maple: the hardwood exception
Hard maple is the exception that proves the rule on photographic engraving. Most hardwoods resist detailed photos because their grain-density variation breaks grayscale uniformity, but hard maple’s unusually fine grain holds it, and simple logos are what work on almost any wood.Grayscale is where the wood starts mattering, and maple is one of the few hardwoods that plays along.
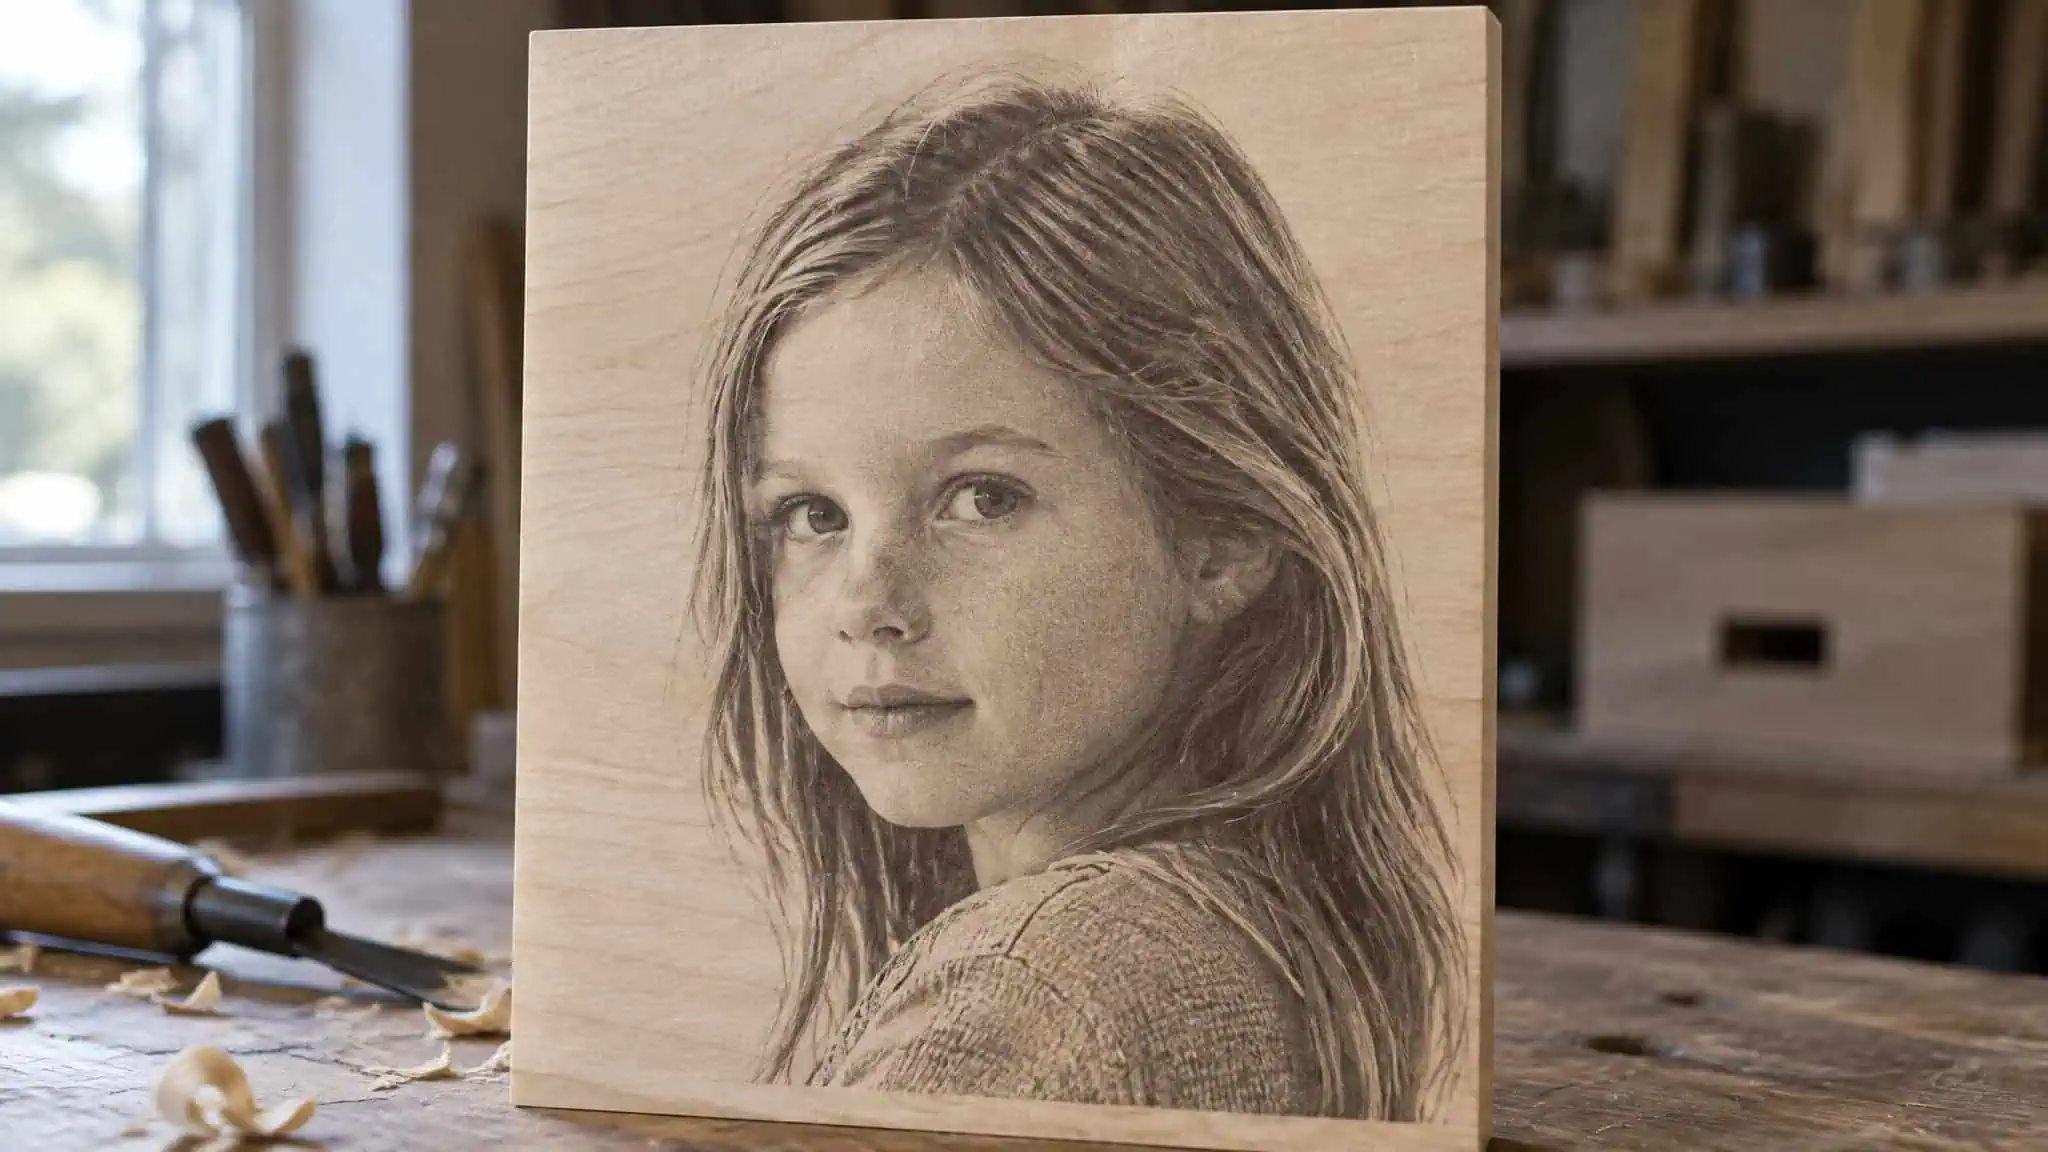
Results vary photo to photo even at identical settings. An xTool D1 Pro 20w user in the laser communities documented photo-to-photo variance on Baltic birch, so variance is the norm, not a fault in your machine. Wood is notoriously temperamental for photos, as Justin Laser’s video (a solid practitioner resource, roughly 64K subscribers) puts it.His ten tips are the image-prep workflow that separates crisp from muddy:
- Enable dithering or variable power.
- Drop to around 300 DPI.
- Orient the workpiece with the grain.
- Remove the background.
- Apply gamma correction.
- Run slow and low.
Photo settings diverge from text settings on purpose: less power, same or higher speed, preserving grayscale instead of charring it. When banding shows up across a photo, that’s the grain breaking your grays, which is exactly why grain orientation makes the list. Thunder Laser’s Thunder Bolt, with its metal RF laser source, comes up in these discussions as a source example for photo-quality work, not a recommendation. And no wood, maple included, delivers photo-perfect results on every pass. (I’ve ranked which woods handle photo engraving best separately, if you’re shopping specifically for that.)
Prep and cleanup: mask, pre-spray, or wipe
Fine-grit sanding, stripped coatings and oils, a grain-oriented workpiece, and running ventilation are the prerequisites; after that, you match the cleanup method to the job.
The prep sequence is short. Sand with fine-grit paper, remove any finish or oil (finish comes after the laser, not before), engrave with the grain for smoother, more consistent visuals (a tip passed along in Justin Laser’s video), and ventilate. Air assist matters more for cutting and resinous woods; for light engraving it’s optional, nice to have but not required.For tiny parts, mask before cutting, because picking tape bits out of fine detail is miserable. For big pieces, cut first, then sand without masking.
Tape tradeoffs, since someone always asks which tape to buy: ordinary masking tape’s rubber adhesive stinks; blue painters tape cuts the odor at higher cost; 12-inch high-tack paper transfer tape is fastest on sanded surfaces if you burnish it down; clear packing tape sticks better and absorbs less power. A peeled mask edge lets sappy vapors redeposit on the work.Running with no tape? Add 5% to power.
The no-mask alternatives are where maple gets interesting. One or two coats of polyurethane pre-spray lets soot wipe off with water, ideal for fine detail where picking tape bits ruins the work.Afterward, white vinegar on a cloth removes vapor marks, followed by light sanding; it’s the quickest method and you probably already own it. Sanding sealer, borrowed from lichtenberg burning (credited to DavidF on YouTube), also lets you sand well before masking.
One warning, though: too much post-engraving sanding changes the burn color. The fix can cause the damage beginners think they’re preventing.
Maple engraving troubleshooting: burn marks and uneven spots
Uneven or burned maple engravings usually trace to focus, bed level, or power settings, not the wood itself, incorrect focus is the classic beginner mistake, and uneven darkness often comes down to inconsistent focus or natural density variation in the wood. That diagnosis order deliberately inverts what beginners do, and it’s the shortcut that saves you: focus before power. One more trick before you panic about burn marks: loose soot can look like charring, so wipe the area with a damp paper towel and check what’s actually underneath.
Faint marks: check focus first. CO2 focal distance is typically 2-3 mm from the surface, and the test is a 5 mm square with adjustments in 0.1-0.5 mm increments, a satisfying little calibration ritual. Only then increase power 10-20% or drop speed 50-100 mm/s, or add a second pass at max power.
Uneven darkness: usually inconsistent focus or natural wood-density variation. Check board flatness and bed level before blaming the wood; misaligned lasers cause unevenness too. The pattern that shows up repeatedly in maker forums: a test patch looks perfect, then the full job shows light and dark bands that follow the wood, not the design. Some variation is unavoidable, and it adds character.
Charring and smoke: decrease power 10-20% or increase speed 50-100 mm/s, or split into two lighter passes. Excess smoke usually means too much power, so decrease power rather than slow down. Caveat: pine and cedar smoke inherently, so smoke alone isn’t diagnostic. Know your wood before you read the smoke.
Loose soot masquerades as charring. Wipe with a damp paper towel before judging, because underneath, the mark is often clean and crisp. Don’t panic before the towel.
Test-engrave first, then keep a settings log
Starting settings are priors, not answers: wood batches vary, rated output differs from actual output, and diodes focus differently, so the numbers above get you most of the way. The rule that makes low-first correct: adding power is cheap, fixing burning is not. On forum.lightburnsoftware.com, the conservative-start strategy comes from people running everything from a red/black clone machine with a Ruida controller and a measured 50W tube down to desktop diodes, and the advice is identical across all of it: start low, climb, write down what worked. The log pays off in the buying section.
Woods to avoid and laser safety basics
Maple plywood is safe for laser engraving if it’s verified laser-safe with formaldehyde-free adhesives. Standard plywood and MDF cores often contain formaldehyde-based glues, and their layered structure causes inconsistent engraving anyway. MDF is the worst offender: its glue-heavy composite core burns unevenly, so the cheap blanks fail on safety and quality at once. Check the label once, save yourself the headache.
Then the material screen, and notice where the risks cluster: in the cheap blanks beginners start with, not in maple.
- Pressure-treated or painted wood releases harmful fumes when lasered.
Avoid. No exceptions, no jokes on this one. - Pine and cedar: high resin means excessive smoke, charring, sticky residue, and inconsistent burns. Masking is the mitigation if you must use them. Everyone tries pine once; it’s a rite of passage, not a crime.
- Oak and ash: open grain causes uneven burns and blurry detail, the same scattered-burn problem that makes them poor detail woods on any laser.
- Whatever you burn, wood engraving produces smoke and fumes.
Ventilation or fume extraction is non-negotiable, and if you’re reading this site, you already knew that.
Maple vs basswood for laser engraving
Basswood engraves faster and more forgivingly; maple gives crisper detail and durability for finished pieces:
- Basswood: very soft, straight grain, low resin, uniform light tan. It produces high-contrast burns with no staining or post-processing; it works out of the box. It’s the wood you learn on: crafts, ornaments, photo tests, practice pieces, laser training, grayscale photo engraving.
One setting gotcha: low power and high speed to avoid scorching. - The tradeoff: soft woods like basswood and balsa are prone to overburning and dark fuzzy edges when settings run loose, which is exactly why practice wood shouldn’t be the deliverable wood.
- Maple: denser, so it needs more power or slower speeds, but it holds edge definition for the piece that matters.
Basswood for practice, maple for the piece that ships. (How basswood behaves on the cutting side is its own writeup.)
Maple vs alder for production engraving
Alder is the better production wood; maple wins when detail and contrast must hold at the same time. The source material itself calls alder the most laser-compatible engraving wood.
- Alder: soft texture, consistent color, minimal resin.
It engraves fast, produces dark contrasting marks, rarely chars excessively, and rarely needs masking. Fewer steps, fewer supplies, plays nice with CO2 machines. - Its territory: batch jobs like name tags, industrial part marking, high-volume production runs, and photo art. The 200-name-tags-due-Friday job.
- Maple’s counterweight: the detail-plus-contrast combination alder doesn’t match.
So the real question isn’t “is maple the best wood.” It’s “is your project a detail project?”
Cherry, walnut, and birch plywood compared to maple
Cherry is better when you want contrast that deepens as the piece ages; maple keeps its ivory tone and higher immediate contrast. Three quick contrasts against maple, because each of these woods wins somewhere maple doesn’t.
Cherry
Reddish tones, smooth grain, and it darkens with age, so contrast improves over time. Your engraving gets better while you’re not looking, which is a delightful property for a material to have. The look is warm, soft contrast; mask unfinished surfaces to prevent smoke discoloration.Territory: custom decor, wedding signage, personalized boxes, plaques.
Walnut
Deep chocolate tones, bold grain, and dense enough for fine detail: logos, monograms, filigree. The price is slower speeds, higher power, and longer dwell. The subtler contrast is a feature for luxury pieces, not a flaw.Territory: executive gifts, keepsakes, artisanal signage. Run a test tile first; dark wood makes it easy to overshoot.
Birch plywood
Stable core, minimal voids, low-emission adhesives, and the community’s default for cutting projects: boxes, signage, enclosures, puzzles, architectural models, school programs. It wins on cutting value and cost; choose formaldehyde-free stock and mask to minimize edge burn. A tuned example exists: a 10W diode on 1/16-inch plywood at 120 mm/s @ 60%.
Maple’s edge across all three is the same: it’s the only one that delivers detail and contrast simultaneously.
When to choose maple, and when not to
Maple is the pick for small text, logos, photographic etching, awards, plaques, cutting boards, and branded merch: pieces where detail and durability justify slower speeds and higher power. The skip list is just as explicit, with named alternatives: batch production goes to alder, which engraves faster with less masking; practice and photo tests go to basswood; cut-heavy structural projects go to birch plywood. The source material makes that split deliberate: basswood and alder for fast, clean engraving, maple and walnut for high-end detail and durability.
A real-world anchor, documented on the Glowforge forum: a woodworking-business couple engraves 1/2- to 3/4-inch hardwoods including hard maple, alongside ash, walnut, cherry, elm, and red and white oak, a reminder that maple competes in a crowded hardwood field, and plans to publish a species-and-settings spreadsheet. The underrated equipment point: maple works on both CO2 and diode lasers, so the wood choice survives machine upgrades, settings don’t, they get re-learned per machine. Source-attributed machine examples like the Thunder Bolt for fine-detail and photo work, or Nova Plus RF CO2 tubes at 30-80W for sign makers and batch production, illustrate the range.
What to look for when buying maple for laser engraving
Buying maple for laser engraving is a verification process, not a vendor choice: confirm laser-safe stock, insist on formaldehyde-free adhesives for any plywood, and match thickness to the job. The format decision comes first, and it’s qualitative: solid maple boards versus maple-veneered plywood, each with its own workflow. Thickness runs from 1/8-inch stock in the 40W CO2 engraving example up to 1/2- to 3/4-inch hardwood boards for business-grade 2-D engraving, per the Glowforge forum thread.
The checklist, with every cell stating a concrete pass condition:
| Check | What to verify | Pass condition |
|---|---|---|
| Laser safety | Stock is confirmed laser-safe | Yes, or skip the listing |
| Plywood adhesives | Formaldehyde-free, laser-safe glue | Yes for any plywood or MDF core |
| Thickness | Matched to the job | 1/8-inch for engraving stock; 1/2-3/4-inch for deep 2-D work |
| Preset availability | Material ships with tested starting settings | Yes (Proofgrade hardwoods qualify; their maple, walnut, and cherry settings are nearly interchangeable) |
| Surface condition | Fine, tight, uniform grain; no coatings or oils | Yes (sand fine-grit before the first job regardless) |
On that preset row: Proofgrade hardwoods are a source-documented example of pre-tested, settings-matched stock, and the near-interchangeability of the maple, walnut, and cherry settings makes them a practical baseline whenever the material you’re buying has a preset.Start there, then deviate deliberately.
The source material covers wood choice and settings but doesn’t evaluate specific suppliers. So shop against the verification criteria above rather than on any vendor name this article can’t substantiate.
And this is where the settings log from earlier pays off. Buy consistently, log consistently, and test engraves eventually become unnecessary. That’s the whole loop closed: verify what you buy, record what it does, and the next board costs you two minutes instead of a ruined blank.
Frequently Asked Questions
Is maple wood good for laser engraving compared to other woods?
Yes, when detail and contrast matter more than raw speed. Maple’s fine, tightly packed grain gives the laser a uniform surface so edges stay sharp, and its ivory tone delivers high-contrast marks without staining. The trade-off is that it’s slower and needs more power than softer woods like basswood or alder.
Maple vs basswood for laser engraving: which gives better contrast and detail?
Maple gives crisper detail and holds edge definition on finished pieces, while basswood engraves faster and more forgivingly with high-contrast burns right out of the box. Basswood is the wood you learn on; maple is the wood for the piece that ships. Basswood’s downside is that loose settings cause overburning and dark fuzzy edges.
Maple vs alder for laser engraving production work: which should I choose?
Alder is the better production wood — it engraves fast, rarely chars excessively, and rarely needs masking, which makes it ideal for batch jobs like name tags and high-volume runs. Choose maple when detail and contrast must hold at the same time, such as small text, logos, or photographic etching.
Why does my laser engraving on maple come out uneven or with burn marks?
Usually focus, bed level, or power settings — not the wood. Check focus first (CO2 focal distance is typically 2-3 mm from the surface), then board flatness and bed level, and only then adjust power. Also wipe the piece with a damp paper towel before judging: loose soot often masquerades as charring.
Is maple too hard for a diode laser engraver, or do I need a CO2 laser?
Maple works on both CO2 and diode lasers, so a diode owner isn’t locked out. A 10W diode is the honest sweet spot for beginners, and even a 5W can mark maple at 70-80% power and 100-150 mm/s, though dark marks may need two passes. Hard maple just costs you more passes and patience than it would on a CO2 machine.
Where can I buy maple wood for woodworking?
Shop against verification criteria rather than vendor names: confirm the stock is laser-safe, insist on formaldehyde-free adhesives for any plywood, match thickness to the job (1/8-inch for engraving stock, 1/2- to 3/4-inch for deep work), and check for fine, tight, uniform grain with no coatings or oils. Stock that ships with tested starting settings, like Proofgrade hardwoods, is a practical baseline.
