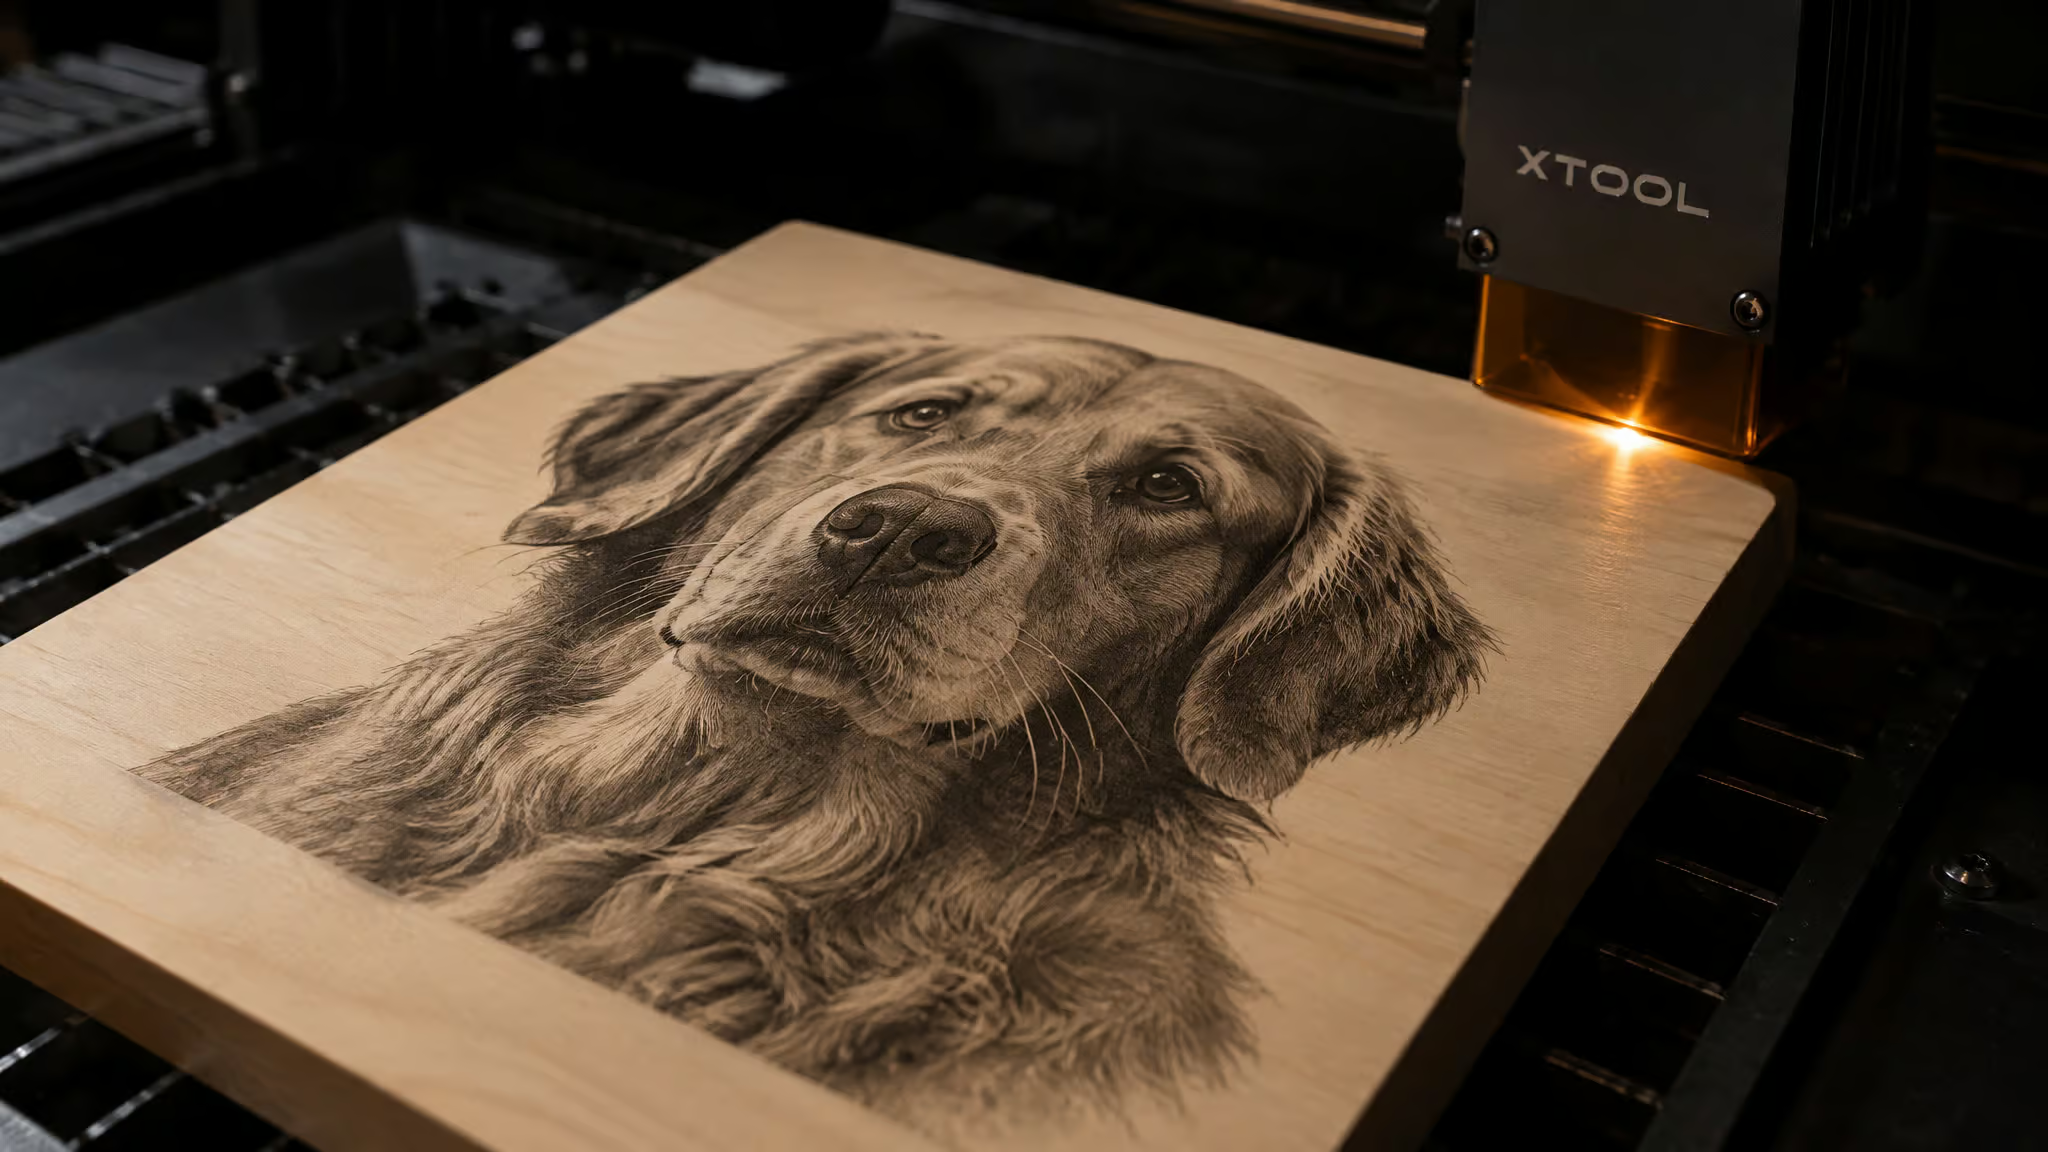
The preview looks perfect. The burn doesn’t. If you’ve ever watched a photo engraving come out blotchy, washed out, or mysteriously different from one board to the next, the problem probably wasn’t your laser or your design file. It was the wood.
The best wood for laser engraving photos isn’t a popularity contest, and it isn’t whatever’s stacked at the big-box store. I rank photo woods by three properties: contrast potential, grain uniformity, and resin content. Check those before buying any board, light base color, even grain, low resin, and you can predict whether a species will render a photo cleanly before you ever fire the laser. Below: four woods that win for photos, three that ruin them, the controlled same-image test data behind the rankings, and the finishing moves that push contrast further. Light, fine-grained woods win for detailed images, and once you see why, you can score species I never mention here.
Key Takeaways
Basswood and maple top my rankings because light color and fine, even grain deliver the contrast and uninterrupted tonal gradation that photos need.
The same dog photo at identical settings (300 speed, 18 power, 260 DPI, ~5.5 mm focus) engraved darkest on walnut, red-toned on cherry, and yellowish on maple.
Cheap birch plywood plus a borax darkening treatment produced the best photo result in one creator’s test, inverting the “spend more on better wood” default, though the technique is debated.
Table of Contents
How I rank wood for laser photo engraving
Basswood and maple are the best woods for engraving photos with a laser, because light color and fine, even grain deliver both the contrast and the detail that photographs demand. If you’re engraving your first photo and you want it to actually work, start there. Everything else on this list is either a cheaper workaround, a tonal variation, or a warning.
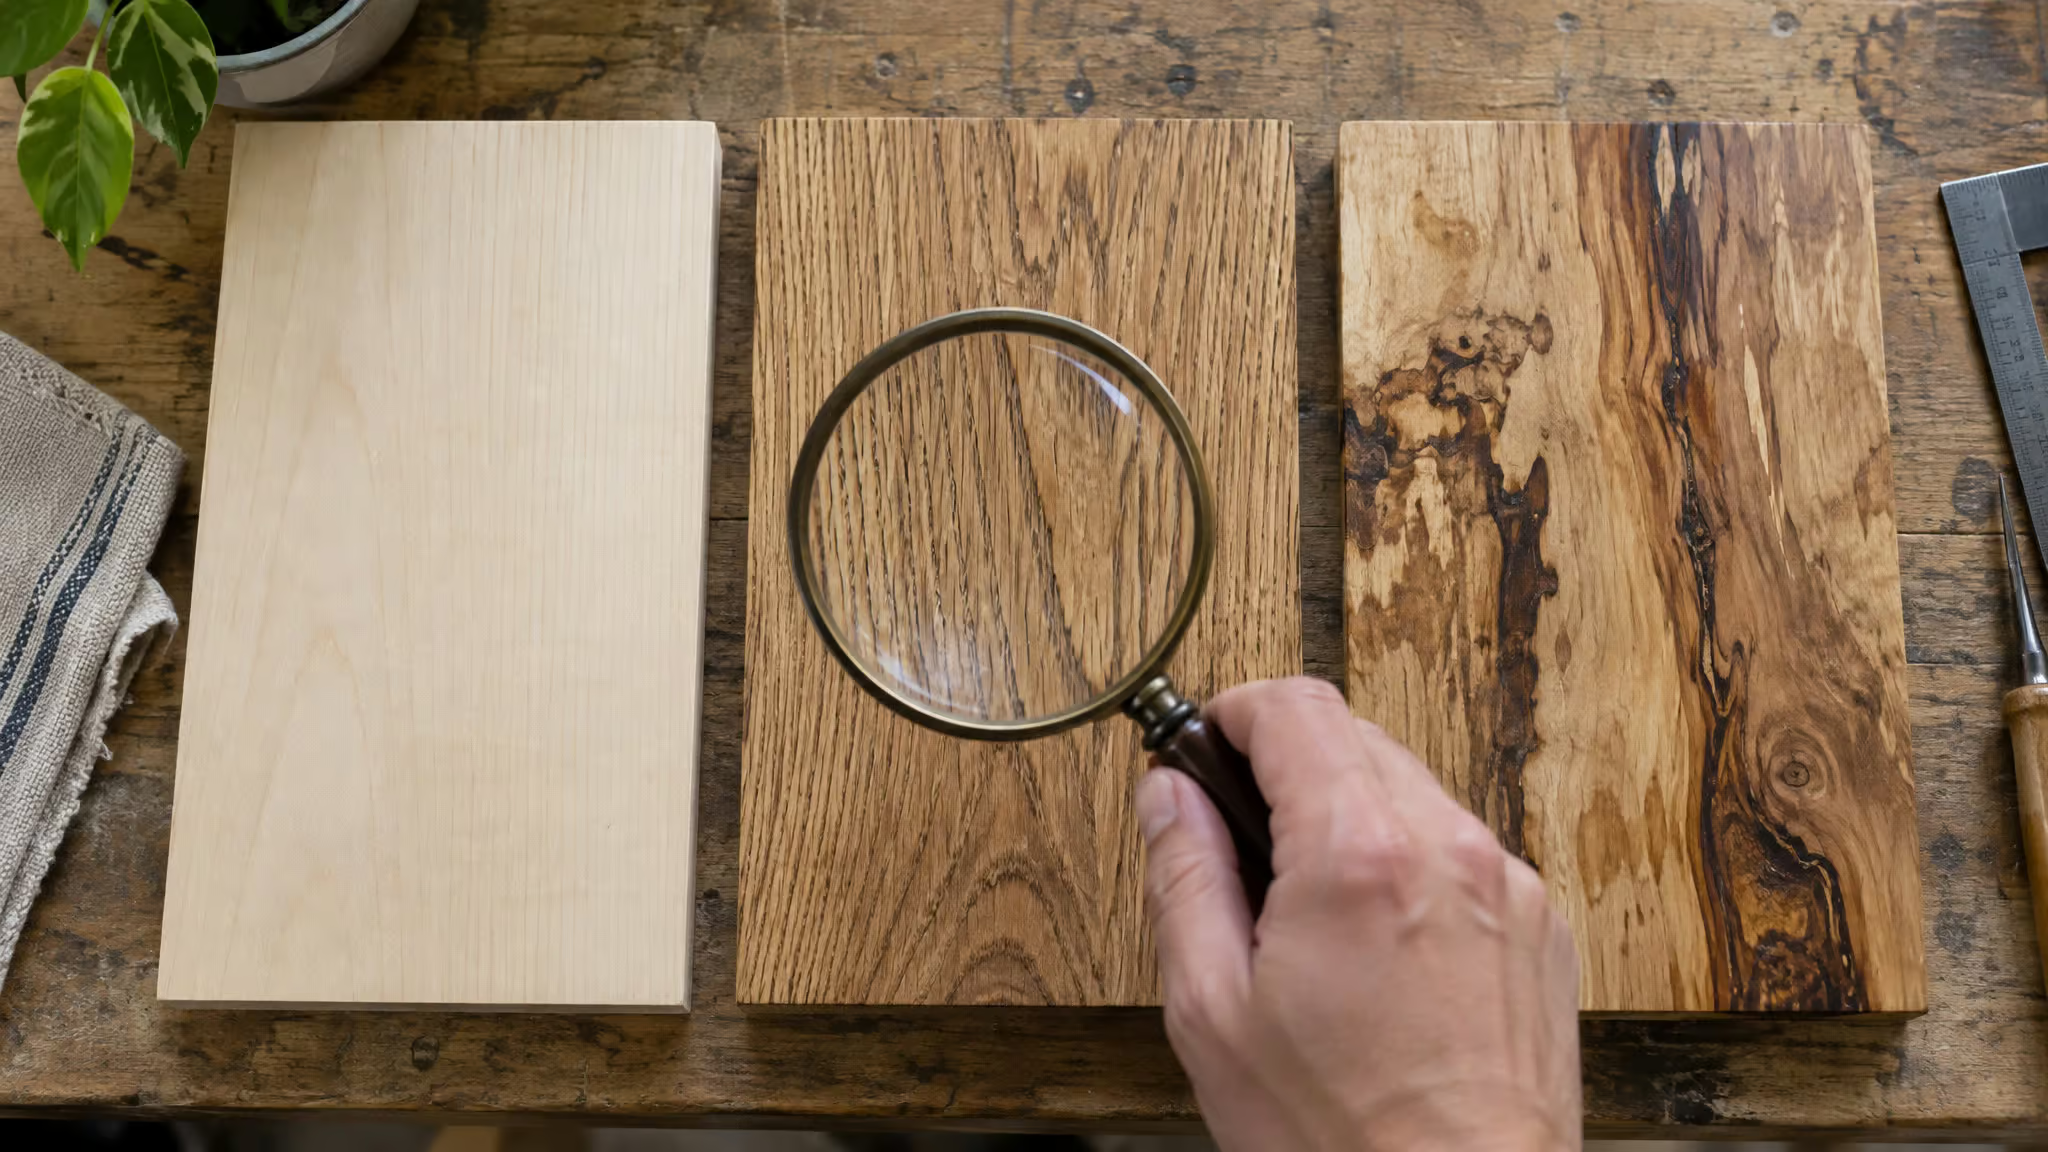
Here’s the conviction part, stated plainly: material choice matters as much as machine and design. People spend weeks tuning a diode’s power curve and then grab whatever board was closest to the saw. The wood is doing half the work in a photo engraving, and it’s the half you can evaluate in the store parking lot.
The way I rank photo woods comes down to three things I check before buying a board:
- Contrast. The wood’s base tone is the background of your image. Light wood makes dark burns read as grayscale. Dark wood inverts the problem.
- Grain uniformity. Photos need hundreds of subtle tone steps. Even grain keeps that tonal gradation uninterrupted; coarse or open grain interrupts every single step.
- Resin content. Uneven resin distribution produces unpredictable burn response. This is a screening criterion, not a measured spec, but the pattern is real: resin-heavy, unevenly distributed species burn blotchy.
Run any species through those three checks, including ones I never cover below, and you’ll have a decent prediction of how a photo will render. A pale, tight-grained, low-resin board is a good photo canvas. Everything else is a compromise you’re choosing on purpose.
Contrast: why light wood makes photos readable
A photo engraving is grayscale rendered in burned wood. The dark burns are your shadows, and the untouched wood is everything else, which means the base color of the board is literally the background of the image. Light woods give you a bright, clean background so the darkened pixels read as tone. Dark woods flip that: you’re burning dark into dark, and the midtones collapse.
Grain uniformity: the tonal gradation requirement
This is the criterion most guides skip. A photograph isn’t a logo; it’s hundreds of adjacent gray values that need to transition smoothly. Uniform, fine grain lets those transitions run uninterrupted across the surface. Coarse grain, open pores, or strong figure interrupts the gradation at every grain line, which is why grainy woods render photos as striped, patchy messes even when the settings are perfect.
Resin content: the blotch factor
Resin is the reason pine photos look like they were burned through a dirty stencil. Uneven resin distribution means some areas of the board absorb heat and char differently than others, so identical settings produce different results across the same piece. I treat resin as a pass/fail screen rather than a number, because the observable symptom, blotchy, unpredictable burns on resinous softwoods, is what actually matters at the bench.
Basswood: the safest canvas for photo detail
Yes, basswood is good for laser engraving detailed photos, arguably the safest pick you can make. It’s soft, light-colored, and engraves very evenly, and its subtle grain keeps designs clean and readable. Those specs sound boring on paper, but boring is exactly what you want here: the grain gets out of the photo’s way, so tonal gradation runs uninterrupted from highlight to shadow. Nothing in the wood is competing with your image.
That’s why basswood is my default “just try it” wood. It’s the one I’d grab first when I want a photo engraving to actually work, and it’s cheap enough to screw up, which matters more than any spec sheet when you’re learning. Burn a test photo, adjust, burn another. The material forgives you.
- Soft and light-colored, so contrast comes easy
- Even, subtle grain that keeps detailed designs readable
- Engraves very evenly across the whole surface
- The forgiving practice pick for testing and detailed artwork
The trade-off nobody puts in the commodity guides: softness limits premium, durable products. Basswood maximizes forgiveness for practice, testing, and detailed artwork. It is not the wood for an heirloom cutting board. For learning photo engraving, that’s a feature. (I’ve covered basswood’s cutting behavior separately if you’re also running cut jobs.)
Maple: the premium photo wood
Maple gives sharper premium contrast than basswood; basswood is more forgiving. Which one is “better” depends entirely on the project, and that’s not a dodge, it’s the actual decision. Maple is harder than basswood and birch, but it engraves beautifully once you’ve dialed in the settings, and the smooth surface plus light tone make designs stand out in a way softer woods don’t quite match. The settings fiddling is real, and it’s worth it. You’ll spend an extra evening on test burns, and then every photo after that looks like it belongs in a shop window.
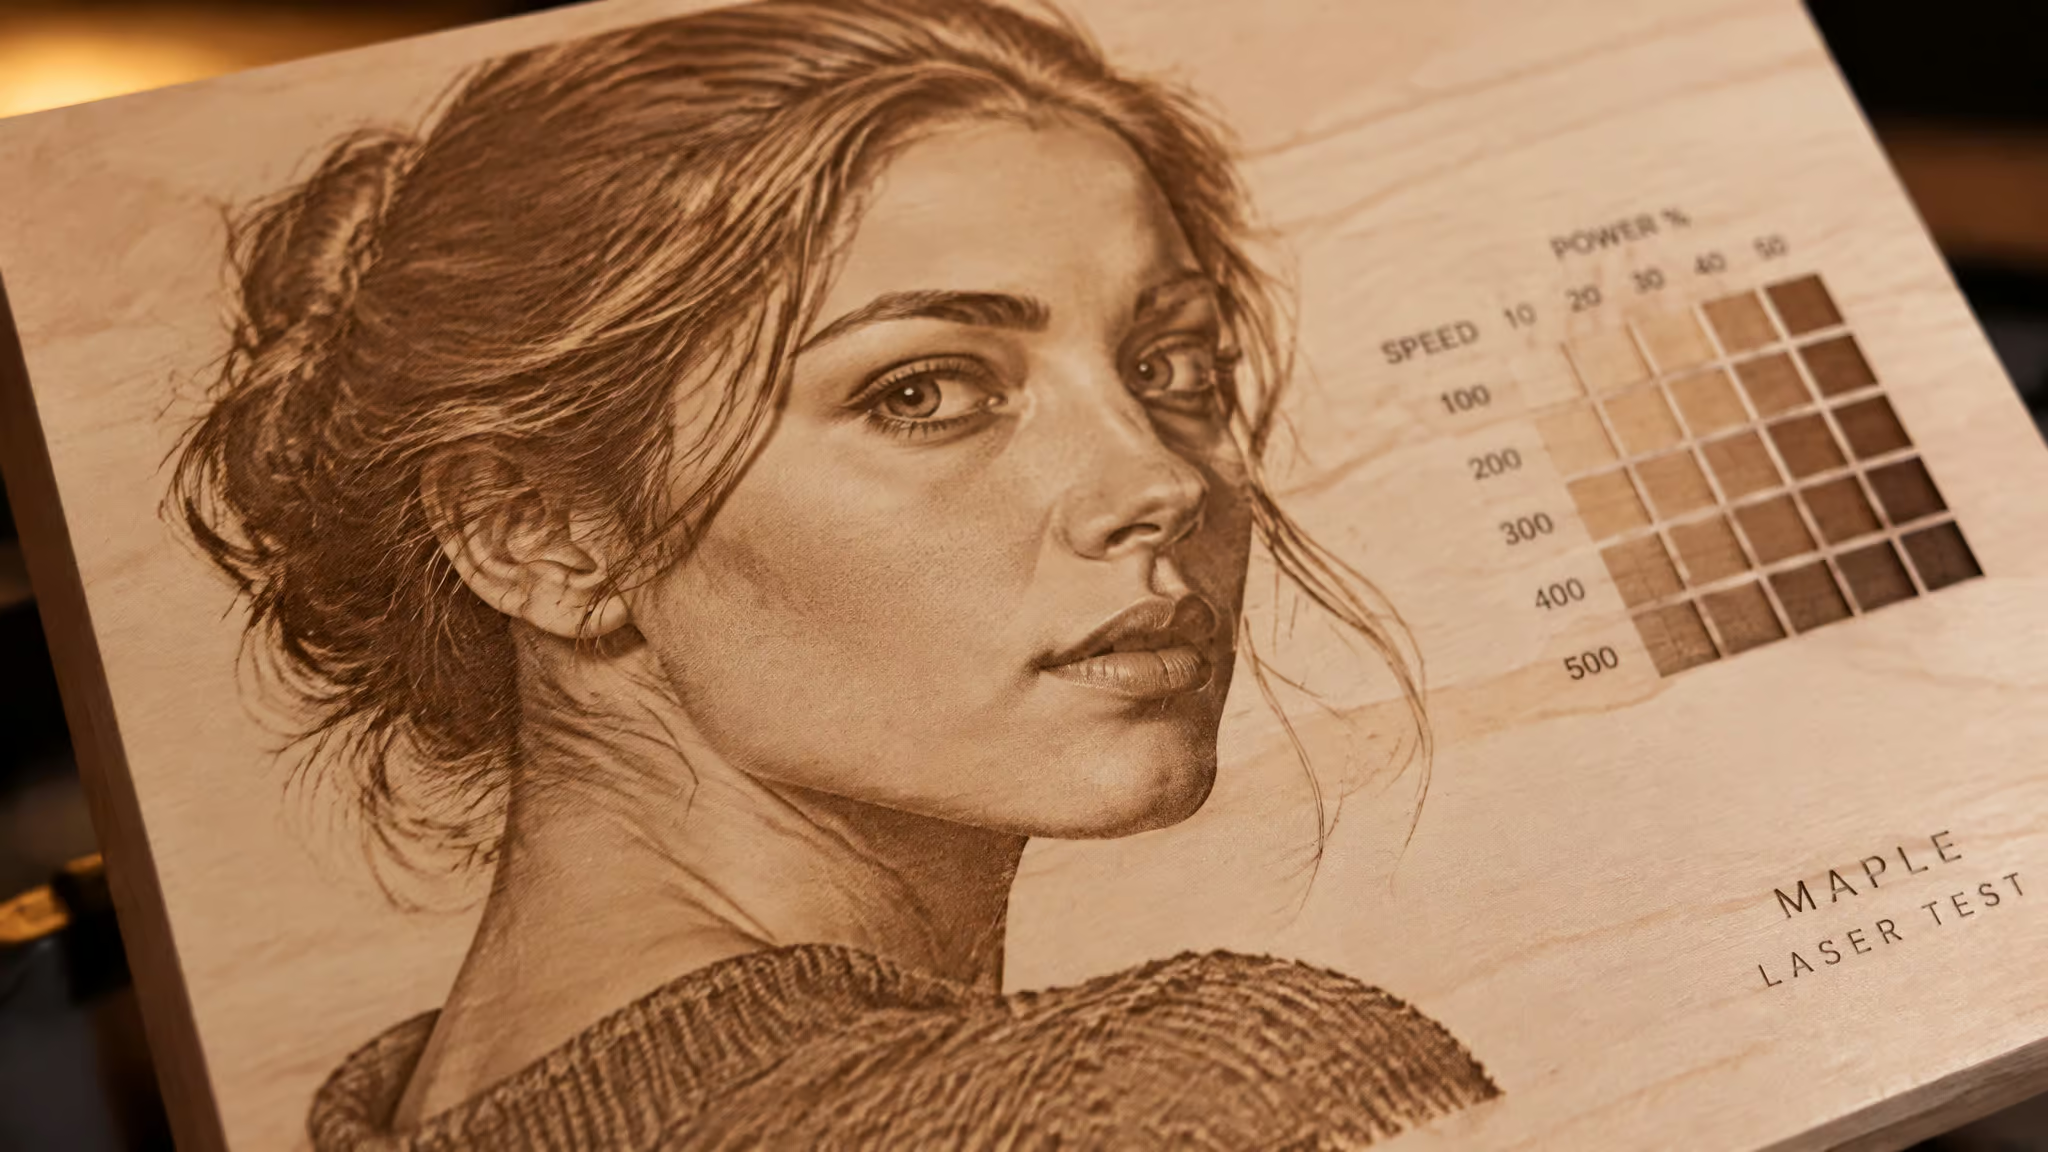
The honest benchmark detail: in the controlled same-image test below, maple rendered the dog photo yellowish at identical settings. I’m reporting that straight because it’s part of the species decision, not a flaw to spin. Maple’s tone isn’t neutral white; it carries a warm cast, and your photo inherits it.
If you want a standardized comparison rather than one-off anecdotes, MakeTech ran a five-wood test worth citing as methodology: soft maple, Baltic birch plywood, basswood, poplar, and cherry, with every plaque sanded to 240 grit and finished with a coat of lacquer. Same grit, same finish, same laser, that’s what makes a wood comparison fair, and it’s the template I’d copy for testing my own stock.
Where maple earns its keep:
- Cutting boards, plaques, keepsakes, and other premium sellable items
- Pieces where the smooth, light surface makes photo detail pop
- Anything you’re charging more for, maple is the “charge more for this one” wood
The trade-off is exactly what the hardness implies: less forgiving than basswood, less tolerant of sloppy settings, and more expensive per board. If basswood is the practice canvas, maple is the gallery canvas. (The full maple deep dive is here, including the burn-mark pitfalls.)
Baltic birch plywood: the affordable workhorse
Baltic birch plywood is the best budget wood for laser engraving photos: affordable, widely available, versatile, and a genuine favorite of laser engraving businesses for a boring, excellent reason, cheap material that doesn’t waste retries. It engraves well and cuts cleanly, which makes it the natural pick for signs, wall art, ornaments, and prototypes. This is the wood you buy in bulk and don’t baby.
There’s a cutting trade-off working in your favor, too. Birch is easier to cut and work with than hardwoods, which tend to char when laser cut and need edge sanding afterward. Less post-processing pain, saved cleanup time, more finished pieces per evening.
Two conditions before you click buy:
- Quality matters. Only high-quality stock with minimal glue layers, or the engraving gets weird. Check what you’re buying; cheap versions engrave inconsistently, and the full failure analysis gets its own section below.
- Sourcing is uneven. Home Depot works as a general supply stop, but I’ll be honest: specialty plywood suppliers are the safer default for consistent stock. Big-box inventory varies by shipment, and photo engraving punishes variation.
Alder: warm tone for sellable photo products
Alder is a good wood for selling laser-engraved photo products, and it’s the underrated middle option I keep meaning to tell people about. It engraves slightly darker than maple with a warm, rich appearance that customers love, and it’s a solid choice for sellable name signs, boxes, and decor pieces. This is the one that sells itself at craft fairs; the tone does the marketing.
The useful mental model is the tone spectrum. Maple sits at the light end, the dark woods sit at the other end, and alder occupies the warm middle ground between them, it engraves slightly darker than maple, with a warm, rich appearance customers love. That positioning matters more than it sounds, because once you start matching wood tone to photo subject, which is the reframe coming up in the same-image test, a slightly darker, warmer canvas stops being a compromise and becomes a deliberate choice.
Concrete use cases, because this wood earns specifics: personalized name signs, keepsake boxes, wall decor, and any photo product where a warm cast flatters the image instead of fighting it. If maple is the premium gallery wood, alder is the premium-adjacent wood that customers describe as “cozy” and then buy.
Woods to avoid for photo engraving
“Good engraving wood” and “good photo wood” are different bars, and this section exists because of the gap between them. A logo tolerates a lot. A photo needs hundreds of subtle tone steps, and each of these woods interrupts those steps in its own special way.
Pine
Pine is cheap and easy to find, and it’s among the worst woods for laser engraving, period. The mechanism is plain enough to predict before you buy: uneven grain and uneven resin distribution produce blotchy, unpredictable burns, leaving some patches scorched deep while neighboring areas hardly take the burn at all. That frustration is real, and I’m not going to soften it, and I’m not going to soften that.
The common first-project mistake is grabbing big-box pine boards because they’re the most visible and affordable option in the store. Totally understandable, and it ends the same way every time: a photo that looks like it burned through a dirty stencil. The cheapness is the trap, not the price.
Oak
Oak is gorgeous wood and a bad photo canvas. It’s very hard with strong open grain, and that combination is the whole failure mechanism: hardness resists fine detail, and the open grain interrupts it. Fine details come out rough or washed out, especially text and intricate patterns. Oak can carry bold text just fine, it destroys photographic detail. No hardwood elitism required here; it’s simply the wrong surface for tonal work.
Low-quality plywood
Varying glue layers lead to inconsistent engraving, and plywood of unknown composition can emit harmful fumes when burned. That second part is the serious one: if you don’t know what’s in a sheet, don’t burn it. Not for the fumes, not for the consistency, not for anything. Cheap no-name plywood fails both tests at once, which is why “cheap plywood” and “Baltic birch plywood” are not the same search result.
How wood tone changes your photo: the same-image test
Yes, cherry and walnut engrave differently than maple at identical laser settings, walnut darkest, cherry red-toned, maple yellowish. The test I keep coming back to is one a wood-comparison video ran, and it’s beautifully simple: the identical dog photo, with a name engraved beneath, burned on cherry, maple, and walnut at the same laser engraver settings, 300 speed, 18 power, 260 DPI, roughly 5.5 mm focus. One input, three outputs, and the outputs were distinct, with no burns around the engravings on any of them. I didn’t run this test myself, and the results don’t extend to species that weren’t in it, but it’s exactly the bench test you’d run on your own stock.
Quick test: Burn the same photo file on each species you’re considering at identical settings, then compare tone shifts side by side.
Cherry
Cherry’s red tones shift the photo’s color cast. That makes it the color-wildcard wood: interesting rather than a default pick, and worth reaching for when a warm cast suits the image. Cherry was also part of MakeTech‘s five-wood comparison, so it’s been looked at under controlled prep, not just casual burns.
Walnut
Walnut produced the darkest rendering of the three, with the engraving trending toward black. Reframe that from “bad for photos” to tone-mismatched for light-subject photos. This is the dark-mode wood: if your image is high contrast with a strong subject, walnut’s depth works for you instead of against you.
Poplar
Poplar was the fifth wood in MakeTech‘s comparison, sanded to 240 grit and finished with lacquer like the rest of the lineup. I’m mentioning it as lineup context rather than a full review, because that’s what the evidence supports.
The reframe this whole test points toward: stop hunting for one universal winner and match the species tone to the photo’s subject and exposure instead. And run the same test on your own stock, you’ll see the same species-dependent shifts on whatever’s in your shop.
Why photo engravings vary on Baltic birch plywood
Even a recommended species produces photo-to-photo variation at identical settings, and the likely cause is glue-layer variation between plywood batches, not machine error. The pattern comes from a community anecdote, not a verified test: an xTool D1 Pro 20w user reported photos coming out very different from one to the next on Baltic birch despite identical settings. Nothing about that report blames the user or the machine, and I don’t either.
The diagnostic tell is the genuinely useful part: inconsistency that follows the sheet, not the design, points to material variation. If the same file burns differently in the same corner region across multiple pieces from one sheet, your laser isn’t drifting, your plywood is.
The takeaway is a mindset shift more than a fix. Wood choice is necessary but not sufficient. Treat plywood as a variable material with batch-level quality risk, not a uniform product, and buy from suppliers whose stock doesn’t change character between shipments. This failure pattern is nearly absent from mainstream guides, which is exactly why it’s worth a section: if you’re chasing this specific symptom, the answer is probably in the sheet, not the settings.
Red flag: If the same file burns differently in the same corner across pieces from one sheet, suspect the plywood batch, not your laser.
Boosting photo contrast with post-engraving treatments
Borax treatment can improve laser-engraved photos on birch plywood, it darkens the engravings and enables color fill, but community opinion is mixed, so treat it as debated rather than settled best practice. And here’s the contrarian lever that makes this section worth reading: a cheap birch plywood sheet plus the right post-treatment can outperform premium species for photo contrast. That inverts the “spend more on better wood” default, and honestly, I did not expect this to work when I first saw it demonstrated.
Borax darkening
A borax mixture made from ordinary hardware-store ingredients. Home Depot had everything, which is the point, darkens birch plywood engravings enough to change the whole contrast profile of a photo. In the test I’m pulling from, one treated piece produced the best photo result of the bunch, with colored fill rubbed around the edge for a finished look. The accessibility is what sells it: no specialty chemistry, just a box-store run.
Flagging the disagreement honestly, though: one related creator has since moved away from borax in favor of an alternative, so the technique has real dissenters. Try it on scrap before you commit a good sheet.
The paint-black whiteboard method
Birch plywood, engraved, then painted black, produces a whiteboard-like photo effect, bright image lines against a deep black field. It’s a deliberately stylized alternative to natural-tone photos, and it’s a trick that actually works. If natural-tone engraving keeps fighting you on a particular image, flipping the polarity like this is sometimes the better answer.
Where wood choice fits in the photo-engraving workflow
Yes, you can laser engrave a picture on wood at home, and the working proof is Justin Laser’s “10 quick tips for laser engraving photos on wood,” from a channel with 64.1K subscribers, where he calls wood a notoriously temperamental material to engrave photos on. His ten tips run through lowering the DPI, grain orientation, background removal, wood choice, image source, slow and low settings, air assist, fine tuning, magnets, and gamma correction. The interactions are the interesting part: grain orientation matters more on grainier species, slow-and-low and air assist protect delicate tonal burns, and gamma correction shapes how tones map to laser power, the same photo file needs different treatment on pine than on basswood. Viewers praise his direct, no-fluff style, and one commenter noted they only learned the steps after making the mistakes first. His newsletter at thelaserdispatch.com and laser-buying help page at justinlaser.com are worth bookmarking; the channel is educational and earns affiliate commissions, so treat gear recommendations accordingly. (Our beginner-level guide to engraving wood covers the machine-side basics.)
Choosing a finish for a laser-engraved photo
The finish is part of the photo’s final contrast, not an afterthought. Epoxy flattens and glosses over the engraving, Polycrylic amplifies color fills, and wax preserves matte tonality, three different photos from the same burn. The tradeoff runs from glossy to matte: varnish like TotalBoat Halcyon gives high gloss and water protection (recoat in about an hour, cure 4-7 days), clear epoxy is the only finish that fills engravings completely flat with a mirror-like gloss (dries 24-48 hours, cures ~7 days), Polycrylic’s satin sheen makes gel stain color fills pop, urethane is less waterproof than Polycrylic, and a hard wax/tung oil mix keeps things matte and all-natural. Here’s the pick-your-tradeoff rundown, from a set of coaster demos by Elephant Memories:
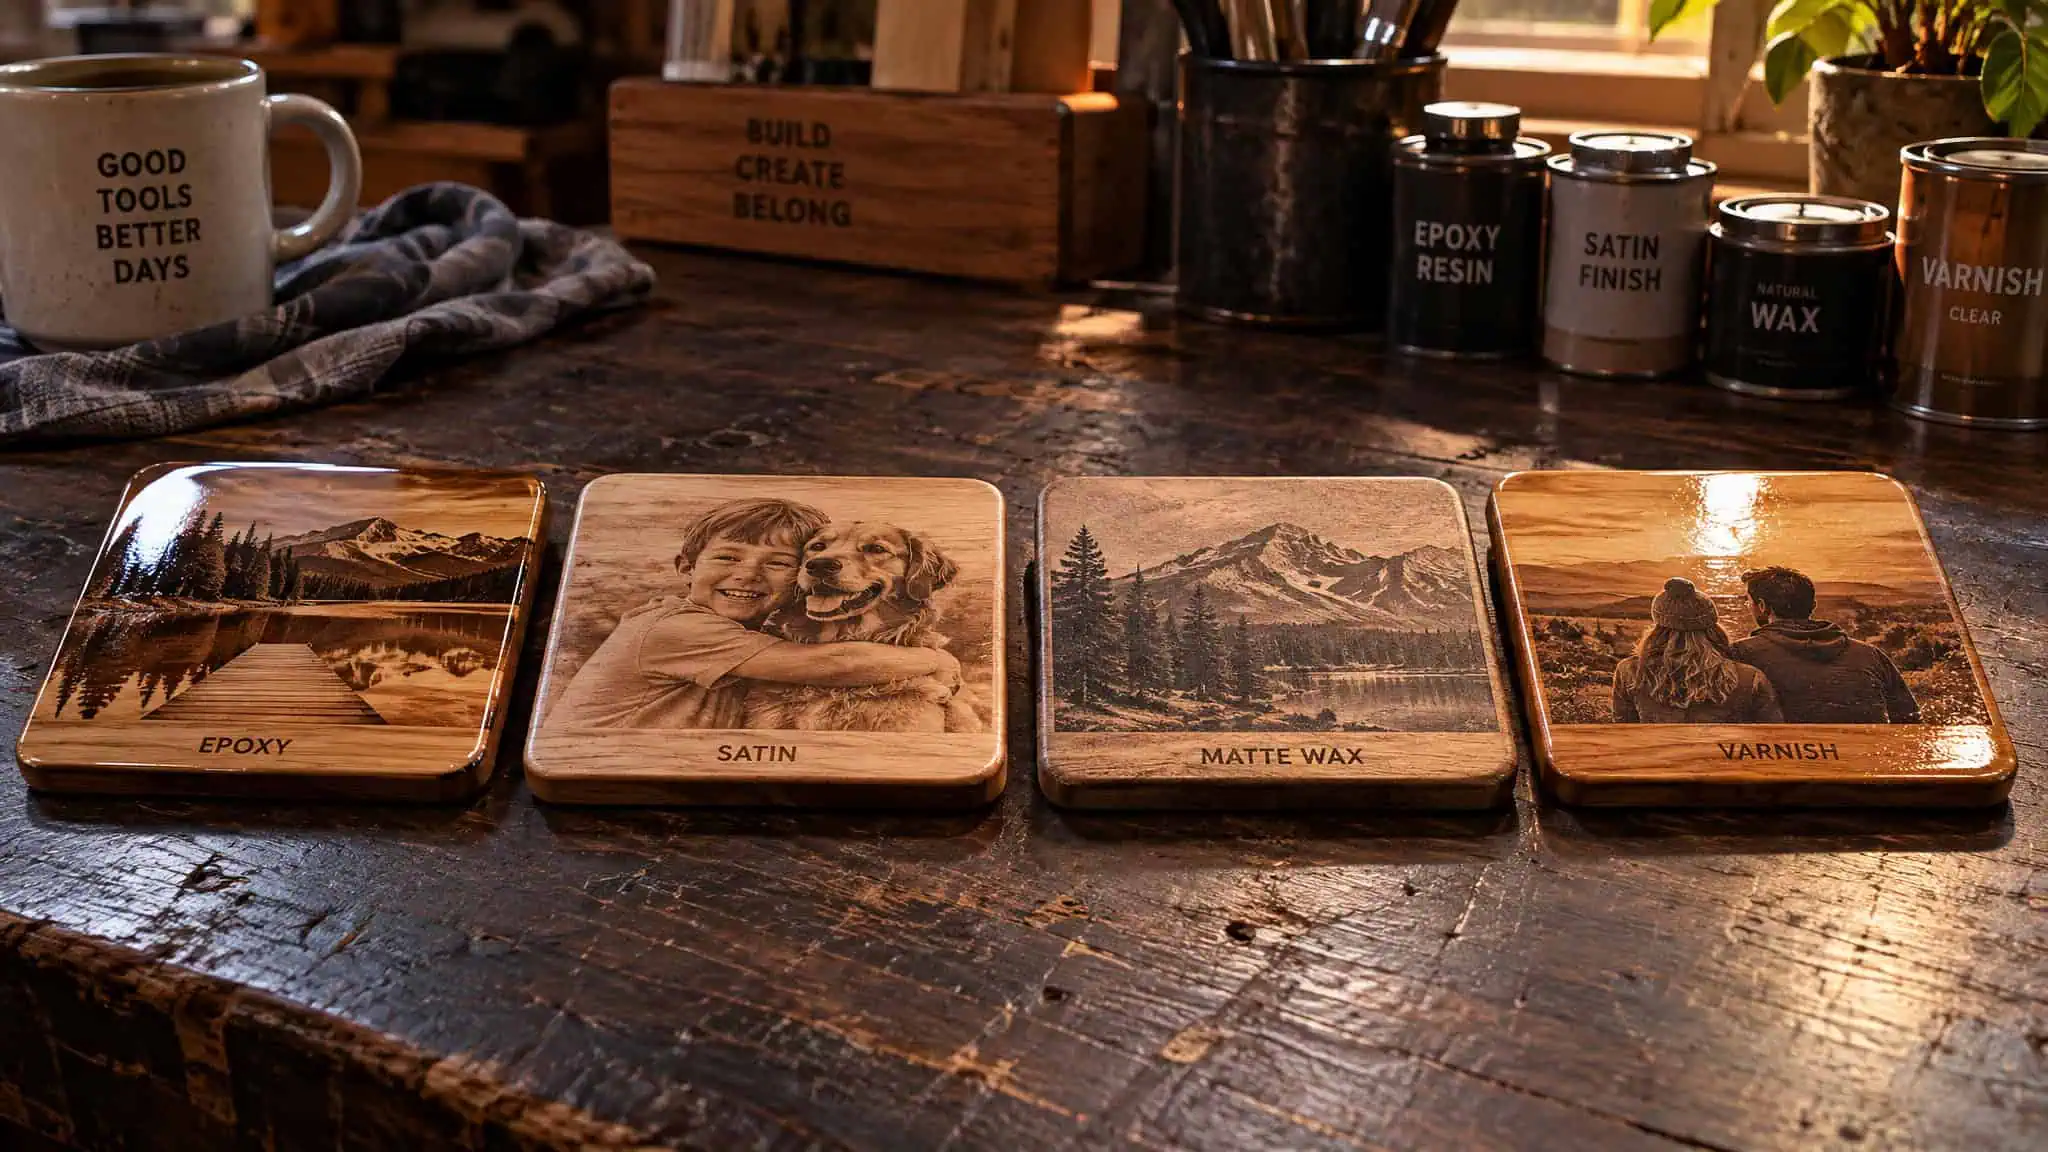
Varnish
Great water protection, high gloss; the tradeoff is the look itself. TotalBoat Halcyon is clear, works interior and exterior, adds UV protection, self-levels, and cleans up with soap and water. Recoat after about an hour; full cure takes 4-7 days. Varnish often enters the picture when paint goes over a color fill.
Clear epoxy
The only finish that fills engravings completely flat, with a mirror-like gloss, the “looks like a display case” finish. It’s food safe when cured, and that condition matters if you’re finishing cutting boards. Maker Epoxy by TotalBoat is a two-part formula with a long pot life and a UV additive against yellowing; it dries in 24-48 hours and cures in about 7 days.
Minwax Polycrylic
Makes wood gel stain colors pop, with a satin-like finish, and it’s the one you already walked past at the big-box store. Hard in 2-3 days, full cure around 30 days, flag that long tail so nobody ruins a piece on day 4. Application: brush or spray thin coats, stir gently, and do light 220-grit sanding between coats.
Urethane (spar or poly)
Less waterproof than Polycrylic, which matters only if waterproofing matters. Outdoor-exposed pieces are the use case; otherwise it’s a sideways move.
Hard wax/tung oil mix
Matte, all-natural, with waterproofing properties, and the go-to on color-fill-only projects. Application is its own little ritual: condition the wood with hydrating serum, apply the wax 15-20 minutes later in circular motions, wait 20-30 minutes, then hand buff. Two coats for coasters, with the bottoms sealed in shellac so cork backing adhesives actually stick. Tung oil has been used as a wood finish for over 2,500 years, which is a fun thing to know while buffing. The host of the demo prefers the natural matte look over glossy, that’s a preference, not a verdict.
Wood gel stain color fill
Adds a translucent splash of color to filled engravings, sealed with Minwax Polycrylic. The pink gel stain example from the demo is the concrete case: fill, let it sit, seal. Two products, two steps, done.
What commercial photo engraving looks like: Alto Collective
Commercial shops stack species choice with tinting, halftone shading, and coating, species selection is one lever among several. Alto Collective has specialized in custom wood laser engraving since 2014, steadily honing a workflow that takes inputs as varied as business logos, illustration files, photographs, and rough client sketches and produces polished, engraving-ready artwork from each one. Its Retro Inlay Collection for iPhone 18 Pro, new for 2026 and covered by 9to5toys on September 23, 2026, pairs real wood inlays with engraved halftone shading that sits completely flush with the case back, which is a genuinely nice piece of engineering. The stack to reverse-engineer: rare species, in-house water-based stains sealed into the grain, 100% contrast engraving, and hand-applied water-based food-safe coatings. Cases start at $37 with 10% off via code 9TO5MAC, deal pricing as covered at launch, subject to change.
Frequently Asked Questions
Can you laser engrave a picture?
Yes, and wood is one of the most popular surfaces for it. A photo engraving is grayscale rendered in burned material: dark burns become shadows and the untouched surface becomes everything else. Light, fine-grained woods like basswood and maple give the cleanest results because the darkened pixels read as true tonal steps.
What type of wood is best for engraving photos with a laser?
Basswood and maple top the rankings. Basswood is the safest, most forgiving canvas — soft, light-colored, and evenly grained — while maple delivers sharper premium contrast once you’ve dialed in settings. Both work because light base color and fine, even grain let hundreds of subtle tone steps transition smoothly across the surface.
Is basswood good for laser engraving detailed photos?
Yes — it’s arguably the safest pick you can make. It’s soft, light-colored, engraves very evenly, and its subtle grain gets out of the photo’s way so tonal gradation runs uninterrupted from highlight to shadow. It’s also cheap enough to screw up, which makes it ideal for practice and test burns. The trade-off is that softness limits durable, premium products.
How do I get better contrast when laser engraving photos on wood?
Start with a light, fine-grained, low-resin wood — that’s the contrast foundation. Then consider post-engraving treatments: a borax mixture darkens birch plywood engravings enough to change the whole contrast profile (though the technique has real dissenters, so test on scrap first), and painting engraved birch plywood black produces bright image lines against a deep black field. The finish matters too — epoxy, Polycrylic, and wax each produce a different final look from the same burn.
