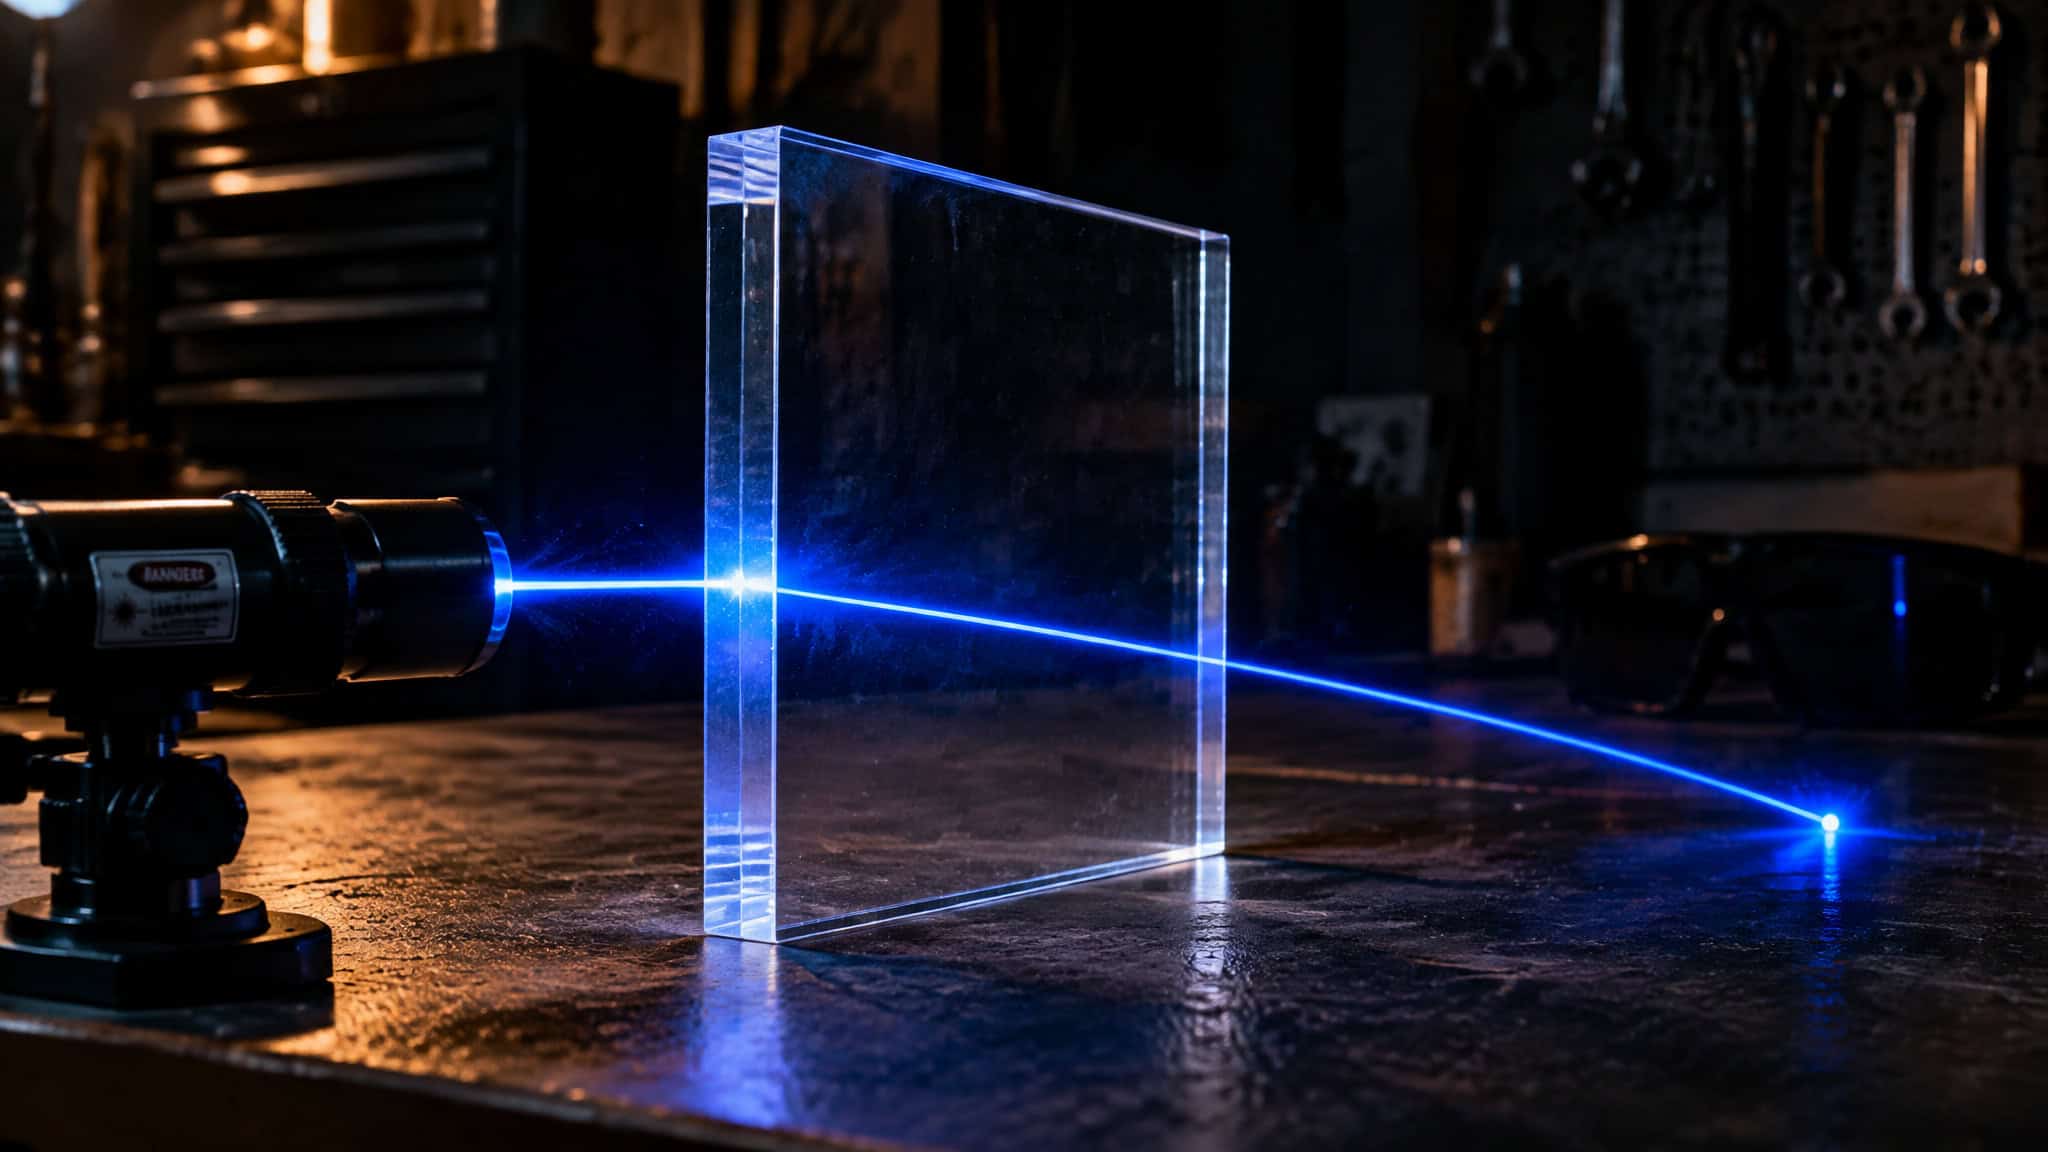
A diode beam hits a clear acrylic sheet and does absolutely nothing. Not a weak line, not a scorch, not a hint of a mark. The laser is running fine, and the sheet just sits there smug and untouched. This is not a broken machine.
This is optics. Blue light at ~450 nm passes straight through clear acrylic the way a radio wave passes through a wall, so the material never absorbs the energy, so nothing heats, so nothing marks. Once that clicked for me while digging through wavelength charts and vendor compatibility tables, the whole question of what a laser can engrave stopped being a checkmark hunt and became a physics problem, which is honestly the best kind. Four wavelengths cover the hobby: diode at ~450 nm, CO2 at 10.6 µm, fiber at 1064 nm, and UV at 355 nm. Below is a material-by-material walkthrough with the wavelength reason behind every yes and every no, plus the short list of things you should never put under a beam, and why.
Key Takeaways
What decides compatibility is which wavelengths a surface absorbs, not the brand on the box or the wattage: fiber (1064 nm) couples into bare metal, CO2 (10.6 µm) into organics and clear acrylic, ~450 nm diodes into dark and coated surfaces, and 355 nm UV cold-marks glass and heat-sensitive plastics.
Clear acrylic and untreated glass are invisible to diode lasers because blue light transmits straight through; the same stock is easy work for a CO2.
Bare metal with a CO2 or diode is possible but limited: marking compound gives a surface-only mark at roughly $0.10, $0.30 per square inch, while a desktop 20 W fiber laser ($2k, $4k) does it directly, faster and deeper.
Never engrave PVC or vinyl: burning chlorinated plastic releases chlorine gas and hydrochloric acid fumes that damage lungs and corrode the machine.
Table of Contents
What materials can you laser engrave? The quick answer
Your laser type decides the material list before the material does: wood and leather engrave happily on both diode (~450 nm) and CO2 (10.6 µm) machines; clear acrylic and glass are CO2 territory because their 10.6 µm light gets absorbed where blue light passes through; bare metal belongs to fiber lasers at 1064 nm; UV at 355 nm handles glass and heat-sensitive plastics without heat damage; paper and cardboard work on almost anything with careful settings. Here’s the one-line map:
- Wood, diode or CO2. Organics absorb both wavelengths; softer woods engrave easier but burn quicker.
- Leather, diode or CO2. Same organic-absorption story, with a fume caveat on unknown synthetics.
- Acrylic. CO2 for clear stock. A diode can only touch dark, painted, or opaque acrylic, because blue light goes straight through clear sheets.
- Metal, fiber (1064 nm) for bare stock. Anodized and coated metals are friendlier: a diode or CO2 can mark the coating itself.
- Glass. CO2 with careful focus, UV with no prep at all. Diodes need paint, tempera, or a laser engraving sheet first.
- Stone. CO2 or diode, with thermal-shock care.
- Plastic. UV for heat-sensitive types, CO2 for acrylic-class plastics, and one hard ban we’ll get to (chlorine, if you’re already guessing).
- Paper and cardboard, diode or CO2, low power, burn-through is the enemy.
Two exceptions matter enough to flag early: clear acrylic is not diode-compatible no matter what the marketing says, and bare metal is not CO2- or diode-compatible without a workaround. Both get full treatments below, because the reasons are where the good stuff lives.
Why wavelength decides everything (not wattage, not the logo on the box)
Laser settings and power only matter once the wavelength actually couples into the material, so absorption and power density beat brand and wattage every time. You can pour 20 watts into clear acrylic with a diode and get nothing, because the energy is passing through. Turn the power up on a mismatch and all you’ve done is waste watts. This is the myth the vendor pages love (“more watts = more materials”) and it’s exactly backwards.
The roster, briefly. 1064 nm fiber couples efficiently into bare metal, which is why fiber marks steel fast, dark, and clean. 10.6 µm CO2 is loved by organics (wood, leather, paper) and by clear acrylic, but mostly bounces off bare metal. Around 450 nm, blue diodes love dark and coated surfaces and choke on anything shiny or transparent. 355 nm UV is the precision specialist: short wavelength, cold-marking tricks we’ll unpack later.
Beam quality sets how fine your detail gets, and here’s where spec sheets get fun. Fiber lasers typically post an M² of 1.1 to 1.3 (M² is basically a “how close to a perfect beam” score, where 1 is perfect), which is why their spots stay in the 20-40 µm range. That dot is thinner than a human hair, and it’s why fiber edges look so crisp. Multi-emitter diodes run M² above 2 with chunky rectangular spots around 80-150 µm, which makes diode marks visibly coarser. Same wattage, very different result.
One clarifying aside, because the listings are confusing: those IR modules you see bolted onto diode machines are basically lower-powered fiber lasers for engraving, not cutting. They exist to give a diode gantry a shot at metal marks, and they’re a separate wavelength doing the work, not the blue diode leveling up.
So here’s the takeaway, and it works on any material not in this article: ask whether the surface will absorb your wavelength. Everything else is settings.
Wood, leather, paper and fabric: the diode-friendly world
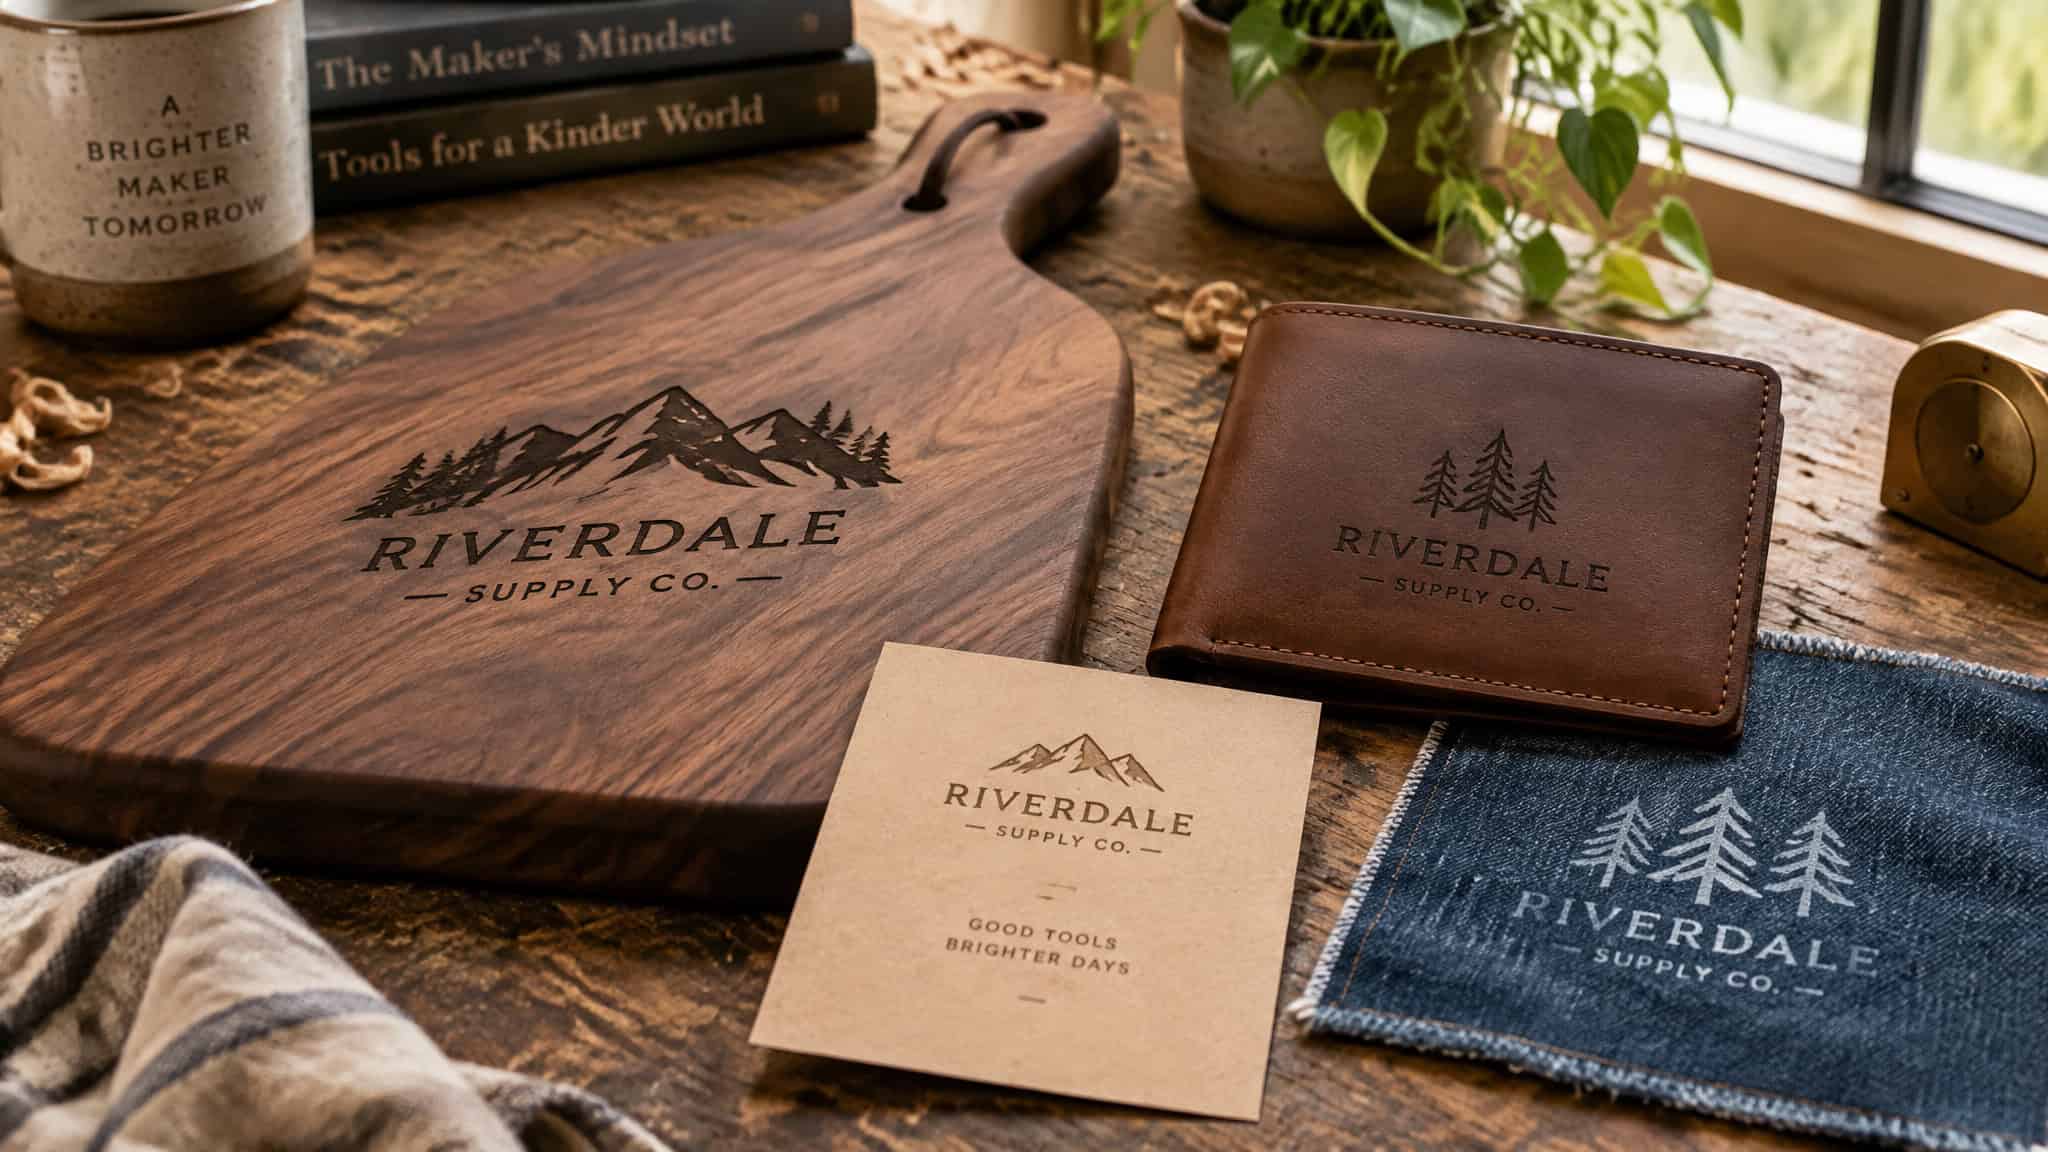
Wood and leather work on both diode and CO2 lasers, and the only real caveats are ventilation for fumes and burn-through on thin stock. This is the floor most people should start on, and it’s a genuinely good place to start.
Wood
The wood split is hardwoods like oak and mahogany versus softwoods like pine and cedar, and the trade-off is the story: softer wood engraves easier but burns quicker, so your settings matter more than your machine’s badge. The tested numbers show what current hardware can do. The xTool P2, an enclosed CO2, cut through 20 mm walnut in testing. The xTool S1 sliced 20 mm pine in a single pass at 40 W and 600 mm/s, which is fast enough that you can watch it happen without getting bored. On a typical diode, expect to need multiple passes once you’re above about 5-10 mm of material.
One prep note most guides skip: wood is friction on fiber machines. Bare wood doesn’t absorb 1064 nm well, so most fiber workflows want a darkening treatment first. It’s the mirror image of the acrylic situation.
Leather
Real leather and some synthetics engrave well on both diode and CO2. The part people don’t expect: the burn darkens the material, and that color change is a feature customers actually want. You’re not damaging the design in, you’re creating it. The flag is on unknown synthetics and coated leathers, which can off-gas unpredictably when lasered. If you can’t verify what a blank is made of, treat it like an unknown chemical, because that’s what it is.
Paper and fabric
Paper and cardboard are the easiest materials in the entire hobby and also the most delicate, because the laser can absolutely burn through if you’re not watching. Fabrics run from denim to polyester, and thickness and composition change the result, so treat every fabric as its own experiment rather than a setting you copy from a forum. And the ventilation note isn’t optional here: burning organics makes smoke, and smoke in your lungs is a bad hobby upgrade.
Acrylic and glass: the clear-material pass-through problem
Here’s the “wait, why?” moment of the whole hobby, and honestly it’s kind of elegant. A diode does nothing to clear stock because 450 nm light transmits straight through it. No absorption, no heat, no mark. The photons are literally passing between the molecules on their way to your table.
And CO2? Its 10.6 µm light is absorbed by the same sheet, which is why clear acrylic cuts and engraves beautifully on CO2 machines. The xTool P2 cut clear acrylic in testing, same machine class that was shredding walnut.
If you’re stuck with a diode, the workarounds are all about giving the light something to absorb: dark-colored stock (black, red, painted sheets all work), or a painted or coated surface where the coating takes the hit.
Glass and stone
Glass on a CO2 works, but it wants careful focus and speed to avoid micro-fracturing, because you’re dealing with thermal shock. On a diode, glass needs help: paint, tempera, or a laser engraving sheet, and results vary with how uniform the coating sits. Of any material here, glass is where prep effort swings hardest by laser type. Stone behaves the same way, cracking or chipping without focus and speed care. Neither is a lottery; both are learnable skills.
Then the reveal, and this is wild: a UV laser at 355 nm engraves glass with no prep at all, including inside the glass. The xTool F2 Ultra UV ($4,299) is the only tested unit that’s been shown etching crystal and engraving inside glass, the same precision that makes it a standout for laser jewelry engraving, which is exactly the kind of trick that justifies existing. It lives in the $5k, $12k tier, and note that 10 W-class UV units need an external chiller. One more CO2 parlor trick while we’re here: CO2 cleanly strips powder coating from tumblers without damaging the stainless underneath, which is a free high-contrast mark if your business is drinkware.
Anodized and coated metals: the easiest metal on any laser
A cheap diode laser absolutely can engrave anodized aluminum and coated metals, because in these cases the coating carries the mark and the laser never has to touch the bare alloy at all. That’s the whole trick.
The mechanism is the fun part, and it surfaced in vendor docs the way the best hacks do. A CO2 at 10.6 µm mostly bounces off bare metal, but it happily strips the dye out of anodize or paint, and the resulting contrast is high with no compound, no spray, no cleanup. A blue diode at ~450 nm bleaches anodized aluminum cleanly, which is the diode’s genuine win on metal and worth being enthusiastic about. The coating is the trick.
The receipts here are unusually specific. Epilog’s FiberMark testing covered coated variants including clear-coat, hard-coat, and yellow chromate aluminum, so this isn’t forum folklore, it’s documented across machine classes. The kicker: the same 6061 aluminum alloy flips from “fiber only” when bare to “nearly any laser” when coated, based purely on its surface. One metal, two compatibility answers, decided by a layer thinner than a coat of paint.
Bare steel and stainless: the fiber monopoly
Fiber lasers are the best tool for bare metals like stainless steel, because 1064 nm light couples efficiently into bare metal, and that efficient coupling is exactly why fiber marks come out fast, dark, and high-contrast. This isn’t a brand preference; it’s physics doing you a favor for once.
The numbers back the crispness. Fiber’s M² of 1.1-1.3 and 20-40 µm spots deliver fine, high-contrast marks and true engraving depth on stainless, and the spot being thinner than a human hair is why the edges look machined rather than scorched. Epilog’s FiberMark testing ran the actual alloy grades: 17-4 PH, 303, and 4043 steels, plus 6061 aluminum, which is the kind of specificity that separates “stainless compatible” marketing from someone actually running the tests.
This is also the right place for the vocabulary that makes spec sheets and forum threads readable. Marking is surface-level discoloration; engraving is removing depth. Anneal marks (that matte black on stainless) take seconds per mark. Deep engraving takes multiple passes, and it helps to know what laser engraving genuinely does well before trusting the numbers.
Here are industry starting points, not gospel: a stainless black anneal runs around 150-200 kHz and 100-250 mm/s at moderate power. Deep engraving at 0.2-0.5 mm depth on tools or cutlery wants a 50-60 W Q-switched source working over several passes, running at 30-60 kHz with travel speeds near 200-400 mm/s. And the stat that surprises everyone: etching 0.1 mm into tool steel takes 10-30 passes, roughly a minute. Deep engraving on fiber is faster than you’d expect.
The diode reality on bare-adjacent stainless, stated without mockery: slow, shallow marks of 5-30 µm, on coated stainless only, at 100-300 mm/s. That’s the trade-off for the price tag, and for a lot of jobs it’s a fine trade.
Reflective and precious metals: brass, copper, gold, silver
Reflectivity, not power, is the barrier here. Brass and copper bounce CO2 and diode wavelengths right off, so adding watts doesn’t fix brass. Changing the wavelength does. It’s the physics landing a punch, and it’s why 1064 nm fiber owns this category the way it owns stainless.
Jewelry runs on MOPA fiber, and since we’re decoding acronyms today: MOPA means master oscillator power amplifier, a 1064 nm fiber laser with adjustable pulse duration and frequency. That tunability matters because shorter pulses reduce burn marks on thin metal, which is the difference between a hallmark and a splatter. The recipe card for hallmarking on 18K gold and sterling silver: a 20-30 W MOPA running around 150-300 mm/s, with repetition rates of 60-100 kHz and power held near 30-60%. Starting points, not scripture, but screenshot-worthy. The same MOPA platform does oxidation color marking on knives, watches, and tags, which is a genuinely impressive extension of “put a logo on metal.”
One failure mode worth respecting: on the ComMarker B6 MOPA, excessive power can bend the metal being engraved. Not crack, not scorch, bend. The machine is capable of putting enough energy into thin stock to physically deform it, so respect the machine and start conservative.
Epilog’s FiberMark list rounds out the category with brass, copper, titanium, and even Inconel, which tells you how wide the fiber envelope runs once the wavelength matches.
Marking metal on a CO2 or diode: the workaround and its true economics
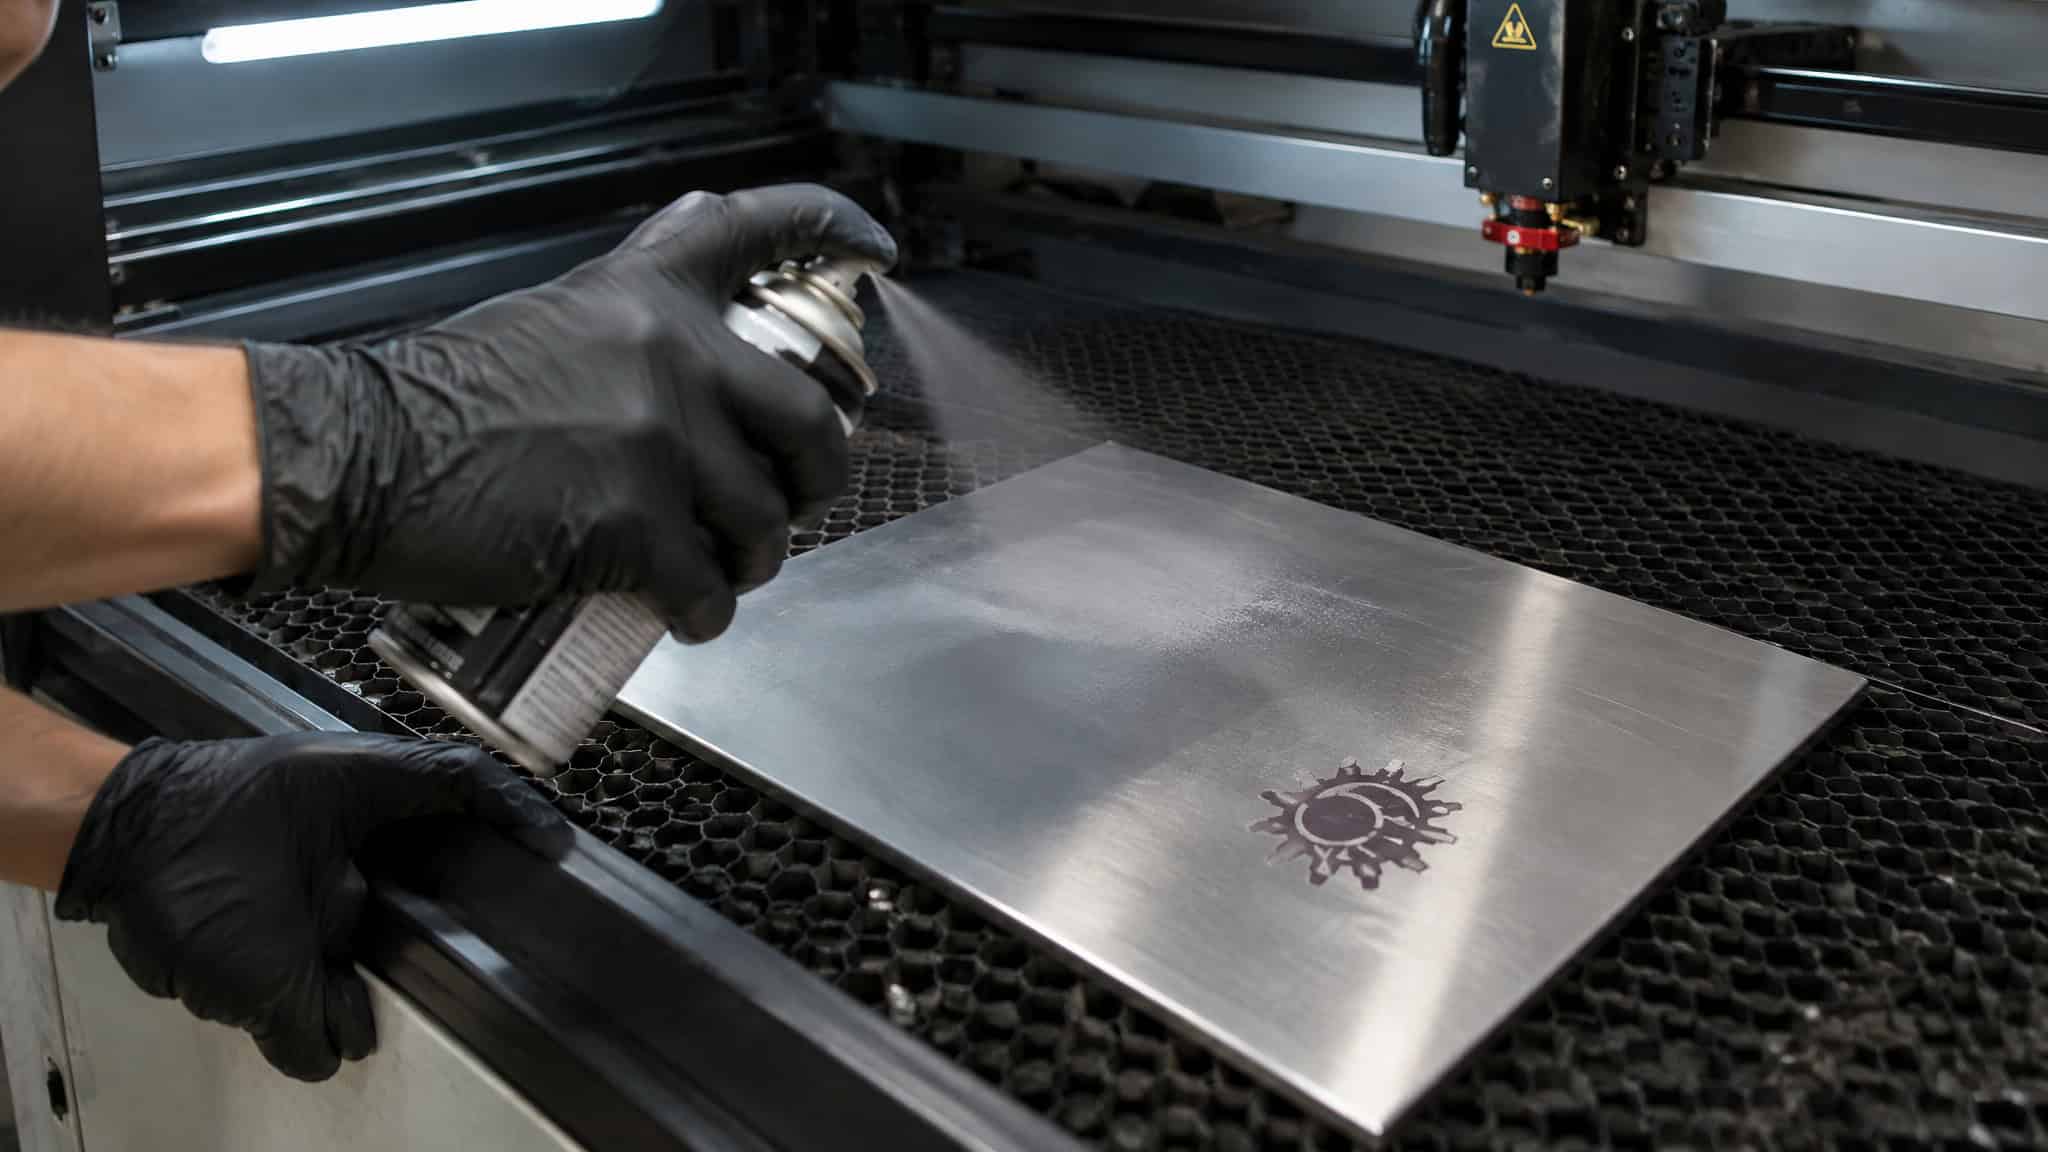
CO2 lasers are poorly absorbed by bare metal, so yes, you need a marking compound (a 10-20 µm film) to mark bare metal with a CO2, but you don’t need anything for anodized or painted metal, where the CO2 strips the coating for free contrast. Know which situation you’re in before you buy anything.
Marking compound on CO2
The technique fits on a sticky note: thin uniform coat (that 10-20 µm wet film, so genuinely thin), let it air-dry, focus precisely, then run multiple fast passes instead of one slow burn. Starting points are around 40-60 W at 200-300 mm/s for 1-3 passes. The tiny wizardry is in what the compound does: the ceramic or metal-oxide material bonds to the surface under heat and leaves a durable dark mark. The laser isn’t marking the metal directly; it’s firing a temporary coating permanently onto it.
Now the economics most guides omit. Consumables work out to roughly $0.10-$0.30 per square inch, before you count cleanup, because you’re wiping compound off every finished piece. The hard limits that decide viability: depth is negligible, so call it what it is, surface marking, not engraving, a distinction that becomes obvious when you compare laser engraving vs traditional engraving. Minimum characters need to stay above 2 mm on tools and fixtures.
DataMatrix codes below about 1 mm get unreliable. Practical speeds are 100-300 mm/s on 30-100 W gantries. The typical arc, generalized from what the sources document: try it direct, get faint discoloration, discover the spray exists, then get surprised by the consumable cost and the wipe-down routine. A CO2 isn’t the tool for deep metal engraving or micro text, and it’s not economical to pretend otherwise.
Cost check: Compound marking adds per-mark consumable cost and a wipe-down step on every finished piece — budget for both before committing.
Diode metal marking limits
You can mark metal with a diode, but here’s the shopping list. You want at least 10 W of true optical power, and yes the “true” matters, because marketing wattage is a scam-adjacent number that counts electrical input or laser diode ratings rather than what leaves the lens. Add a compressed-spot lens to tighten that chunky diode beam, rigid mechanics, because a wobbly frame ruins tight spots no matter what the optics are doing, and coatings or compound for contrast, because the coating does the work, not the laser. Realistic result: marks 5-30 µm deep at 100-300 mm/s.
The viable diode metal jobs are small, coated, and occasional: date codes marked into powder-coated housings, logo fills applied to plated brass tags, the occasional QR or serial where the coating provides contrast. The common first-buyer pattern, also generalized: someone buys a cheap diode for dog tags, points it at bare stainless, and gets faint gray smudges instead of crisp black marks. Nothing was broken. The wavelength was.
Which reframes the whole decision. The honest question isn’t “can my laser mark metal?” It’s “at what depth, at what speed, at what code size, and at what cost per mark?” Ask it that way and the fiber-vs-budget choice becomes economics instead of a forum argument.
UV lasers: the fourth wavelength
UV lasers are the better pick for glass, heat-sensitive plastics, and ceramics, because 355 nm cold-marks with almost no heat; fiber stays the pick when bare metal throughput is the goal. That’s the whole decision, stated up front.
The mechanism is the hook. Cold marking is photochemical rather than thermal: the photon energy breaks molecular bonds directly instead of heating the surface until something happens. The result is high contrast with a barely-there heat-affected zone, which unlocks things heat-based lasers physically can’t do: glass without prep, inside and out; heat-sensitive plastics that would melt or warp under a diode or CO2; ceramics; coatings; small cylindrical parts; anodized aluminum. The named anchors: the xTool F2 Ultra UV ($4,299, 355 nm, up to 15,000 mm/s) is the only unit in our testing shown etching crystal and engraving inside glass, and the ComMarker Omni1 is a 5 W UV galvo engraving tiny QR codes and glass without scorching.
The trade-offs are real and worth saying plainly: despite the lower wattage, UV sits in a $5k, $12k tier, which feels backwards until the cold-marking capability explains it. Work areas are smaller, rotary throughput is slower, and 10 W units need an external chiller. And no, don’t reach for UV on wood or leather; the wavelengths below already do that job for less money.
The never-engrave list: chlorine, reflectivity, and hidden hazards
NoPVC and vinyl should never be laser engraved, full stop. Burning chlorinated plastics releases toxic chlorine gas and hydrochloric acid fumes that damage your lungs and corrode the machine from the inside. This is the one hard “don’t” in a hobby full of “try this,” and it gets delivered exactly once, clearly. Everything else on this list is conditional; this isn’t.
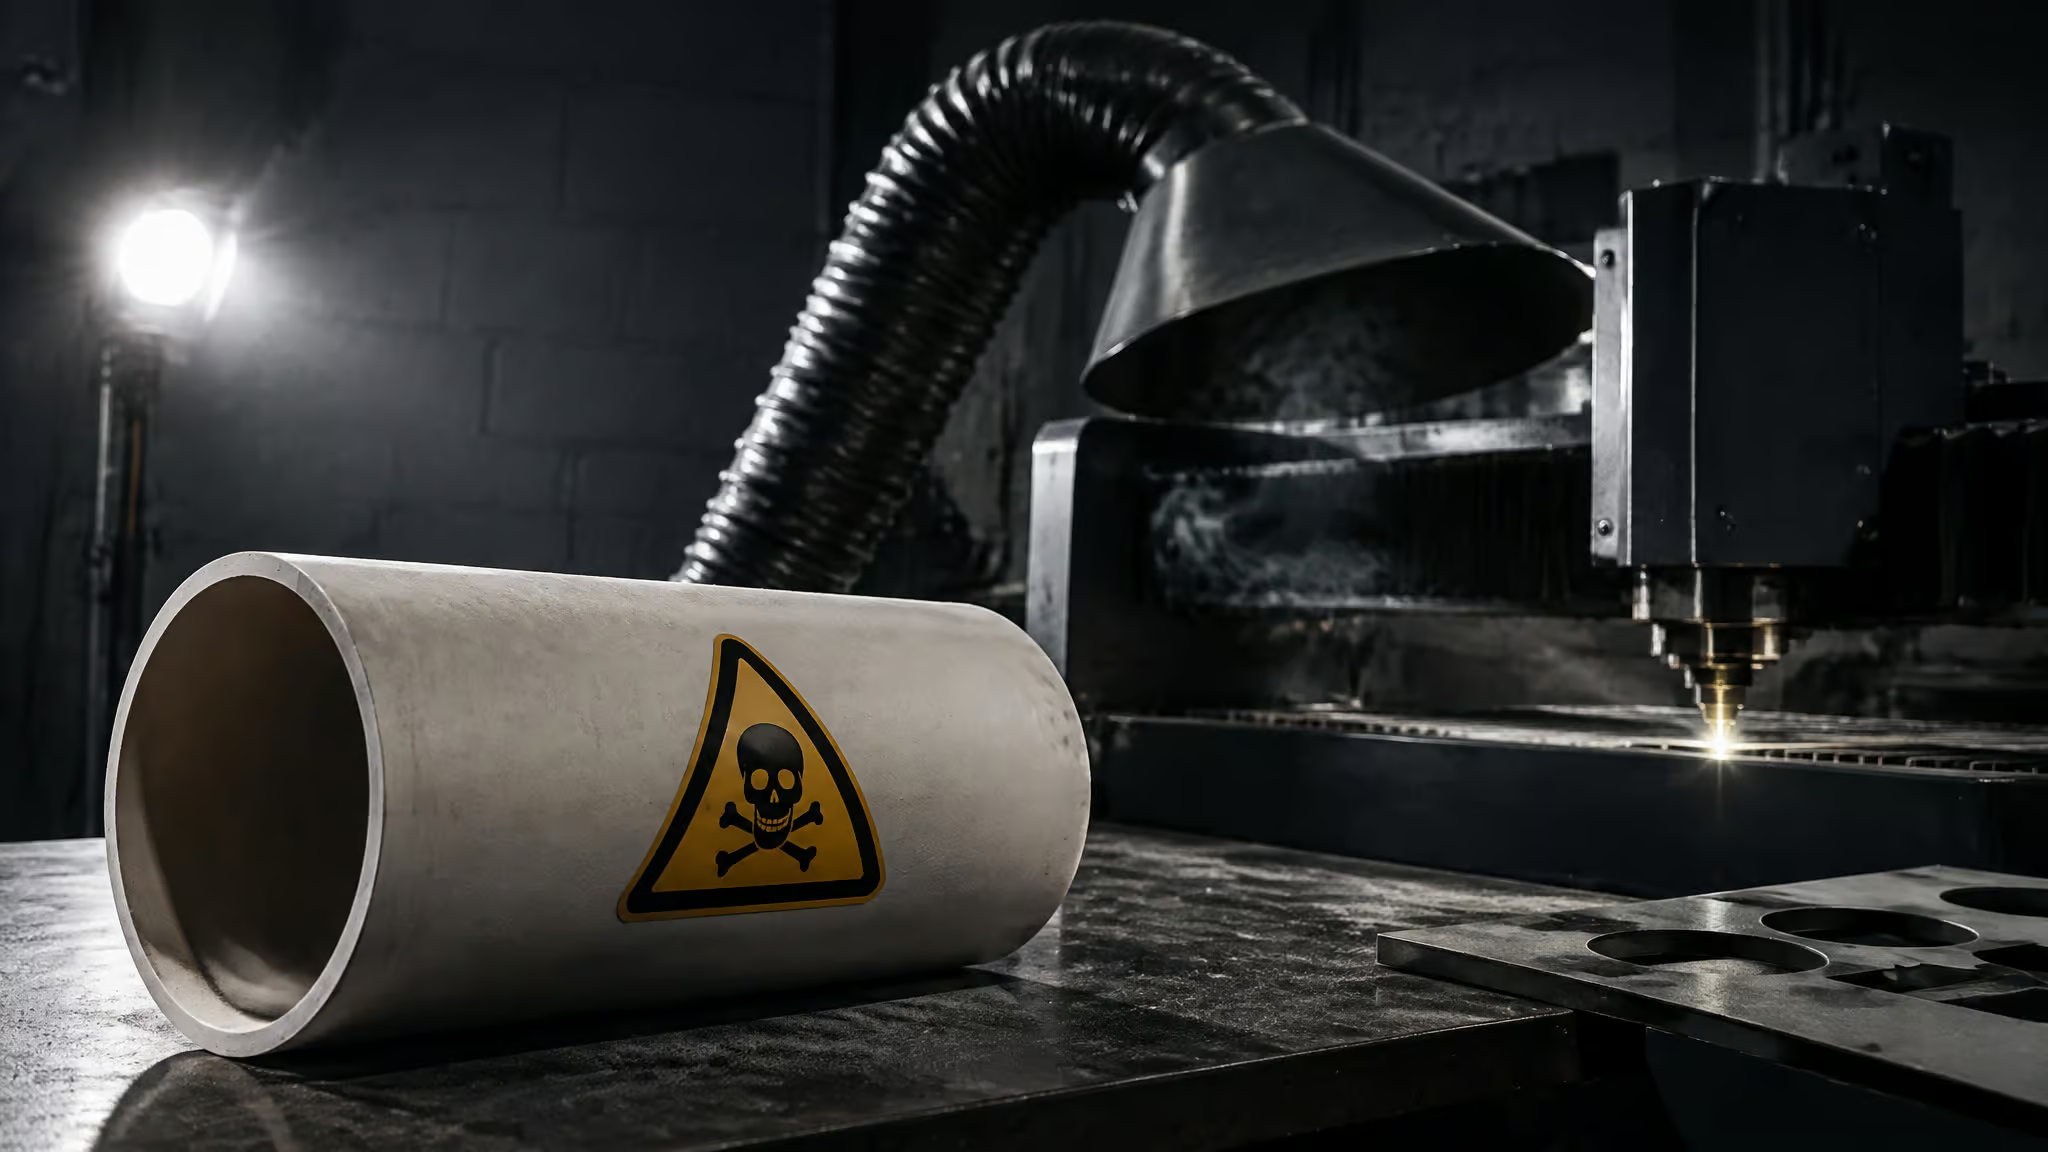
The full rundown, each with its mechanism so you can evaluate anything unlisted yourself:
- PVC and vinyl, chlorine gas plus hydrochloric acid fumes. Machine-ruining, lung-damaging. This includes unknown-coated blanks and adhesive-backed materials that may hide PVC layers, so evaluate the chemistry before firing.
- Reflective bare metals on CO2 and diode, poor absorption means the energy goes somewhere, and one of the somewheres is back into your optics or your eyes. Note that fiber sources can also take reflected energy back, so even the “right” tool wants respect here.
- Glass and stone without care, thermal shock cracks both when focus and speed are sloppy. Learnable, not forbidden.
- Anything with an unknown coating, adhesives, Mystery plastics, unmarked blanks can off-gas unpredictably. Chemistry check first.
Fume extraction and ventilation aren’t optional gear either; they’re infrastructure, budgeting $800, $2k for proper extraction, which belongs in the real-cost math below. An enclosure keeps fumes and stray reflections contained, air assist blows smoke away from the beam path so it doesn’t stain your marks, and a chiller keeps tube-based sources like CO2 and 10 W UV units running at stable temperature. And for anything not on any list, three evaluation rules cover it: chlorine chemistry, absorption or reflectivity, thermal shock. If your candidate material clears all three, it’s probably engravable by something in this article.
Matching material to machine and budget
Pick your dominant material first, then find the cheapest machine that handles it. That inverted order prevents the classic mistake: a $300 diode, and then the discovery that it can’t mark the dog tags you bought it for.
What this actually costs right now
The 2025-era tiers, so you can find yourself on the map. Hobby diodes run $300, $1,500 and cover wood and leather beautifully. Compact diode galvos run $4k, $8k. CO2 starts around the xTool P2 at $4,499, $4,999.
Desktop 20 W fiber is $2k, $4k, which is the headline of the decade: metal capability is no longer rich-person territory. Step up to 30-60 W MOPA for $5k, $10k, UV for $5k, $12k, and dual-laser workstations for $12k, $20k+. Beyond the sticker: lenses at $200, $400 (the cheapest way to change what a machine does, genuinely), and fume extraction at $800, $2k.
Tested winners, drawbacks included
Here’s who I’d point you at, with the honest catches. The wavelength-level comparison of diode, CO2, and fiber goes deeper on the physics behind these picks.
- xTool P2, best overall, enclosed CO2, widest compatibility, cleanest cuts, and the enclosure is the practical safety win. Drawbacks: 99 lb and a two-person move, no bed image tracing.
- Creality Falcon A1 Pro, for crafts, 20 W, great for maker projects, but no metal power, and the non-folding screen can obstruct your workflow.
- ComMarker B4, small-business metal, 20 W fiber, expandable up to the 100 W tier. Trade-offs: smaller work area, and wood needs prep or coating first.
- ComMarker B6 MOPA, high-volume, 20/30 W, 110×110 mm standard, 200×200 mm with optional lenses, riser for tall objects. When this becomes your job, not your hobby.
- Acmer P3, the 2-in-1 pick, 10 W base diode with 24/48 W upgrades, and a switch-flick IR/diode changeover that is tiny wizardry, honestly kind of elegant. CoreXY drive to 800 mm/s (3D-printer kinematics, adapted for burning things), a removable tray for items up to 4 m long, and a lid camera for preview-before-burn.
- Wainlux K10, budget, 3 W, fully enclosed, slow but capable even on metal. USB-A/C only, no Thunderbolt or USB 4, a very-geek nitpick, plus minor curve alignment quirks.
- Two Trees TS2, for beginners, robust, expandable, won’t fight you while you learn. No enclosure, fiddly assembly, finicky iOS Wi-Fi.
- Glowforge Pro, for schools, in a classroom, ease beats specs, but it wants a subscription, reliable Wi-Fi, and an air filter indoors.
- xTool F2 Ultra, best metal machine tested, $4,999, 60 W MOPA plus 40 W diode, excellent edge-to-edge consistency across the field.
Form factor matters as much as wavelength: galvo machines are for fast small items, gantries for full sheets and signs, and fiber is almost always galvo-based, which is why the machines look the way they do. Once you see that, machine silhouettes stop being random.
And the dual-laser trend is a real shift at the maker table, not a revolution: 2025 brought fiber+UV, fiber+CO2, and diode+IR platforms. One fixture, switch wavelengths, no refixturing. Same fixture, flip from UV for coated parts to fiber for bare metal; check this out is the appropriate response. Practical advice: buy a controller that can take a second source later, so you don’t buy the whole machine twice. The compatibility matrix is becoming a firmware problem.
Materials that make money, and where the blanks come from
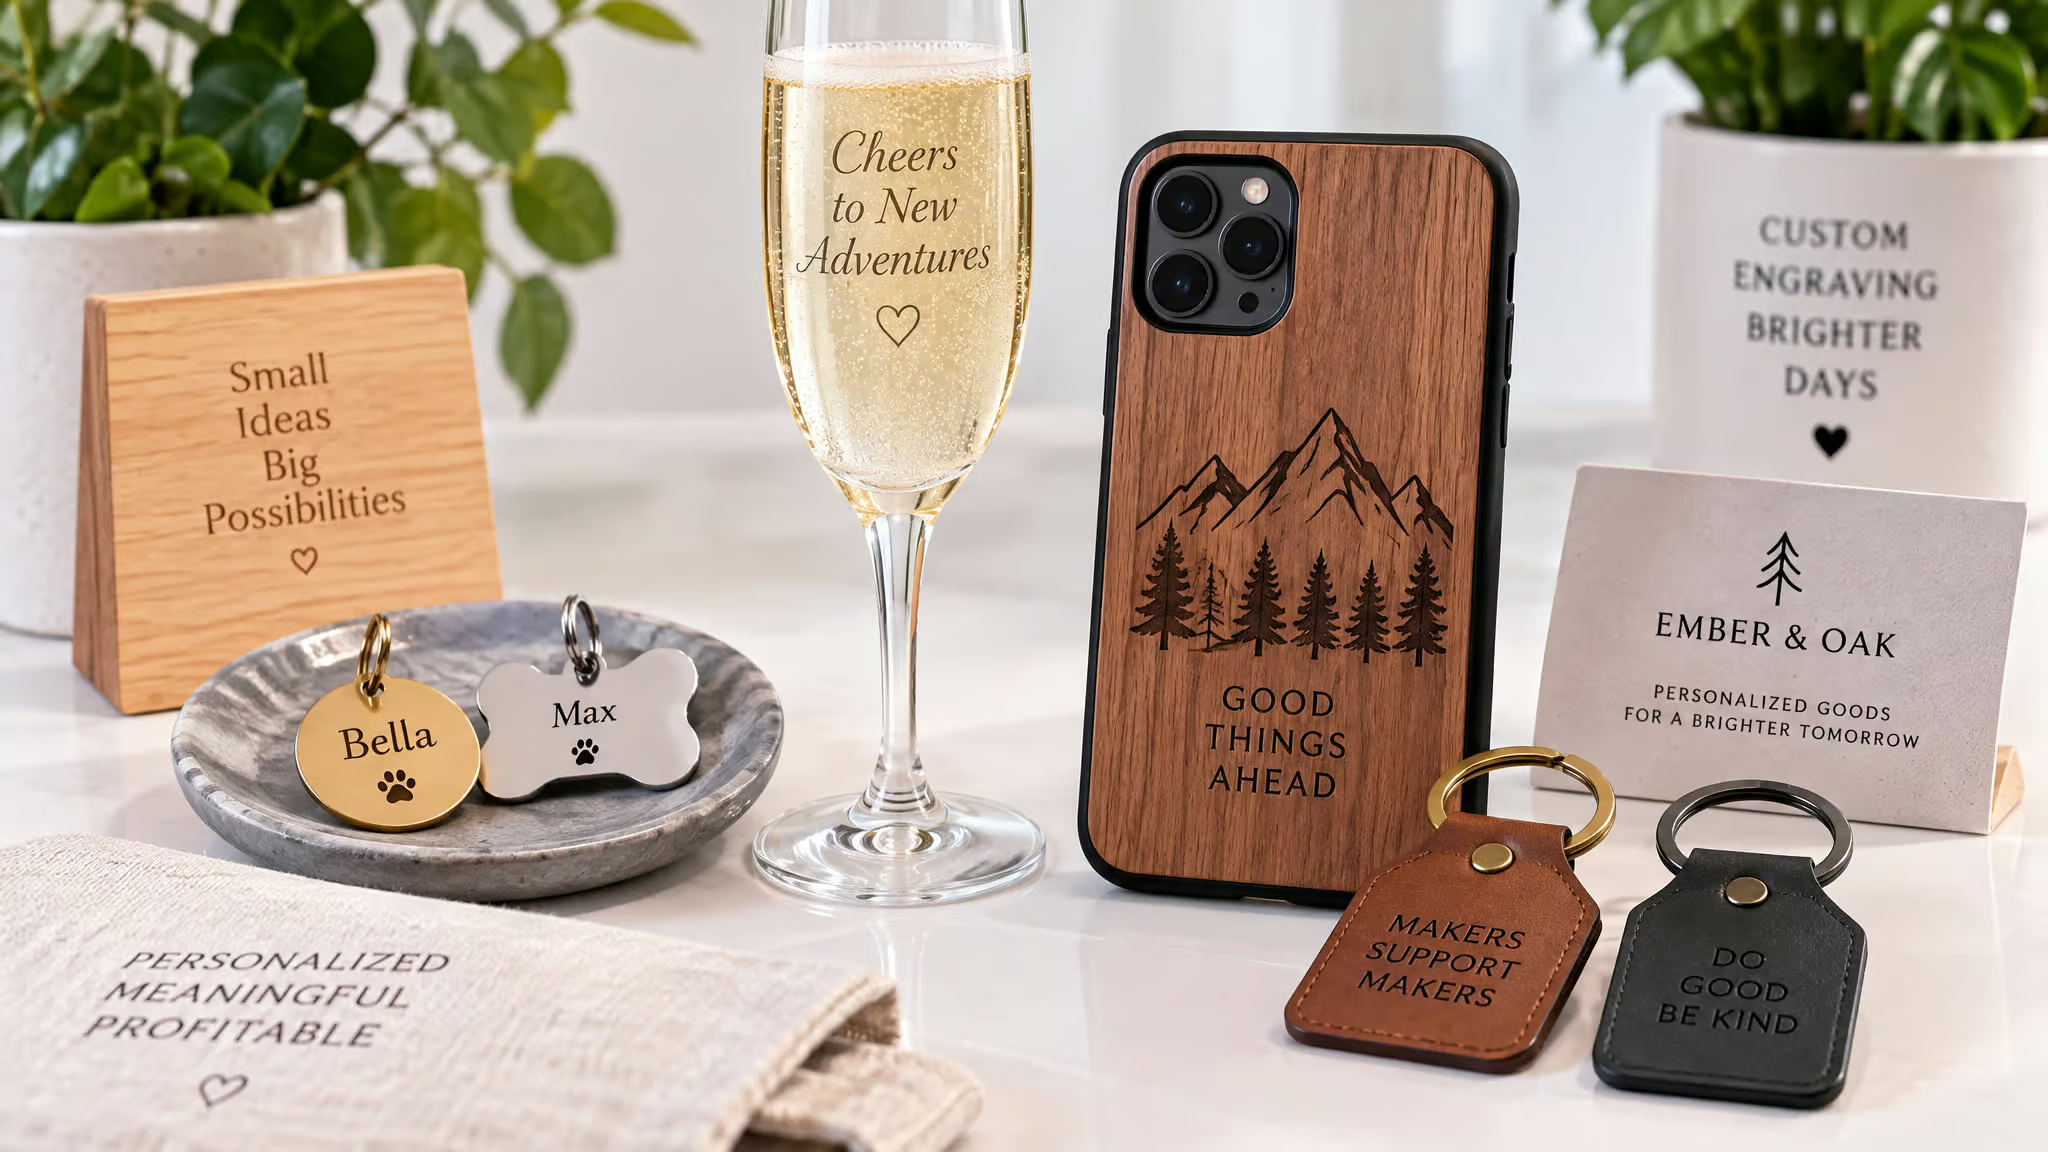
Grounded, not hustle-culture: here’s what people actually sell with these machines. Personalized items, phone cases, cutting boards, jewelry, pet tags, command real premiums, and a diode or CO2 produces them fast. Corporate and promotional bulk work (pens, keychains, awards) is the unsexy-but-repeatable money, and a fiber or MOPA machine is built for exactly that volume. Craft supplies like stencils and templates carry surprisingly high markup. Seasonal items, baubles, engraved champagne flutes, profit on timing more than on wattage.
On sourcing: the honest answer is that supplier ecosystems matter more than any single store. Maker-material suppliers, craft wholesalers, and laser-brand materials shops all carry blanks; the xTool ecosystem is a concrete example, where everything sold has a preset profile in the machine’s software, which removes a whole layer of tuning. Is it worth it for a small business? Ground it in the cost tiers above plus the factors that actually decide success: marketing, craftsmanship, and service, not the laser. For the data-inclined, one hedged line: single-source figures suggest the engraver market grew from $2,177.09 million in 2021 to $3,100.3 million by 2025, but those numbers are low confidence, so treat them as a vibe, not a business plan.
The payoff is short. Absorption physics predicts every checkmark in every compatibility table, which means the matrix with wavelength columns beats memorizing tables. And the honest question was never “can my laser mark metal?” It was always depth, speed, code size, and cost per mark. So when you’re standing in front of any material, on any machine, from any brand, you’ve got a one-question test: what wavelength does my laser emit, and will this surface absorb it?
People Also Ask
What are the best materials for laser engraving?
Wood and leather are the friendliest starting points, engraving happily on both diode (~450 nm) and CO2 (10.6 µm) machines. Anodized and coated metals are the easiest metal to mark on almost any laser because the coating carries the mark. Clear acrylic and glass belong to CO2, bare metal to 1064 nm fiber, and heat-sensitive plastics or prep-free glass to 355 nm UV.
Is laser engraving worth it?
It can be, if you pick your dominant material first and buy the cheapest machine that handles it — the classic mistake is a $300 diode that can’t mark the dog tags it was bought for. Personalized items, pet tags, and cutting boards command premiums on a diode or CO2, while corporate bulk work suits fiber and MOPA machines. Success depends on marketing, craftsmanship, and service, not the laser itself.
What is the difference between laser engraving, etching, and marking?
Marking is surface-level discoloration — think the matte black anneal on stainless steel. Engraving removes depth, with deep engraving on fiber taking multiple passes to reach 0.2–0.5 mm. Etching sits in between; etching 0.1 mm into tool steel takes roughly 10–30 passes, about a minute on a fiber machine.
Can you laser engrave glass and stone without cracking them?
Yes, but thermal shock is the enemy. On a CO2, careful focus and speed settings avoid micro-fracturing, and stone behaves the same way. A UV laser at 355 nm is the cheat code: it cold-marks glass photochemically with no prep at all, even inside the glass. Diodes need paint, tempera, or a laser engraving sheet first, and results vary with how uniform the coating sits.
Which laser is best for engraving bare metal like stainless steel and aluminum?
Fiber lasers at 1064 nm, because that wavelength couples efficiently into bare metal, producing fast, dark, high-contrast marks. Fiber’s beam quality (M² of 1.1–1.3, 20–40 µm spots) keeps edges crisp, and desktop 20 W fiber units now run $2k–$4k. CO2 and diode lasers mostly bounce off bare metal, so they need marking compound or a coating to do anything at all.
Can a cheap diode laser engrave anodized aluminum or coated metal?
Yes — this is the diode’s genuine win on metal. The coating carries the mark: a blue diode at ~450 nm bleaches anodized aluminum cleanly, and a CO2 strips dye from anodize or paint for high contrast with no compound. The same 6061 aluminum alloy flips from fiber-only when bare to nearly-any-laser when coated, purely because of that thin surface layer.
How do you engrave bare metal with a CO2 laser, and what does it really cost?
You need a marking compound: a thin 10–20 µm coat, air-dried, then multiple fast passes (around 40–60 W at 200–300 mm/s) fire the ceramic or metal-oxide material permanently onto the surface. Consumables work out to roughly $0.10–$0.30 per square inch, plus a wipe-down step on every piece. The mark is surface-only with negligible depth, so it’s marking, not deep engraving — a desktop fiber laser does bare metal directly, faster and deeper.
Is laser engraving leather, wood, and other organic materials safe?
Yes, with ventilation — burning organics makes smoke, and fume extraction (budgeting $800–$2k for proper extraction) is infrastructure, not optional gear. Real leather and wood engrave well on both diode and CO2 machines, and the darkened burn is a feature, not damage. The flag is on unknown synthetics and coated leathers, which can off-gas unpredictably; if you can’t verify what a blank is made of, treat it like an unknown chemical.
