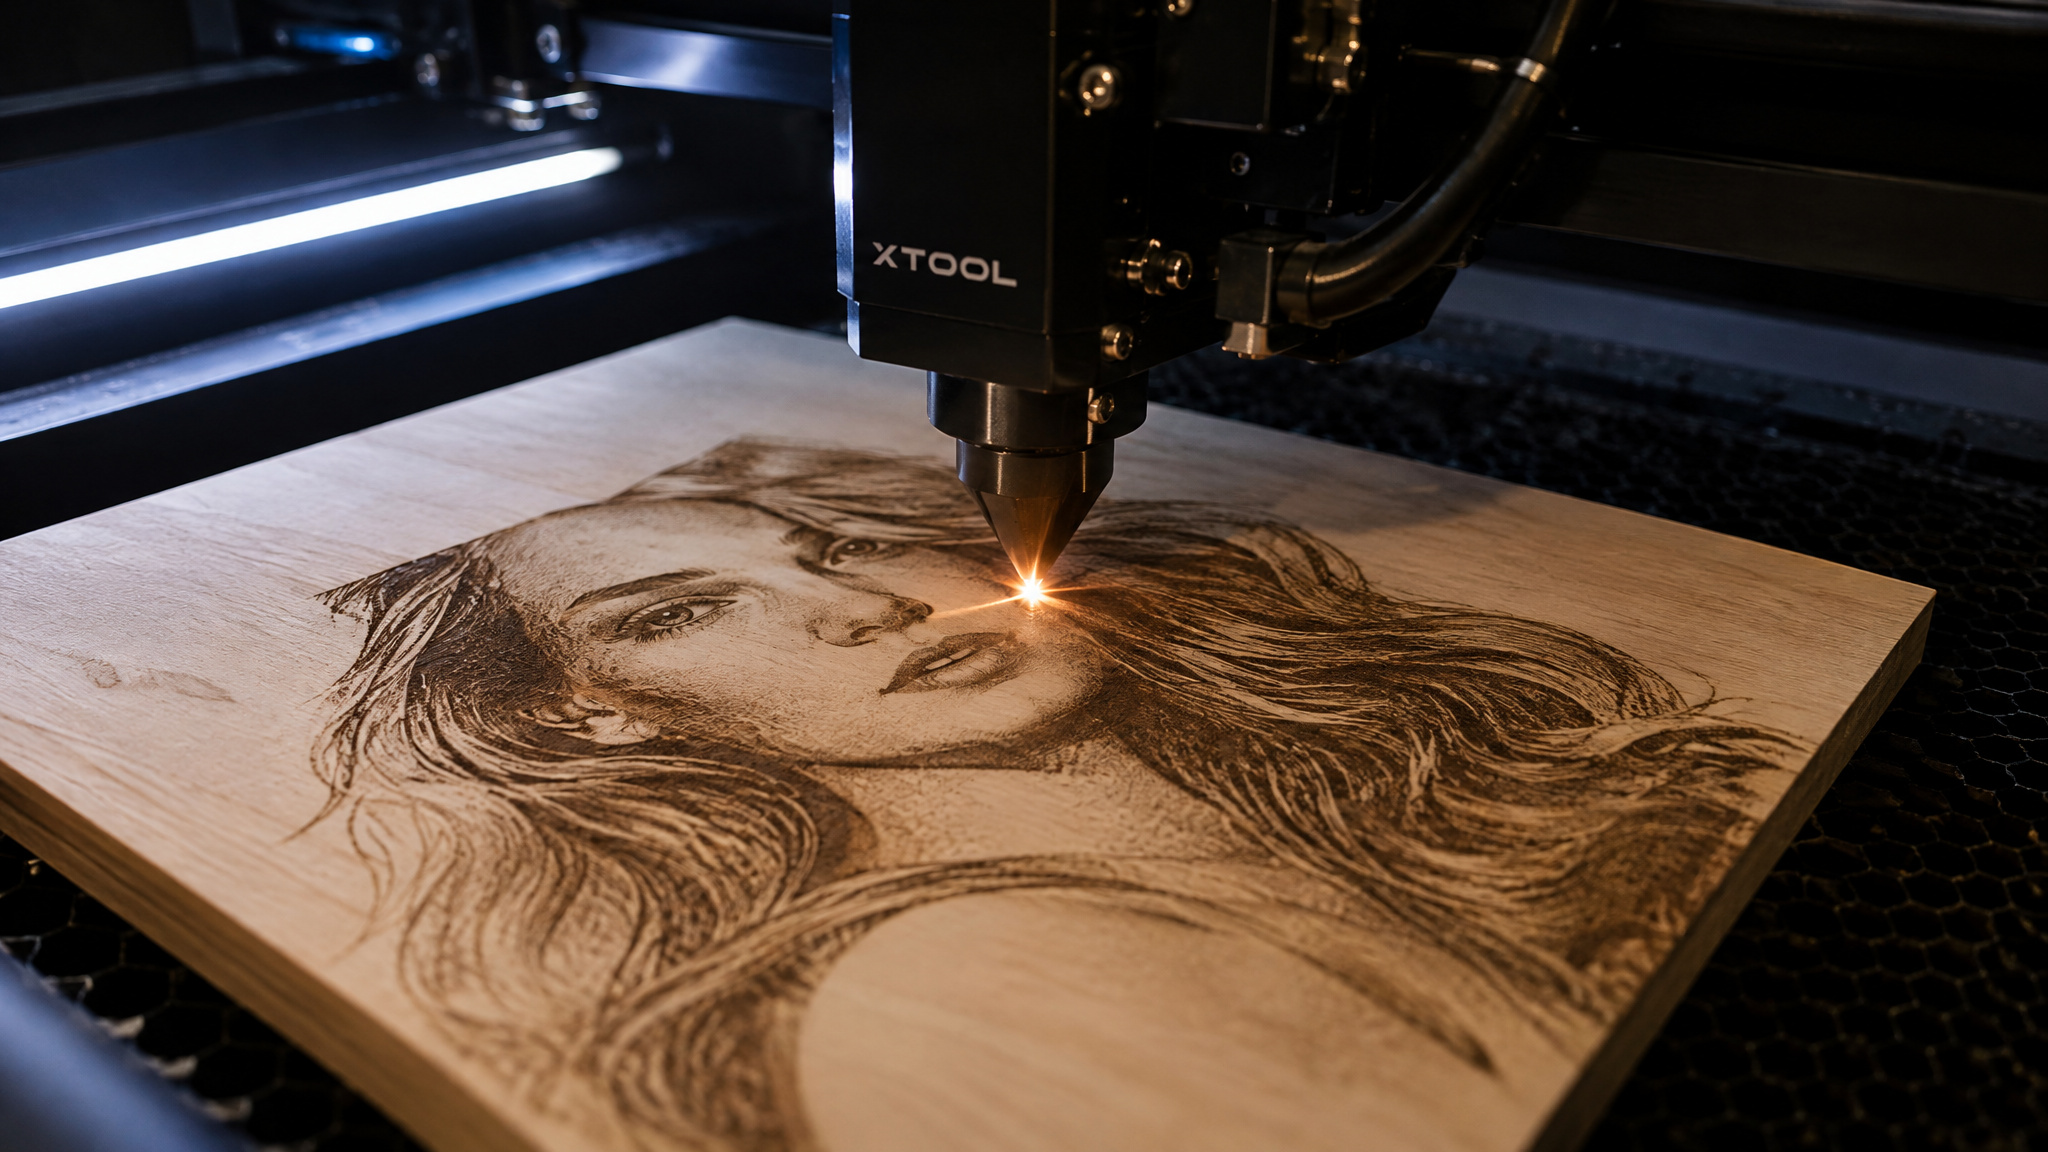
There’s a specific flavor of heartbreak that shows up about twenty minutes into a laser job: the logo on the same board came out crisp, and the portrait comes out mud. Same laser, same wood, nearly the same settings, completely different result. If you’ve hit that wall, the problem usually isn’t your machine or your technique. It’s that photo engraving is its own discipline with its own rules, and wood choice is the first lever to pull. Judging the best wood for laser engraving photos isn’t the same as judging how cleanly a species takes a graphic.
It’s judged by how a species renders photographic tone, which is a different question entirely. And it matters beyond hobby pieces: this is the craft behind keepsake plaques, memorial pieces, wall art, even inlays for cabinetry and guitars. The settings philosophy that fixes portraits is also the opposite of the one that fixes logos, and it comes down to two words: slow and low. First, the wood.
Key Takeaways
The best woods for laser engraving photos are basswood, maple, birch plywood, red alder, and cherry, with cherry needing higher-contrast settings; walnut, pine, and cedar blur fine detail or burn unevenly.
Photo DPI is machine-dependent: roughly 190-254 DPI works best on diode lasers while 600+ DPI suits fine-spot CO2 machines, so copying CO2 tutorials onto a diode produces muddy, over-darkened portraits.
Prep the image before touching settings: convert to high-contrast grayscale, dither with Jarvis, Floyd-Steinberg, or Stucki, and use gamma correction instead of fighting the contrast slider.
Table of Contents
Best woods for laser engraving photos (quick answer)
The best woods for laser engraving photos are basswood, maple, birch plywood, red alder, and cherry, with cherry carrying one condition: it needs higher-contrast settings. Sources agree on that shortlist with unusual consistency. Multiple practitioners, working on different machines, keep landing on the same five names.
- Basswood: soft, fine-grained, and light with minimal grain, excellent for high-detail images, and the affordable, easy-to-find practitioner favorite. This is the default.
- Maple: smooth, light-colored, and excellent contrast for detailed work, but a hardwood that demands more power from your machine.
- Birch plywood: budget-friendly with a smooth surface veneer, though pronounced grain and a slight yellowish tint cost it points with practitioners.
- Red alder: darker with more visible grain, yet its tight finished surface produces a really nice dark engraving.
- Cherry: on the list conditionally. Medium density, warm tone, engraves beautifully with a dark finish, but only with higher-contrast settings.
The avoid line: walnut, pine, and cedar. Dark, oily, or heavy-grain woods blur fine detail or burn unevenly, and high-resin pine darkens excessively enough to drown facial detail.
Here’s the wedge that drives everything below: this list is ranked by how wood renders photographic tone, not by general engraving quality. A board that engraves a gorgeous logo can butcher a portrait, and a couple of answers shift once you judge species by tonal rendering instead of raw burn contrast. Basswood is the default pick because it’s the wood that behaves; birch plywood is the recommended starting wood for first-time laser work because it’s cheap and everywhere, with an asterisk you’ll meet in a few sections: its pronounced grain and slight yellowish tint make it a practitioner’s least favorite for photos, even though it delivers excellent contrast. If you’re optimizing for graphics and signage rather than photos, the species-by-species wood selection guide covers that side of the question, and the answers genuinely differ.
Why light, fine-grained, low-resin wood wins for photos
Photo engraving rewards a specific set of surface properties, and the same properties keep explaining both the winners and the failures. Three ideas carry the whole section: the wood supplies the highlights, grain and resin inject noise, and a short checklist ties it together.
The wood is the white of the photograph
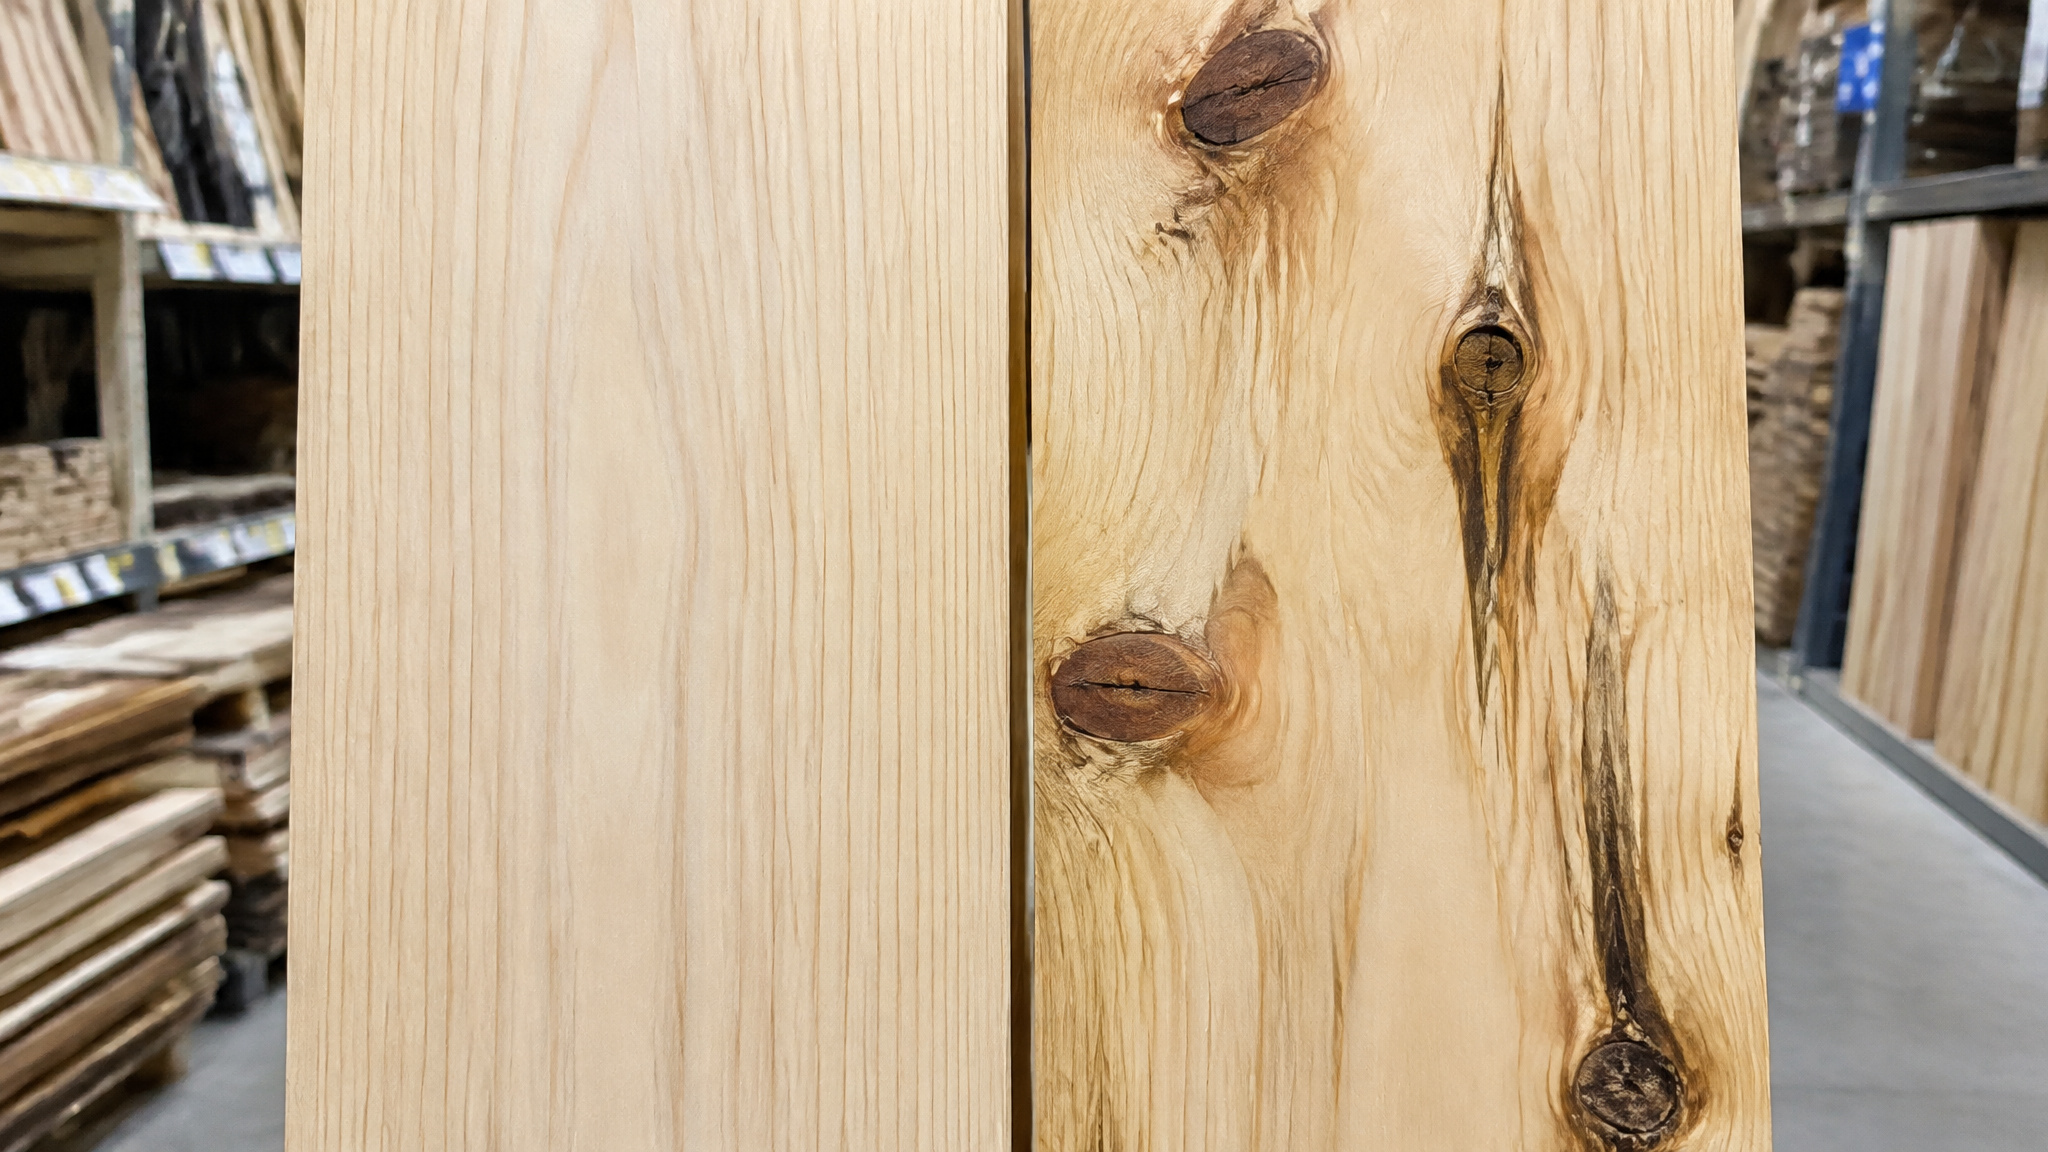
An engraved photo is a two-tone print: bare wood is the highlights, the burn is the shadows. The closer the surface sits to white, the wider the tonal range between the two, and the more gradations a portrait can carry. Grain variations and knots read as noise inside a dithered grayscale image, so whatever’s in the board shows up in the picture.
Resin pockets are worse: they burn as random dark blotches. A recurring buyer pattern goes like this: grab cheap pine for a portrait, then find uneven burning concentrated in streaks that wreck exactly the facial detail you cared about.
The four-factor checklist
Grain consistency, resin content, color contrast, surface smoothness. That’s the mental checklist to run in the lumber aisle, and sanding plus surface prep belong to the last item: they improve clarity and prevent burn marks. Prep is code hygiene for wood.
What each category trades
Hardwoods give crisp, high-contrast lines but demand higher power and slower cutting. Softwoods engrave faster with less power, but resin and grain burn unevenly. Engineered woods are cheap and uniform, but smoke heavily and cut inconsistently where glue sits. Exotic woods strike hard and cut hard.
Same machine, three verbs, worth separating: engraving burns or removes surface for deep, high-contrast marks, etching alters surface color shallowly, and cutting passes entirely through, with depth scaling by wattage (40-60W CO2 up to 5mm, 80-100W up to 10mm, 150W+ up to 15-20mm; the cutting-parameters guide covers that logic). Condition matters too: wet wood causes inconsistent burns and warping, though a light water mist before cutting softwoods can reduce charring, and painted wood engraves only if the paint is non-toxic, with inconsistent results. The beginner trap is softwoods: they look tempting because they engrave fast and cheap, until resin makes photos burn unevenly. Whatever you pick, test on scrap first.
Basswood: the default photo-engraving wood
Basswood is the most reliable all-around photo wood: soft, fine-grained, light, with minimal grain pattern, excellent for high-detail images, and affordable and widely available. When you want the photo to just work, this is the board you reach for. Reliable sounds boring until you’re six sheets into a commission, at which point reliable is the most exciting property a material can have.
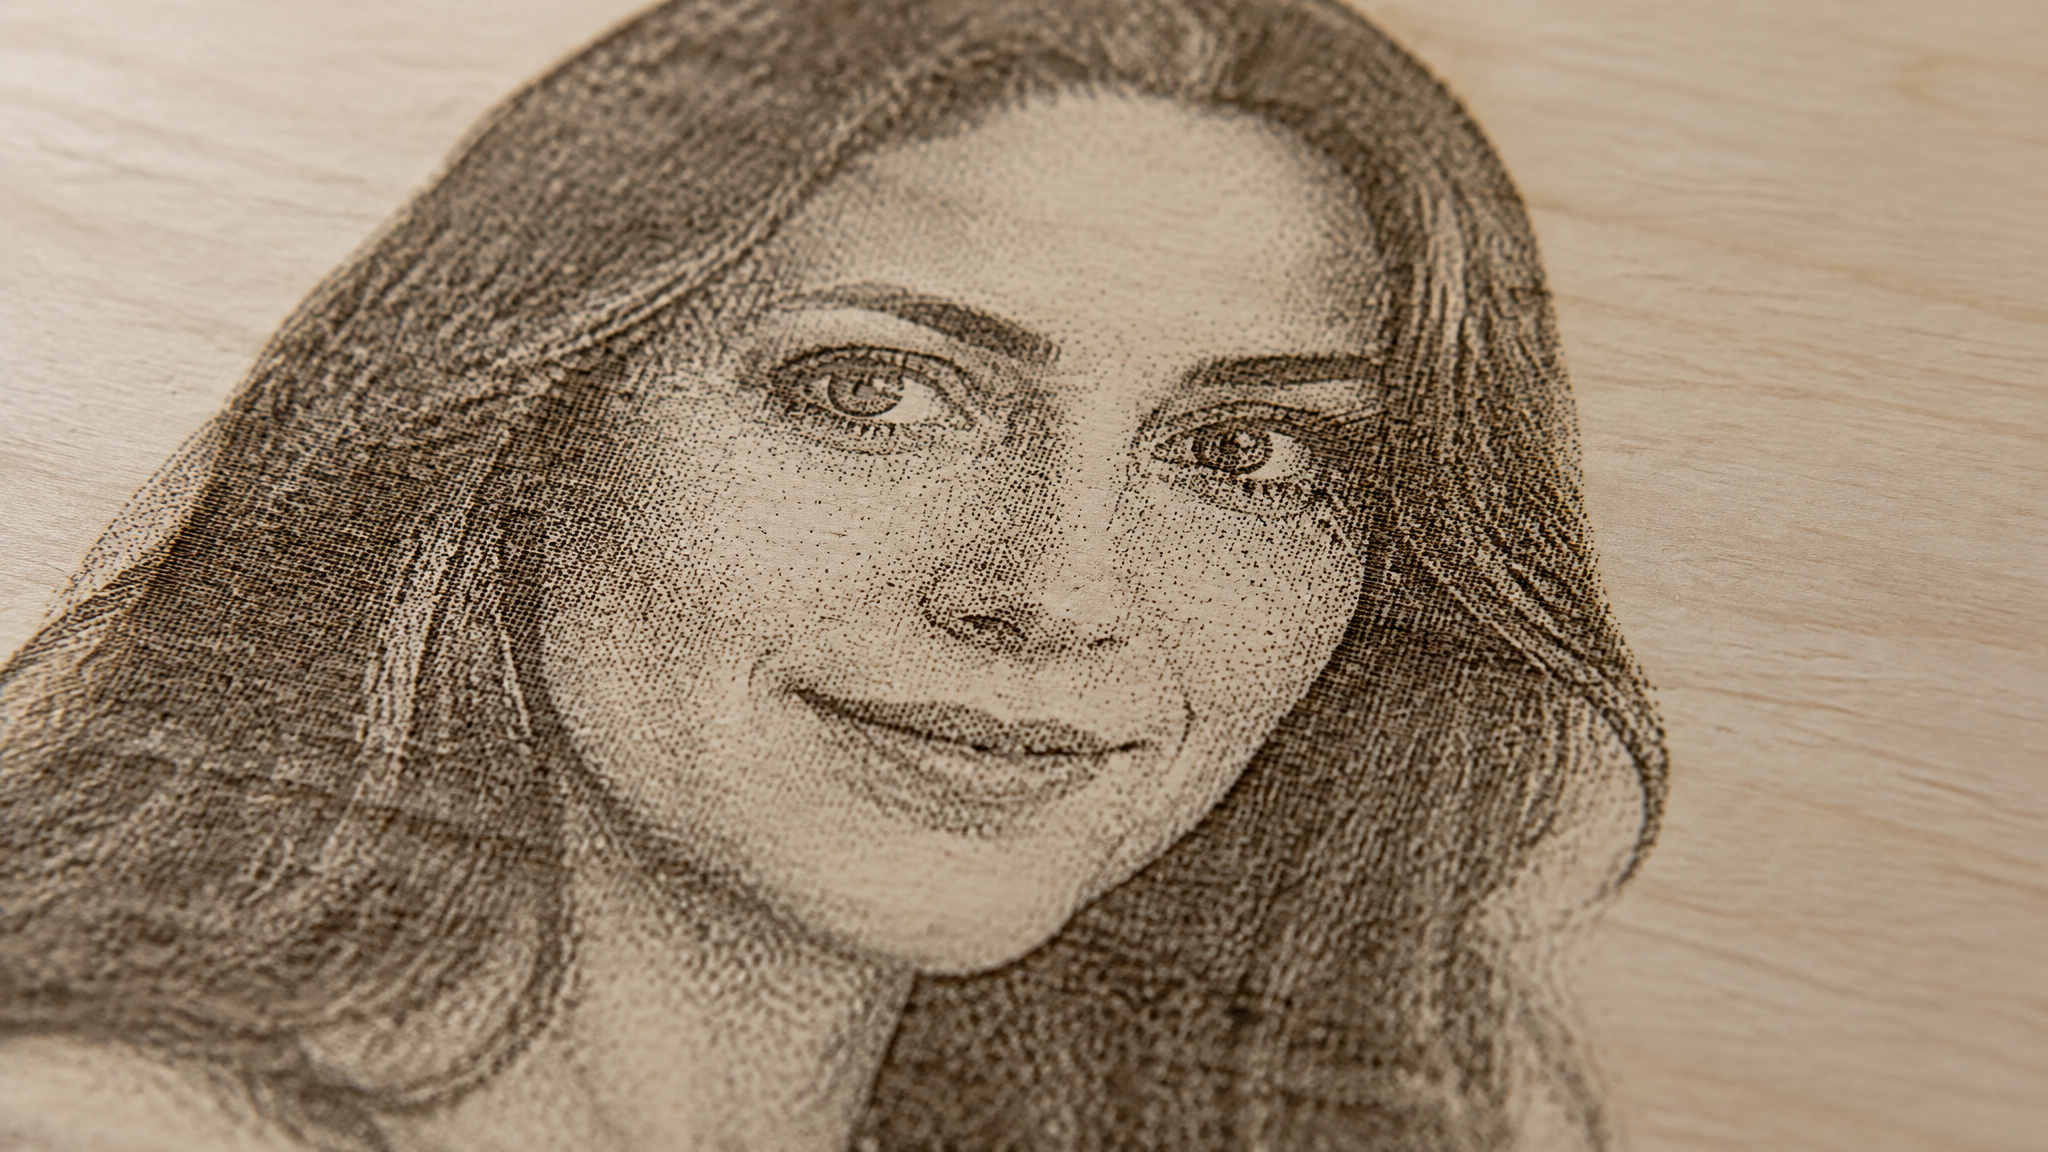
The photographic reason is the insight running this whole article. Basswood’s surface sits close to white, so the tonal range between untouched surface and burn is about as wide as wood gets. And the tight, even grain stays out of your dither pattern. A dithered portrait is thousands of tiny dots faking a smooth gradient; any grain underneath is competing dots nobody drew. Basswood mostly declines to compete.
It also forgives across machine classes, and there’s a hands-on number that makes the point better than adjectives could. In a September 2023 review of the Two Trees TTS-20 Pro, the 20W diode cut 6mm basswood in a single pass where the 5W TTS-55 needed 11 to 15 passes. Same wood. One pass versus fifteen. The reviewer’s project settings are worth keeping too: a logo on 1mm basswood ran at 6000-6500 mm/min at 30% power, and 3mm basswood cuts ran at 300 mm/min at 100%.
The same review logged WiFi connection failures, lenses that dirty quickly (5-10 minutes to clean both sides plus underneath), manual focus, no enclosure, and a $669 price (the review’s discount code expired 11/22/2023, and prices vary). Mixed verdict, stated as such, because the wood being forgiving doesn’t make hardware problems disappear, the reviewer was on the fence about recommending it.
For a 60W CO2 machine, the basswood starting row is 15-20% power, 350-500 mm/s, 300-400 DPI, air assist on. Treat that as a starting point to verify on scrap, not gospel.
Maple: maximum contrast, at a power cost
Maple is the contrast-maximizing pick for photo work: smooth, light-colored, and excellent for detailed engravings where facial features need to pop. It’s the same logic as basswood turned up, the detail-lover’s wood. The tradeoff, stated plainly, is that maple is a hardwood, so it costs you power headroom. The 60W CO2 baseline runs 25-40% power, 300-400 mm/s, 400-600 DPI, and that upper DPI range is where high detail becomes possible. If you’re picking between the two, it comes down to project requirements, the engraving quality you want, and how much laser power you’ve got on tap.
Pick maple over basswood when crisp, high-contrast burns matter more than machine headroom; on the same machine, you’re paying roughly double the power floor for the upgrade. No pretending that’s free. But if your laser has the watts and the portrait has fine features you refuse to lose, this is where they meet.
Birch plywood: the budget pick with a glue problem
Birch plywood makes the best-woods list for its smooth surface veneer and budget price, and it’s the recommended starting wood for first-time laser wood work. It’s also the wood practitioners call their least favorite for photos, because of pronounced grain and a slight yellowish tint. Both of those are true at once.
The failure mode is a hidden variable in the material itself: plywood glue can cause inconsistent engraving, so buy higher-quality plywood with minimal adhesive content. The pattern shows up like this: engrave the same photo twice on bargain plywood and glue pockets produce visibly different darkness in banding that follows no grain pattern. That’s the material, not user error, and knowing that saves an evening of blaming yourself.
Thin birch plywood (1.5-3mm) is widely stocked for craft work, which helps availability. Its 60W CO2 range is 20-30% power, 300-450 mm/s, 300-600 DPI, with excellent contrast, and note the irony: the settings can be great even when the wood isn’t the photo favorite, the pronounced grain and slight yellowish tint are why it ranks last for photos, while basswood’s light color and minimal grain make it the better canvas. Plywood is the pick for budget and practice runs; solid basswood is the pick when grain-free tone matters.
Red alder: proof a darker wood can still work
Red alder is a legitimate photo-engraving wood despite being darker, which is exactly why it earns its spot. Darker tone and more pronounced grain sound wrong for photos by every criterion so far, but alder’s tight finished surface still produces a really nice dark engraving. The red alder plaque example carries it: a finished piece where the warmer, darker look and the photo detail coexist. That’s the pick when you want a warmer, darker finished look without abandoning photographic rendering, and it’s the exception that proves the real criteria are about tonal rendering, not a single lightest-wins rule. Just keep the scope honest: this is specific to alder’s tight surface, not a license to assume darker woods generally engrave well. They mostly don’t, as the next sections explain at length.
Cherry: on the list, but only with higher-contrast settings
Cherry makes the best-woods list, but only with higher-contrast settings. That’s the whole deal, and it’s worth saying up front because flat “best woods” lists usually flatten it away. Medium density, warm tone, and it engraves beautifully with a dark finish, which makes it the worth-the-effort pick: the settings overhead is the price of the warm look, and plenty of people decide that price is fair. There are no specific contrast numbers for cherry in the field data, so the move is the same as everywhere else in this article: start from a nearby species’ baseline, push contrast in prep, and let a test grid on scrap tell you where the sweet spot is. A pick that comes with an asterisk is still a pick.
Other woods that can engrave photos with caveats
A few species sit outside the main shortlist but still come up in photo conversations, each with a condition attached. Some can render a photo under the right circumstances; others are better understood as general-engraving woods that simply don’t belong in a portrait job. Here’s the honest rundown, caveats included.
Bamboo
Technically a grass, which is a fact I enjoy far more than I should, and here it’s load-bearing: that uniform structure is the actual selling point. Bamboo engraves with sharp contrast, it’s eco-friendly, and the uniformity gives consistent results across a piece.
Mahogany
The luxury-tier mention. Its reddish-brown finish suits furniture and decorative art, where the color is the point. Darker tone means contrast management matters, and it’s not a photo-engraving pick.
Cork
On the engravable-materials list, one line: its texture limits fine photographic detail.
Woods to avoid for photos, and why they’re not bad wood
You can laser-engrave a photo on any wood, but walnut, pine, and cedar, dark-toned, oily, or heavy-grained, blur fine detail or burn unevenly. “Best wood for laser engraving” and “best wood for laser engraving photos” are two different questions, and the avoid list is where the difference gets expensive.
Walnut
The paradox of walnut. Its darkness kills photo contrast, but it delivers a rich, deep engraving effect for general work. Love it, just not for this job, for photos, reach for a light-colored, fine-grained wood like basswood or maple instead. If you’re engraving walnut anyway, the 60W CO2 starting row is 20-35% power, 300-450 mm/s, 300-600 DPI, leaning on its natural dark contrast, a good baseline to check against broader 10W laser engraver material settings for other woods. And the strategy flips with tone: dark woods benefit from lighter surface etching instead of deep engraving, while light woods take deep engraving well.
Pine
High resin darkens excessively and detail drowns. Knots and resin pockets mean every board rolls different dice, so inconsistent results are structural, not a skill issue. It also chars easily, so keep power low: 15-25% at 350-500 mm/s, 300 DPI, if you insist. Honest nuance from the field: one practitioner video rates pine merely “okay,” which makes it a gamble rather than a total ban.
Cedar
Dark, oily, heavy grain blurs detail or burns unevenly. It also smells amazing, and its distinctive grain suits decorative plaques beautifully. Right wood, wrong application for photos.
Oak and teak
Oak’s prominent grain adds rustic texture and interferes with fine detail, both at once; whether that’s a defect depends entirely on whether you wanted rustic. Teak’s durability and moisture resistance come with natural oils that affect engraving precision. Impressive resume, wrong interview.
Engineered woods: MDF, veneer, and the real cost of cheap stock
On sourcing, the supported answer is simple: basswood is the most affordable and widely available photo-engraving wood, with birch plywood as the budget alternative. The field data names no specific retailers or suppliers, and availability and prices vary, so check what’s actually stocked near you rather than trusting any list.
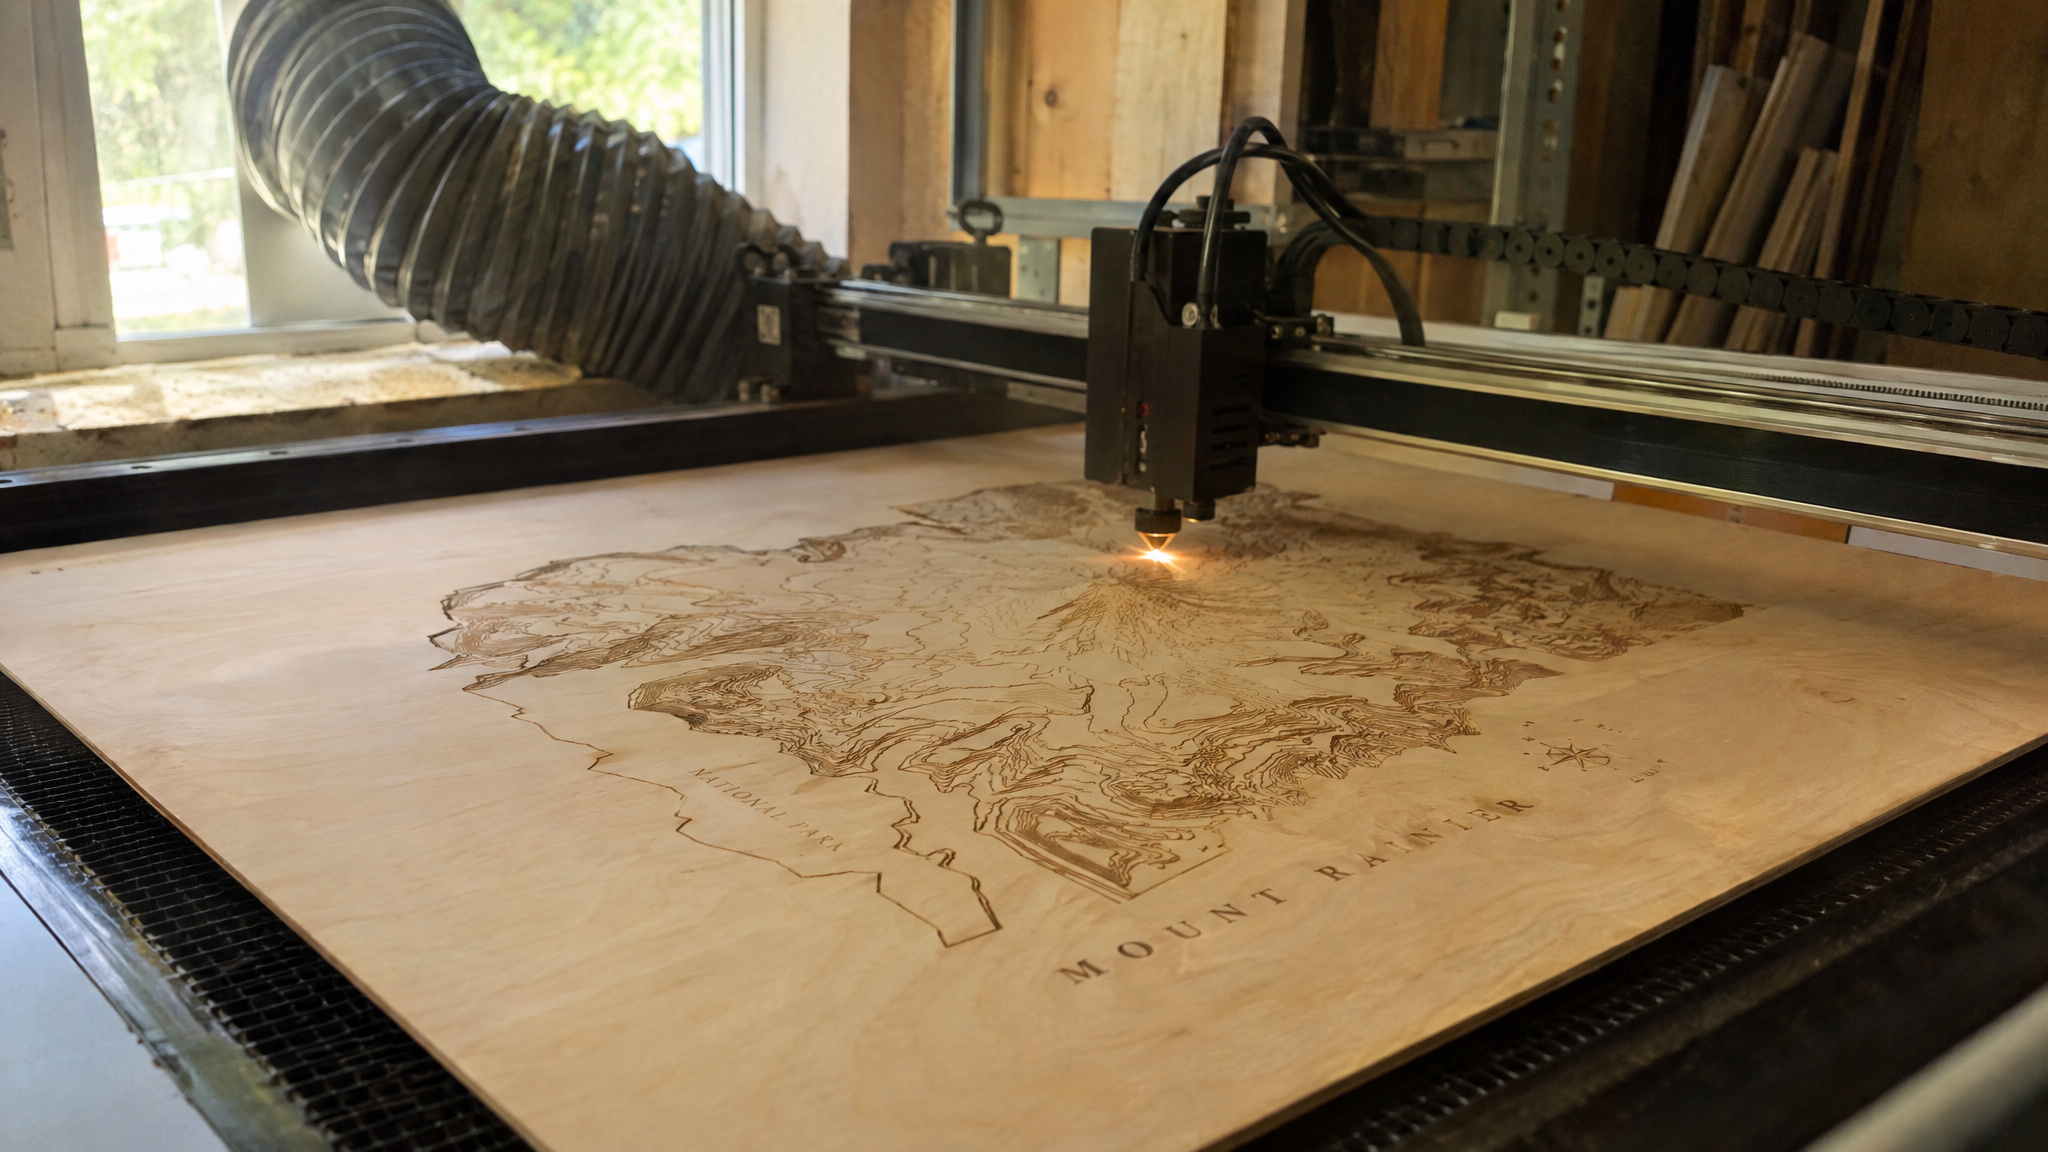
MDF’s compressed fibers give a smooth, uniform engraving surface with consistent results, and significant smoke requiring ventilation. That last part isn’t optional. Its 60W CO2 row: 15-25% power, 350-500 mm/s, 300-400 DPI. Veneered wood is the trapdoor: a thin real-wood skin over a composite core, and engraving deep enough will expose the layer underneath, so designs have to plan around it from the start. The glue caveat from the birch plywood section applies across engineered stock, and that section carries the full mechanism: these materials are cost-effective and uniform until glue makes cuts inconsistent and smoke gets heavy. Great value, if you know the failure modes.
Preparing the photo before the laser fires
Image prep, not wood or settings, is the step that decides whether a portrait comes out crisp or blurred. This is the step most people skip, and it’s the step the machine actually cares about.
Grayscale and dithering
Convert to high-contrast grayscale first, ideally from a 300+ DPI source, with a quick pass to crop, sharpen facial features, and brighten slightly. Then dithering simulates gradients with tiny dots, and the algorithm matters: Jarvis, Floyd-Steinberg, and Stucki are the names to know, partly because Stucki comes attached to the 600+ DPI advice you’ll meet in the next section.
Gamma correction
Gamma adjusts darkness and lightness without the highlight blowout or shadow loss that contrast and brightness sliders alone can cause: increase gamma to lighten dark results, decrease it to fix washed-out ones. Stop fighting the wrong slider. The proof-of-concept that got me digging into this: dog-photo projects on an xTool D1 Pro 20W where fur texture and nose and eye detail survived the burn.
Source quality and the stack
The engraving can’t exceed its source; the laser is honest about your photo’s flaws. Professionally shot raw photos beat compressed JPEGs, AI photo enhancers can rescue low-res files, removing or editing the background helps the subject stand out, and physical prints should be scanned at high DPI. For tooling, ImagR (free, at imag-r.com) automates grayscale conversion and dithering, which is the annoying part done for you. xTool Studio has built-in image settings. LightBurn ($60 one-time) is the preferred laser control over free LaserGRBL, with RDWorks also in use, and Illustrator or CorelDRAW handles vector design, with Inkscape as the free door.
DPI and settings: why photo settings differ from graphic engraving
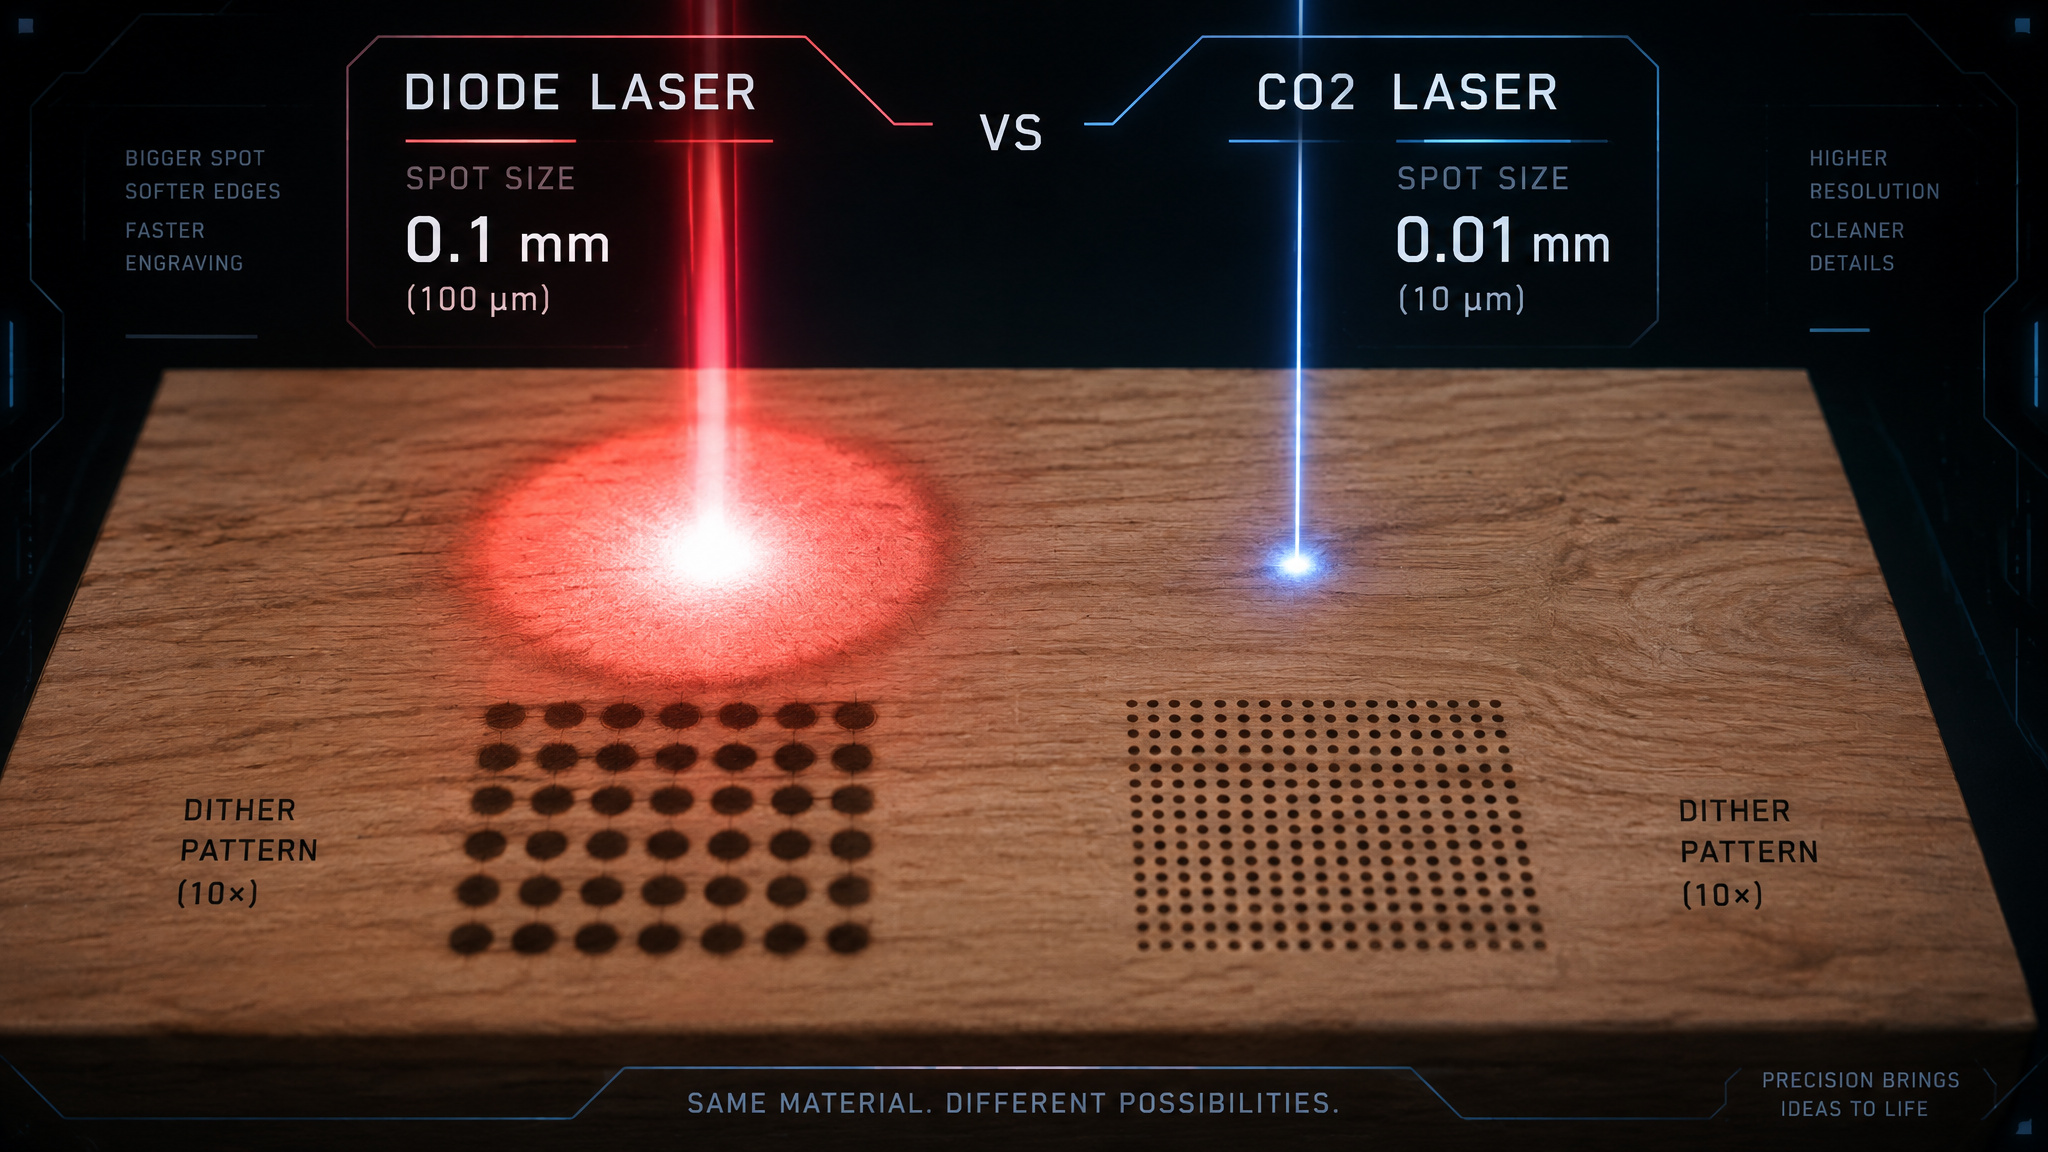
Photo-engraving DPI on wood is machine-dependent: roughly 190-254 DPI works best on diode lasers, 600+ DPI suits fine-spot CO2 machines, and 300-500 is the common balance range.
The 600 DPI advice, and where it breaks
One tutorial source recommends 600+ DPI with Stucki or Jarvis dithering and slower speeds. That same source’s own FAQ hedges, though: it says 300-500 DPI is the best balance and that too-high DPI over-darkens fine areas. Meanwhile, practitioners report 190-254 DPI works best on diodes, with diminishing returns higher up and 300 DPI or less often giving the best LightBurn results. The mechanism is spot size: a diode’s larger spot can’t resolve 600 DPI dot density, so diode owners copying CO2 tutorials get muddy, over-darkened photos.
It’s a common failure pattern, and it’s the same reason a perfect logo profile can ruin a portrait on the identical board: dithered tone interacts with speed, DPI, and power differently than vector lines, so standard material tests that suffice for vector work don’t transfer to raster photos. The full wood-settings hub covers the general dialing-in protocol; photos need their own pass.
Red flag: If your diode portraits come out muddy and over-darkened, you’re probably running CO2 tutorial DPI. Drop toward 190-254 DPI and retest.
Tiers and baselines
As a map, not a mandate: 250-300 DPI for bold work, 400-600 for medium detail, 600+ for photorealistic. Baselines by machine class: a 10W diode runs 80-100% power at 1200-1800 mm/min and 318-500 DPI, while a 40-60W CO2 runs 20-40% power at 300-500 mm/min and 300-400 DPI. Notice the machine classes want opposite approaches, high power at low DPI on diode, low power on CO2, which is why scrap testing isn’t optional. On the hardware fork: 40-60W CO2 is the most versatile beginner option (wood, acrylic, leather, coated metals), 10-20W diodes are more affordable but limited with acrylic and metal, entry diodes start around $300, and professional CO2/fiber machines run $2,000-$10,000+. OneLaser’s X Series (38W RF CO2, 600x300mm bed) and Hydra 9 (up to 900x600mm, dual 38W RF CO2 plus 55W glass source) exist as vendor-published claims, including a six-step plywood case study, so treat them as marketing claims until your own grid says otherwise.
The per-species starting table
| Wood | Power | Speed | DPI |
|---|---|---|---|
| Basswood | 15-20% | 350-500 mm/s | 300-400 |
| Baltic birch | 20-30% | 300-450 mm/s | 300-600 |
| Maple | 25-40% | 300-400 mm/s | 400-600 |
| Walnut | 20-35% | 300-450 mm/s | 300-600 |
| Pine | 15-25% | 350-500 mm/s | 300 |
| MDF | 15-25% | 350-500 mm/s | 300-400 |
Starting points for a 60W CO2 machine, air assist on; scale power proportionally for other wattages and verify on scrap.
Slow and low
Lower power and lower speed give nicer photo results. One reviewer’s habit worth borrowing: they rarely go near 100 mm/s. Photo engraving is about finesse, not power. And for deeper engraving, reduce speed 10-15% rather than raising power, because raising power chars edges.
The obvious move is the wrong move. Expect 15-45 minutes per photo depending on size and resolution.
Testing on your specific wood before the final piece
Run a two-pass test before committing a good board. First a generic material grid: LightBurn’s Material Test generates 10-15mm squares with speed columns and power rows, judged on contrast, depth, and edge sharpness, and presets save in LightBurn, RDWorks, or LaserGRBL. Then a photo-specific second pass: mask the focal point or most dynamic-range region of your actual image and fine-tune settings on copied layers, optionally alongside a DPI test in ImagR. One reason old settings files drift: CO2 tubes degrade, and a 60W tube can fall to 50W or below once it reaches 2,000-4,000 hours of use.
Quick test: Before the final burn, mask the most detail-heavy region of your actual photo and run a small settings grid on scrap from the same board.
Troubleshooting dark, blurry, or inconsistent photo engravings
Blurry or burned photo engravings on wood usually come from too much power, low resolution, or a poorly prepped image. Check those three before blaming the machine. Washed-out results get fixed upstream with midtone contrast or gamma correction during prep. And a dirty lens is the sneaky fourth cause: one reviewer restored clean output only after cleaning the lens underneath the already-cleaned lens.
A real thread: the too-dark plywood portrait
A Creality forum user couldn’t get an acceptable photo on 3.6mm plywood with a Falcon2 22W: 4000 mm/min, 40% power, 250 DPI, Jarvis dithering, image prepped in ImagR. Too dark, every run. A Falcon 2 Pro 22W owner showed up with numbers: 6000 mm/min at 40% for most plywood, plus material testing and correct focus distance. That’s the shape of good forum help, exact failed recipe in, exact suggested recipe out, and it’s why the speed number matters more than intuition suggests.
Flatness, focus, and grain
Thin craft wood rarely lies flat, and the supplied magnets don’t always cut it. Neodymium magnets hold corners flat against the honeycomb better, keeping focus consistent, because a corner lifting even a fraction of a millimeter throws part of the photo out of focus. Flatness is really a focus problem. The right focus distance yields the smallest spot size and the sharpest detail, and air assist reduces charring while keeping vaporized particles off the work: on for cutting, off or low for detailed engraving.
Grain orientation is use-case-dependent: grain running through the image gives better photo results, while horizontal grain visually interferes with the subject, but parallel-to-grain placement reduces inconsistencies in general work. Depends on the job, honestly. Budget 15-45 minutes depending on size and resolution.
Boosting contrast on pale woods, and finishing in the right order
Contrast on pale wood can be engineered before the burn and deepened after it, but the order is unforgiving: engrave first, then stain or finish.
Before the burn
A baking-soda coat on pale wood increases contrast, and yes, it genuinely works, no chemistry lecture required. Two gentle passes at lower power beat one aggressive pass for depth, which rhymes with everything else in this article. Masking tape prevents charring on very light woods and cuts smoke buildup: a cheap consumable doing real work.
After the burn
Pre-staining is the shortcut that costs you the result: it reduces contrast and can cause uneven burn marks. Mineral oil, stain, acrylic paint, or wax can all darken engravings afterward, so you still get color, just in the right sequence. Finish with clear coat or wax to protect the piece, deepen contrast, and keep soot from rubbing off. Kitchen items need a food-safe finish.
Laser safety for wood photo engraving
Never laser PVC or vinyl (they release hydrochloric acid gas), polycarbonate (toxic fumes), or ABS (cyanide risk), and request an MSDS for any material you can’t identify. The green glasses included with many machines may not block 450nm diode light, so wavelength-matched eyewear matters; FreeMascot OD 6+ glasses, rated 190-490nm and CE EN207 certified, are the category to look at. Fume extraction is non-negotiable, keep a fire extinguisher within reach, and never leave the laser running unattended. And note that high-resin woods plus excessive power raise combustion risk, which means the wood-choice advice and the safety advice turn out to be the same advice.
Frequently Asked Questions
What type of wood is best for laser engraving?
For graphics and logos, crisp hardwoods like maple and walnut deliver rich, high-contrast marks. For photos specifically, the shortlist is basswood, maple, birch plywood, red alder, and cherry — ranked by how well the wood renders photographic tone, not just burn contrast. A board that engraves a gorgeous logo can still butcher a portrait.
What is the best type of wood for wood engraving?
Basswood is the most reliable all-around pick: soft, fine-grained, light, and affordable, with minimal grain to interfere with detail. Maple is the contrast-maximizing upgrade if your machine has the power headroom, and birch plywood is the budget-friendly starting wood for first-time laser work.
Can you laser engrave photos on any wood?
Technically yes, but results vary wildly. Walnut’s darkness kills photo contrast, pine’s resin pockets burn as random dark blotches that drown facial detail, and cedar’s heavy grain blurs fine features. Light, fine-grained, low-resin woods like basswood and maple are where portraits actually work.
Is basswood good for laser engraving photos?
It’s the default pick, and for good reason: soft, fine-grained, light with minimal grain pattern, affordable, and widely available. Its near-white surface maximizes tonal range, and it forgives across machine classes — a 20W diode can cut 6mm basswood in a single pass where a 5W machine needed 11 to 15.
