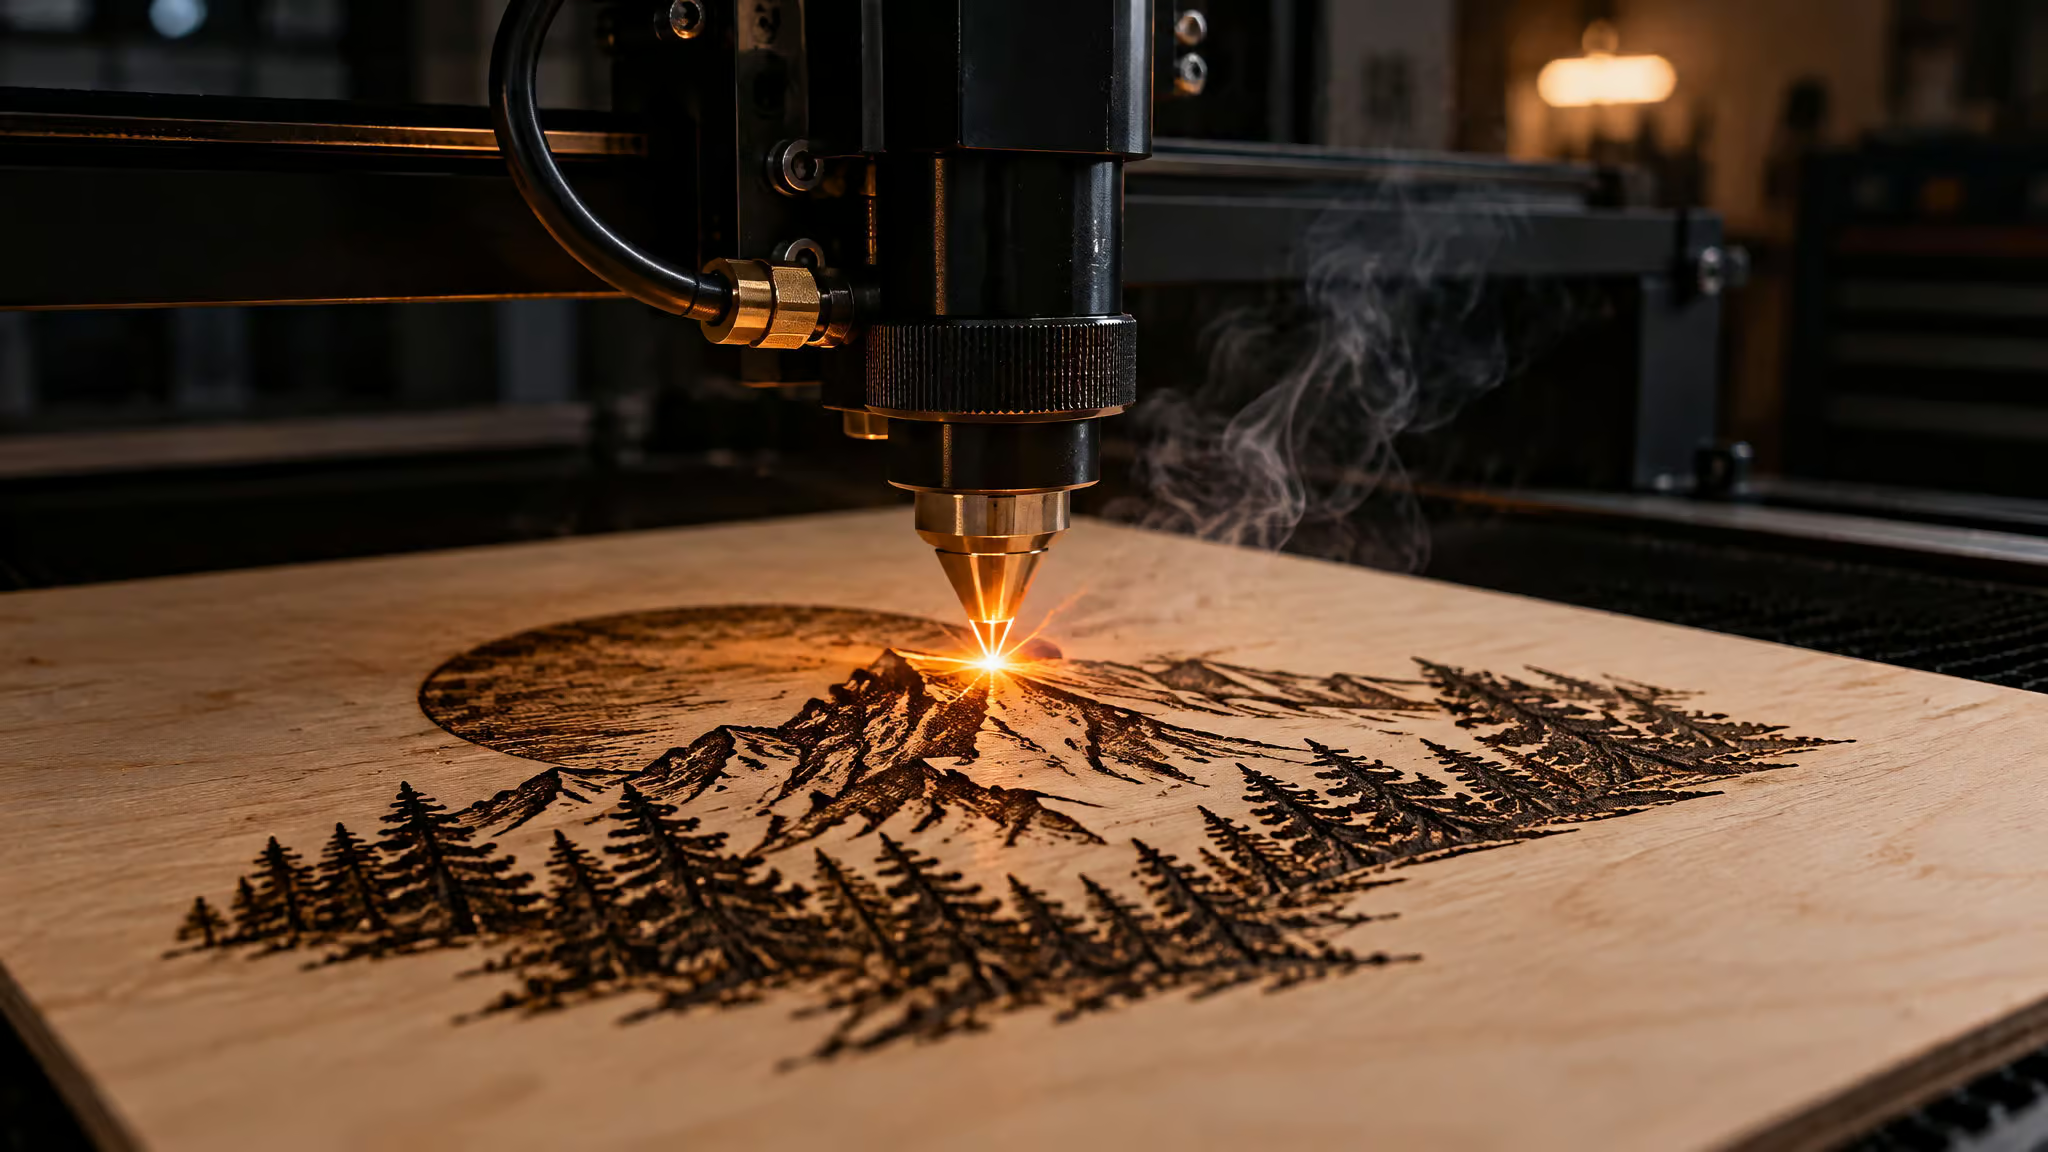
Point a laser at wood and it doesn’t vaporize anything, not the way it marks metal. It heats the surface until the cellulose and lignin break down into carbon, and that carbon is the mark. I fell down this rabbit hole because nearly every vendor page says the beam “vaporizes material,” which is literally wrong for wood, and the difference turns out to be the whole mechanism. So here’s the full chain: the wavelength, the optics, the chemistry, and the knobs that let you predict the burn instead of copying settings blindly.
Key Takeaways
Wood engraving is thermal decomposition, not vaporization: a focused beam heats cellulose and lignin until they char into carbon, which is exactly why the mark is dark.
In a CO2 machine, the invisible 10.6 ?m beam leaves the tube about 5 mm wide and gets focused to roughly 0.3 mm, squeezing the same energy into about 1/275th of the area.
Power, speed, and focal point set depth and darkness; everything else in the workflow protects those three settings.
Table of Contents
What happens when a laser hits wood
Laser engraving works on wood, a focused beam heats the surface and leaves a permanent mark. Vendor sources describe the generic mechanism as vaporization or ablation, material removal by a concentrated beam, with clean, permanent, precise marks as the payoff. On wood, the proof is sitting on every engraved cutting board: the mark is soot-dark carbon, a converted layer of the material itself rather than a gap where material used to be.
Why wood chars instead of vaporizing
A laser engraver burns and chars wood by heating it until its cellulose and lignin thermally decompose into carbon. That decomposition is the entire reason the mark is dark: you’re not really removing wood so much as converting its top layer into charcoal. The chemistry stays qualitative here on purpose; the point is that it’s heat-driven breakdown, not a clean solid-to-gas phase change.
The metal-marking expectation that misleads beginners
Metal is the contrast case, and the vaporization temperatures are all over the place: zinc marks at 906°C, magnesium at 1110°C, lead at 1750°C, aluminum at 2327°C, copper at 2595°C, iron at 3000°C. Every one of those numbers is a true jump from solid to gas. Wood marks at far lower heat by charring instead. Which explains a common first-attempt pattern: you expect crisp metal-style engraving and get a sooty, light-brown scorch. The tell is judging wood by metal-marking expectations. The standard practitioner fix is pressing masking tape over the burn and peeling the soot off with it.
Inside a CO2 laser engraver: from 5 mm beam to 0.3 mm spot
A laser engraving machine has three core components: the laser source, the optic system, and the control and motion system. The source is where the high-intensity beam comes from, the optics decide where it lands and how small it gets, and the control system steers everything from a digital design. Which means your engraver is basically a 2D plotter that burns.
The optical path
Follow the beam through a CO2 machine (these figures come from FLUX Inc.‘s documentation of their CO2 hardware, so treat them as CO2-specific): electric current excites CO2 gas inside a sealed glass tube, producing a 10.6 ?m beam that’s invisible to the human eye. Yes, really: the beam doing all the work is one you cannot see. It exits the tube about 5 mm across, bounces off three reflective mirrors, the second riding the Y-axis and the third the X-axis in a little mechanical dance, and lands on a glass focus lens.
Why spot size matters
The lens squeezes that ~5 mm beam down to roughly 0.3 mm, or about 0.2 mm with a 1.5-inch lens add-on. Same energy, roughly 1/275th of the area. That concentration, not raw power, is what does the work. Just past the lens, the nozzle blows a stream of air across the spot, clearing fumes and cooling the work area. Remember that air stream; it comes back later.
Which laser is best for engraving wood
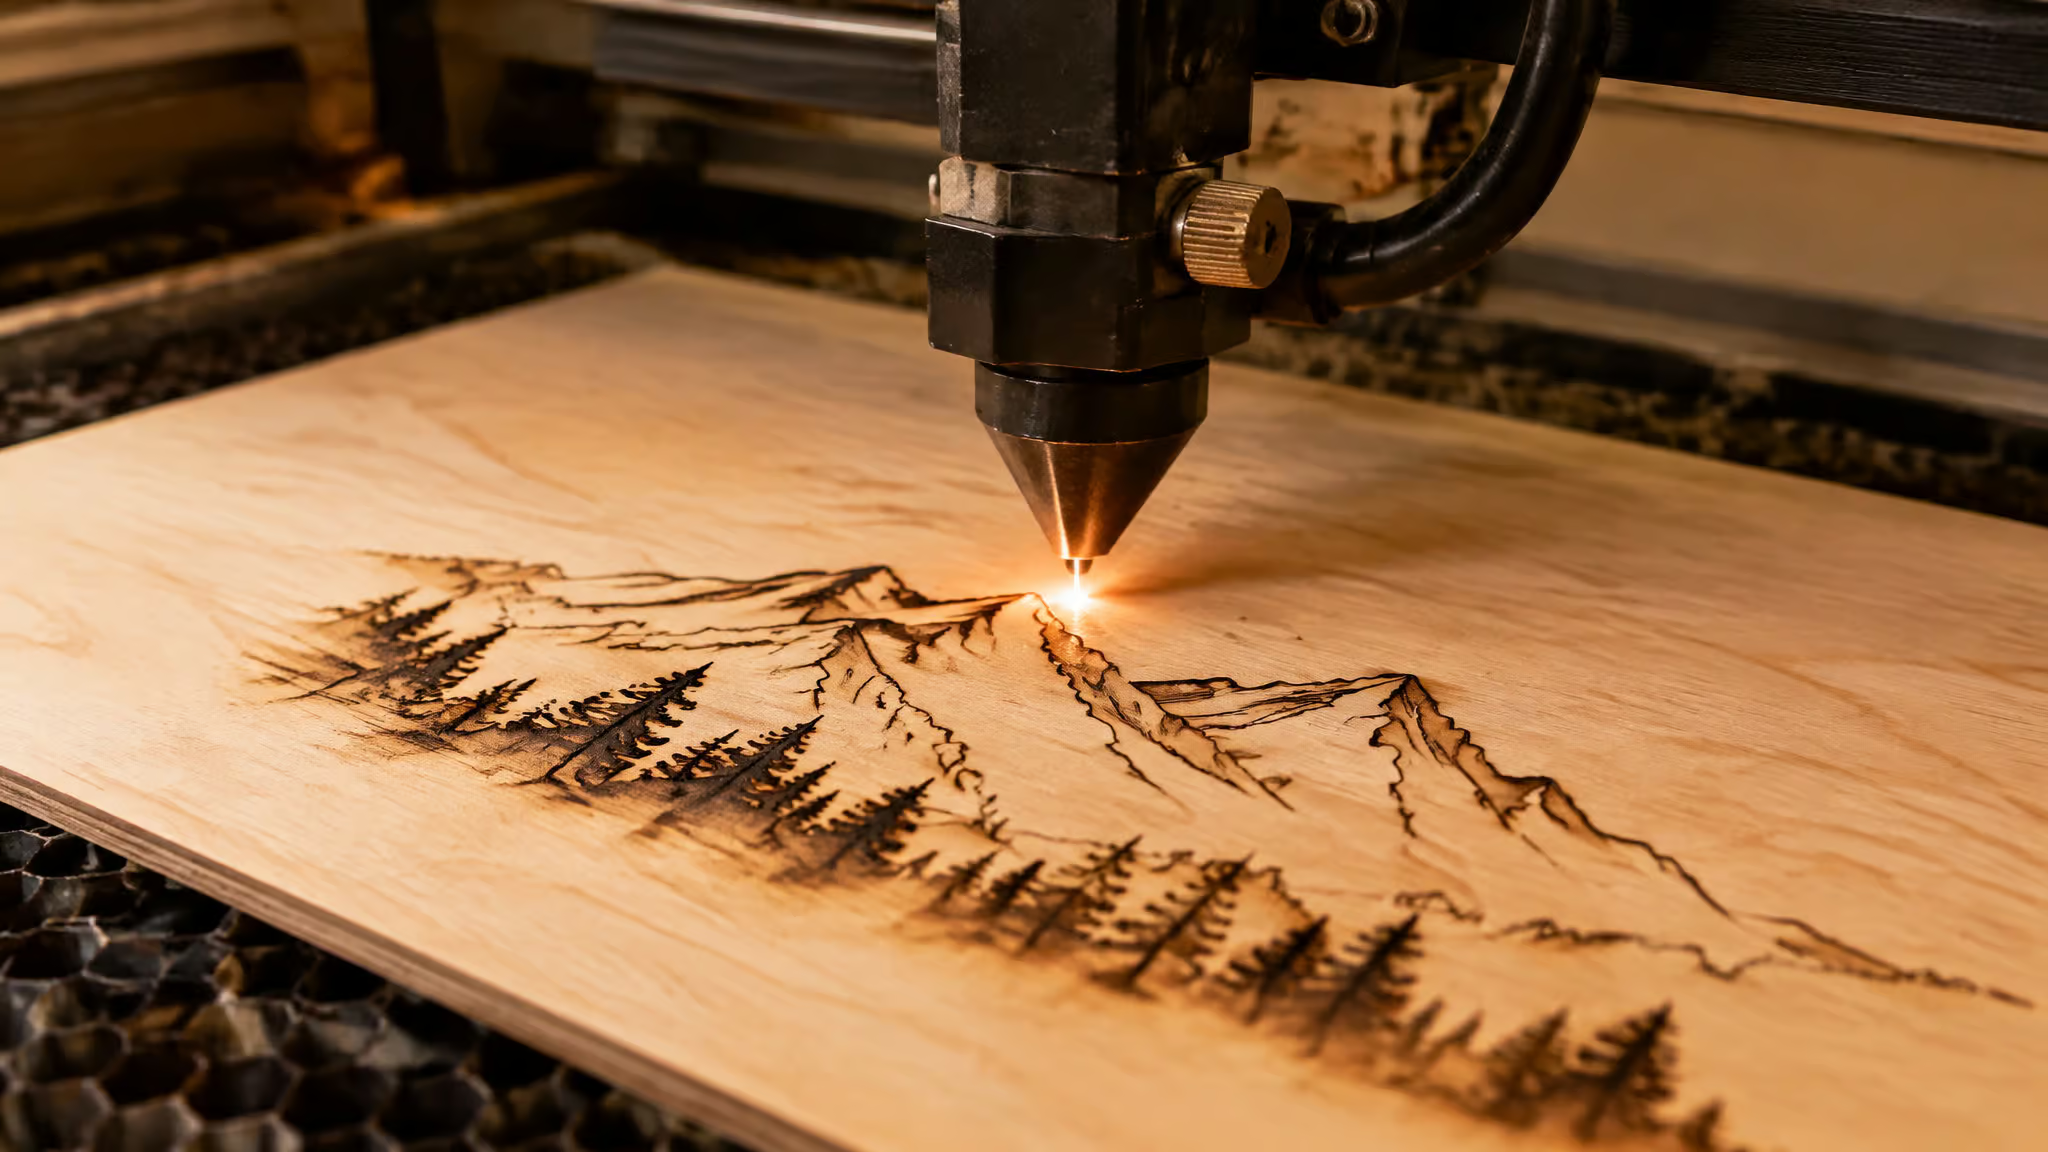
CO2 lasers are the best-documented choice for engraving wood, because organic material strongly absorbs their 10.6 ?m wavelength. FLUX‘s own documentation notes that the focused beam instantly burns through wood and acrylic at focus, which tells you how eagerly wood drinks up that wavelength.
Why CO2’s 10.6 ?m wavelength suits wood
Reframe the whole comparison as absorption physics rather than power. The real question is which wavelength the material actually absorbs, not which laser is stronger. Wood is cellulose and lignin, organic structures that take up far-infrared wavelengths like 10.6 ?m efficiently as heat. That’s why a CO2 tube and a sheet of plywood are such a natural pairing, and why a fiber laser that engraves steel beautifully can disappoint on the same board.
Fiber lasers: metal-optimized, wood-limited
Fiber lasers are built around metal. Stainless steel and aluminum mark clean and high-contrast; gold, platinum, iron, and silver also work; brass is the stubborn one, because its high reflectivity means you need high peak power to get a mark to stick. None of that metal prowess transfers cleanly to wood, since wood doesn’t absorb the fiber wavelength the way it absorbs 10.6 ?m. If your target material is a board, fiber is the tool fighting the stock.
| Material | CO2 (10.6 ?m) | Fiber |
|---|---|---|
| Wood | Yes (chars into dark, permanent contrast) | Partial (not what it’s optimized for) |
| Stainless steel, aluminum | Partial (anodized or coated variants) | Yes (clean, high-contrast marks) |
| Plastics (PVC, PE, ABS) | Partial (outcomes vary) | Partial (outcomes vary) |
The full laser-type menu and the diode question
Zoom out and the taxonomy is fiber, CO2, hybrid, UV, and solid-state: different tools for different jobs. CO2 and fiber are the two you’ll actually encounter most. Plastics like PVC, PE (polyethylene), and ABS come out differently on each, and PVC deserves its own caution flag, which we cover in our guide to materials you should never put under a laser. CO2 also manages anodized aluminum and sprayed stainless steel as edge cases. If you’re sorting the flip side of that question what materials can you laser engrave, wavelength matters more than wattage across diode, CO2, fiber, and UV laser options.
The vendor gear in this space: KEYENCE markets a five-machine marking lineup, Lumitool promotes its F20 fiber engraver, and FLUX makes the beamo desktop CO2. All of that is vendor marketing, named for orientation and not endorsed.
The honest gap: diode lasers are a live hobbyist comparison for wood, but the evidence behind this piece covers CO2 and fiber, so the diode branch needs separate verification before I’d hand you a verdict. We take up the broader question of whether lasers can engrave wood in its own piece.
Engraving, etching, or annealing: naming the mark
Laser engraving sublimates material, solid straight to gas, which is why engraved marks go deep and survive abuse; etching melts the surface for contrast and stays shallower; annealing thermally oxidizes metals like stainless steel, a third trick entirely. The speed is the delightful part: if you dig into how laser engraving works, you find that a fiber laser heats material to vaporization temperature within milliseconds, the beam acting like a chisel eroding surface layers while the material turns to smoke. Choosing between them comes down to five things: marking resistance, speed, aesthetics, regulation, and material. A shorter three-factor version, resistance, speed, material, circulates too, and I’d rather tell you both are floating around than pretend the industry settled on one number.
On wood, though, the checklist collapses to essentially one question: what look and depth do you want? Regulation and corrosion resistance, the factors that dominate metal marking, don’t apply to a board of birch. Wood’s charring behavior governs the outcome.
From design file to finished engraving: the process
Laser wood engraving runs from a digital design file to a finished mark: you set up, dial in the fiber laser settings for wood, and a row-by-row beam pass. You draw it, the machine burns it. The workflow, in the order it actually happens:
- Design the artwork in software
- Transfer the file to the machine
- Position the part correctly
- Keep the workspace clean and debris-free
- The beam gets directed row by row across the design
- Power, speed, and focus set the depth and darkness
- Repeat passes to deepen the mark
Digital design and machine setup
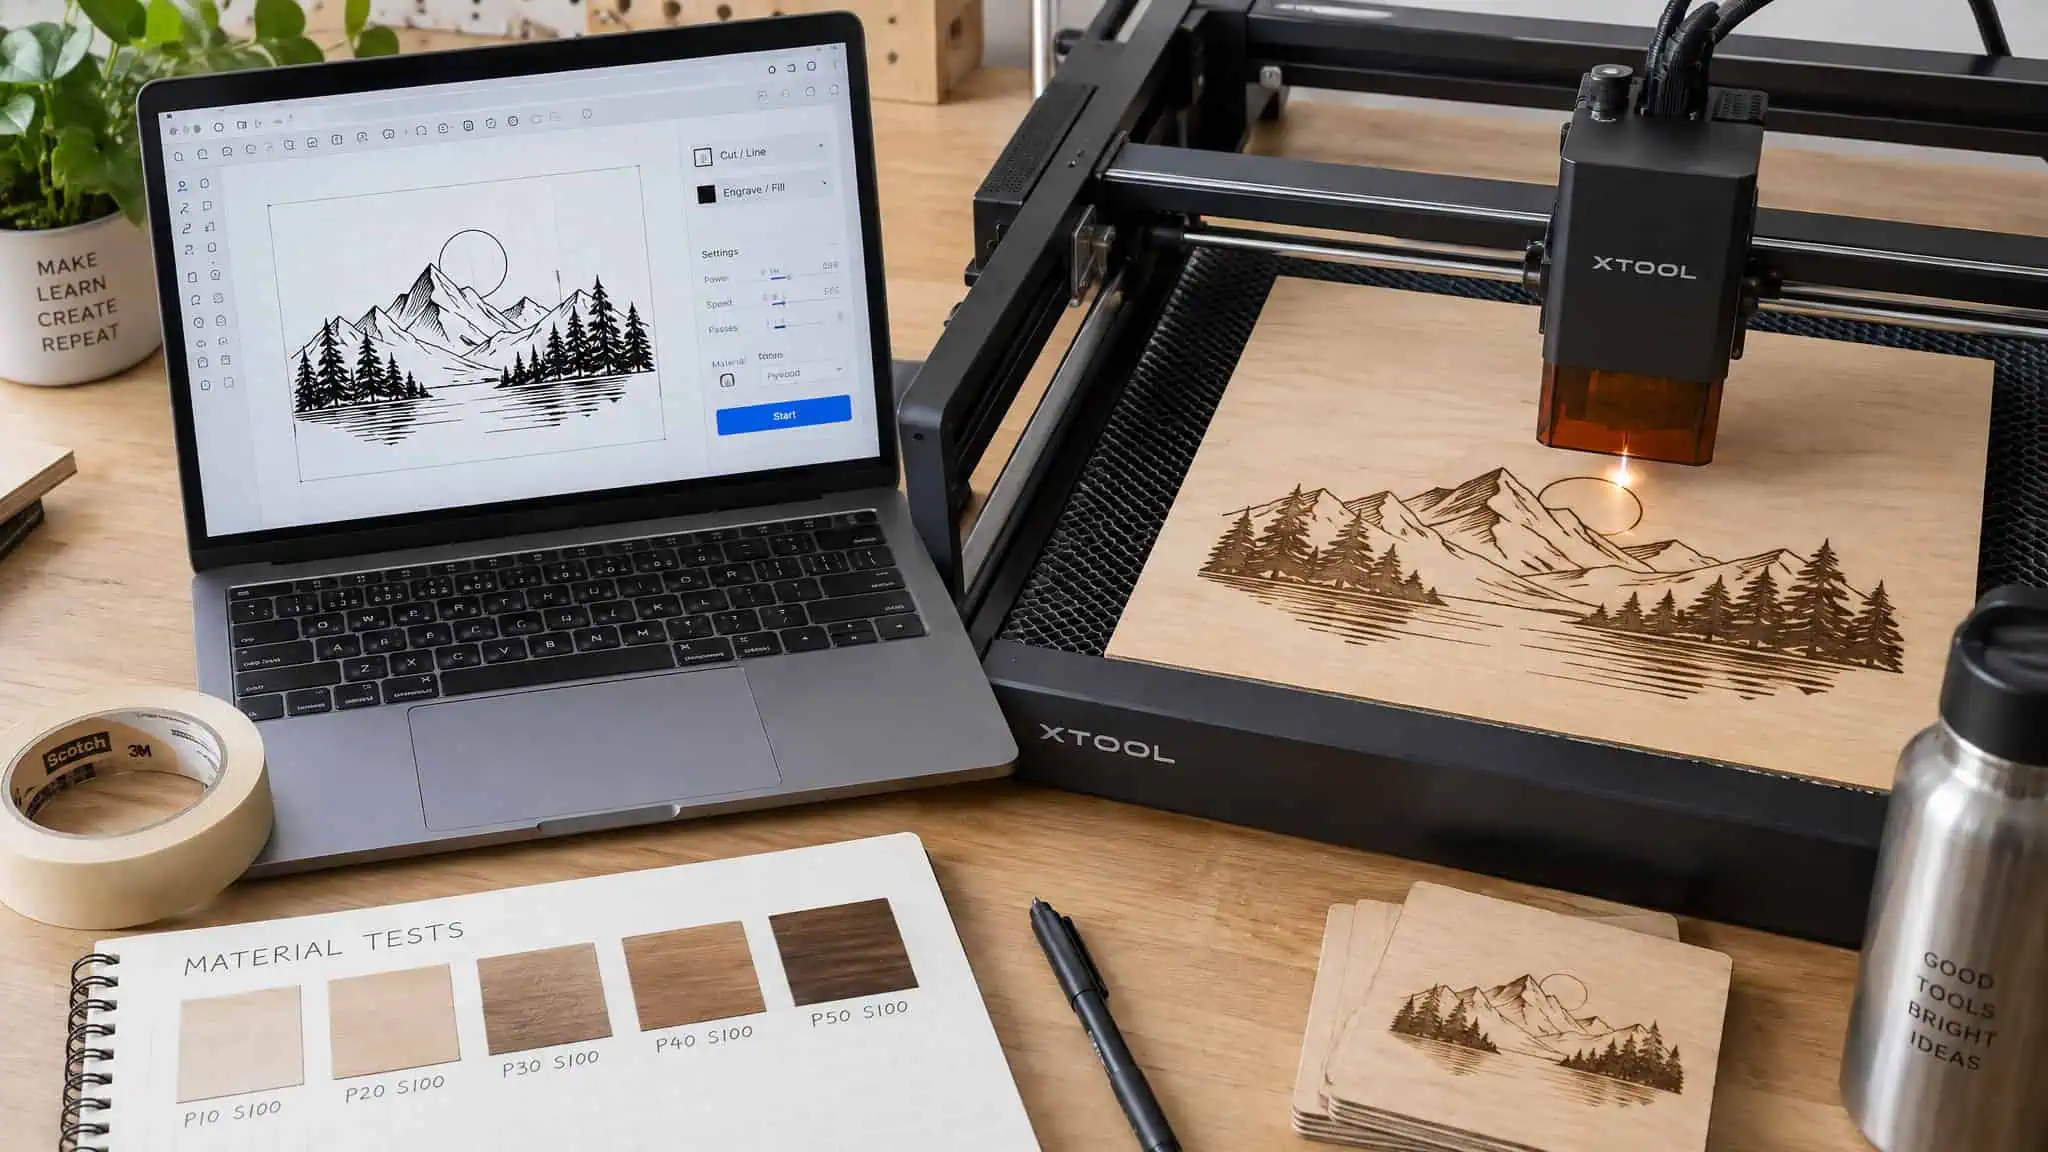
Specialized software drives the design: FLUX‘s Beam Studio in the CO2 ecosystem, with LightBurn and ImagR showing up throughout the practitioner workflow. Positioning is the quiet dealbreaker, because the machine can’t fix a crooked workpiece. A typical setup mistake: uneven engraving depth traced back to unchecked part positioning, or running parallel to the grain instead of across it. The machine will faithfully reproduce your mistake at high resolution.
Power, speed, and focus
Power, speed, and focal point are the entire control surface for depth and darkness. Everything else in the list exists to protect the integrity of those three settings. Tune them the way you would on a test board: too light, bump power or slow the head down; too sooty, back off or lean on the air assist. And when you need more depth, the honest trick is to just run it again: multiple passes with high heat stack depth layer by layer.
Quick test: Too light a mark? Bump power or slow the head. Too sooty? Back off the settings or lean on the air assist.
Row by row
The beam sweeps the design row by row, and digital control buys you a guarantee hand engraving never could: same setup, same result, every part. It’s the automated successor to handheld engraving, done in minutes or seconds, and your handwriting stops mattering entirely. That last part is genuinely the best feature nobody markets.
Working with wood: grain, flatness, soot, and stock choice
Baltic birch plywood is the most-cited practitioner-favorite stock for laser engraving, with one caveat: its glue lines behave differently under the beam than solid wood. Nothing I read explains the glue-line mechanism, so I’ll leave it as an observed quirk rather than invent one.
Grain direction and sheet flatness
Most of what follows comes from Laser Engraving 911‘s wood pro-tips video, and it’s solid bench wisdom. Engrave against the grain for more even, darker results, and keep the sheet flat, because a bowed board engraves at varying depth.
Air assist, darker marks, and soot cleanup
For light or patchy burns, the supported sequence is: tune power, speed, and focus, run air assist at the right moment, then clean the soot afterward with masking tape, rubbing alcohol, or methanol technical grade. The video’s full ten also cover photo engraving (prep the image in ImagR and LightBurn first), high-detail cutting, picking the right wood, darker marks on resistant stock, one-piece designs, and kerf for interlocking pieces. Two community extras: the penny trick to defocus, and a commenter’s fix for 3/4-inch cuts, where the beam loses focus as it goes deeper, so you raise the bed after a few passes to keep it focused inside the cut channel. Anecdotal, your mileage may vary.
Baltic birch plywood and the glue-line caveat
Practitioners keep coming back to Baltic birch anyway; the glue lines just burn a little differently, and that’s the honest limit of what’s documented.
Kerf, one-piece designs, and technique hacks
Deeper rabbit holes exist: Trotec‘s aluminum foil wood inlay hack, claimed to deliver 60% finer detail, which is creator marketing and unverified, and Corvus Moon Studio‘s Norton White Tile Technique. And if you’re marking wood by hand instead, which woods suit a Dremel is its own question.
Smoke, soot, and safety: what the burn produces
The burn produces smoke, soot, and a permanently darkened surface, and each one follows directly from the mechanism. Vaporized material becomes smoke, so fume extraction is a physical requirement of the process. That’s why a fume extraction system and air knife should come with the machine: they protect your lungs first, then your laser lens. Charring and soot are inherent tradeoffs of running a thermal process on wood, managed with air assist and post-burn cleanup rather than defects to eliminate.
Grain-dependent unevenness and plywood resin discoloration are artifacts of the same localized heating. One quiet upside: because the beam never touches the work, the same process marks fragile glass and minuscule components without any mechanical stress.
Is it hard to learn? The machine is easy, wood is the variable
The machine is the easy part. KEYENCE markets its engravers as having a minimal learning curve and user-friendly interfaces, and that’s vendor marketing, but it’s also practically incomplete, because wood is the real variable: species, grain, moisture, and plywood glue content all shift how identical settings behave.
Settings-transfer as the real beginner failure mode
The recurring pattern in hobbyist communities is settings-transfer failure: copying a forum’s power and speed recipe onto different stock and burning straight through the test piece. The practitioner response is boring and effective: test on the same stock you’ll actually use, which is why material sampler packs, like the ones Creative Cut Supplies sells, exist in the community ecosystem. This is the gap we care about at GeekExtreme: the marketing says the machine is easy, and the physics says the material is the exam. On cost, the honest answer is that machine and per-job pricing isn’t something the material behind this piece covers; prices vary widely, so I won’t fabricate figures.
Field note: Copying a forum’s power and speed recipe onto different stock is the classic beginner failure. Always test on the same stock you’ll actually engrave.
From Maiman’s 1960 laser to the industrial parent of your desktop machine
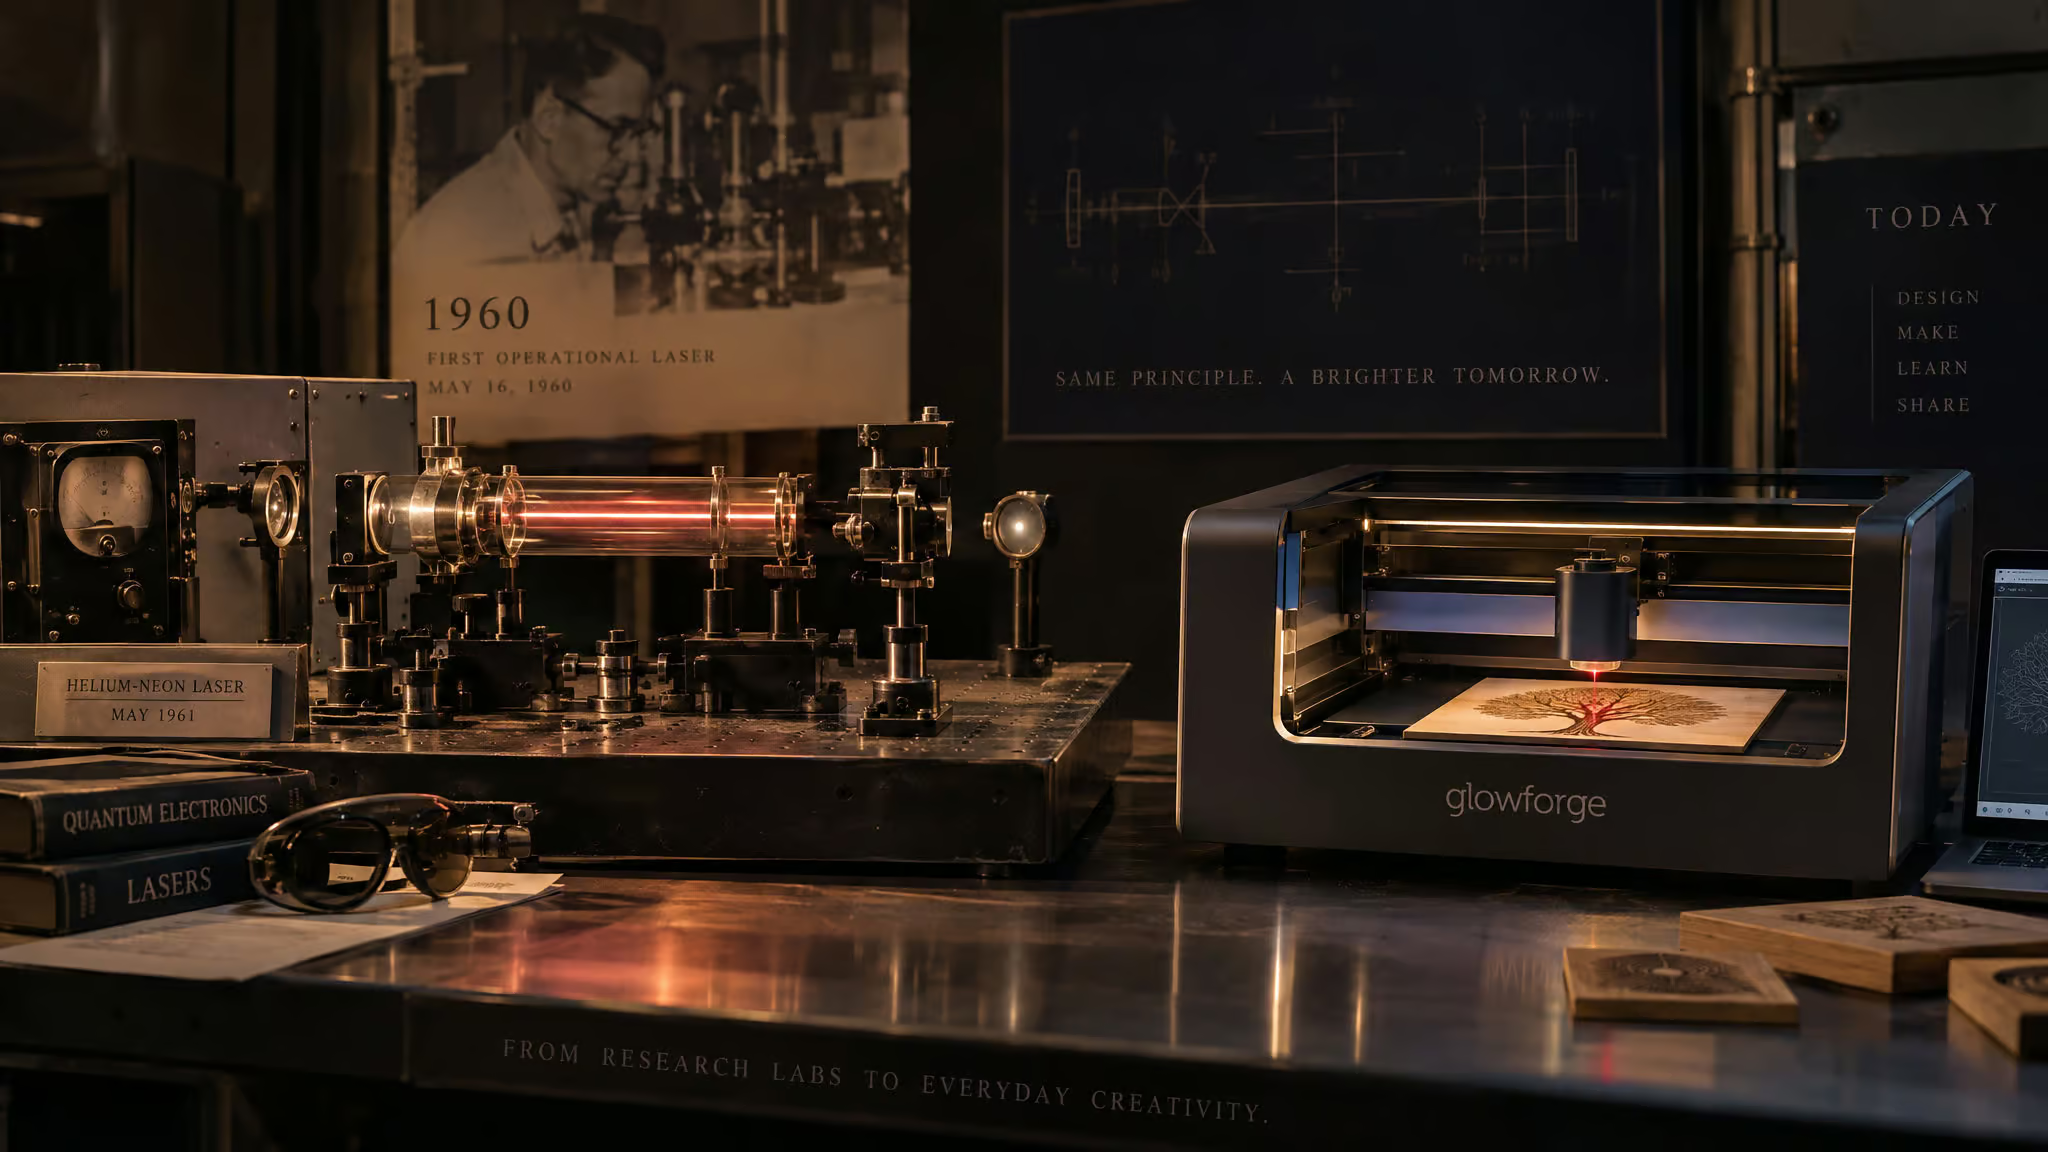
Theodore Maiman built the first working laser in 1960, and the earliest engraving machines in the 1970s already ran CO2 tubes, the same medium you’d use on wood today. That history is commonly reported from a single vendor source, but it lines up with the standard accounts.
Sixty years from lab bench to desk
So the machine on a hobbyist’s desk descends directly from a 1960 lab bench prototype and a 1970s industrial tool. This is mature, sixty-year-old engineering, and that’s exactly why it’s dependable.
Traceability: why the beam was built for permanence
The most common industrial use is traceability: marking products with unique identifiers, UPC codes, 1D barcodes, and 2D data matrix codes, trackable through manufacturing. Medical devices carry 2D-code UDIs, short for Unique Device Identification, that must be machine- and human-readable and permanent, supporting FDA compliance and patient safety, and the marks survive anti-corrosion seals, sterilization, and bodily fluids that defeat ink. Automotive is the scale wow: roughly 35,000 parts per vehicle, with seat belt components, day-and-night dashboard marks, engine blocks, and chassis VINs all carrying codes. And 2D codes stay readable after shot blasting, e-coating, and heat treatment. That’s wild, and it explains why the technology was engineered for permanence in the first place.
What the beam is built for: permanence across materials
Because the beam never touches the material, it minimizes damage and contamination, and the marks it leaves resist wear, abrasion, and chemicals.
Fragile, odd-shaped, and difficult materials
The grounding example: non-contact marking tags minuscule PCB components like capacitors and crystal oscillators without mechanical stress. Tiny wizardry. Glass gets programmable power to dodge its weak points; odd-shaped rubber gets 3-Axis machines.
From factory floors to craft tables
High-end manufacturers etch logos because printed labels come off, voluntarily or not, while etched branding stays. Personalization work, wall hangings, jewelry, watches, custom gifts, signage, art, runs on the same physics.
Frequently Asked Questions
What are the core components of a laser engraving machine?
Three: the laser source, the optic system, and the control and motion system. The source produces the beam, the optics decide where it lands and how small the spot gets, and the control system steers everything from a digital design — essentially a 2D plotter that burns.
What type of laser is best for engraving wood: CO2, diode, or fiber?
CO2 is the best-documented choice, because organic material like cellulose and lignin strongly absorbs its 10.6 μm far-infrared wavelength as heat. Fiber lasers are metal-optimized and disappoint on the same board. Diode lasers are a live hobbyist comparison, but the evidence base for them on wood is thinner than for CO2.
What is the step-by-step process from digital design to finished wood engraving?
Design the artwork in software (Beam Studio, LightBurn, and ImagR are common), transfer the file to the machine, position the part correctly, keep the workspace clean, then the beam sweeps row by row across the design. Power, speed, and focus set depth and darkness; repeat passes to deepen the mark.
Why does my laser engraving on wood look light or uneven, and how do I get darker marks?
Too light? Bump power or slow the head down. Uneven results usually trace back to unchecked part positioning, a bowed sheet engraving at varying depth, or running parallel to the grain instead of across it. Engrave against the grain for darker, more even results, run air assist at the right moment, and clean soot afterward with masking tape or rubbing alcohol.
Which woods engrave well: is Baltic birch plywood a good choice for laser engraving?
Baltic birch plywood is the most-cited practitioner-favorite stock, with one caveat: its glue lines burn a little differently than solid wood. Keep the sheet flat, since a bowed board engraves at varying depth, and always test on the same stock you’ll actually use.
