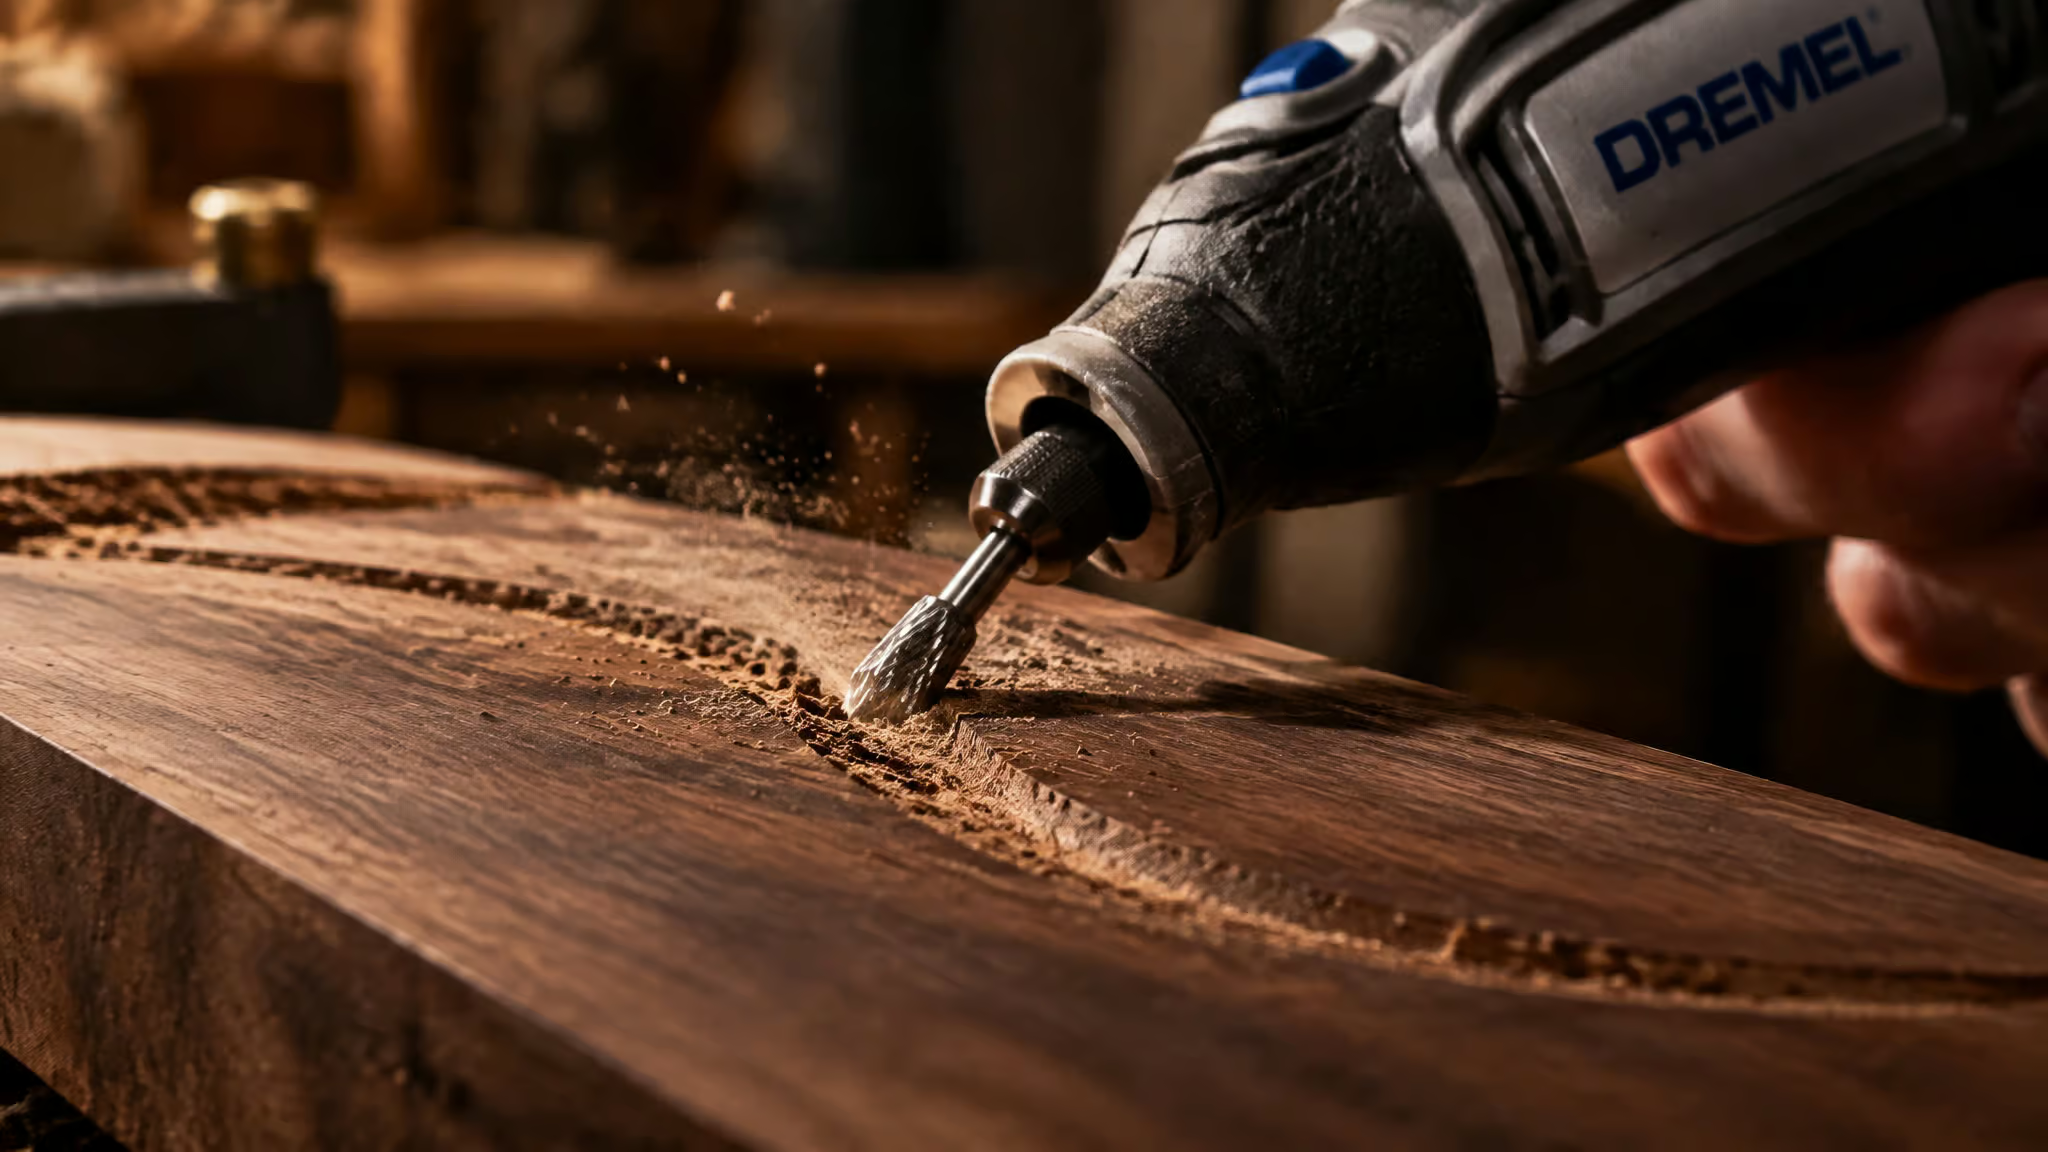
Type “best wood for engraving” into a search engine and you’ll get a dozen confident lists that can’t agree with each other. Basswood is number one on one, maple on the next, walnut floats somewhere in the middle of both. I dug into why, and the answer is embarrassingly simple: almost every one of those lists was written for laser engravers. A laser burns contrast into the surface of a board.
A Dremel bur physically removes material. Those are different physics problems, and they rank wood differently. So here’s the list the search results should have handed you: twelve woods judged by how each species stands up to a spinning bur, paired with the actual bits that work, the prep and finishing steps that make results look intentional, the materials that will ruin your afternoon, and a numbers-backed case for when the rotary tool is genuinely the right machine. No laser power settings. Promise.
Key Takeaways
The best woods for engraving with a Dremel are basswood, black walnut, and birch plywood: soft-to-medium hardness, fine grain, low resin.
A power carver’s hands-on favorite is black walnut: medium hardness, crisp detail, a shiny finish from oil alone, and hardware-store prices.
Maple tops laser guides but fights a bur. It’s hard enough to fight the bur the whole way, which is why walnut holds similar detail with less fight.
Table of Contents
Why laser “best wood” lists mislead Dremel users
The criteria carry over between tools. The rankings don’t. Laser guides weigh burn contrast, resin behavior near the optics, and scorching at the surface. A bur weighs hardness under the tool, grain consistency, tear-out, and how the wood takes a finish.
Same five underlying criteria, completely different scoreboard: good contrast, consistent density, low resin, availability, affordability. For rotary work, contrast becomes how visible depth and finish are, and “gentle settings” translates into bur sharpness, speed control, and how hard you lean on the tool. Maple is the one-sentence preview of the whole problem: the hardness that holds razor-sharp laser detail is exactly what makes it miserable to power carve. (If you want the burn-side physics, we’ve covered how laser engraving on wood actually works separately.)
Wood itself stays the right material either way. It’s beautiful, cheap, everywhere, and forgiving when you screw up.
Best woods for engraving with a Dremel: top picks
The best woods for engraving with a Dremel are medium-hard or soft fine-grained species, and the three that earn the top spots are basswood, black walnut, and birch plywood. The broad consensus across guides is that soft, fine-grained woods rank highest, with opinions splitting mainly by how much detail you’re after. On top of that sits a hands-on verdict I trust more than any ranking: Log’s Carving Club, a power carver who has documented work across a dozen species, calls black walnut the favorite rotary wood, for its medium hardness, attractive patterns, crisp detail, a shine that comes from oil alone, and hardware-store prices. That same practitioner actively dislikes pine for its knots and splitting. Those bench notes are the closest thing to first-hand community data here, so treat them as one carver’s experience rather than a forum consensus, and I’m paraphrasing rather than quoting threads that don’t exist.
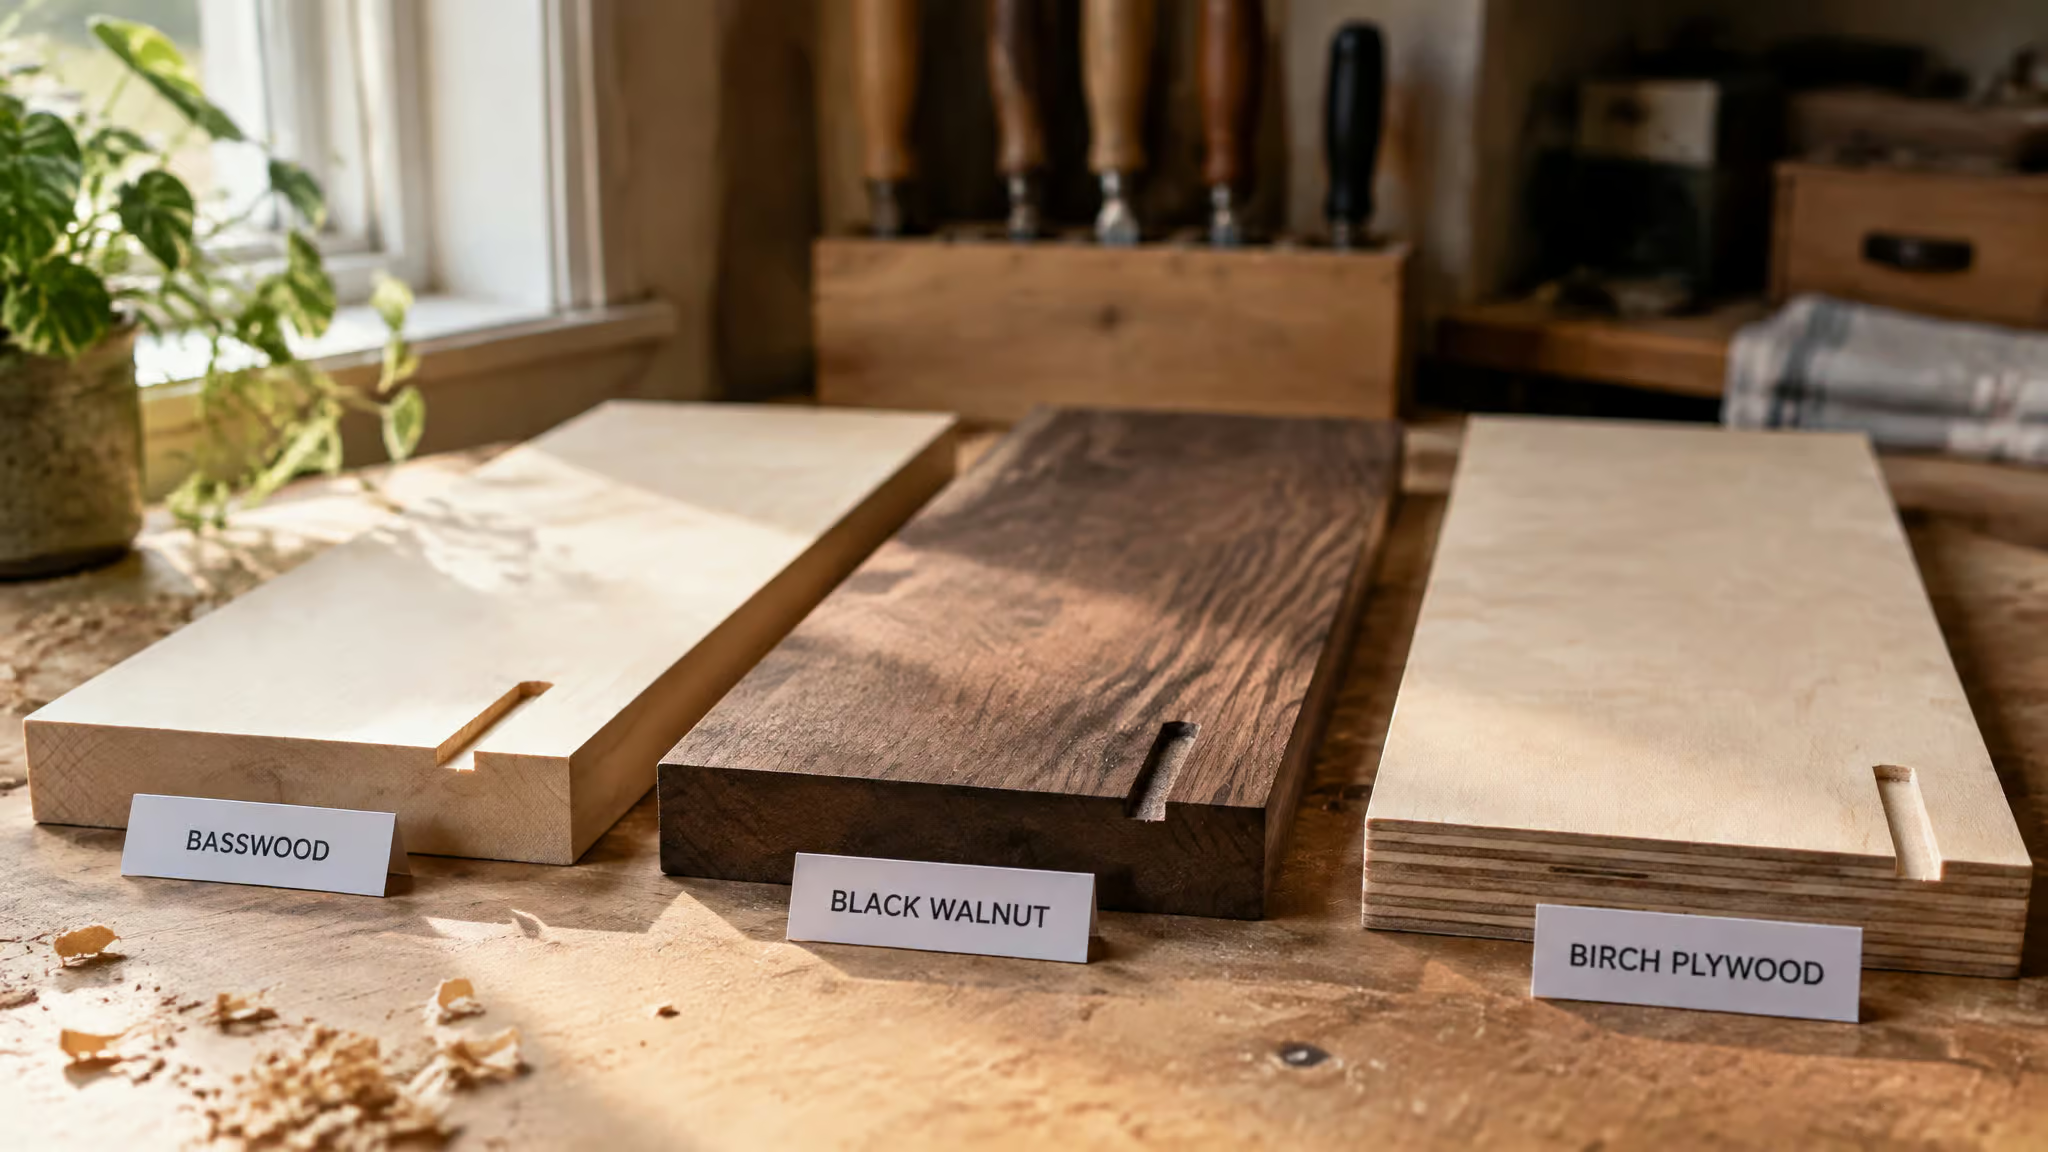
Basswood: the beginner’s default
Start here and you won’t regret it. Basswood is soft, its density is remarkably consistent, the resin content is low, and it takes a smooth, finishable surface while giving you dark engraving contrast for free. It’s also inexpensive, which matters when your first three coasters look like evidence of a struggle. One nudge: because it’s soft, gentle settings beat cranking the tool.
It’s the traditional whittling wood too, which tells you something. Basswood has been the crowd favorite well beyond engraving for a reason. Coasters, signs, jewelry boxes, small gift projects: this is its home turf.
Black walnut: the quality default
Here’s the one that surprised me. Walnut’s deep brown reads as expensive before you touch it, it’s very stable, low in resin, and the hardness gives clean, sharp detail. And it carries the best quirk in this whole list: on walnut’s dark background, your engraving reads lighter. Inverted contrast.
It’s a photo negative, and once you see it you’ll start designing for it on purpose. Dense walnut wants slower passes when you’re going deep. Trophies, high-end signage, wedding gifts, gun stocks: this is the wood you reach for when the piece matters.
Birch plywood: the budget workhorse
Cheap at the big-box store, and honestly kind of underrated. Birch plywood is affordable, sold everywhere, remarkably uniform from sheet to sheet and holds its shape, has fewer voids than most plywoods, and cuts clean. Two caveats earn their keep: spend up for high-grade void-free sheets with a smooth face, and keep cuts shallow or the thin face veneer bubbles. Also, solid birch is genuinely harder to find than the plywood. Signs, boxes, ornaments, logos: all fair game.
Basswood vs. birch plywood, mechanically speaking: basswood gives you soft, uniform grain that a bur glides through, while birch plywood gives you a hard, smooth face with a veneer layer that bubbles if you dig past it. For hand-held cutting rather than burning, basswood is the more forgiving canvas; birch plywood wins when you need a big, flat, cheap surface and plan to keep the cuts shallow.
| Wood | Bur-friendly? | Detail | Finish | Watch out for |
|---|---|---|---|---|
| Basswood | Yes (soft, consistent) | Yes (dark contrast) | Smooth and finishable | Gentle settings; it’s soft |
| Black walnut | Yes (medium hardness) | Yes (crisp, reads lighter) | Oil only, comes out shiny | Slower passes for depth |
| Birch plywood | Yes (cuts clean) | Yes (smooth face) | Partial (bubbles if cut deep) | Buy void-free, smooth-face sheets |
Mid-range hardwoods that carve and finish well
Alder is the pick for signs and cutting boards. Mahogany behaves like walnut but costs more. Cherry is for keepsakes you want looking better every year.
Alder is a soft, light-colored hardwood with consistent grain, few knots, and low resin, so it cuts cleanly. The selling point is the light background: excellent contrast, and the wood darkens nicely over time. It sits a step above basswood on the hardness scale while remaining easy to carve, keeps the price low, and shows up at most suppliers. The catches: it burns if you get aggressive, and that light surface shows every mistake. Signs, cutting boards, coasters, decorative pieces.
Mahogany is the carver’s second favorite, and the reason is simple: it behaves like walnut. Holds detail, easy to carve, and polishes up nicely. Its straight, even grain stays put as humidity shifts, luxurious look. It costs more, it’s hard to find in some areas, and contrast is lower than on lighter woods.
Cherry is the one I’d pick for a gift I want to get better looking every year. Warm reddish-brown that deepens with age into a rich patina, smooth fine texture, excellent contrast, moderate density. It’s pricier than alder or birch and harder to find in small quantities. Premium engravings, high-end gifts, kitchen utensils, furniture inlays.
Practice and project-specific woods
Poplar is the best budget wood for practicing Dremel engraving: very cheap, easy to find, soft, fast to carve, and it gives good contrast. The catch is that it’s hard to get a smooth finish on, so think of it as stock for practice, paint, and quick projects rather than showpieces.
White oak is the outdoor pick: water-resistant, readily available, strong, with distinctive grain that adds character. It carves quickly and the pores leave a nice texture, but it won’t take a smooth finish, and it’s a bit brittle. Carve it too thin and a wrong catch can blow a section apart. Ask me how the war stories start.
Ash has bold, prominent grain that some people love, engraves well, and it’s strong enough for larger pieces like cutting boards and signs. Difficulty: easy to medium.
Balsa sits in an awkward middle ground rather than earning a spot on the list. It’s extremely soft and easy to cut, but the contrast it delivers is only so-so. Great for model making and lightweight builds, not ideal for most engraving.
Is maple too hard to carve with a Dremel?
Under a bur, maple is colorless, hard on your bits, prone to burn marks, and takes forever to sand, even though it holds fine detail, resists warping, and tops every laser guide. The mechanism is the same property laser guides celebrate: that hardness gives a laser crisp contrast, and it makes a hand-held bur chatter and dull your bits. The honest carve-out is that maple still earns its place where durability rules, which is why carvers use it for spoons and combs. Spalted and curly maple are gorgeous but expensive.
If you take it on, pack patience and carbide. Or reach for walnut, which holds similar detail with considerably less fight. This is the correction I most enjoy getting to make.
Exotic woods for Dremel engraving: the tradeoffs behind the beauty
The exotics share a pattern: most are hard enough to fight the bur every step of the way, slow to carve and finish, and punishing for beginners, yet the finished pieces look spectacular. Each one below earns its spot on looks alone, so weigh the beauty against the hours it costs you.
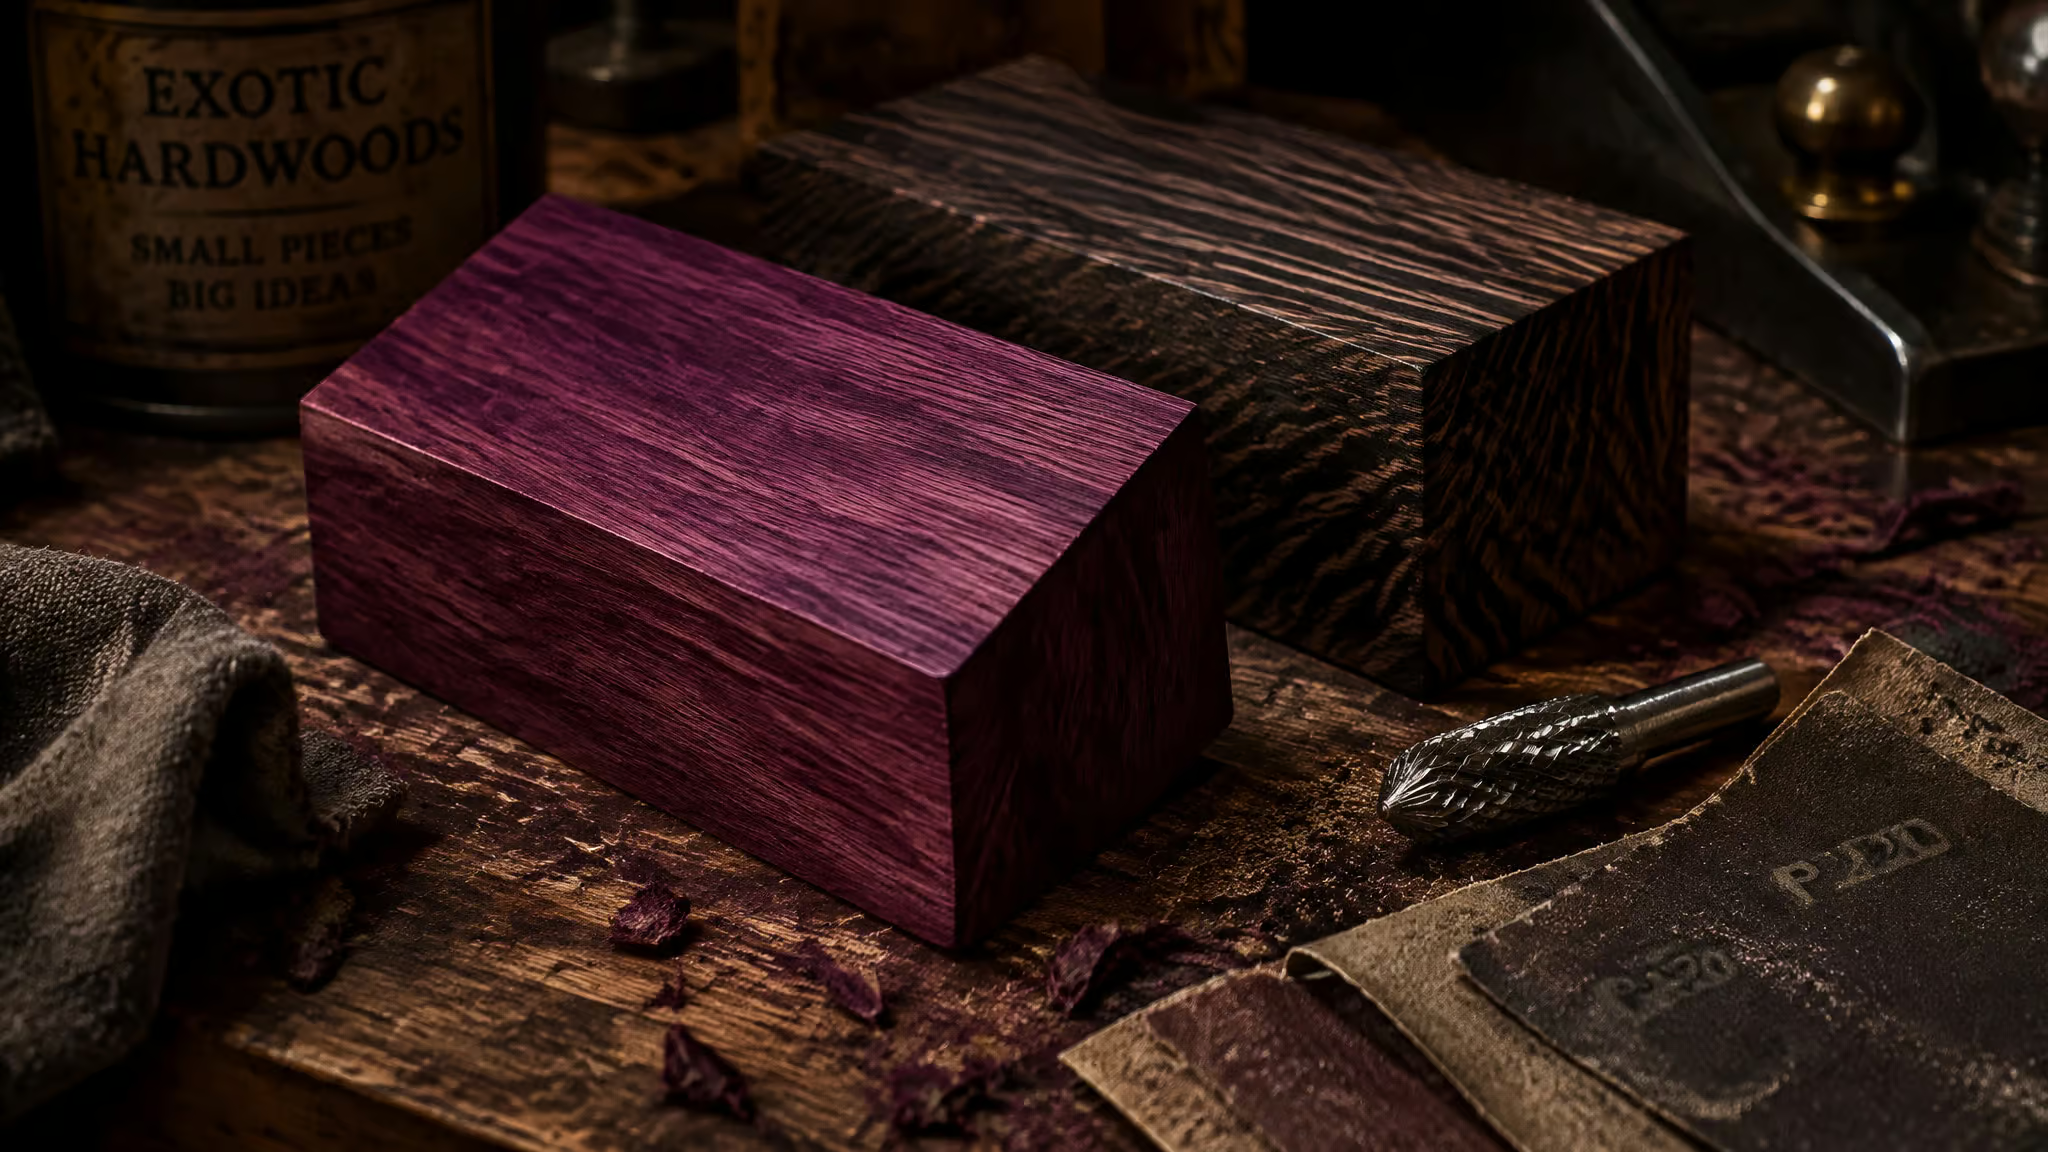
Blue gum (eucalyptus)
Extremely hard; after a long sanding session the surface turns almost plastic-smooth and holds detail superbly. The tradeoff: carving it drags on forever, and it scorches while you work. Frustrating for beginners, great finished product.
Purple heart
Very hard: burns with dull tools, takes forever to carve and finish. Fresh-cut surfaces brown as they oxidize, while sanding brings out a deep purple that fades over time. Expensive, not for large pieces.
Red heart
Carves very similarly to walnut, and the colors oxidize and deepen to red over time. About $20 for a small block.
Wenge
Gorgeous dark color; the darker lines are harder than the lighter ones, so polishing wheels turn that into fun texture, and oil alone gets it almost plastic-smooth. Brittle, though: a carved tail snapped off during one carver’s work, so don’t carve it thin.
Matching Dremel bits to wood hardness
The Dremel 191 is the go-to bit for fine detail, the 561 roughs out shapes but bites and jumps, and spherical tungsten carbide bits handle the hardest species. This is the half of every wood list that never gets written: which bur for basswood versus which bur for purple heart. And once the carving is done, the Dremel EZ 402 mandrel takes over, holding sanding discs for edge cleanup without creating new edges.
Rough shaping
The 561 is the carver’s favorite for outlines and rough forms, but it bites and jumps, so work right to left and keep a firm grip. The 562’s less aggressive teeth allow slower, more controlled, more precise cuts, and it’s handy for drilling holes and roughing out large engravings. The Kutzall Xtreme flame bur shapes quickly with more control than the 561, because it doesn’t bite into the wood.
Fine detail
The 191 is the go-to engraver for detail work like wood-spirit eyes and mouths, and it leaves engravings fairly clean. The 106 is its smaller sibling for even finer work. The 111 is long and thin with a straight edge, made for very fine engraving and drilling tiny holes. The Kutzall original taper bur is finer than the Xtreme for detail, and its straight shape bevels squared edges more sharply than rounded burrs do.
Very hard woods
Spherical tungsten carbide bits are the most consistent choice for the hardest species. They don’t bite much, which gives you control, but they’re awkward in tight spots. Other carbide shapes leave a clean carve before sanding, and the straight-edge style textures scales and fur and cuts consistent straight lines.
Cleanup
The 84922 is sold for glass and metal, but carvers repurpose it to grind off hanging wood fibers in engravings, which speeds up sanding considerably. Clever little hack, and exactly the kind of cross-domain tool borrowing I’m here for.
How to engrave wood with a Dremel: prep fundamentals
Four moves, in order of how much grief they save: test on scrap from the same board, run the grain parallel to the design’s longest dimension, clamp the workpiece, and match speed and pressure to the wood’s density.
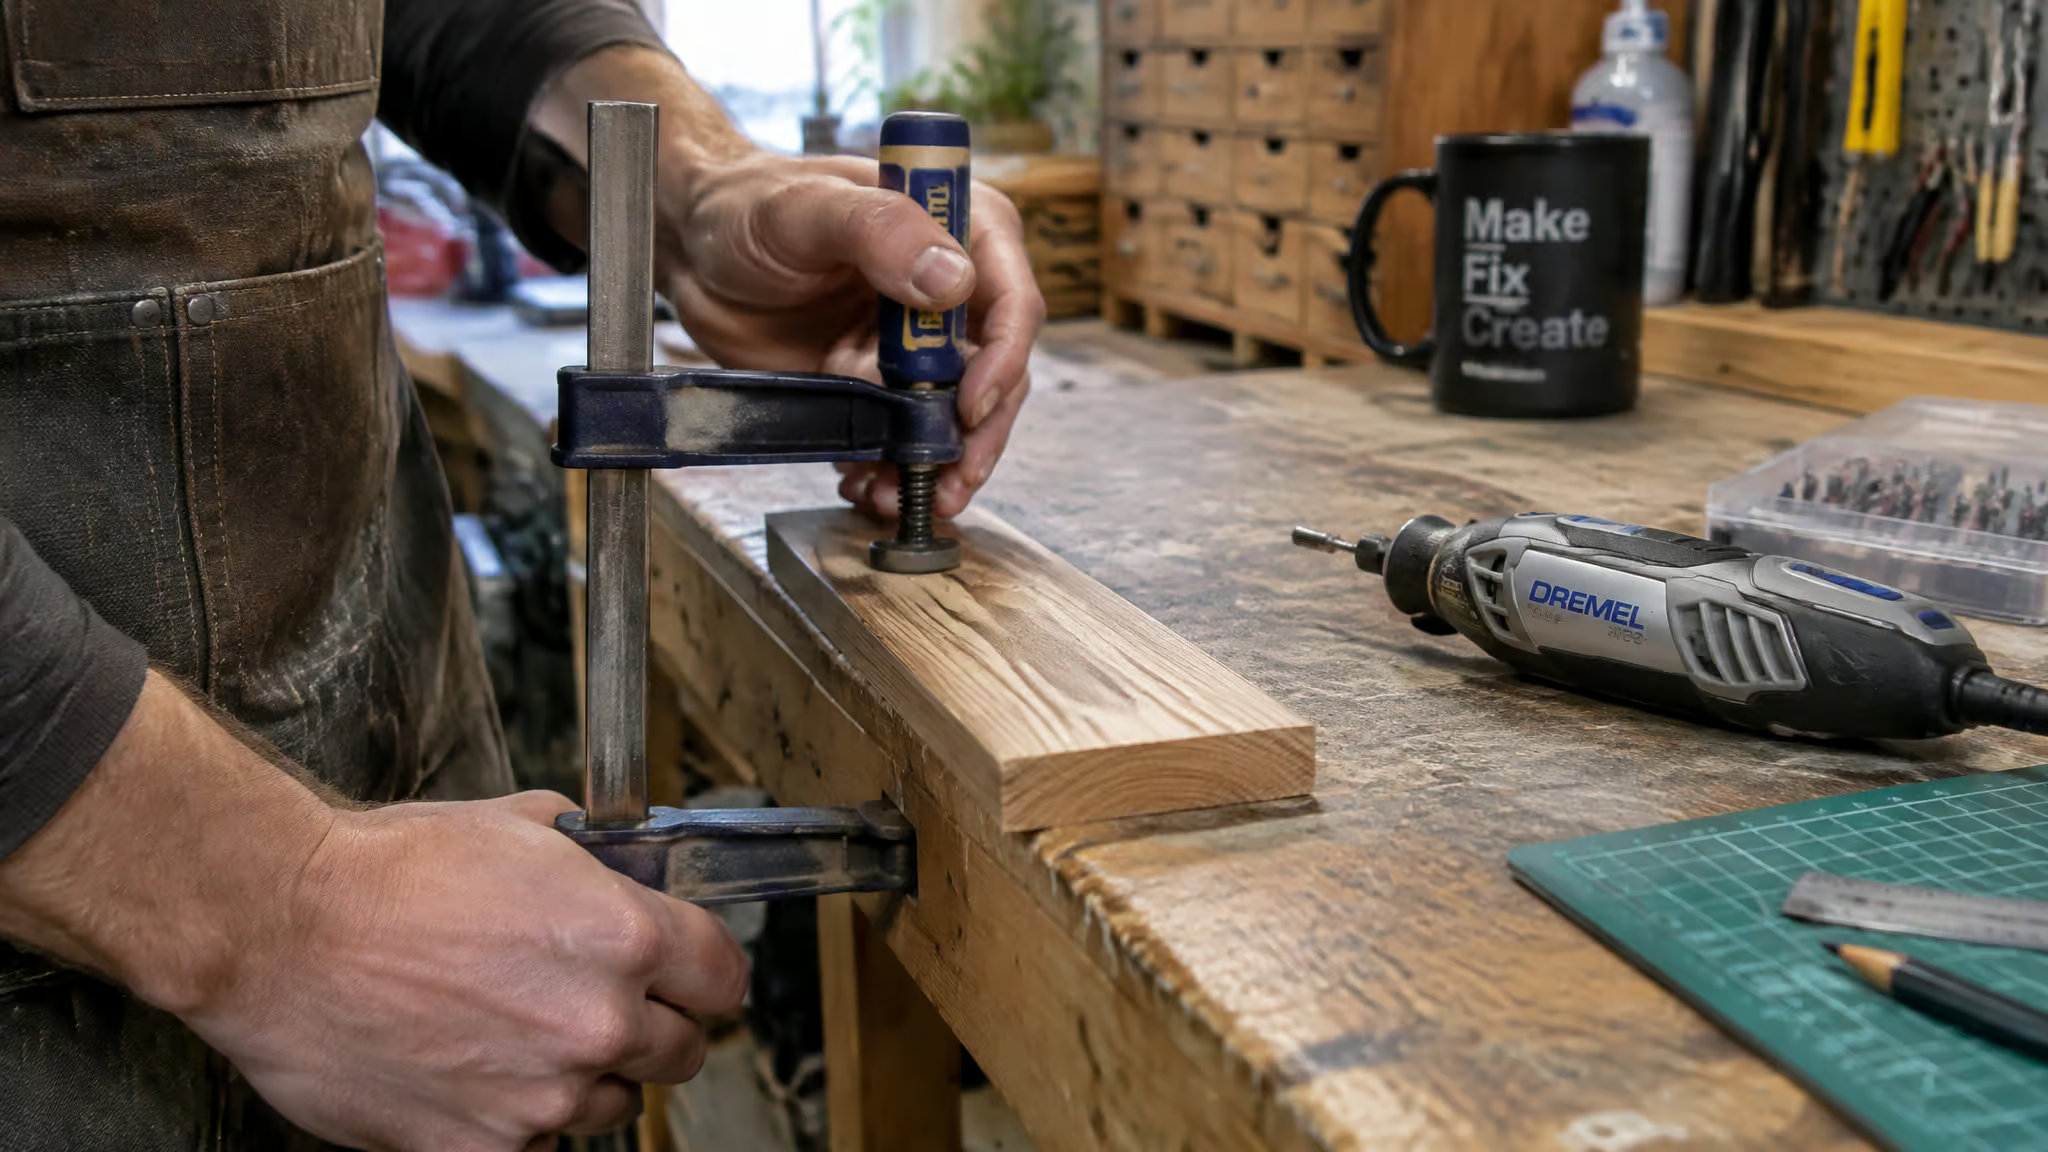
Test on scrap
Different batches behave differently, and even boards within a batch vary, because density and grain are never perfectly uniform. Pick up a few wood samples at the hardware store and devote an afternoon to trying designs on scrap from the same board you’ll carve. Frame it as a rabbit-hole afternoon, not homework. It’s genuinely fun once the first test piece comes out clean.
Grain direction
When the grain runs along your design’s longest axis, fine detail comes out cleaner. A laser doesn’t care about grain direction; a bur mechanically follows it whether you asked it to or not.
Workholding
Unsecured material causes blurred or wandering designs, and a hand-held rotary tool amplifies that risk compared to a machine with a fixed bed. Clamp the thing down. It’s the boring step that saves the project.
Intensity
Slower and deeper gets more contrast, the laser rule applies here too. On soft woods like basswood that means lower speed and controlled pressure; on maple and walnut, more aggressive passes. Push too hard and you get the same burning the laser guides warn about. On walnut specifically, the density and the dark background (engravings read lighter) call for slower, controlled passes and sharp bits; beyond that, tear-out control comes down to the same general rules as everything above.
Finishing engraved wood: sanding, polishing, sealing
Yes, seal and finish. A clear finish (polyurethane, lacquer, or butcher block conditioner) darkens engraved areas and makes them more visible, and the sanding-polishing-sealing chain is what separates an engraving that looks professional from one that looks like a craft fair accident.
Sanding
The 407 sanding drum sands and bevels straight edges, but its shape is fixed. The slightly flexible EZ 402 sands edges without creating new ones. Weekend-hack sidebar, because it’s delightful: cut replacement discs from 200-grit sandpaper, glue them on with Elmer’s glue, dry overnight under a weight, layer three or four deep, then peel and replace. Cheap and it works.
Polishing
Polishing wheels come in four grits, roughly 160 to 400, and produce a strong shine on nearly every wood. They double as edge cleanup, flicking wood bits out of engraved edges. The final step for carvings.
Sealing
Polyurethane, lacquer, or butcher block conditioner, applied last. This is the step that ties the whole thing together and makes the engraving pop.
Woods and materials to avoid with a Dremel
Skip pressure-treated wood entirely, avoid MDF without serious ventilation, treat pine as throwaway practice stock, and only use plywood for projects that will be painted or coated. Under a bur, the laser-guide hazards reframe as dust instead of fumes and clogged burs instead of dirty lenses. (The same logic runs in reverse, by the way; our list of materials you should never put under a laser covers the burn-side versions.)
Pine
Cheap and everywhere, and fine for practice. But the knots and growth rings are harder than the wood between them, so the tool sticks and jumps, it splits around dowels, it resists a shiny finish, and its resin gums up burs the same way it gums up a laser lens.
MDF
Consistent and affordable, genuinely useful for prototypes and indoor signage. But the glue contains formaldehyde, and under a bur the hazard is toxic dust. Avoid it in a home workshop, or ventilate strongly. This is not a warning to soften.
Pressure-treated wood
The chemicals are toxic when heated or abraded. Never engrave it unless the treatment is confirmed non-toxic. This is the one rule you don’t bend.
Cedar and porous softwoods
Variable density across the wood gives inconsistent results. Harder for beginners to get anything repeatable.
Plywood
Surprisingly easy to carve, with all those layered lines, but nearly impossible to finish well: too light to take a nice plasticky feel unless it’s coated, plus the veneer-bubbling risk on deep cuts.
Carving conventions worth knowing: the rule of three and soaking wood
Two questions the guides mostly answer by tradition, so I’ll label both honestly as established carving conventions rather than tested findings from this material.
The rule of three
A widely cited convention of roughly one-third proportions, used as a layout guideline in figure and relief carving. Useful as a starting ratio, not a law.
Soaking wood
Some carvers soak wood to soften it for hand carving. For rotary bur work, the documented advice runs the other way: dry, stable wood tests predictably. Soak only if you’re following a specific hand-carving tradition, and re-test on scrap after it dries.
When a Dremel beats a laser engraver (and when it doesn’t)
When a project calls for carved depth, the Dremel wins; when it calls for repeatable flat contrast, the laser does. That’s the whole decision, and the numbers make it vivid.
Start with the laser side. The Dremel LC40 is a 40-watt CO2 laser that engraves and marks materials from paper to aluminum, but cuts wood only up to 1/4 inch (acrylic to 6mm) on a bed a little over 20 x 12 inches. Base price is $5,999 without ventilation; $6,299 adds a clip-on fan and vent tube; $7,999 includes a fume extractor. And here’s the detail that got me: even with venting, cutting odors escaped during Richard Baguley’s testing for Tom’s Guide.
It also needs a shoebox-sized external water cooler, regular mirror and lens cleaning, and it doesn’t support DXF, so you’re living in a PDF-only workflow, which is exactly as annoying as it sounds. Tom’s Guide‘s verdict: easy to use with high-quality prints, but expensive, a little noisy, and the entry-level ventilation is lacking. It costs the same as the Glowforge Pro. On quality limits from the same review: wood engraving often works better with lower power over multiple passes, and photo engravings came out dark and grungy while simple graphics and logos did well.
It works contrast into a surface rather than cutting down into the material. (For what depth-oriented laser work looks like when you do go that route, see our piece on deep laser engraving in wood.)
The rotary side of the ledger: a fraction of the cost, no fumes or ventilation infrastructure, true 3D depth carving, and it fits in a drawer. Lasers win on automated repeatability and flat-surface contrast, full stop. And if you’re asking whether anything beats a Dremel at its own game: dedicated engraving tools, a flex shaft for more control, and dedicated power carvers all exist, with Kutzall burs and purpose-built carvers being the clear picks for heavy material removal. Beyond that, the honest answer is that the right tool depends on the job.
| Rotary tool (bur) | Dremel LC40 (40W CO2 laser) | |
|---|---|---|
| Cost | Partial (a fraction of the laser’s price) | $5,999 base; $7,999 with fume extractor |
| Carved depth | Yes (true 3D) | No (surface contrast; 1/4-inch wood ceiling) |
| Fumes and ventilation | Yes (none needed) | Partial (odors escaped even with venting in testing) |
| Automated repeatability | No (hand-held) | Yes |
| Portability | Yes | No (external water cooler, fixed bed) |
| Photo engraving | Partial (skill-dependent) | Partial (dark and grungy in testing; logos did well) |
Prices as reviewed by Tom’s Guide; may vary.
So the choice comes down to contrast or dimensionality. If you’re here choosing wood for a Dremel, you’ve probably already answered that question, and the bur’s ability to carve actual depth is one capability no desktop laser at this price can match. Pick the right board, clamp it down, and go make something with corners.
Frequently Asked Questions
What is the best wood for engraving with a Dremel?
Basswood, black walnut, and birch plywood top the list: all are soft-to-medium hardness, fine-grained, and low in resin. Basswood is the beginner’s default, walnut is the quality pick with crisp detail and inverted contrast, and birch plywood is the cheap, uniform workhorse for shallow cuts.
Is basswood or birch plywood better for engraving with a rotary tool?
Basswood is the more forgiving canvas: soft, uniform grain that a bur glides through. Birch plywood wins when you need a big, flat, cheap surface — just buy high-grade void-free sheets with a smooth face and keep cuts shallow, or the thin face veneer bubbles.
Which woods should I avoid engraving with a Dremel, like pine or MDF?
Skip pressure-treated wood entirely — its chemicals are toxic when abraded — and avoid MDF unless you ventilate strongly, since the formaldehyde glue becomes toxic dust under a bur. Pine’s knots and resin make the tool stick and jump, so treat it as throwaway practice stock, and only use plywood for projects you’ll paint or coat.
What is the best budget wood for practicing Dremel engraving as a beginner?
Poplar: it’s very cheap, easy to find, soft, fast to carve, and gives good contrast. The catch is that a smooth finish is hard to achieve, so think of it as practice and paint-project stock rather than showpiece material.
Is a Dremel better than a laser engraver for wood engraving projects?
For carved depth, yes — a rotary tool does true 3D carving, costs a fraction of a desktop laser, needs no ventilation, and fits in a drawer. Lasers win on automated repeatability and flat-surface contrast, so the choice comes down to whether your project needs dimensionality or repeatable flat contrast.
Is there anything better than a Dremel?
For heavy material removal, dedicated power carvers and Kutzall burs are the clear picks, and a flex shaft attachment gives you more control. Dedicated engraving tools also exist — the right tool depends on the job, but nothing at this price matches a bur’s ability to carve real depth.
