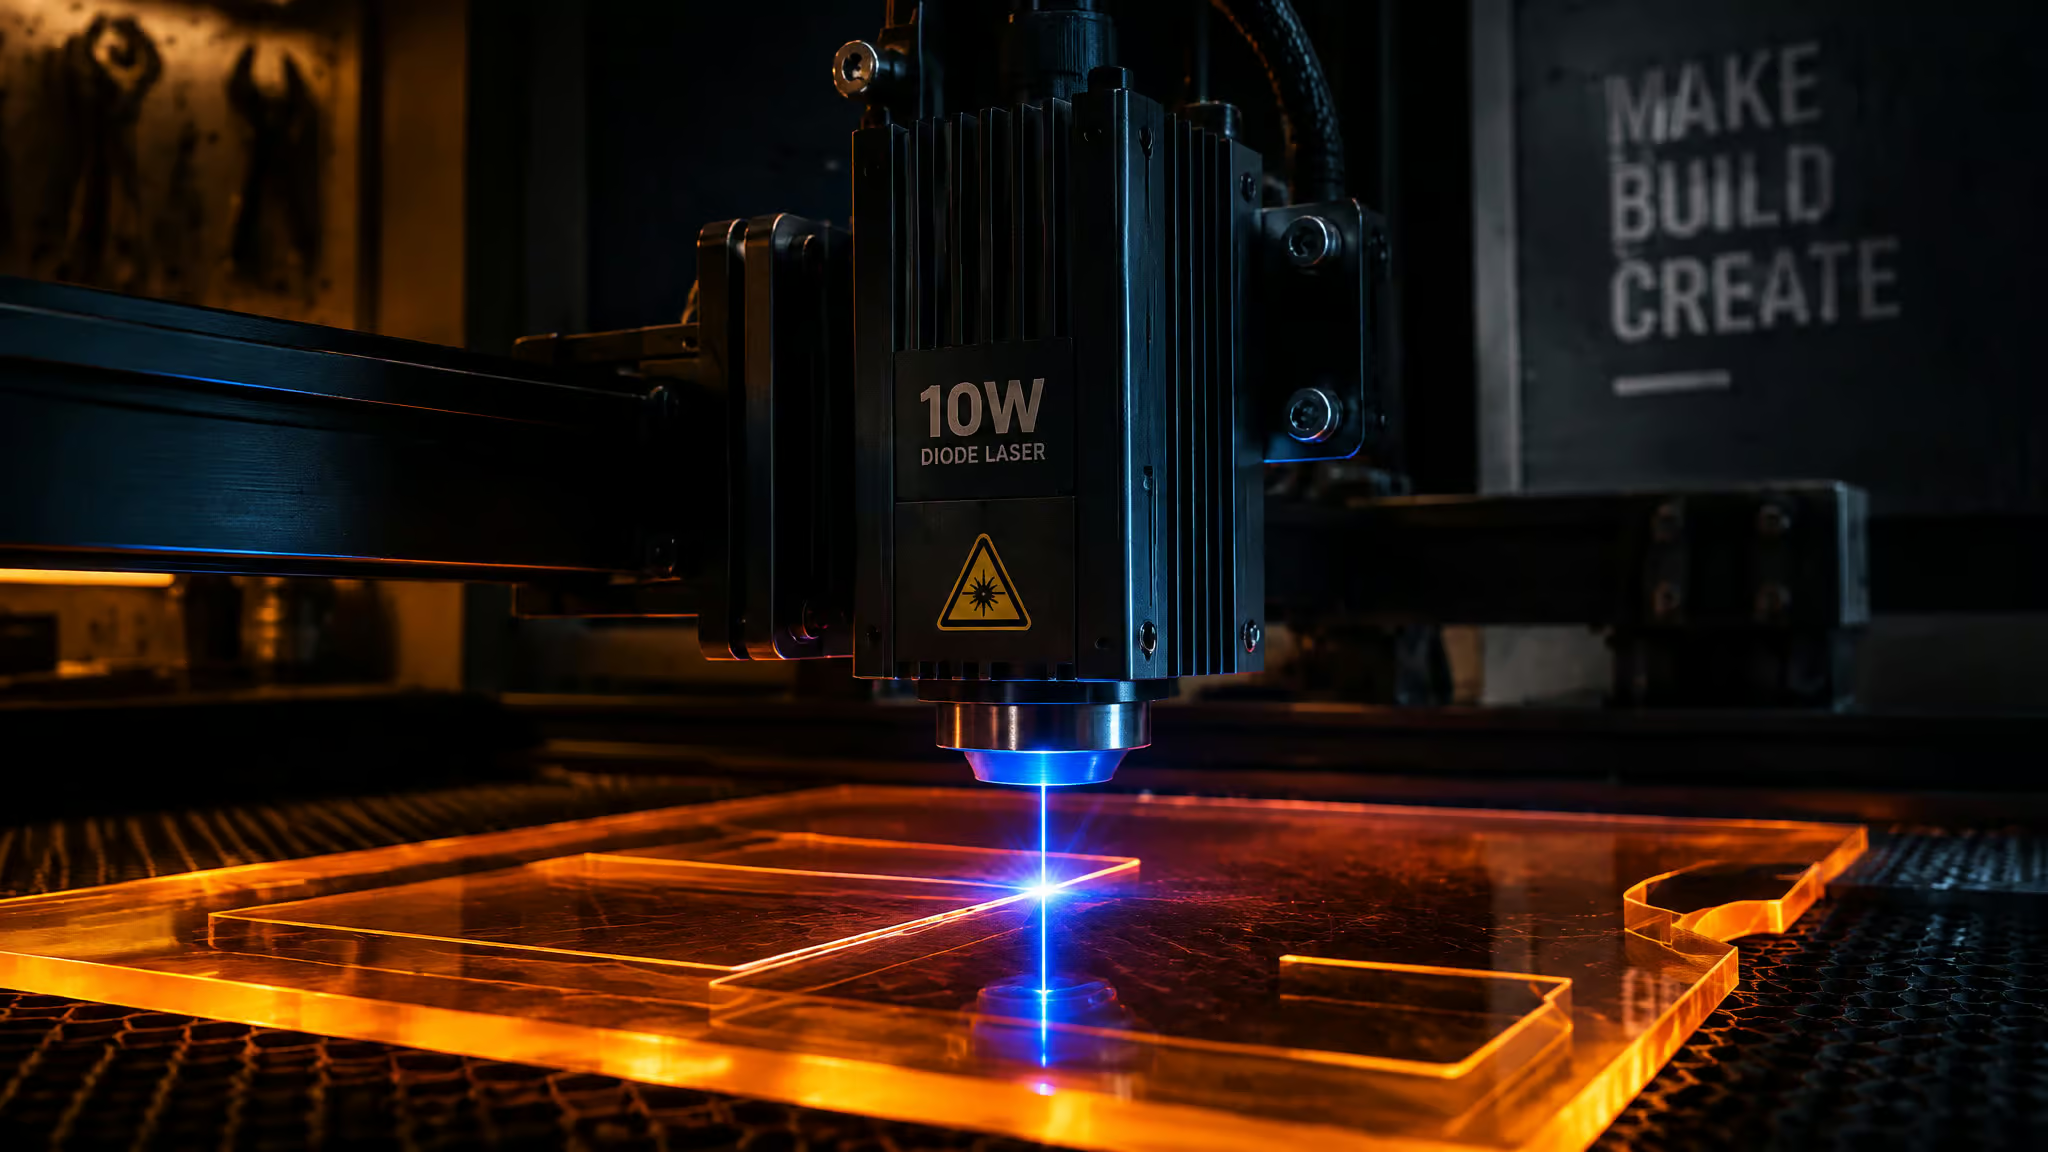
I pulled the Snapmaker 10W High Power Laser Module onto the work table expecting the usual diode experience: wood cuts, plastic shrugs, everybody moves on. Then I found a forum thread that broke my mental model. One owner cut 6mm wood on the first try, then ran a full power/speed sweep on 3mm orange acrylic and produced nothing but a melted mess. Same machine.
Same day, presumably. So which is it: bad settings, bad material, or a “10W” on the product page that means less than it says? That question is exactly what this piece answers. What follows is a per-material reference for 10W laser engraver material settings, built from Snapmaker’s official 11-material guide, plus the wavelength physics that explains every failure mode, a working clear-acrylic recipe, and a thickness-per-watt table that tells you when the machine, not your settings, is the limit. This is the spec-versus-hype dissection we love doing on product pages, applied to the number on the box.
Key Takeaways
A 10W diode engraves all 11 materials in Snapmaker’s official guide and cuts the organic ones plus opaque acrylic to roughly 3mm with multiple passes; clear acrylic and metal are hard no’s.
The 3mm orange acrylic failure with 6mm wood success is pigment absorption physics, not a settings error: 450nm blue light passes through or bounces off some colors instead of heating them.
Cutting opaque acrylic starts at 90-100% power, 200-600 mm/min, multiple passes, air assist strongly recommended; engraving runs the opposite: 20-40% power, higher speed, 0.5-1mm defocus.
Table of Contents
| Pick | Why it stands out |
|---|---|
| MDF settings | MDF settings: official guide section with recommended Luban settings |
| Leather settings | Leather settings: official guide section with recommended Luban settings; example images show vegetable-tanned and Crazy Horse leather |
| Basswood settings | Basswood settings: official guide section with recommended Luban settings |
| Cardstock settings | Cardstock settings: official guide section with recommended Luban settings |
| Coated Paper settings | Coated Paper settings: official guide section with recommended Luban settings |
| Corrugated Paper settings | Corrugated Paper settings: official guide section with recommended Luban settings |
| Glass settings | Glass settings: official guide section with recommended Luban settings |
| Pinewood settings | Pinewood settings: official guide section with recommended Luban settings |
Model details derive from the cited sources; check the brand pages for current pricing.
What a 10W laser can engrave and cut
A 10W diode engraves all 11 materials in Snapmaker’s official guide and cuts the organic ones plus opaque acrylic to roughly 3mm with multiple passes, but it cannot cut clear acrylic or metal. That’s the whole capability map in one sentence, and it’s worth internalizing before you buy a single sheet of stock.
The guide covers all 11 materials, each with recommended Luban settings, the table below is the full rundown. And the machine itself eats dozens of materials beyond the official 11: paper, basswood, plywood, MDF, anodized aluminum, stainless, acrylic, leather. It’s genuinely a lot of surface area for a module this size. Every number in the guide, and every number in this article, is a reference starting point that wants per-material fine-tuning. Snapmaker says so itself, and they’re right.
Here’s the verdict table, compiled from the guide and the documented outcomes. No downloadable per-material chart exists in the sources I dug through, so this table is that chart. Print it, tape it to the bench. And for anything outside the official 11 materials, Luban’s built-in Material Test grid is the chart-maker, it takes about 15 minutes to run, but it tells you exactly which power and speed combo works for that specific material.
| Material | Engrave | Cut | What the result looks like |
|---|---|---|---|
| Acrylic (opaque) | Yes, 20-40% power, 0.5-1mm defocus | Yes, ~3mm opaque, multiple passes, 90-100% power | Frosted marks; fine melt filaments on cut edges |
| Acrylic (clear) | Yes, from behind with mirrored art | No, beam transmits through | Back-burned photo engraving for LED signs |
| MDF | Yes | Yes | Clean engrave, reliable cut |
| Leather | Yes (vegetable-tanned, Crazy Horse shown) | Partial, engrave-focused | Darkened marks, convention-merch look |
| Basswood | Yes | Yes, 6mm documented | Classic wood engrave |
| Cardstock | Yes | Yes | Watch flammability at speed |
| Coated Paper | Yes | No, engrave-only | Low-power surface marks |
| Corrugated Paper | Partial, fluted structure needs testing | Partial, same caveat | Uneven results from the flutes |
| Glass | Yes, frosted surface marks | No | Tiny wizardry, frosted result |
| Pinewood | Yes | Yes | Grain and resin shift parameters |
| Stainless steel | Yes, surface alteration | No | Marking only |
| Anodized Aluminum | Yes, coating removal | No | Crisp contrast marks |
Two things the table can’t tell you: settings differ by operation, not just material (engraving acrylic and cutting acrylic are nearly opposite configs), and the ~3mm opaque acrylic tier is the honest cutting ceiling. Clear acrylic and metal are the hard boundaries, and both get their own sections below.
Class 4 safety and setup before running any settings
Yes, goggles are required: the Snapmaker 10W module is a Class 4 laser product, so it must always run with the Snapmaker Enclosure, and the operator plus every bystander wears Snapmaker Laser Safety Goggles for the whole process. Yes, even the friend watching from three feet away. 10W sounds small; Class 4 says otherwise.
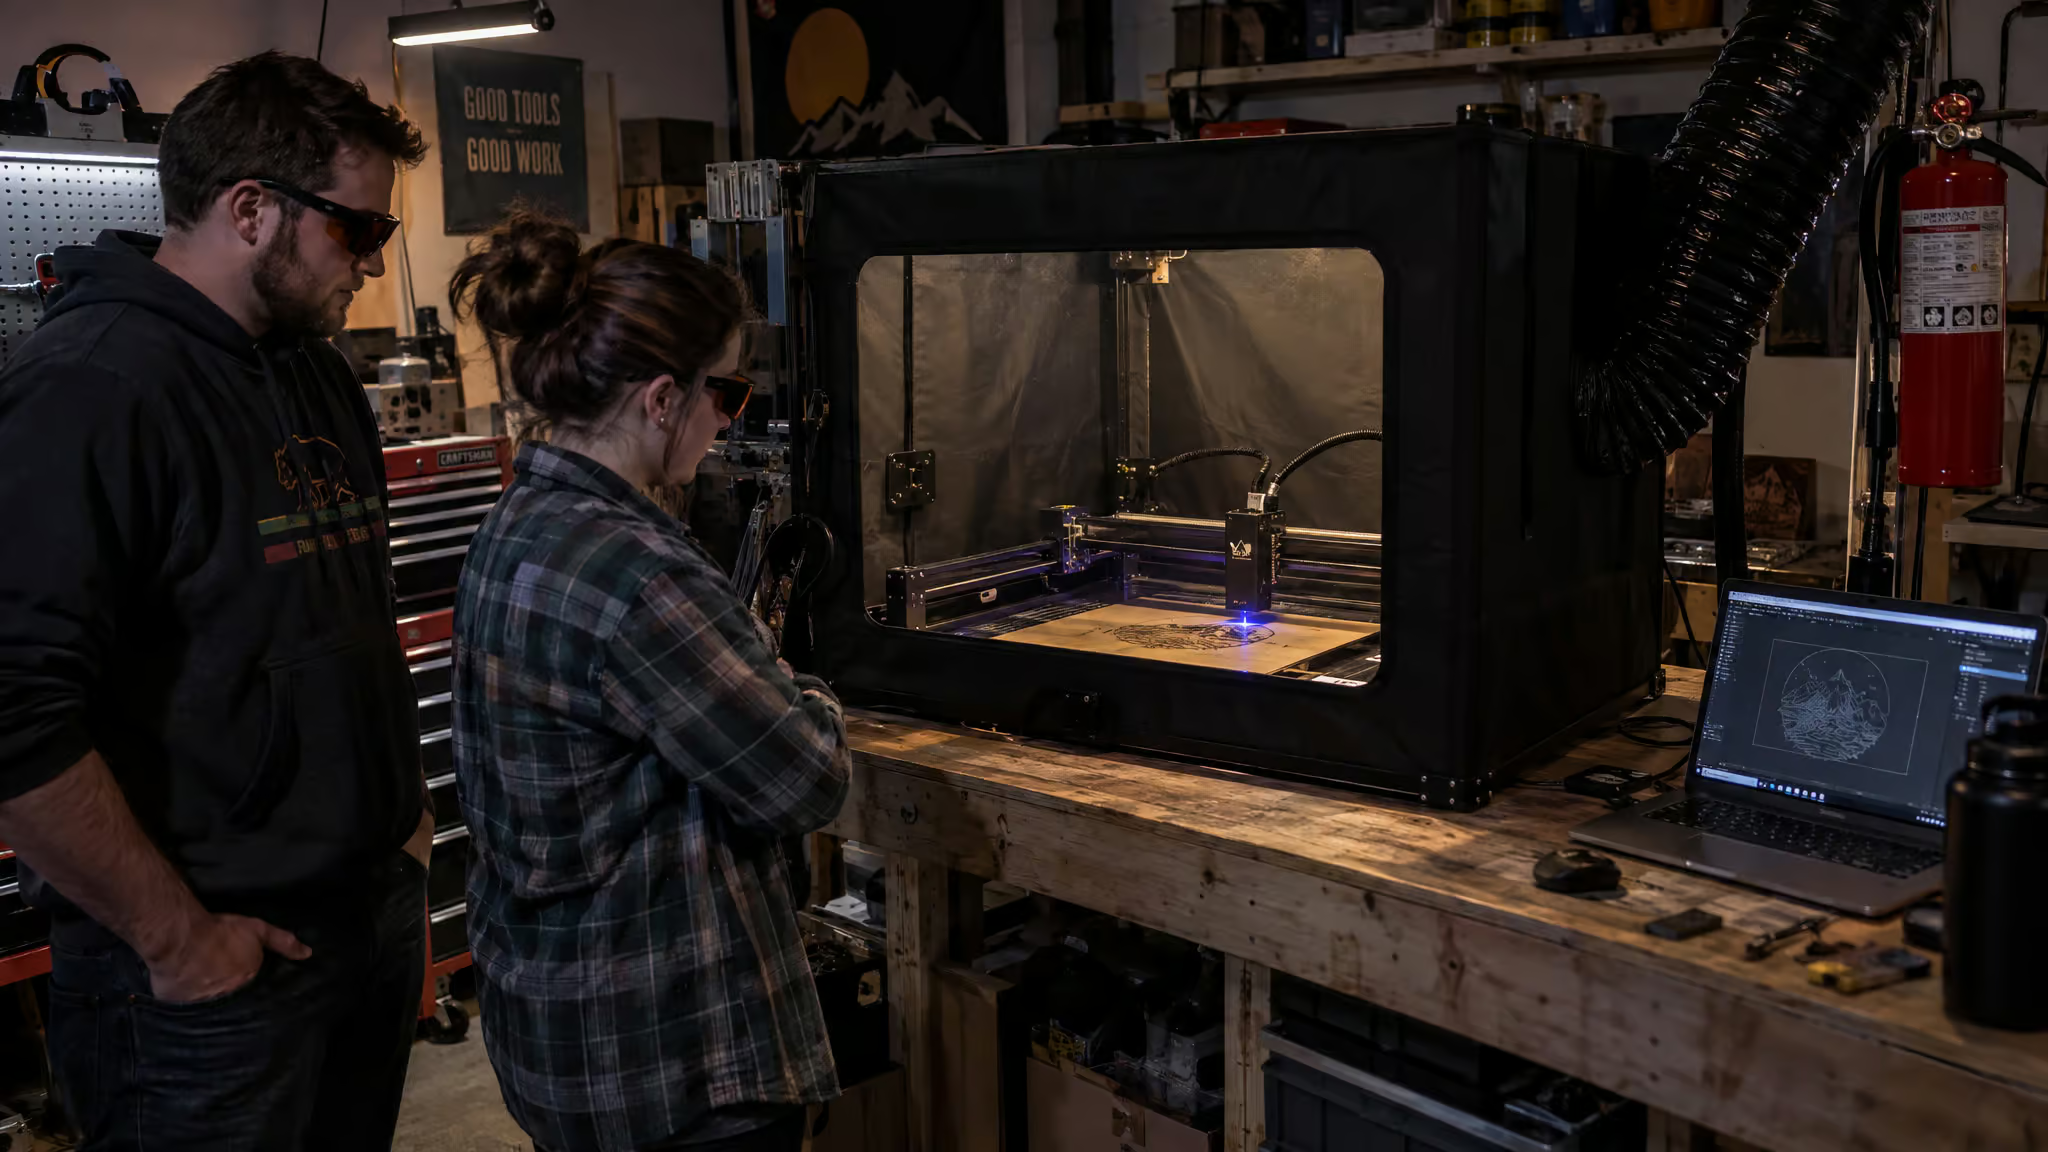
The contrast that makes this click: enclosed machines like the Creality Falcon A1C (which launched at $199 for 5W / $299 for 10W, with a LAUNCH10 15% promo that ran June 15 through July 31, 2026) and the Glowforge Aura need no goggles, because the enclosure is the safety class, not the wattage. Open-frame lasers are cheap partly because they omit enclosures that can be added separately. The sticker price hides the enclosure line item, so budget for it.
Ventilation can be cheap. Even an open garage door counts as the low-tech fix versus an air purifier. Never leave the laser unattended, and keep a fire extinguisher nearby. Then, before any job: set work origin or background via Camera Capture or Work Origin.
Two routes to the same setup, pick whichever fits your bench. It’s the two-minute step that saves your whole job. Settings go into Luban for Snapmaker, LightBurn ($60/year, the industry standard), or LaserGRBL (free but basic).
What “10W” actually means: optical output and cutting tiers
Buy on true optical output, not the input or module wattage printed on the box. That distinction is the root of most inflated cutting expectations, and it’s the first thing I check on any spec sheet now. A common buyer mistake, visible across listings as a pattern rather than any one brand’s sin, is comparing box wattage across products without checking which figure is actually advertised.
Here’s the exchange rate between watts and millimeters:
| Wattage | Opaque acrylic thickness | Passes |
|---|---|---|
| 10W | ~3mm | Multiple |
| 20W | 5-8mm | 1-3 |
| 30W+ | 10mm+ | Varies |
| CO2 | 20-25mm | 1 |
The concrete data point that anchors the 20W row: the xTool D1 Pro 20W cut 8mm black acrylic in a single pass. Price context: diode machines run $300, $1,500 (low-power units from $220) versus CO2 at $2,000+. And the wavelength aside that explains the CO2 row: CO2’s 10,600nm infrared is why the tube machine cuts what the diode transmits.
Buyer rule: If a listing doesn’t state optical output, assume the box wattage is the inflated figure and ask before comparing machines.
This table works as a diagnostic. If your machine genuinely delivers 10W optical and won’t cut past ~3mm opaque acrylic, that’s the tier, not your tuning. If acrylic is your main material, the shopping checklist is: at least 10W true optical output, compressed spot technology for a tighter beam, air assist, and a sturdy frame with focus adjustment. A wobbly frame is a focus problem you bought on purpose.
10W laser settings for acrylic
10W acrylic settings split by operation: cutting opaque acrylic starts at 90-100% power and 200-600 mm/min with multiple passes for 3mm+ and air assist strongly recommended, while engraving runs the opposite direction at 20-40% power, higher speed, and 0.5-1mm defocus for frosted marks. Cut hot and slow, engrave cool and fast. Those are launch configs, not gospel; your material batch will differ, plan on tuning.
Why clear acrylic shrugs off a 450nm beam
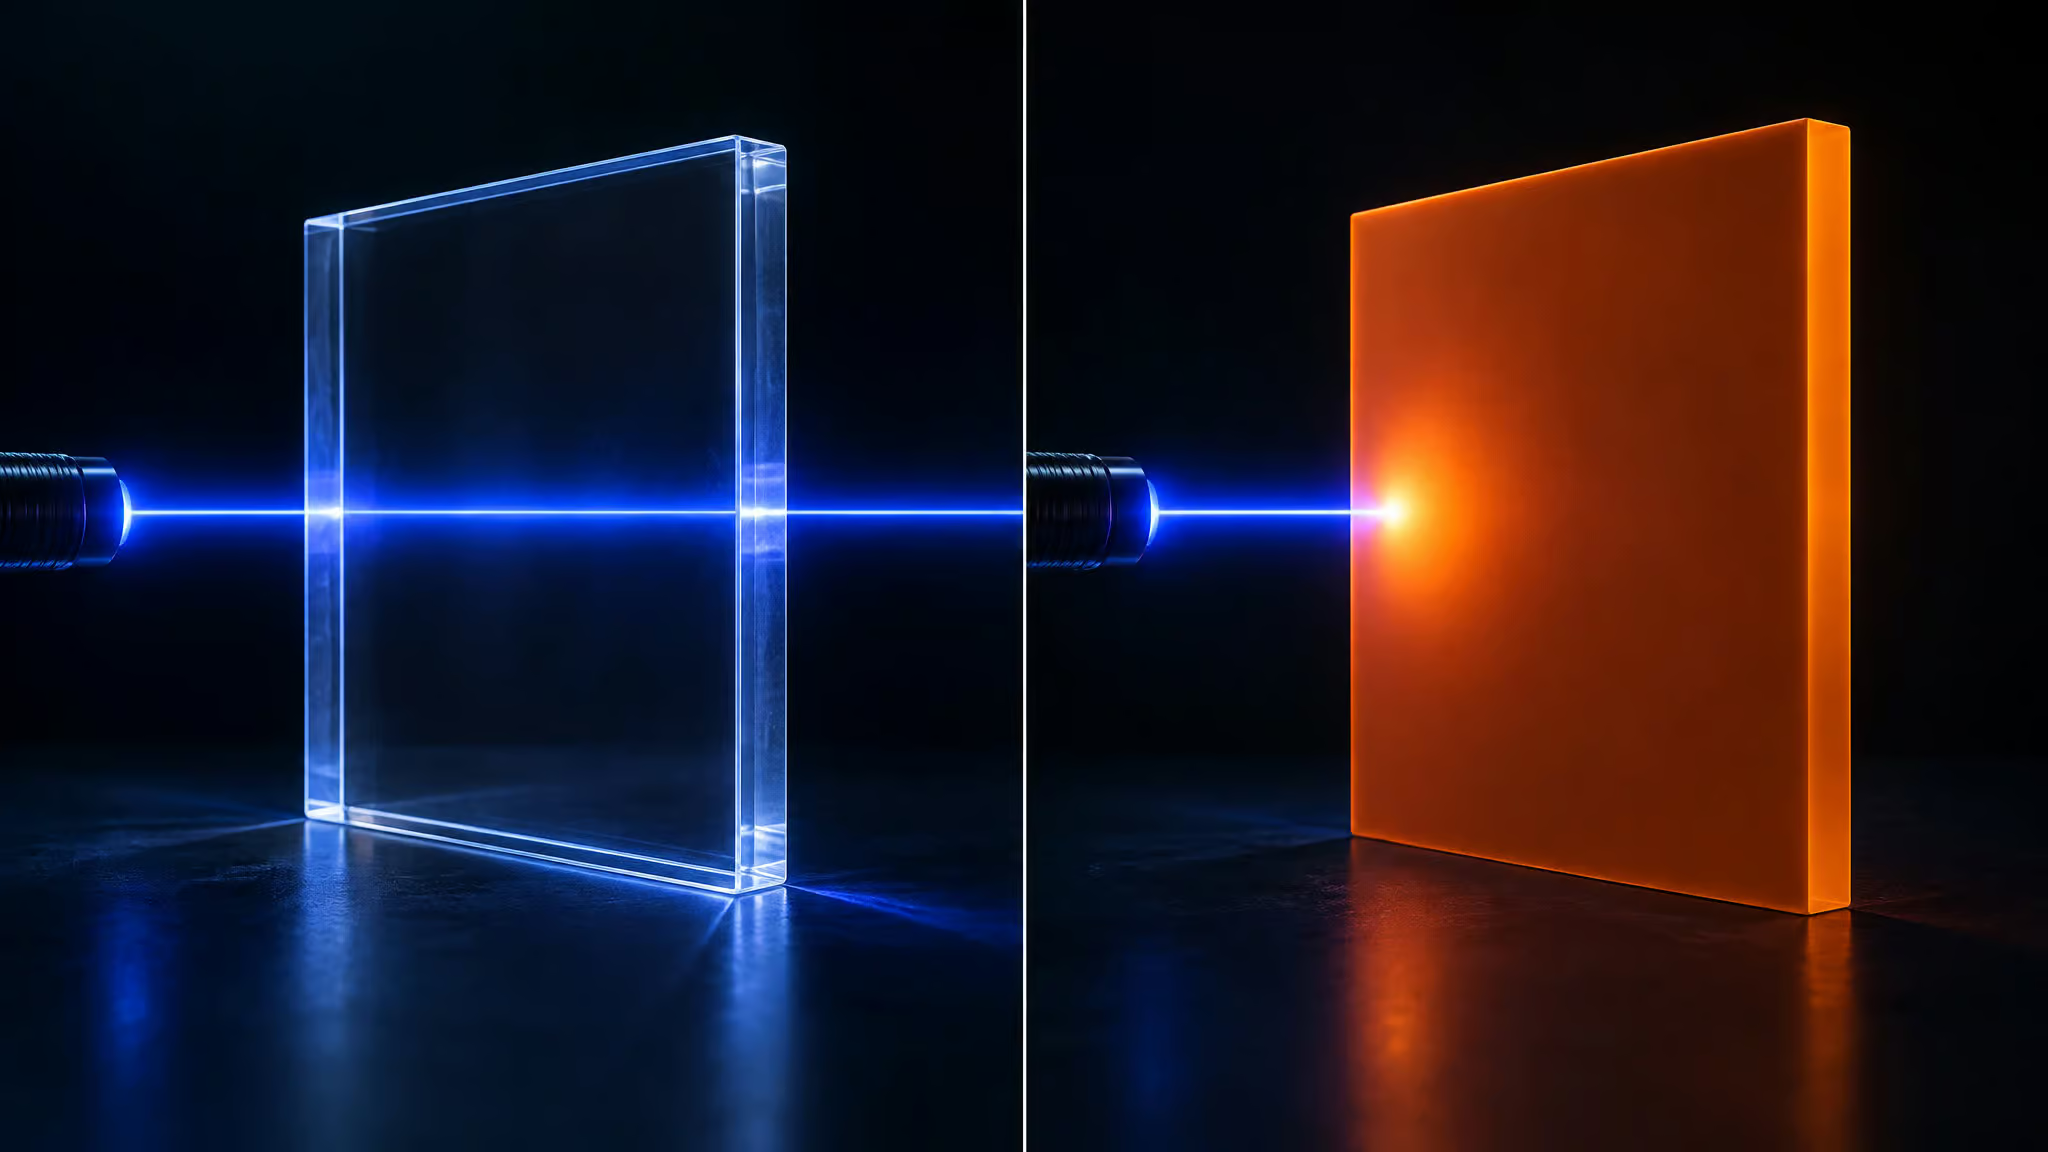
Okay so check this out. Diode lasers emit 450nm blue light. Clear acrylic is transparent to that wavelength, so the beam passes through without heating anything. The acrylic is literally invisible to the laser.
Swap to a CO2 laser’s 10,600nm infrared and the same sheet absorbs strongly. Same sheet, opposite behavior, all because of wavelength. So what materials can you laser engrave? It comes down to wavelength, not wattage.
And there’s a second trap: color additives near the laser’s own wavelength are highly reflective at beam frequency. Some pigments bounce the beam right off. That’s the physics behind the forum pair I mentioned in the intro, and we’ll get to it.
The cuttability hierarchy, ranked by how much light gets through: opaque acrylic (black, red, green, blue) cuts because the pigments absorb the beam. Translucent or frosted is a maybe, depending on color and thickness. Clear is nearly impossible. And the edge-quality mechanism: CO2 vaporizes acrylic (lowest possible air pressure there, for the CO2 readers), while diodes melt it and air assist blows the melt out of the groove, leaving fine filaments.
Those little whiskers on the edge? That’s the melt getting evicted.
Cast vs extruded: the shopping decision
Two sheets that look identical can behave differently. Cast acrylic is poured and cured: it engraves frosty white, cuts with rougher edges, and costs more. Extruded is rolled sheet: cheaper, engraves clear, cuts more smoothly with flame-polished-looking edges. So which do you buy?
Cast for engraving, extruded for smooth cuts. One decision, and it changed how I shop for sheets.
Cutting settings
Cutting starts at 90-100% power and 200-600 mm/min depending on thickness (slower for thick, faster for thin, the range is the guide), with multiple passes for 3mm+ and air assist strongly recommended. If you don’t have air assist, this is the weekend project that pays for itself. Test cut small shapes first: a 20mm square before you commit the big sheet. Patience beats power; three gentle passes melt less than one heroic one.
Engraving settings and why color beats thickness
Engraving is the opposite problem: you want to mark, not melt. Back off to 20-40% power, run higher speed, and defocus 0.5-1mm for wider frosted marks. Yes, being slightly out of focus is a feature here. Cast engraves better than extruded, which is why the cast/extruded decision matters before you ever power on.
Now the proof. Digging through forum threads, I found a user who cut 2.82mm red acrylic on a 10W Sculpfun S30 Pro with air assist on and LightBurn settings. The detail I love: they made their own stencil font so the cut pieces stayed connected. Genuine maker respect.
And on the same wattage class, another user’s full test sweep produced melting only on 3mm orange acrylic despite 6mm wood cutting fine. The tell is usually color, not thickness. The common failure pattern goes like this: new owner cuts 6mm plywood, assumes the machine is underpowered when 3mm colored acrylic won’t cut, and cranks power to 100% with more passes, when the real variable is pigment absorption and melt behavior. The orange-acrylic user concluded diodes are worst for cutting acrylic.
Harsh, but you can see where they’re coming from. The 2.82mm red cut is the counterpoint.
Clear acrylic on a 10W diode: workarounds and the LED sign recipe
No, a diode laser can’t cut clear acrylic, except that the same beam transmission is exactly what makes back-engraved LED signs possible. The limitation and the opportunity are the same phenomenon, which is honestly kind of elegant, and it’s the same physics that lets a portable laser engraver like the LP4 do detailed precision work on wood and even stainless steel with its dual diode and infrared modules.
Three workarounds that save a job in progress
Each of these gives the beam something to grab. Paint the surface black with washable paint or tape (washable matters because it comes off after). Leave the brown paper mask film on: the shipping mask is a beam absorber in disguise, which delights me every time. Or place dark card stock underneath as a sacrificial layer that catches what the acrylic won’t.
The recipe and the side-hustle math
The documented xTool D1 config: 70% power, speed 50, 1 pass, 280 lines/cm, grayscale. The fun catch: the beam passes through and burns the back, so mirror your image or it’s backwards. It still can’t cut clear or blue acrylic. Engraving yes, cutting no.
The economics, with no income promises attached: roughly $5 for base plus blank, roughly $5 machine time, ~$10 all-in, ~1 hour per sign, selling $15, $20 and up to $40, $50 for large or personalized pieces. Black card stock is the best backing, char cleans off with a magic eraser, and assembly is just inserting the acrylic into the LED base. Blanks and bases run ~$5 each on Amazon, so the supply chain is one search. A 10W diode is enough for engraved LED signs; you only need CO2 if clear-acrylic cutting is on the project list.
How to test materials your preset library doesn’t cover
The software has a built-in test mode that does the boring grid work, so use it before you guess. Luban’s Material Test feature handles anything outside the preset library, and it takes about 15 minutes to run while telling you exactly which combination works best, a practical alternative to consulting laser engraving settings for different materials like acrylic, leather, slate, glass, or anodized aluminum.
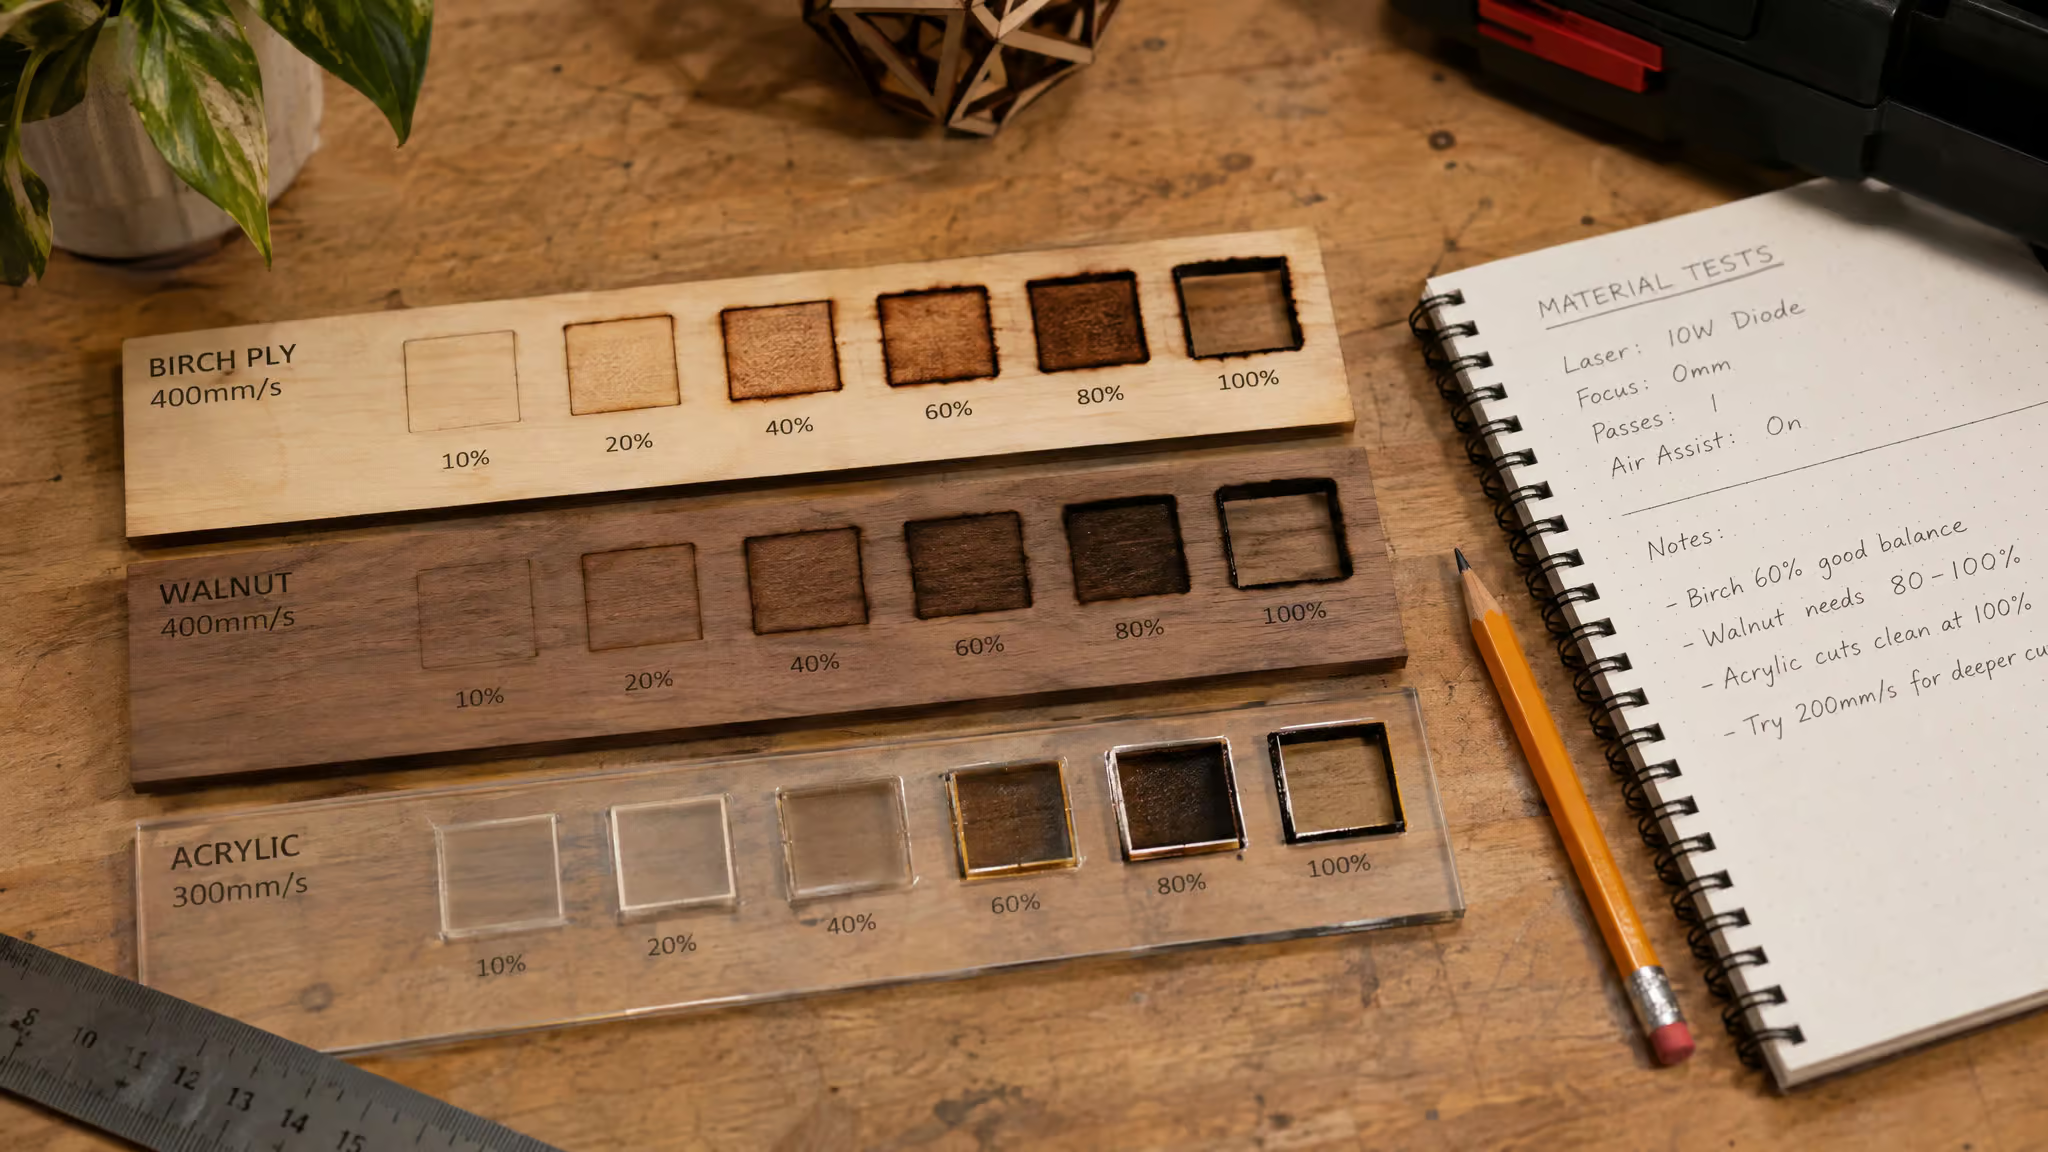
The documented example grid ran from 10% power/60mm/sec up to 100% power/380mm/sec. The outcome: 6mm wood cut successfully, 3mm orange acrylic produced melting only. One documented sweep, not a universal recipe.
Reading a failure row is the skill. A row that only melts signals a material-absorption ceiling or a power-tier problem, not a tuning failure. No settings combination will fix it, which is exactly the information you came for. Then the record-keeping discipline: a typical setup is running one test tile, picking the darkest-looking row, and skipping the step of writing down the winning parameters, then being unable to reproduce the result a month later.
Write it down. Snapmaker itself says every recommended setting is a reference starting point requiring per-material fine-tuning. Even the manufacturer says tune it, and that’s not a flaw, that’s the hobby.
MDF settings on a 10W laser module
MDF is the reliable workhorse: the guide gives it its own section with recommended Luban engrave and cut settings, and both verdicts are yes. The numbers are in the guide; the context is that MDF is where you go when you want a predictable result and a quick practical win. Tune for your specific board’s density, and it’ll behave.
Leather settings on a 10W laser module
Leather is engrave-focused on a 10W diode, with a ventilation note worth honoring: burning leather smells like exactly what it is. The guide’s own example images show vegetable-tanned and Crazy Horse leather, and that specificity is the charm. Engraving leather is where the results start looking like convention-floor merch, which makes it the cosplay-workshop material.
Basswood settings on a 10W laser module
Basswood gets engrave and cut verdicts, both yes, and it’s the default first material most people try: soft, cheap, and it forgives sloppy focus. The documented evidence backs it up too. That Material Test grid where 6mm wood cut successfully? That’s this material class, cut clean at the top of the sweep. Connect the guide’s settings to that real success case and you’ve got a confident starting point.
Cardstock settings on a 10W laser module
Cardstock engraves and cuts, and it’s cheap material for cheap experiments. The caution belongs in the same breath as the settings: paper stock is flammable, especially at high speeds, so the never-unattended rule isn’t optional here. Keep passes quick, keep eyes on the machine, and cardstock is a great low-stakes tuning surface.
Coated paper settings on a 10W laser module
Coated paper is engrave-only, and you’ll run it at low power; the coating marks easily and the substrate underneath doesn’t want more than that. Treat the guide’s coated paper settings as reference starting points and fine-tune the parameters for your specific stock, quick beat, low stakes, done.
Corrugated paper settings on a 10W laser module
Corrugated paper carries a structure caveat that generic charts omit: the fluted interior creates uneven results, so testing per batch is genuinely required, not just recommended. Engrave and cut are both partial verdicts for that reason. Same flammability caution as cardstock applies, doubly so because the flutes can channel heat in weird ways.
Glass settings on a 10W laser module
Glass is engrave-only: the 10W diode marks the surface for a frosted result, and cutting is out of scope entirely. This is the tiny wizardry moment, and the settings are still specific: the guide carries recommended Luban engrave parameters, and the frosted mark comes from the beam fracturing the surface microscopically. Tune power down until the frost is even instead of chipped.
Pinewood settings on a 10W laser module
Pinewood engraves and cuts, and the named fine-tuning variable is grain and resin content, which shifts parameters between boards even from the same supplier. It’s in the guide’s 11 with recommended Luban settings for both operations. Resin-rich boards burn darker and cut differently; expect to adjust between batches.
Stainless steel and anodized aluminum: engrave yes, cut no
Yes, a 10W diode engraves stainless steel, by altering the surface, with official Luban settings in the guide. Anodized aluminum marking removes the coating for a crisp contrast mark, and it’s one of the most reliable 10W results you can get. Both are engrave-only verdicts in the guide, each with its own recommended Luban settings.
Cutting metal is beyond diode capability, full stop. Fiber and MOPA lasers are the metal standard, and the concrete upgrade example is the xTool F2 Ultra: 60W MOPA fiber plus 40W diode at $4,999, which does actual color engraving on stainless as the party trick. But for marking, not cutting, your 10W already handles both metals in the guide.
After the cut: kerf, troubleshooting, and acrylic finishing
Kerf is 0.1-0.2mm; tight-fitting designs need to account for it or the snap-fit comes out loose. The defect-to-fix map: flame-ups need air assist (and never leave the laser unattended; fire is the one bug you can’t patch). Melted edges mean lower speed with more passes instead of one heroic full-power pass. Inconsistent cuts mean the sheet isn’t flat or focus is off; half of bad cuts are a focus problem wearing a disguise. Masking tape reduces smoke stains, and cleaner cuts start in the design file.
Finishing: flame polish with a butane torch (one second too long and it bubbles), or the patient route of 400-600 grit up to 1000-2000 grit wet sanding then buffing, or Weld-On #4 solvent polish with ventilation. Join with Weld-On #3/#4 acrylic cement, not superglue; superglue frosts the joint, cement melts it together properly.
When 10W isn’t enough: the upgrade decision by material list
The material list decides, not the wattage marketing. Colored acrylic and organics mean the diode is enough. Clear acrylic or cuts beyond ~3mm mean CO2, because 10,600nm infrared absorbs what 450nm transmits.
The landscape, one number and one catch each. Snapmaker Artisan: 3-in-1 at $2,999 ($2,499 on Amazon sale), 10W standard upgradeable to 20/40W heads, Luban included, vented laser-safe enclosure standard. The Creality Falcon A1 Pro is the enclosed prosumer option: 20W, 358x268mm work area, more machine than the 10W class, short of the big-box CO2 units. The enclosure comes in the box, which is how it should be. xTool S1 40W enclosed: $1,849 with $550 coupon (MSRP $2,399, and the coupon math matters), cuts 20mm pine in one pass, takes a swappable 2W IR 1064nm head for metal marking. WeCreat Vision Pro 45W: $2,399.99 Basic, Super Pack $3,449.99, $3,749.99; know which tier you need.
Bambu Lab R1 55W CO2: $2,499, 600x300mm, with automated mirror calibration and camera remote operation meaning the weekend-eating chores are automated; the honest downsides are manual lens swaps and operational noise. Specialized: the xTool F2 Ultra UV (355nm galvo, $4,299) engraves inside glass, the tiny wizardry moment, with the small work area as the trade, and the portable xTool F1 runs $2,999.
Build quality carries equal weight with wattage. The Falcon2 Pro 60W is powerful and sub-$2,000 but has a flimsy enclosure with light leakage and wobbly slats. The Mecpow X4 Pro is 22W enclosed under $1,000, but its review unit arrived with cracked acrylic panels and it ships no first-party software. The Falcon T1 packs five swappable modules into one chassis, which is a wild idea, but limited testing found rushed UV calibration spread across 57 pages of Word documents, and goggles aren’t included at any tier.
Closing recommendation
Check the per-material verdict first to set expectations, start from the reference settings, then close the gap with a Material Test, writing down every winning parameter. That’s the three-step operating habit. Prices may vary.
Frequently Asked Questions
What materials can a 10W laser cut?
A 10W diode cuts organic materials — wood, MDF, basswood, pinewood, cardstock, leather (partially) — plus opaque acrylic to roughly 3mm with multiple passes. It cannot cut clear acrylic or metal, no matter the settings. Those two are wavelength and physics limits, not tuning problems.
What will a 10W laser engrave?
All 11 materials in Snapmaker’s official guide: opaque and clear acrylic (from behind), MDF, leather, basswood, cardstock, coated and corrugated paper, glass, pinewood, stainless steel, and anodized aluminum. Engraving is where the 10W class shines — even stainless marking works, by altering the surface rather than cutting it.
Will a 10W laser engrave stainless steel?
Yes, but only as surface alteration — a marking result, not a cut. Anodized aluminum is even more reliable, since the beam removes the coating for a crisp contrast mark. Actual metal cutting requires fiber or MOPA lasers, like the 60W xTool F2 Ultra.
10W vs 20W vs 40W diode laser: how much thicker material can each cut?
Roughly: 10W cuts ~3mm opaque acrylic with multiple passes, 20W handles 5-8mm in 1-3 passes (the xTool D1 Pro 20W cut 8mm black acrylic in a single pass), and 30W+ reaches 10mm+. CO2 lasers sit in another tier entirely at 20-25mm in one pass.
How much does it cost to make engraved LED signs with a 10W laser?
Roughly $10 all-in per sign — about $5 for the acrylic blank and LED base plus ~$5 of machine time, at around an hour per sign. Blanks and bases run about $5 each on Amazon, and finished signs sell for $15-$20, up to $40-$50 for large or personalized pieces. No income promises attached, but the supply chain is one search.
