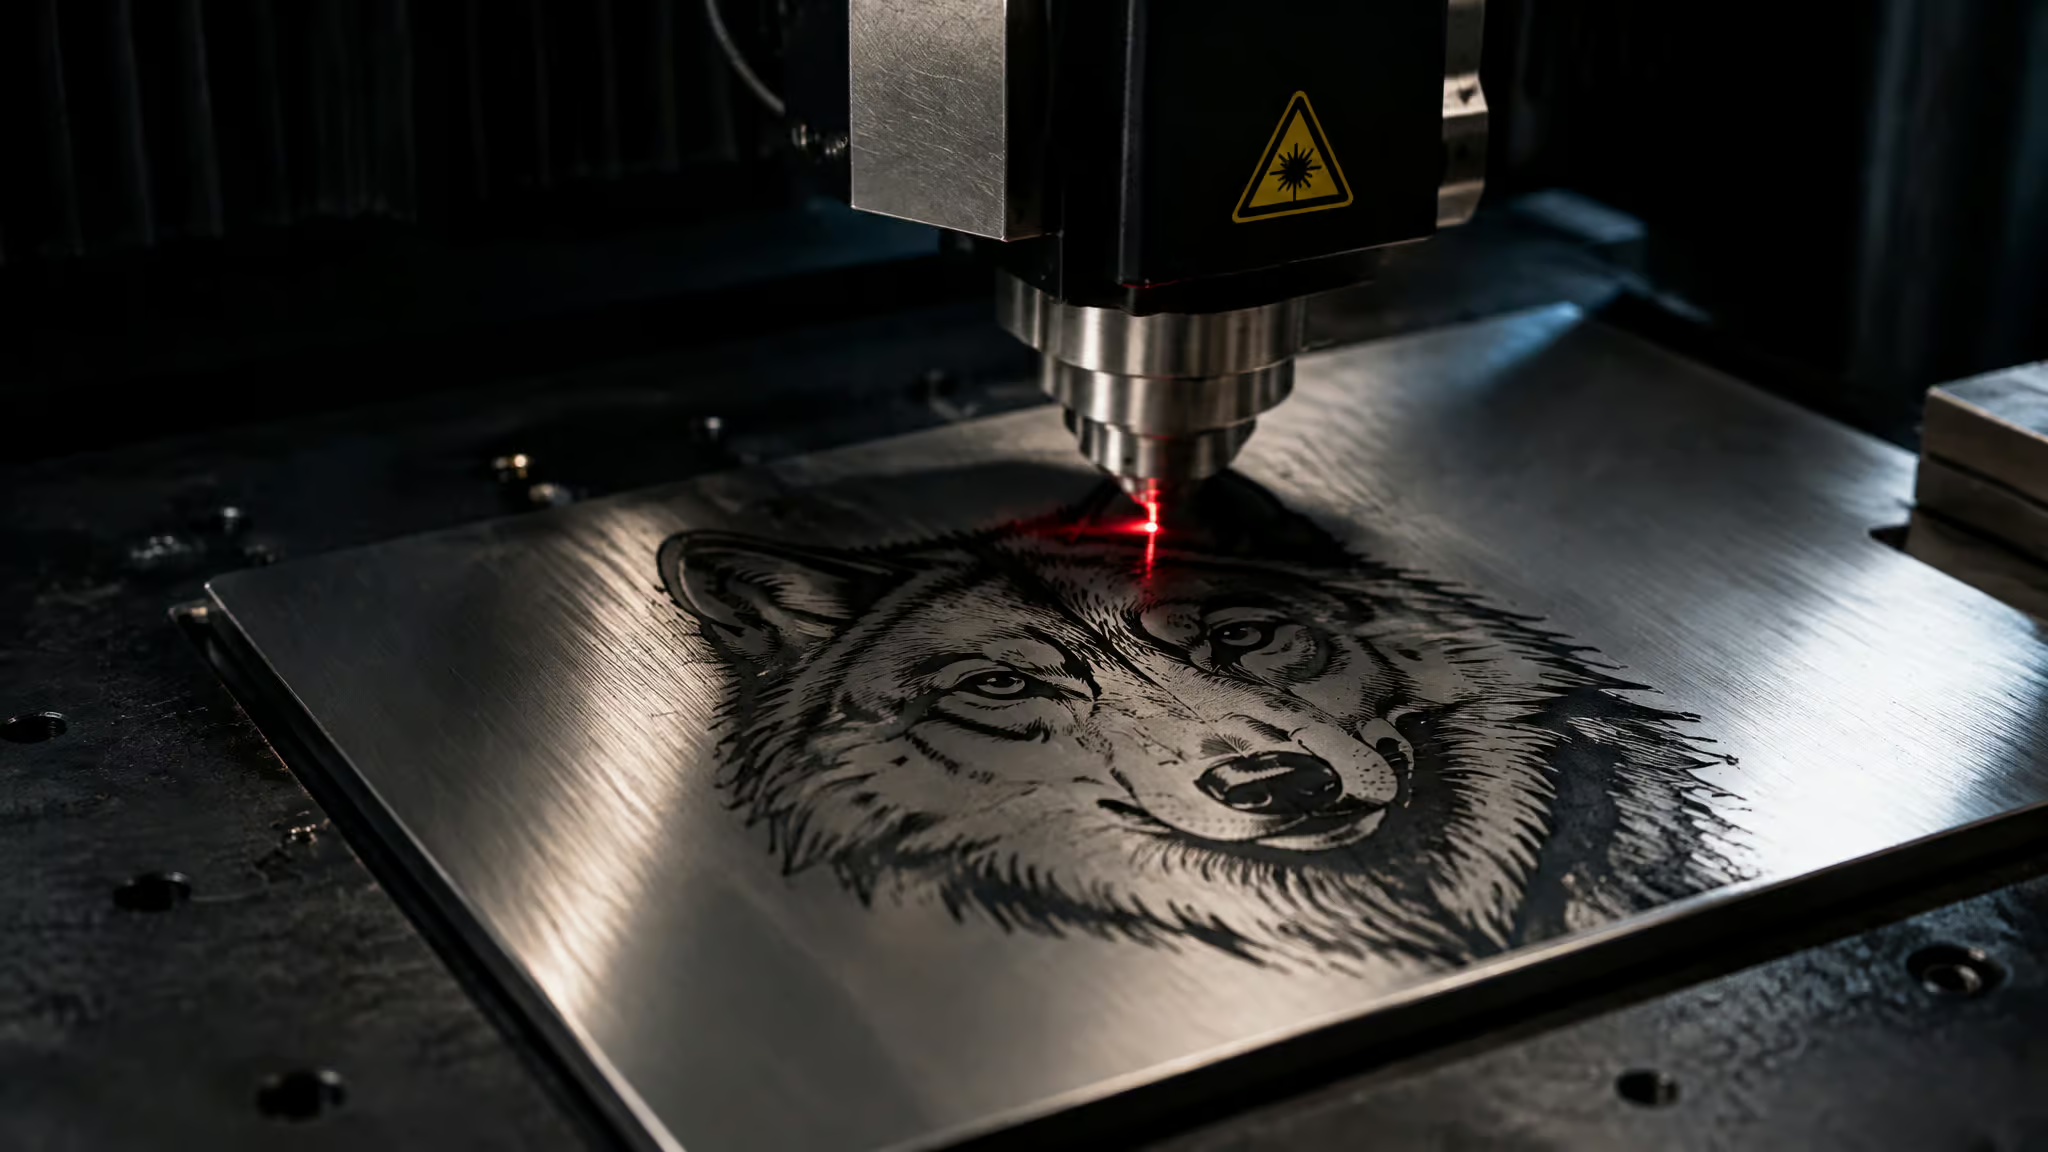
The same numbers, pasted from a forum post into two different fiber lasers, will produce two different marks. That’s not folklore; it’s the actual reason half the “fiber laser settings for steel” threads end in frustration. The settings that work are real, but they’re welded to the hardware they were tested on: wattage, lens focal length, and laser source brand. So this article organizes recipes by the mark you want (black anneal, deep engrave, color, white/frost) and tags each one with the machine it came from. The diagnostics are there so you can tell a settings problem from a setup problem.
Test on scrap first, always. Everything else is detail.
Key Takeaways
A tested 30W black-anneal recipe for stainless: 50% power, 300mm/s, freq 30, line space 0.01, 150mm lens, in EZcad 2/3 on any JCZ control card.
Frequency is the parameter people get wrong: at fixed power, higher frequency means more, gentler pulses (smooth, heat-oriented marks) and lower frequency means fewer, hotter pulses that vaporize material.
MOPA color marks on stainless are driven by pulse width and frequency, not power: red runs 60ns at freq 400, blue 6ns at 300, green 15ns at 350, all at 1000mm/s.
A 30-60W marker engraves steel but can’t cut it; cutting 4mm AISI 304 takes a 2000W-class machine with nitrogen assist.
Table of Contents
How fiber laser settings work on steel: the four parameters
Frequency is the knob people get wrong, and it alone can flip a result between a polished black anneal and a deep crater at identical wattage. The other three knobs are straightforward: power controls depth and intensity, speed controls how long the beam dwells (and thus darkness), and pulse width controls how energy is distributed within each pulse. Frequency is subtler because it changes how the energy arrives.
Here’s the causal chain: at fixed power, raising the frequency gives you more pulses per second with less energy in each one. That’s heat-oriented marking, which produces smooth, high-contrast finishes. Drop the frequency and you get fewer, hotter pulses that actually vaporize material. Think of it like sandpaper grits: high frequency is fine grit, low frequency is coarse grit. Same pressure, totally different finish.
Typical range is 20-80 kHz. For deeper engraving on metal, run 20-35 kHz where each pulse packs more punch; higher frequencies suit fine detail and surface work. And if you’re building test grids in EZcad: a 0.05mm hatch marks at roughly 30% power at 750mm/s, while a 0.01mm hatch needs about 60% at the same speed. Denser fills demand more energy. Frequency’s effect also runs roughly a 30-45° diagonal against power in a test grid, which is a genuinely elegant thing to see once you plot it.
Fiber laser settings for stainless steel: black annealing and high-contrast marks
Fiber laser settings for stainless steel are the best-documented corner of the hobby, and the tested starting recipe is: power 50%, speed 300mm/s, angle 552, freq 30, hatch 1, loop 0, line space 0.01, on a 150mm lens. That’s the black-anneal baseline for a 30W machine, and it’s the one I’d try first on scrap.
There’s also a widely shared engraving reference from the community, tested on a BCF 30W source with a 17x17cm Opex lens in EZcad 2/3:
- Speed 1500mm/s, power 45%, frequency 30-750
- Bidirectional hatch set at either 90° or 0°, with a 0.05 line spacing
Because it was run in EZcad, it applies to any JCZ control card, and it carries over to Raycus and JPT sources with adjustment. A 30W machine is the usual choice here, and it marks stainless fine, no shame in that.
Now the part that explains why copied settings fail. BCF laser sources have a broader frequency range than Raycus or JPT, so the same frequency number produces a different effect amplitude on each. Combine that with a different lens focal length and you get a common failure pattern: someone copies a frequency from a forum post, runs it, gets a burned gray blob instead of a clean black mark, and never realizes their lens or source brand differs from the original tester’s. The settings weren’t wrong.
The provenance was. This is exactly why every recipe here carries its hardware context, and why you should treat any parameter block without one as a rumor.
The colors that show up above roughly 40 kHz come from oxide layer formation on the surface. That attribution comes from test-grid observation rather than settled physics papers, but the pattern is consistent: push frequency high enough on stainless and you stop removing material and start growing a colored oxide film. The heat from high-frequency marking can also produce polished finishes or that deep black on stainless, which is the whole trick behind annealing.
What power, speed, and frequency to mark stainless steel with a 30W fiber laser
For a 30W fiber laser on stainless steel, the consolidated starting points by mark result look like this:
| Mark result | Power | Speed | Freq | Line space | Notes |
|---|---|---|---|---|---|
| Black anneal | 50% | 300mm/s | 30 | 0.01 | 150mm lens, loop 0 |
| Deep engrave | 100% | 1500-2000mm/s | 35 | 0.02 | loop 25, multi-pass |
| White/frost | 100% | 2000mm/s | 55 | 0.03 | reference tested on aluminum |
The general bands behind the table: dark annealing lives around 40-60% power at low speed in the 20-50 kHz range with a tight hatch. Deep engraving wants 90-100% power, low frequency, and multiple passes. The white/frost row is technically an aluminum recipe, but it’s the closest adjacent reference for a bright surface mark and it transfers to stainless with tuning.
The wattage-adjustment rule is the piece most people miss: when you move a recipe between machine sizes, you scale the power percent and leave speed, frequency, hatch, and line space alone. A 50% recipe on a 30W machine becomes roughly 30% on a 50W machine to deliver similar energy. Everything else stays put. Engraving time, for what it’s worth, varies by design and isn’t captured by the parameters at all, so don’t expect the numbers to predict your job duration.
Every row above is a starting reference, not a guarantee. Run it on scrap from the same batch as your real parts, adjust, and only then commit. Stainless alloys vary, lenses vary, and the ten minutes of scrap testing is the cheapest insurance in this whole hobby.
MOPA fiber laser settings: red, blue, and green color marks on stainless steel
MOPA fiber lasers can adjust their pulse duration in nanoseconds, and that’s what unlocks actual color on stainless steel and aluminum. Short pulses give precise marks on thin materials; longer pulses transfer more heat deeper into the surface. It’s the same power that makes fiber lasers unmatchable for metal engraving. All three color recipes, side by side:
- Red: 45% power, 1000mm/s, angle 0, 60ns pulse, freq 400, hatch 1, line space 0.003
- Blue: 45% power, 1000mm/s, 6ns pulse, freq 300, hatch 1, line space 0.002
- Green: 25% power, 1000mm/s, 15ns pulse, freq 350, hatch 1, line space 0.001
Look at what actually differs: pulse width and frequency, while power barely moves. That’s the counterintuitive payoff. If you’re chasing a color by tweaking power, you’re on the wrong axis entirely, and the tell is a mark stuck in dull bronze tones no matter what you do to the wattage.
One source describes shorter pulses of around 20 milliseconds for light blue and longer pulses around 200 milliseconds for deep black, which conflicts with the nanosecond-based recipes above. I’m preserving that discrepancy rather than quietly picking a unit, because the ns-based recipes are the ones with full parameter sets attached.
Deep engraving on steel: multi-pass workflows, not single settings
Depth on steel comes from pass sequencing, not from any single parameter value. The community-tested core recipe has three angle-rotated variants, and rotating the hatch angle across passes is what stops the laser from re-cutting the same grooves:
- 100% power, 1500mm/s, angle 90, freq 35, hatch 1, loop 25, line space 0.02
- Same values at angle 180
- Same values at 2000mm/s, angle 315
Beyond that, the multi-pass strategy deserves first-class status: an aggressive engraving pass followed by a faster, lower-power clean pass; alternating cycles like five engrave passes plus one clean pass, repeated; staged whiten-then-black passes for photo engraving; and layered 3D slicing with high pass counts in LightBurn.
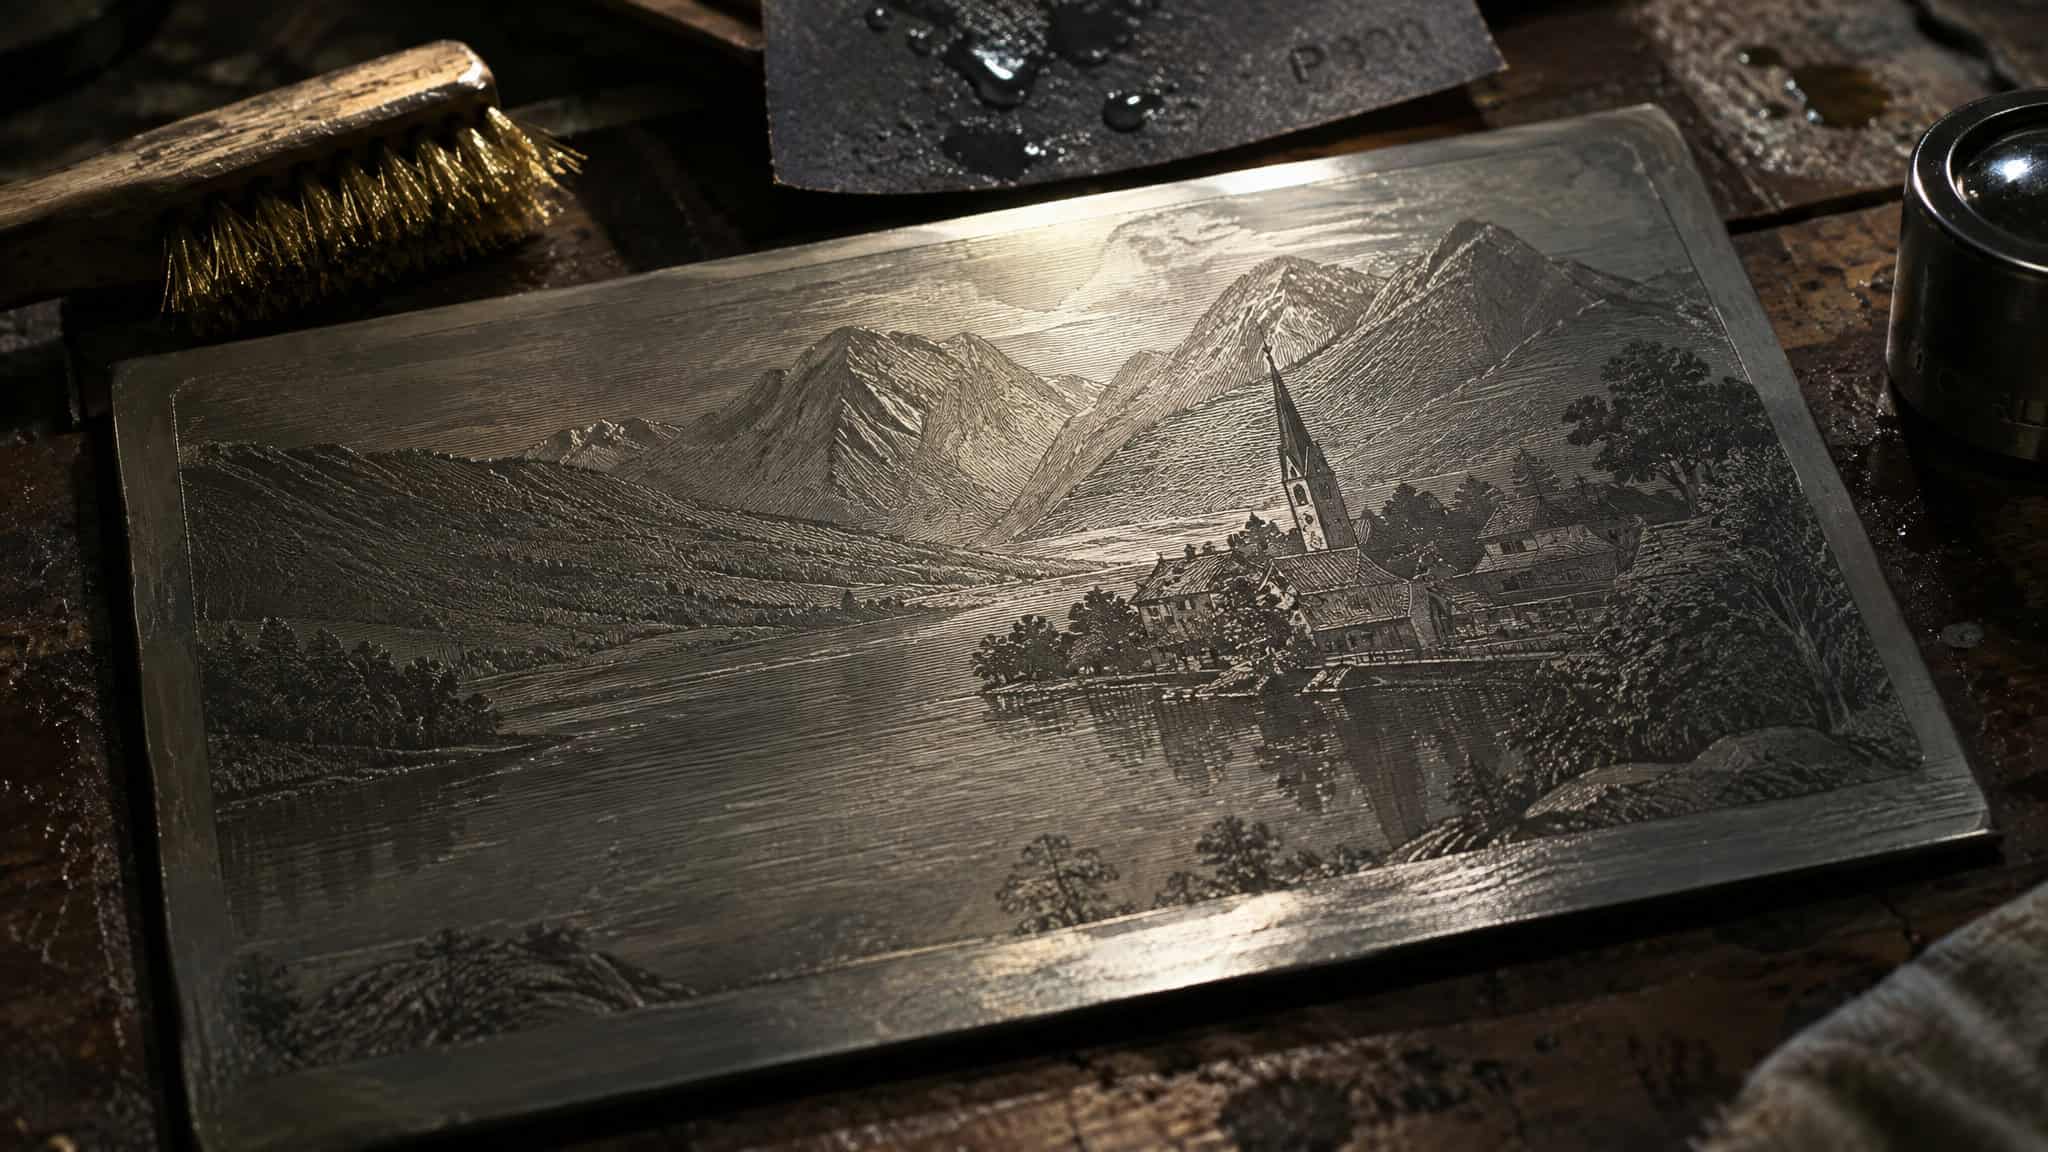
The best worked example I’ve found is a brass coin semi-deep 1mm engrave on an OMG JPT 60W MOPA with a 150mm lens, run as four stages: deep engrave at 2000mm/s, 90%, 45kHz, 200ns with a 0.023 interval over 30 passes using LightBurn Threshold; a clean pass of 2 rounds at 3000mm/s, 20%, 100kHz, 200ns; a blacken pass at 1000mm/s, 50%, 105kHz, 100ns with a 0.002 interval; then polishing with a 40mm dowel, 600 grit wet sandpaper, and WD-40, rubbed carefully so the black survives. Another community recipe finishes with a brass wire brush after 12 cumulative passes. These are community workflows, not my bench results, but the structure is what matters: engrave, clean, blacken, finish.
The second axis of control: hatch strategy, line spacing, and focus offset
Hatch angle, line spacing, and focus offset form half the real parameter space, and almost nobody tabulates them. The typical default line space is 0.05mm (community recipes run 0.001 to 0.09mm), denser fills demand more power at the same speed, and defocus offsets from 0.5 to 10mm tune depth and contrast. Hatch types worth knowing: crosshatch, zigzag, interrupted, floodfill, bidirectional, and autorotate angles of 13.7°, 29°, 45°, or 0-45-90 sequences.
Why your mark is wrong: symptom-to-fix troubleshooting and the focus-drift trap
Check focus before blaming parameters. The causal rules: shallow marks need more power or slower speed; over-burned marks need less power or faster speed; and unclear or faint marks usually mean a focal-length error, because focus error reduces the power actually delivered to the surface. Those are starting adjustments to verify on scrap, not guaranteed cures.
The diagnostic question isn’t “what do I change,” it’s “is this parameters or focus,” and the red light preview is there to catch focus drift before it wastes a part. In practice, a recurring friction point looks like this: an operator runs one good scrap test, scales to production, and then a slightly unseated part silently drops delivered power. The “unclear marking” symptom gets misdiagnosed as a settings problem when the part just isn’t sitting at the focal distance anymore.
Quick test: Before touching any parameter, rerun the red light preview on the seated part — if the projected outline sits off the surface, it’s focus, not settings.
The compact workflow: turn on the machine and make sure the environment is stable, secure the material, adjust the focal length, input your content and parameters in software, run the red light preview, then inspect the mark and clean debris. Settings alone can’t guarantee stable results. Machine quality and system configuration play a major role, which is why two machines with identical parameter sheets can still behave differently.
Can a fiber laser cut steel? Marking wattages vs the industrial cutting regime
A 50W marker can engrave steel all day, but it can’t cut it; marking and industrial cutting are different regimes entirely. Community cutting examples top out around 4mm brass at 120W (with 1mm copper, and 1.5mm aluminum, brass, and silver in range), and cutting 4mm AISI 304 stainless takes a 2000W-class machine with nitrogen assist. So if your question is “how thick can my 30W cut,” the honest answer is: fiber lasers are generally better than diode lasers for engraving bare metal thanks to wavelength coupling and beam quality, but it engraves, it doesn’t cut.
The peer-reviewed data on industrial fiber laser cutting of 4mm AISI 304 is genuinely interesting, though. In one study, speeds ran 1.5-3.5 m/min with focus position at 30-50%, fixed 2000W power, 14 bar nitrogen, and a 0.3mm stand-off, the kind of laser engraver settings interplay (power, speed, focus) that separates real results from vendor marketing. The balanced optimum was 2 m/min at 30% focus: Ra around 4.1 µm, kerf around 140 µm, and a microhardness peak of 270 HV against a 180 HV base. A precision option at 2.5 m/min and 30% focus traded a touch of that (Ra ?3.8 µm, ~195 HV), while the worst result came at 1.5 m/min with 30% focus (Ra ?4.8 µm, hardness down around 119 HV).
The metallurgy explains why. As speed rose from 1.5 to 2 m/min, the heat-affected zone narrowed from 102 µm to 56.7 µm. XRD told the same story: at 2 m/min the surface carried beneficial oxides. Cr?O?, NiO, MnO?, and SiO?, while the slower 1.5 m/min runs produced detrimental oxides like Fe?O?, FeO, and CrO?, along with unstable CrN/CrO? phases.
SEM showed deep striations and dross at the slow speeds. Kerf width tracked focus ratio more than speed: 185 µm down to 138 µm.
Corroborating literature points the same way: Ozaki et al. (2012) worked on SUS304, and critical cutting speed scales with power, roughly 100 mm/s at 2.0 kW versus 50 mm/s at 1.0 kW.
On gas and grade economics: nitrogen is preferred for stainless because it’s inert and leaves a burr-free edge, oxygen raises removal rate but degrades the surface, and argon costs roughly 300% more than nitrogen. AISI 304 runs about 30% cheaper than 316 where moderate corrosion resistance is enough. One caveat from the same literature: pushing past the optimal speed for a given power and thickness leads to incomplete cuts or excessive dross, and that dross becomes a secondary heat source that erases the gains.
Adapting recipes to your machine: wattage, lens, and source brand provenance
A settings table without its hardware context is actively misleading, so lead with provenance, not numbers. The Fiber Laser Metal Engraving Facebook group sorts its recipes by wattage (20W-200W), lens size (70-300mm), and source brand (Raycus, JPT, BCF, MOPA). Within that, speeds run 50 to 7500 mm/s, frequencies 25 to 1200 kHz, Q-pulse 10 to 500 ns, line intervals 0.001 to 0.09mm, and pass counts 20 to 1000. That’s the actual range of the parameter space people are running.
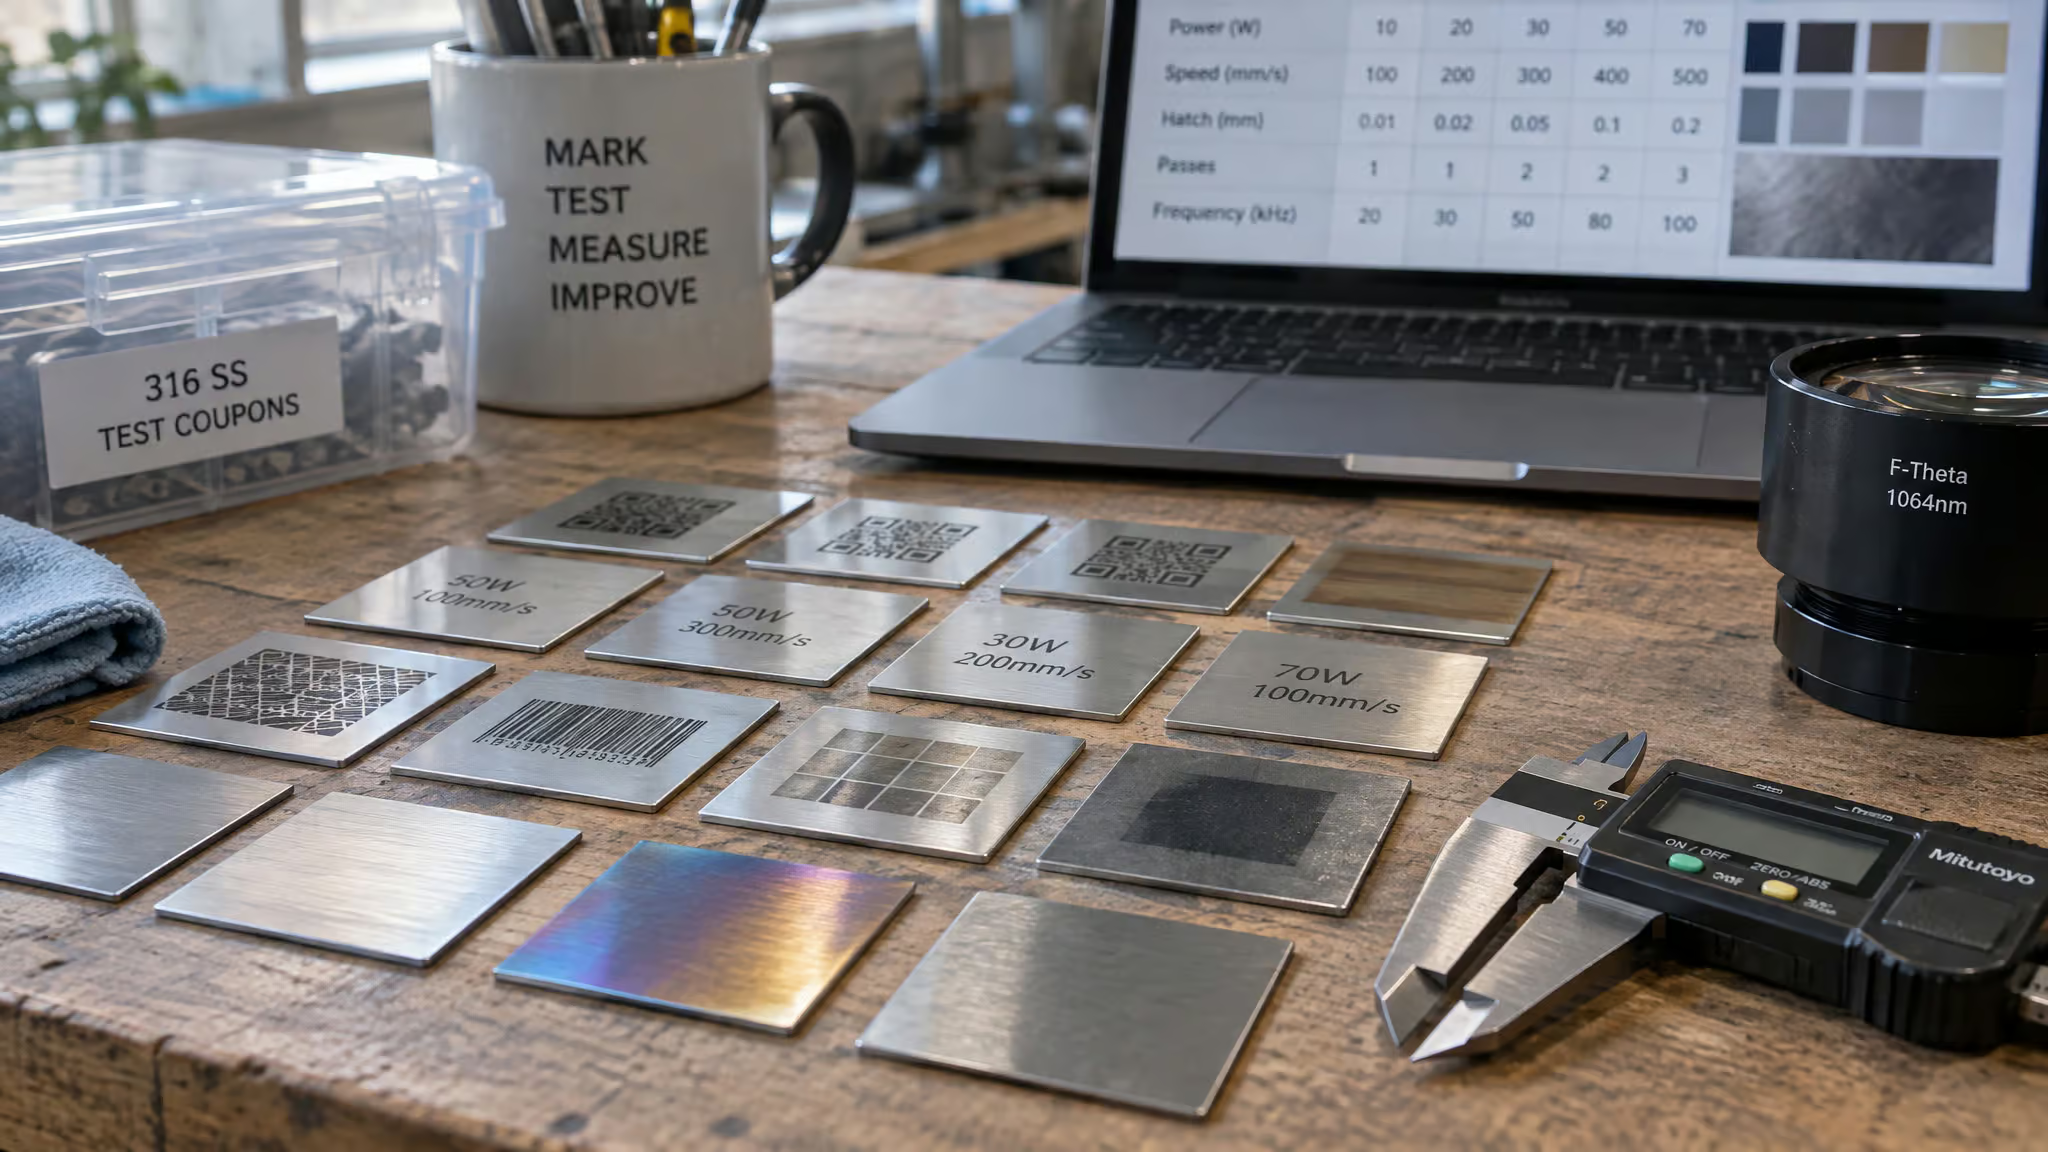
The interpolation rule: adjust power percent for wattage, hold speed, frequency, hatch, and line space constant, and remember engraving time varies by design. Two provenance-tagged examples of what that looks like in practice:
- 30W, 300x300mm engrave, 2 passes: 1000mm/s, 100% power, freq 30, 0.025 hatch, 4mm defocus, plus a clean pass at 4500mm/s, 100%, freq 80
- 80W MOPA, 300x300mm: 6000mm/s, 50%, 50kHz, bidirectional crosshatch, 0.025mm line space, 45°, 2 passes
Software travels well: parameters set in EZcad 2 apply in EZcad 3 and on any JCZ control card, and LightBurn’s 3D slice/depthmap plus imagR dithering pipelines handle photo work. If a recipe you find doesn’t say what machine, lens, and source it came from, that’s your signal to keep scrolling.
Adjacent materials and laser-type fit: aluminum, brass, ABS, and where fiber sits
Fiber lasers mark bare steel beautifully; CO2 lasers can’t touch bare metal at all. The choice is really about which material limits you can live with. Compact provenance-tagged recipes:
- White on aluminum, 30W: 100% power, 2000mm/s, angle 90, freq 55, hatch 1, loop 1, line space 0.03
- Black on brass, 30W: 100% power, 200mm/s, angle 0, freq 45, hatch 1, loop 1, line space 0.001, 70mm lens
- ABS plastic, 30W: 30% power, 500mm/s, angle 0, freq 30, hatch 1, loop 1, line space 0.03, 210mm lens
Fiber excels on stainless, aluminum, brass, and copper with high-contrast permanent marks, and it works on laser-friendly plastics like ABS and PE. PVC is the hard exception: it releases toxic fumes and must be avoided, full stop. Per-material principles: brass wants moderate power with controlled frequency, aluminum wants lower frequency for contrast, and titanium is the MOPA color-marking showcase.
The laser-type comparison in one breath: CO2 can’t mark bare metal but removes powder coat universally (a 60W CO2 galvo strips a 300x300mm panel in about a minute with 90% needing no cleanup); fiber suits reflective metals thanks to shorter-wavelength absorption; CO2 suits thick-section steels via greater penetration; UV handles delicate substrates. And the baseline that isn’t negotiable: eye protection and fume extraction.
Steel prep, finishing, and tumbler workflows
Prep and finishing pair with parameters, and the sequence matters as much as the numbers. After blackening, clean up with WD-40 and 600 grit wet sandpaper, rubbed carefully so you don’t disturb the black. After heavy multi-pass work, a brass wire brush after 12 cumulative passes is the community move. For tumblers without a rotary attachment, LightBurn’s cylinder correction handles the geometry.
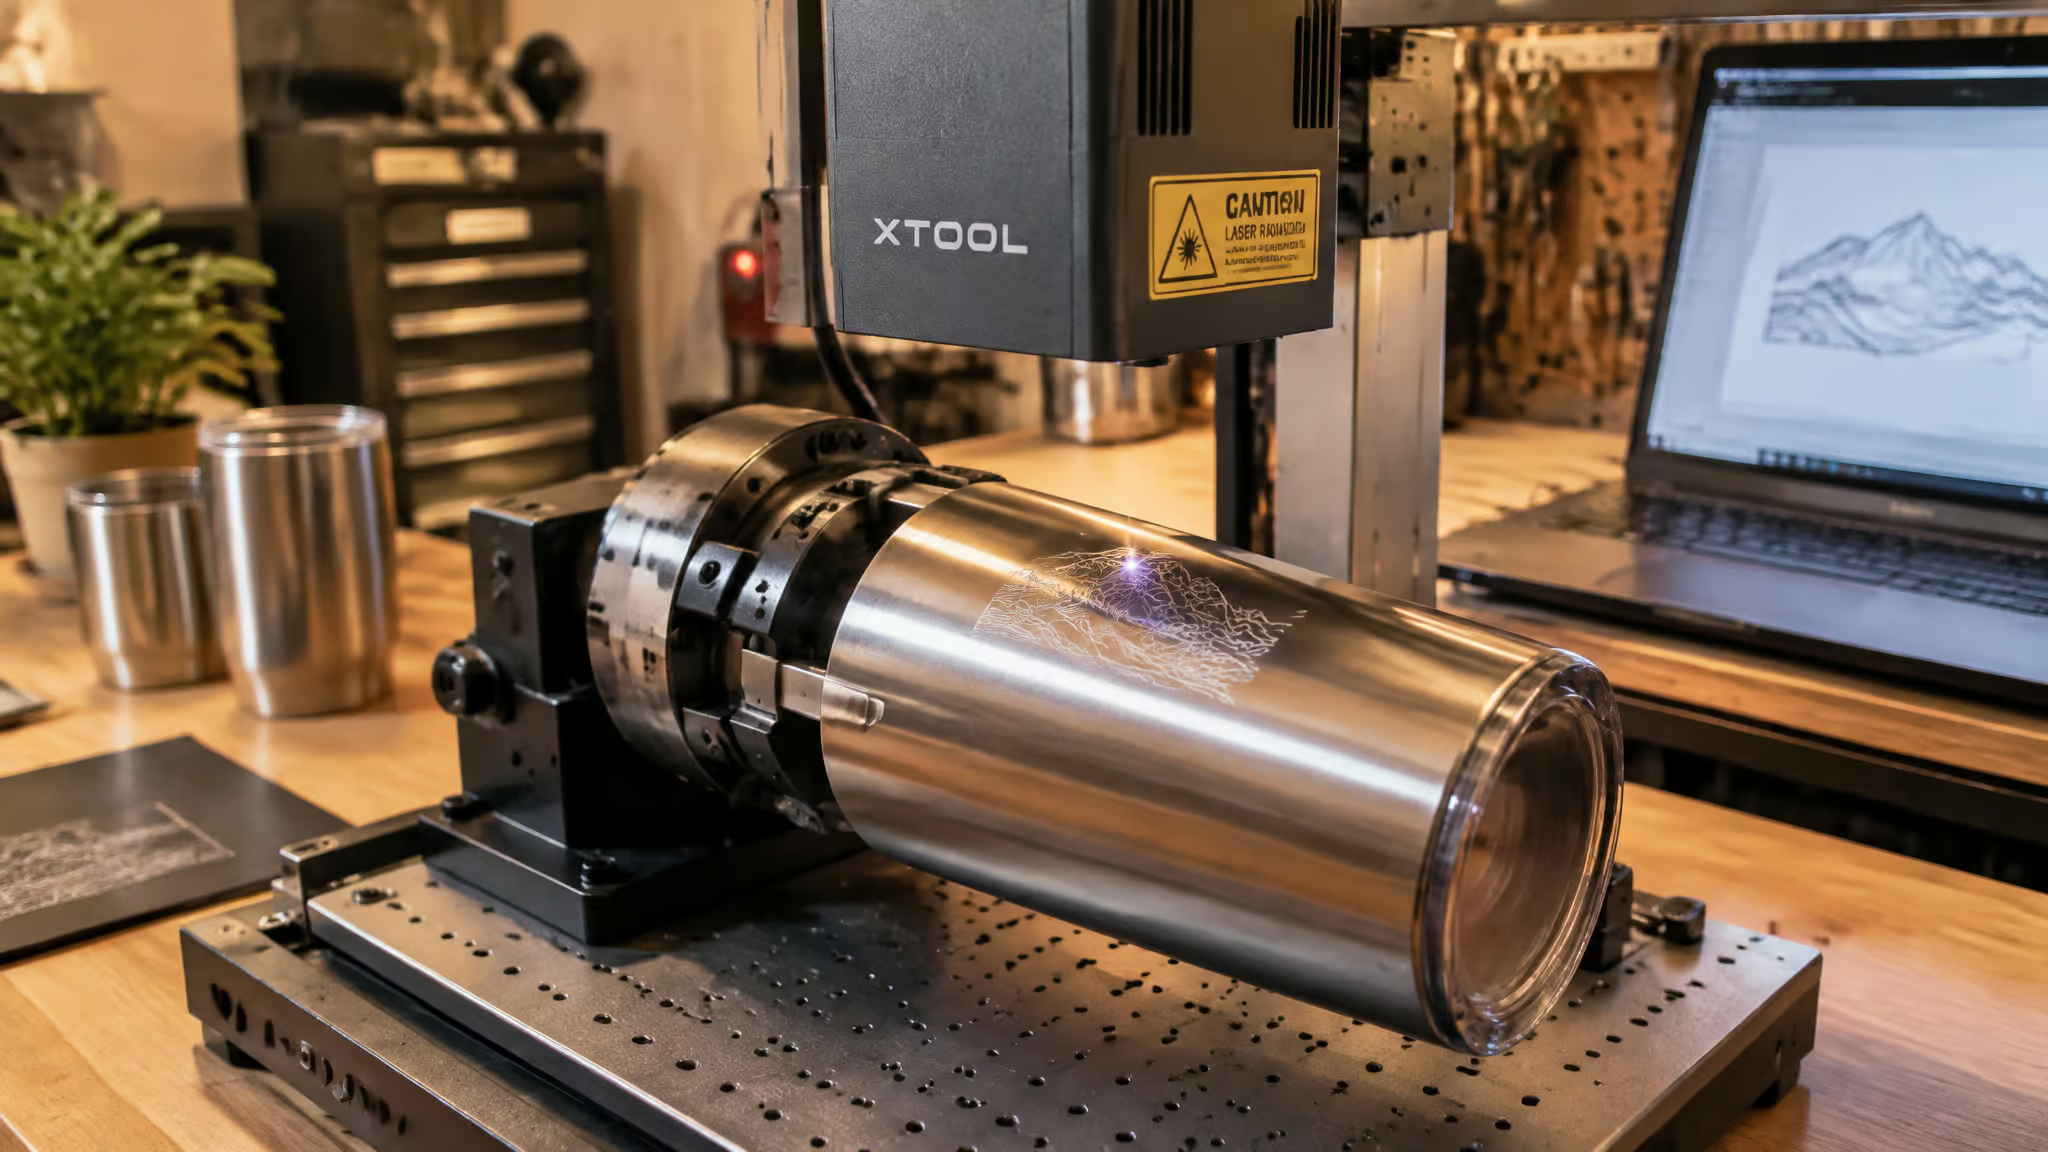
The stainless tumbler recipes are steel-adjacent worked examples worth stealing from:
- 50W OMG fiber, 300mm lens, defocus up 9mm, cylinder correction, no rotary: pass 1 at 500mm/s, 55%, 50Hz, 0.03; pass 2 at 2000mm/s, 35%, 30Hz, 0.025
- OMG-X 60W annealing Yetis: 300 speed, 23 power, 110kHz, 200pw, 0.002mm interval, 90°, in focus
- 50W JPT, 150x150mm: 200 speed, 23 power, 110 freq, 0.002 line distance, RotaryMark axis step 5, split 0.002
- 50W Raycus blue cups, 300mm lens, 1-2mm out of focus, three hatch stages
My favorite of the bunch is the Glock slide white mark: 50W JPT, 110mm lens, 750 speed, 15 power, 45 freq, 0.02 line distance. It lays down a white mark without burning through the finish, which is exactly the kind of result that looks impossible until you see the defocus and low power doing the work. The same prep-pairs-with-parameters pattern shows up in photo work too, like satin black spray on slate or Prang paint on glass before engraving.
Safety, machine selection, and operating costs for steel marking
Eye protection and fume extraction are non-negotiable, full stop. Fiber lasers marking metal throw reflections and fumes, and neither is optional equipment.
Power tiers for planning: small desktop 30-50W machines draw roughly what a PC does, mid-range 60-100W machines are in gaming-PC-or-microwave territory, and industrial 150W+ units want a dedicated power source. On the machine landscape for steel: fiber-capable options include the ComMarker B4 (20W-100W) and the ComMarker B6 MOPA (20W/30W, 110x110mm work area expandable to 200x200mm, with the fun caveat that it can bend metal if you push the power too hard). On the diode/CO2 side, the Creality Falcon A1 Pro (20W, no metal) and the xTool P2 (enclosed CO2) are the relevant picks for readers deciding what can actually mark steel. Enclosures and built-in safety features raise the price; a mid-range machine with optional upgrades tends to be the best value, though prices vary.
The reason the settings discipline in this article pays off beyond neat test grids: personalized steel items command premium prices, and corporate buyers place large orders. Repeatability is the product. Once your provenance-matched recipes are dialed in on scrap, the mark you make on part one is the mark you make on part five hundred, and that’s what turns a hobby machine into a business one.
Frequently Asked Questions
What power, speed, and frequency should I use to mark stainless steel with a 30W fiber laser?
For a black anneal on stainless, start with 50% power, 300mm/s, frequency 30, line space 0.01, on a 150mm lens, loop 0. For deep engraving, run 100% power at 1500-2000mm/s, freq 35, line space 0.02, with about 25 passes. Always test on scrap from the same batch as your real parts first.
How do I get a black annealed mark on stainless steel with a fiber laser?
Black annealing comes from heat, not material removal — you’re growing an oxide film on the surface. On a 30W machine, run roughly 40-60% power at low speed (around 300mm/s) in the 20-50 kHz range with a tight hatch (0.01 line space). Higher frequency at fixed power gives smoother, heat-oriented marks, which is exactly what annealing needs.
What settings do I need for deep engraving on steel with a fiber laser?
Depth comes from pass sequencing, not a single magic value. The core recipe is 100% power, 1500mm/s, freq 35, line space 0.02, loop 25 — with the hatch angle rotated across passes (90°, 180°, 315°) so the laser doesn’t re-cut the same grooves. The proven workflow structure is engrave, clean, blacken, finish.
How does laser frequency affect the finish and depth of a steel engraving?
At fixed power, higher frequency means more pulses per second with less energy in each — smooth, heat-oriented, high-contrast marks. Lower frequency means fewer, hotter pulses that actually vaporize material, which is what you want for depth. Typical range is 20-80 kHz: run 20-35 kHz for deep engraving, higher frequencies for fine detail and surface work.
Can a 60 watt fiber laser cut metal?
Not steel, and not really any metal in thickness. A 60W machine sits in the marking tier — it engraves stainless, aluminum, brass, and copper with high-contrast permanent marks. Community cutting results only start appearing around 120W (about 4mm brass), and real steel cutting is a 2000W-class job with nitrogen assist.
Which fiber laser is best for engraving on metal?
Fiber lasers beat diode lasers on bare metal thanks to wavelength coupling and beam quality, and MOPA sources add nanosecond pulse-width control that unlocks color marking on stainless and aluminum. For planning: 30-50W desktop units handle marking fine, 60-100W covers heavier work, and provenance matters more than brand — match recipes to your source (Raycus, JPT, BCF) and lens focal length.
Why do the same fiber laser settings produce different results on different machines?
Because settings are welded to the hardware they were tested on. BCF sources have a broader frequency range than Raycus or JPT, so the same frequency number produces a different effect amplitude — and a different lens focal length shifts the delivered power too. That’s how someone copies a forum recipe and gets a burned gray blob instead of a clean black mark. Treat any parameter block without machine, lens, and source provenance as a rumor.
