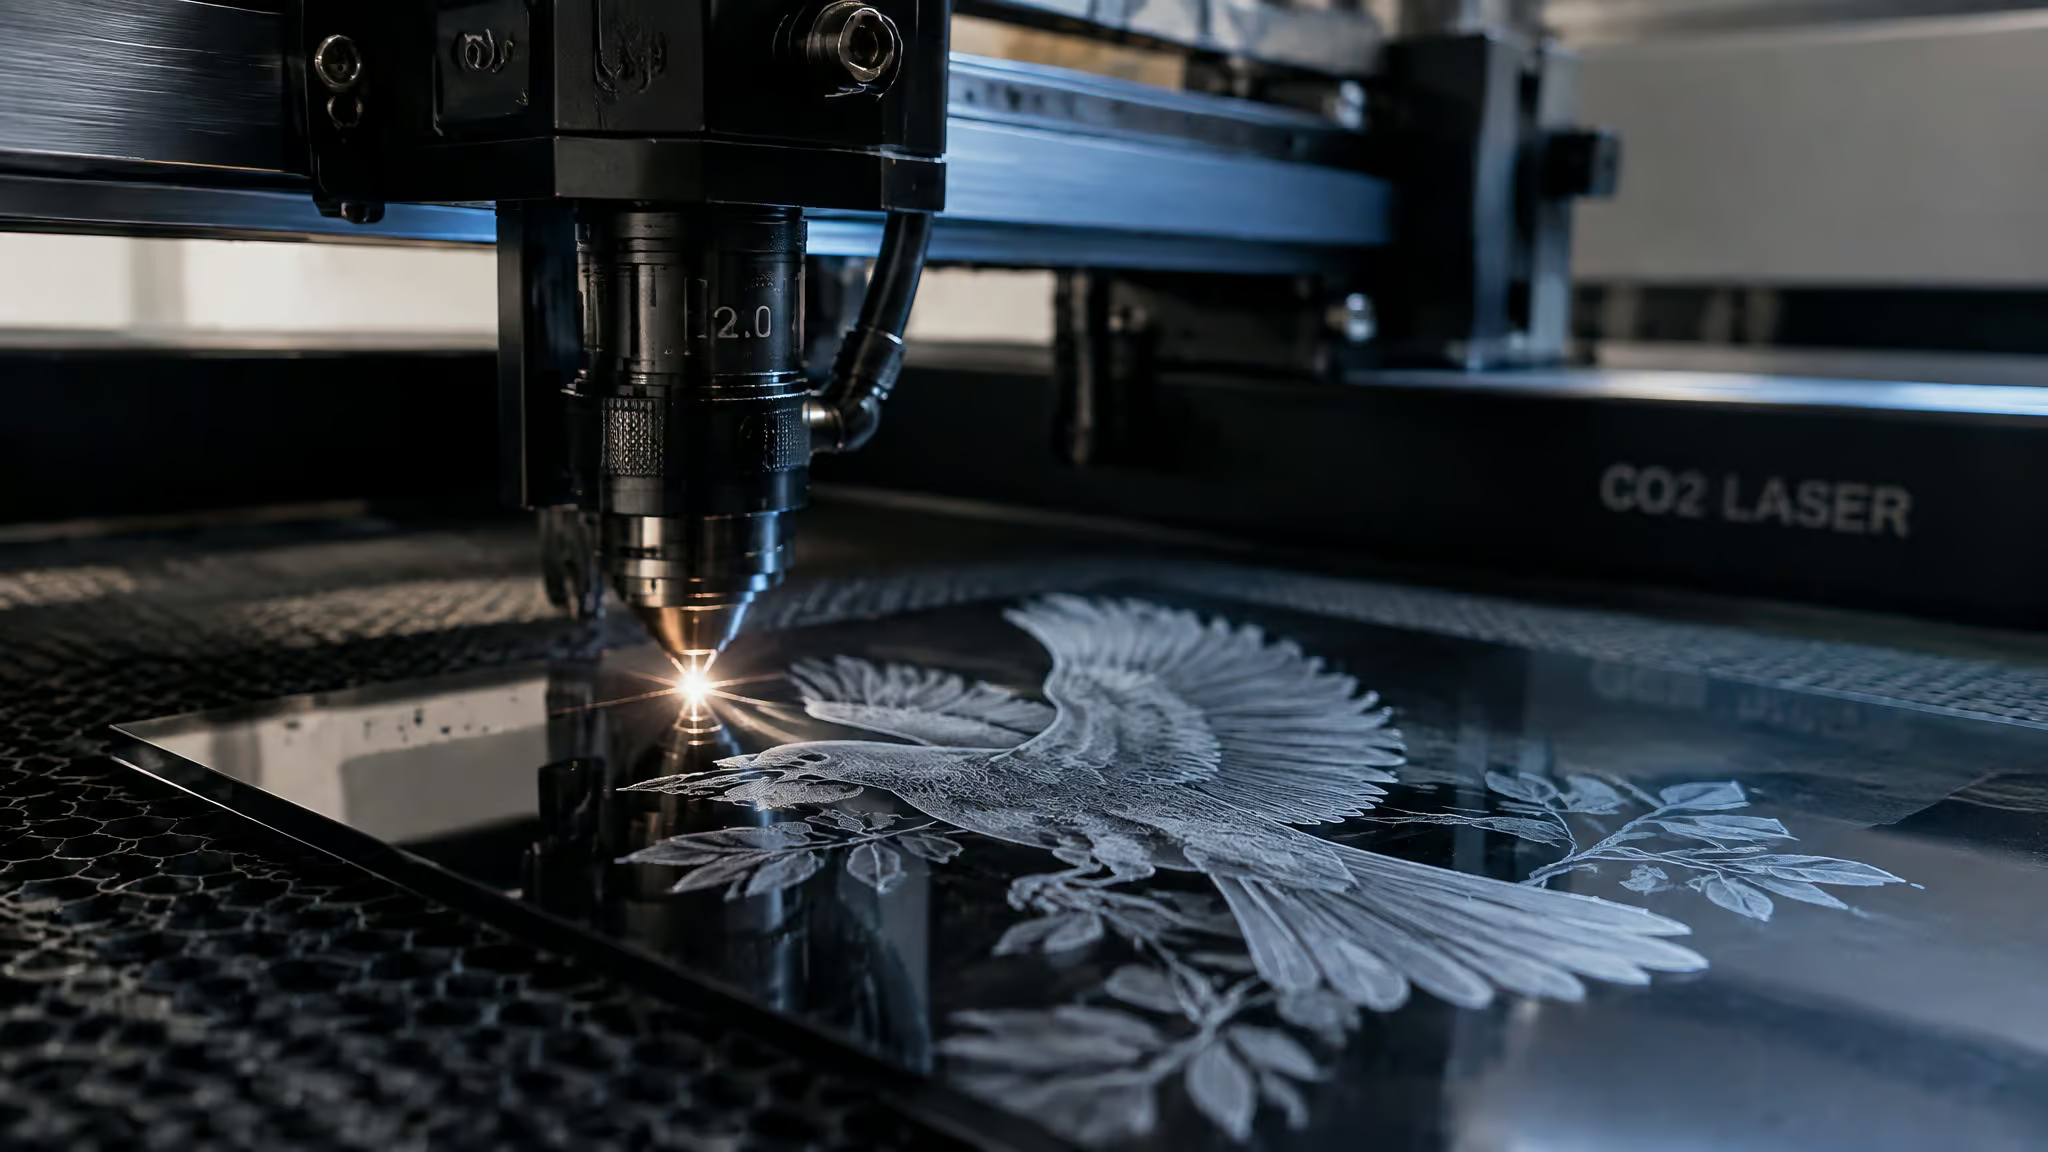
Every forum chart I’ve ever copied had the same hidden variable: the machine it came from. You find a tidy table of laser engraving settings for different materials, punch it into your own laser, and get scorched edges where the chart promised clean frost, or a whisper-faint mark where it promised depth. The chart never said whether the source machine was a 30W desktop or a 155W shop tank, whether it was CO2 or diode, or how many thousands of hours its tube had on it. Those omissions are the whole problem, and they’re fixable.
What follows is a set of tested, per-material tables attributed to real machines, plus a way to adapt any chart to your own setup. The two main sources are a nice rabbit-hole find: NC State’s College of Design publishes the actual settings its shop runs on a pair of BOSS CO2 cutters (an LS-1630 at 105W in the Lampe MakerSpace and an LS-2440 at 155W in Leazar Hall’s Materials Lab, three machines in one room and two in the other, access limited to Design students, faculty, and staff). Epilog’s applications lab publishes its own Fusion Series tables across six CO2 wattage columns. Same materials, different machines, different numbers. That difference is the lesson.
Key Takeaways
NC State’s shop chart runs acrylic engraving at 350 mm/s with a .065 mm scan gap on both machines, but at 20% power on the 105W BOSS LS-1630 and only 15% on the 155W LS-2440: the stronger tube needs less power for the same result.
Epilog’s documentation confirms the speed scale (1-100%) is non-linear while power is linear, so 100% speed is not twice 50% speed, which is one reason copied settings misbehave.
The speed-and-power test grid (10-15 mm squares, speed per column, power per row, run on scrap) plus saved presets in LightBurn is the reusable way to calibrate any chart to your own machine and tube.
Table of Contents
How laser engraving settings actually work
Five parameters control every laser engraving job: power, speed, frequency, DPI, and interval (scan gap). Power sets beam intensity, speed sets how fast the head moves, and frequency does double duty: a higher setting yields smoother engraving, while a lower one is better for vector cutting. Resolution is a rule of thumb, 300 DPI for text and logos, 600+ for photographic detail.
The fifth parameter, interval or scan gap, is the one most charts omit. It’s the spacing between scan lines, and NC State’s tables carry it explicitly as .065 mm. Leave it out of a copied job and your line density won’t match the source, even with identical power and speed.
Everything else lives on one tradeoff: high power at low speed burns deep and dark, with overheating risk. Low power at high speed leaves faint surface marks. Every settings decision is a position on that line.
Linear power, non-linear speed
Here’s the detail behind many puzzling outcomes, straight from Epilog’s Fusion documentation: 50% power is exactly half of 100% power, but the 1-100% speed scale is non-linear. 100% speed is not twice 50% speed. So when you copy a setting between machines and scale it, power scales predictably and speed doesn’t. That’s reason number one your copied settings misbehave, and almost nobody states it out loud.
Acrylic settings: engraving and cutting tables by wattage
Acrylic is one of the safest, cleanest laser materials you can run, and the honest caveat from every source agrees: settings depend on wattage and material, and any baseline is a starting point. The proof is in the numbers themselves.
NC State’s dual-wattage tables engrave acrylic at 350 mm/s with a .065 mm scan gap at any thickness, but at 20% power on the 105W LS-1630 and 15% on the 155W LS-2440. Cutting 1/4″ acrylic runs 15 mm/s at 75% on the 105W machine versus 20 mm/s at 65% on the 155W. Same material, different tube, different numbers.
Epilog’s Fusion tables show the same scaling across six wattage columns (30/40/50/60/75/120W). Cutting 1/8″ acrylic at 100 frequency runs 5s/100p at 30W up to 12s/100p at 120W. Photo engraving at 300 DPI and 90 speed runs 60p at 30W down to 30p at 120W; text and clipart run 80p-55p at 300 DPI and 75p-50p at 600 DPI. The takeaway isn’t any single row. It’s that you interpolate for your own wattage instead of copying one number.
Cast vs extruded acrylic
Cast acrylic engraves frosted white, which is what you want for signage. Extruded acrylic cuts with flame-polished edges but gives less engraving contrast. StyleCNC’s table splits its rows the same way (cast clear 10-18% at 400-500 mm/s, extruded 10-15%), and two-tone acrylic reveals the second color at 15-25% power. Quick tips: keep air assist pressure low so debris doesn’t blow into the mark, work from the reverse side of clear acrylic when making LED signage, use transfer tape to cut cleanup time, and run 600+ DPI for photos.
Cutting technique for thick acrylic
For 1/4″ and thicker, Epilog recommends moving focus about.080″ (2 mm) closer to the lens for better edge quality, with multiple passes on thicker stock. One obscure Epilog setting worth knowing: Speed Comp halves the selected vector speed, and it matters most at speeds 1-10. A 5% speed job with Speed Comp takes twice as long. And air assist is always on when cutting. Non-negotiable.
Wood settings by species: balsa, basswood, birch, and plywood
The tested starting points, all from NC State’s shop chart: balsa engraves at 350 mm/s, 20%/15% (105W/155W) and cuts at 25 mm/s, 55%/50% at 1/8″. Basswood engraves at 25%/20% and cuts at 25 mm/s, 55%/40% at 1/8″. Birch engraves at 25%/20% and cuts at 15 mm/s, 70% / 20 mm/s, 65% at 1/4″. Birch plywood cuts at 15 mm/s, 75% / 20 mm/s, 70% at 1/4%.
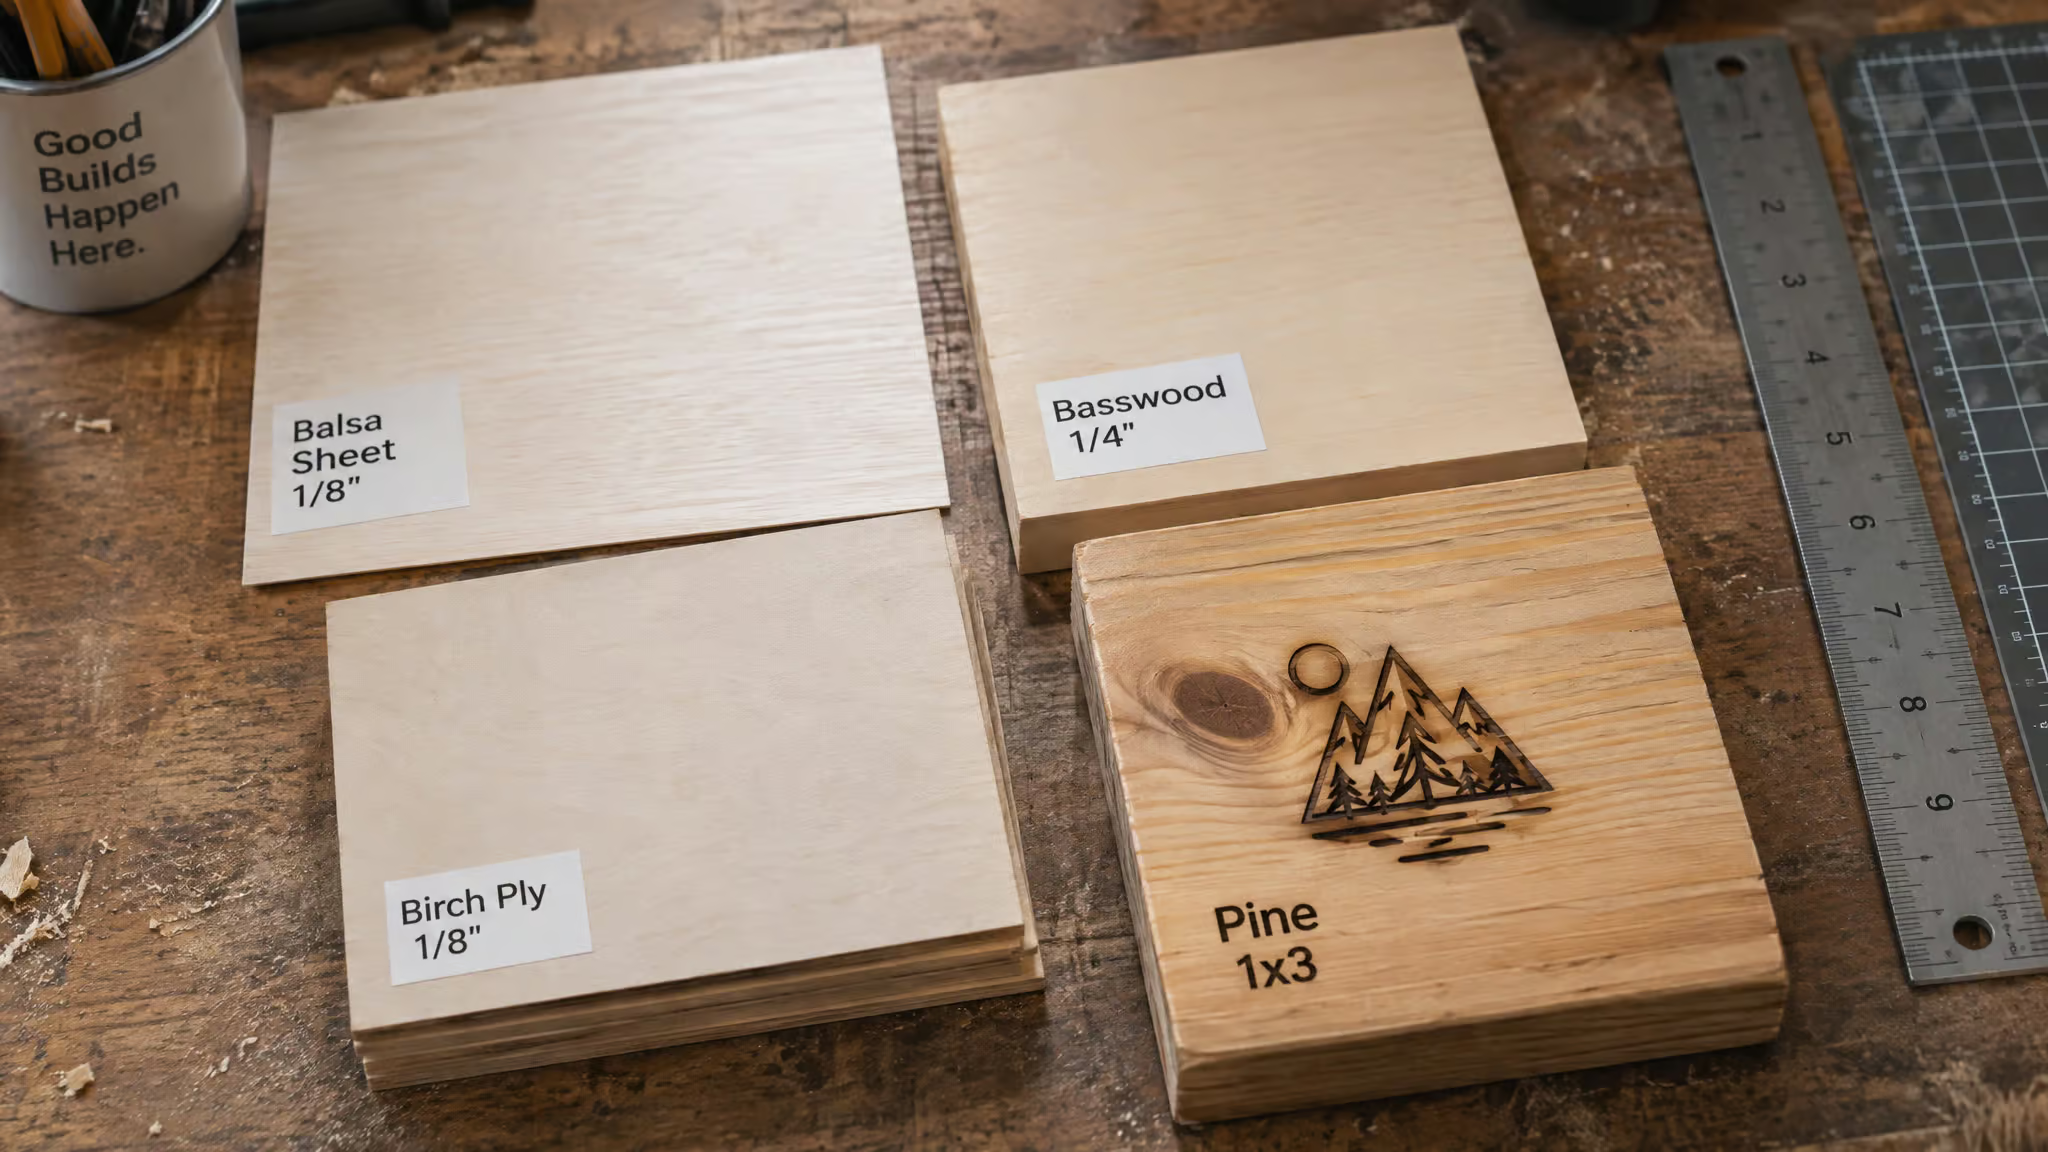
StyleCNC’s 60W ranges fill in the species spread: basswood 15-20% at 350-500 mm/s, Baltic birch 20-30% at 300-450, maple 25-40%, walnut 20-35%, pine 15-25% (chars easily), MDF 15-25%.
One pattern worth noticing: balsa’s engraving row is identical to acrylic’s. Same 350 mm/s, same 20%/15%, same.065 mm gap. Two completely different materials, one recipe. Don’t build a theory on it, but it’s a genuinely interesting echo.
Hardwoods vs softwoods
Hardwoods give high-contrast engravings. Softwoods char if you push them too hard. Baltic birch plywood is the recommended beginner material: consistent, cheap, forgiving. Pro tricks that feel like cheating: engrave before staining, clean with a damp microfiber or isopropyl alcohol, and lay down painter’s tape to cut smoke residue.
Slow down instead of powering up
When you want a deeper engraving, the instinct is to raise power. Epilog’s guidance says the better move is dropping speed 10-15% instead, and that easing off the speed pedal produces a cleaner mark. It’s genuinely contrarian against the max-power reflex, and it saves scorched work. For charring specifically, you’ve got four levers: more speed, less power, air assist, painter’s tape.
Leather settings, and why the type of leather matters more
Yes, leather engraves safely, and vegetable-tanned leather is the one that works best. NC State’s chart engraves it at 350 mm/s at 18% (105W) / 15% (155W), slightly lower power than wood because leather scorches. Cutting 1/8″ leather runs 12 mm/s at 75% / 15 mm/s at 70%, which is the slowest cut speed in the whole shop chart. Leather is dense stuff.
StyleCNC’s ranges split by type: veg-tan light 10-15% at 300-400 mm/s, veg-tan heavy 15-20% at 200-350, chrome-tan 10-18% (test first, it reacts inconsistently), PU synthetic 8-15% at 300-450. And one hard line, stated plainly: PVC-based synthetic leather must be avoided entirely. It releases toxic chlorine gas when lasered. That’s a prohibition, not a quality preference.
Leather handling
Air assist off or low for leather. Wet the surface first to keep smoke staining down. Several gentle passes outperform a single heavy one. Magnets or weights hold it flat, and fume extraction is essential.
Paper, cardboard, foam, and rubber: thin and fragile materials
Paper cutting on NC State’s 105W machine runs 20 mm/s at just 15% power at 1/100″ thickness. Paper needs almost nothing. Cardboard engraves at the familiar 350 mm/s, 20%/15% recipe and cuts at 15 mm/s, 60%/50% at 1/4″. Foam cuts at 25 mm/s, 55%/40% at 1/4″.
Rubber engraves at 350 mm/s, 20%/15% and cuts at 12 mm/s, 75% / 15 mm/s at 70%, but only chlorine-free rubber, ever. Romark, the two-layer colored plastic used for signs, plaques, and instrumentation panels, engraves through its top layer at 350 mm/s, 20%/15%.
Gator Foam and the half-qualifying materials
Gator Foam is a conditional material, not a banned one. The hard shell cuts well, but the foam core inside scorches and erodes, and small fire flareups are possible. Watch it closely the whole job. That’s the difference between a flat ban and a material that gets your full attention. Depron, the RC-plane foam, is on the safe list. EVA foam is not.
Glass engraving: setup decisions that matter more than the numbers
A tested glass starting point: 850 speed, 100 power, 340 LPI, 1-2 passes. But the setup decisions matter more than the numbers, and one documented Glowforge job shows why. It engraved a Dollar Tree glass plate upside down with mirrored text, so the design sits on the food-safe underside. Thickness was measured at 0.35 with a stepped gauge, three risers leveled the uneven bottom, the job took about 12 minutes, and the plate got washed with soap and water afterward to remove glass fragments. The result came out better than expected.
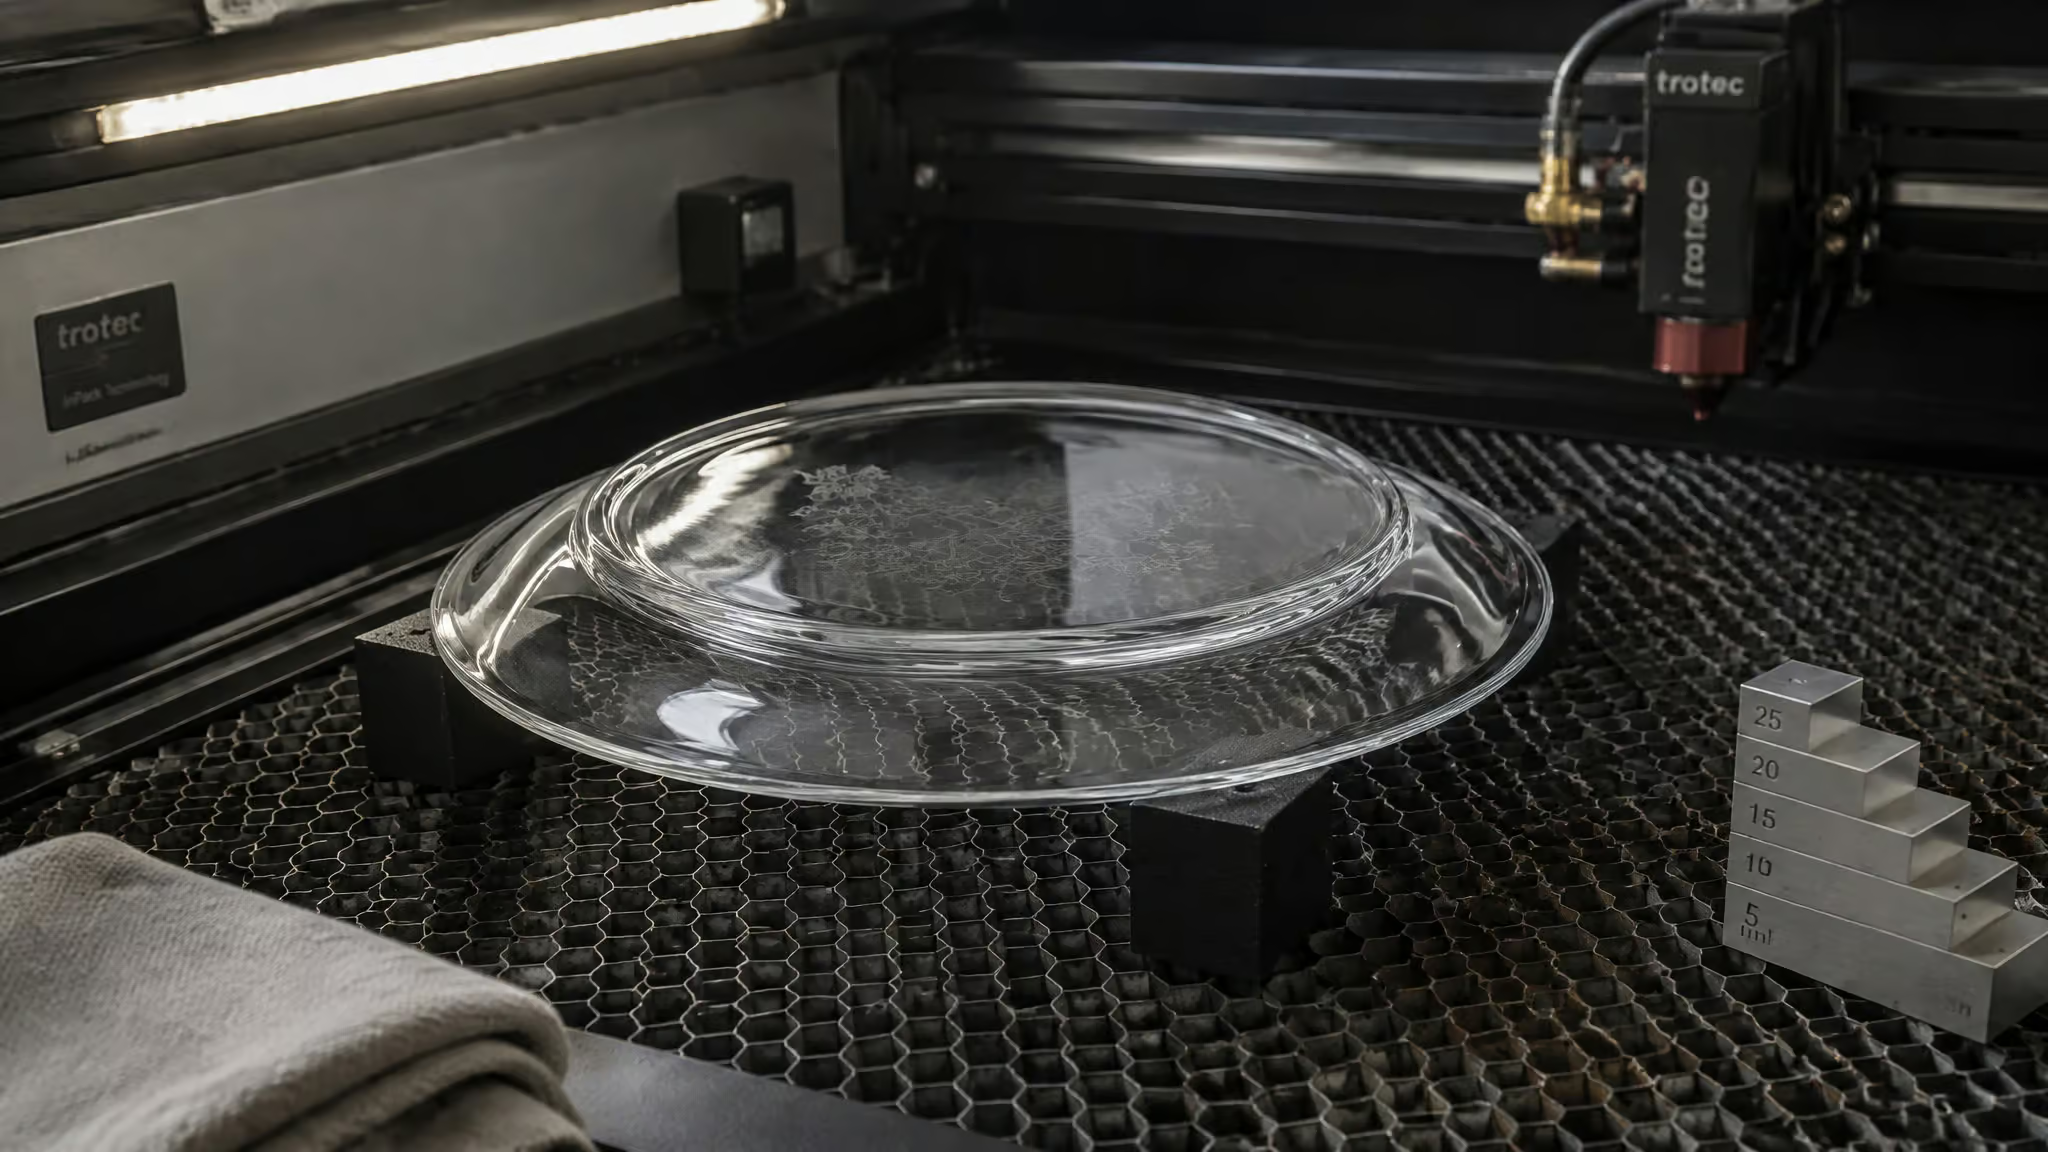
Epilog’s CO2 glass rows run 15s-40s at 100p, with 80% gray, Jarvis dithering, or a thin dish-soap film to diffuse the heat. The mirrored-underside-plus-gauge pattern is a community workflow worth stealing; this one tested example is the proof, not a guarantee for every plate.
Why glass is a setup problem
Mirroring, leveling, and heat diffusion determine the outcome more than speed or power do. If you want to skip the prep entirely, UV lasers at 355 nm etch glass photochemically with no treatment, and can even engrave inside glass.
Metal engraving: anodized aluminum, coated metals, and fiber lasers
Metal engraving settings depend first on which laser you own, because raw metal requires a fiber laser or marking compounds before any chart applies. CO2 light at 10.6 µm reflects off bare metal, so a CO2 machine marks anodized aluminum (the coating absorbs the beam) and touches bare metal only through CerMark or Enduramark marking compounds; Alumamark rows exist in Epilog’s table too. Fiber light at 1.06 µm is absorbed by metals, which is why fiber is the actual metal machine.
The tested numbers, attributed:
- Anodized aluminum on CO2 (Epilog Fusion): text best at 600 DPI, 90 speed, 60p at 30W down to 35p at 120W; photos at 400-600 DPI.
- Fiber stainless annealing at 600 DPI (Epilog): speed 5-15%, power 100%, frequency 1%, focus +.08 to +.110. Polishing runs speed 50-80%, power 35-40%, frequency 50-60% on an alcohol-cleaned surface, adjusting power in small increments.
- StyleCNC 30W fiber ranges: stainless 40-60% / 200-500 mm/s / 20-50 kHz for a black anneal; aluminum 30-50% / 300-600; brass 40-70% / 150-400 / 20-30 kHz; titanium 30-50% with variable frequency.
Bare aluminum engraves gray, not black; black requires an oxidizer. Multiple passes deepen the etch, and 2D UID barcodes scan fine from fiber marks. Titanium color marks (red, blue, green, orange, yellow, purple) come from varying frequency between 1 and 100%, which is honestly kind of elegant. Powder coating takes 2-3 passes to ablate then polish, or a Simple Green scrub; plated metals ablate .001″, .005″ to expose base metal. Epilog found no metal incompatible with its FiberMark; the right numbers vary with wattage, how hard the metal is, and the kind of mark you’re after.
Annealing is a defocus technique
Here’s the counterintuitive core: the dark black annealed mark comes from an out-of-focus beam. Epilog’s guidance puts defocus at -.060″ to -.090″ away or +.070″ to +.110″ closer, and both directions give the dark anneal, with multiple passes darkening further. The decisive parameter doesn’t appear in most speed/power charts at all. Defocusing +.06″, .09″ also broadens the beam for brighter anodized marks. And where CO2 habits say slow down for depth, many fiber metal jobs run at 50-100% speed, with slower meaning deeper etching when you do slow down.
CO2 workarounds
If you own CO2, your metal routes are anodized stock, coated metals, and marking compounds. Anodized aluminum runs 15-25% at 300-400 mm/s; bare metal works with CerMark or Enduramark applied first. Worth spelling out so nobody wastes an evening trying to cut bare steel on a CO2 machine: it reflects the beam, full stop.
Which laser type can work which material: diode vs CO2 vs fiber vs UV
Which materials a laser can engrave is determined by wavelength, not brand or wattage. CO2 at 10.6 µm is absorbed by acrylic, so it cuts clear acrylic that a 455 nm diode laser passes straight through, but it reflects off bare metal. Fiber at 1.06 µm is absorbed by metals. UV at 355 nm etches glass photochemically without prep. Once you internalize that, you stop memorizing numbers and start predicting which chart applies to your laser.
The compatibility picture, per material:
| Material | Diode | CO2 | Fiber |
|---|---|---|---|
| Wood | Yes (good results) | Yes (excellent) | No (not suitable) |
| Cast acrylic | Partial (can’t cut clear) | Yes (excellent) | No (not suitable) |
| Leather | Yes (good) | Yes (excellent) | Partial (possible, may scorch) |
| Bare metal | Partial (surface only, needs marking spray) | Partial (works with a coating) | Yes (excellent) |
| Anodized metal | Partial (limited) | Yes (excellent) | Yes (excellent) |
Materials without tested rows here, like slate and stone, don’t get invented numbers; they get the test-grid method below.
10W diode owners
A 10-20W diode is cheaper, and it’s genuinely good at wood and leather. But it’s limited on clear acrylic and bare metal, and marking spray is the workaround for the metal side. No tested 10W per-material tables exist in the sources I dug up, so the honest move is to work from the compatibility expectations above and calibrate with the test grid rather than trust a random diode chart. There’s more on what these small machines can and can’t do in our 10W laser engraver material settings guide.
Materials you should never laser cut, and what happens if you try
No. PVC, vinyl, polycarbonate, ABS, and several others should never go in a laser cutter, and each fails in a specific way. PVC and vinyl give off hydrochloric acid gas. Polycarbonate emits harmful fumes. ABS poses a cyanide hazard.
HDPE, nylon, and polyethylene melt badly instead of cutting. Mylar, styrene, and EVA foam are also prohibited, and metals or glass and mirrors can damage the laser’s focus assembly by bouncing the beam back at the machine. For anything of unknown composition, get an MSDS from the supplier: the two-minute check that prevents a very bad evening. And paper, fabric, and thin leather are flammable at low speed and high power.
Red flag: Chlorine-containing materials like PVC release toxic gas when lasered — no wattage, speed, or ventilation setting makes them safe to try.
The safe list, for context: acrylic, Delrin, Kapton tape, PETG, polypropylene (softens and deforms rather than cutting cleanly), Teflon, leather, suede, felt, hemp, cotton, cardstock, MDF, poplar, red oak, cherry, and holly.
The polyester question
NC State prohibits Mylar, which is polyester film. That’s not the same thing as polyester fabric. Film and fabric behave differently under a beam, so don’t extrapolate a ban from one to the other. For any unknown synthetic, verify with an MSDS rather than guessing in either direction.
Fire, fumes, and ventilation: the non-negotiables
Properly rated fume extraction is non-negotiable; if you can’t vent outside, use inline activated carbon filtration, and an open garage door is one documented low-budget substitute for costly air purifiers. The rest is the standard fire discipline: never leave a running laser unattended, keep an extinguisher within arm’s reach, and enable flame detection if your machine supports it. Air assist is material-specific: always on when cutting, off or low for leather, low pressure for acrylic engraving.
How to calibrate any settings chart to your machine: the test-grid method
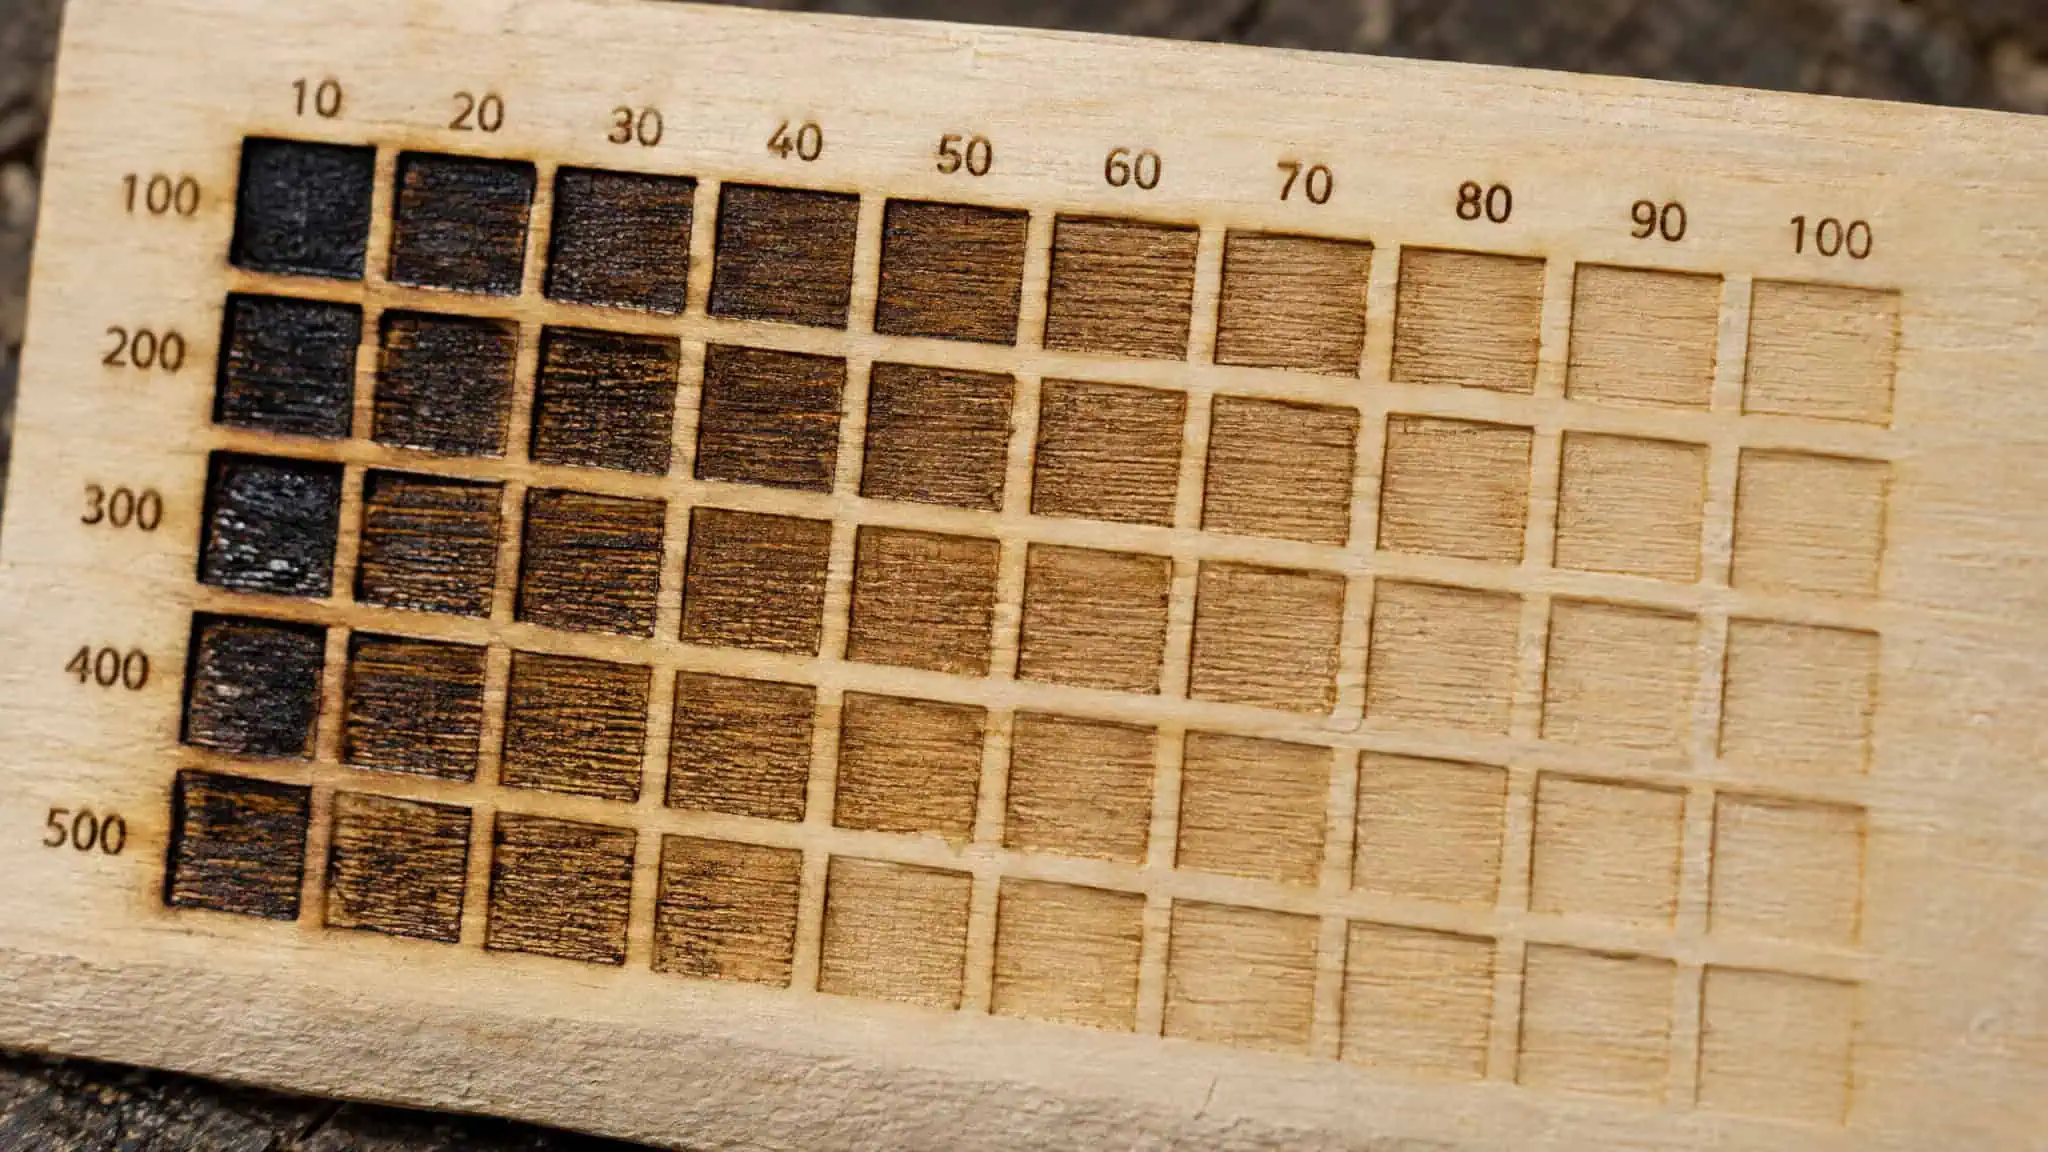
The speed-and-power test grid is the most effective way to test settings on an unfamiliar material, and it’s standard among professionals, which is reassuring: the pros do the same scrappy thing. The procedure:
- Make a grid of 10-15 mm squares, speed varying per column, power varying per row.
- Run it on scrap.
- Label the axes directly on the material. This is the tip people skip, and it’s the difference between a calibration tool and an unlabeled burn.
- Evaluate contrast, depth, edge sharpness, and charring.
- Adjust one variable at a time, and start low on power, since you can re-run a job without moving the piece.
- Run one element of the file first before committing the whole job.
Save winning parameters as named presets in LightBurn ($60/year, the industry gold standard), RDWorks, LaserGRBL, or your native controller. Map unfamiliar materials to the closest known one; anodized aluminum and plastics react similarly, so start there and adjust. Epilog’s Applications lab offers free sample testing for difficult materials, and its printable settings live at epiloglaser.com/material-settings.htm, worth bookmarking. The whole workflow is debugging discipline: burn a grid, pick the winner, save the preset, never rediscover it. Our laser engraver settings guide goes deeper on how the parameters interact.
Why copied charts fail: three reasons and one fix
Charts rarely state the source machine’s wattage, laser type, or tube age. CO2 tubes also degrade: a 60W tube may lose output and sit at 50W or below once the tube reaches 2,000-4,000 hours, a commonly reported range rather than a guaranteed spec, which means saved settings drift and need periodic recalibration. Third failure mode: wavelength mismatch. A chart written for a CO2 tube won’t transfer to a diode, or the other way around. The remedy is the test grid plus a preset library tuned to what your tube actually puts out.
The resend protocol
When a job fails, change one variable at a time and resend. Same instinct as fixing code. Start low on power, re-run without moving the piece, and verify with one element before committing the full job.
Matching settings to your machine: the 2026 landscape
A 40-60W CO2 laser offers the most versatility for beginners; 10-20W diodes are cheaper but limited with clear acrylic and metal; bare, uncoated metal work calls for a fiber source. That’s the capability map. The fresh angle for 2026 is that the settings chart is now the least durable asset in your workflow, because some machines ship with calibrated presets that skip the test-grid ritual entirely.
The standout example is the Bambu Lab R1: 55W CO2, 600 x 300 mm work area, $2,499, Class 1 enclosed. It delivered excellent results from material presets without manual test grids; a 3 mm basswood ply flower-box across two sheets took about 10 minutes. Its TriSense positioning and auto-alignment stack is genuinely impressive hardware, though Bambu Suite software needs refinement. Fully enclosed machines are now the market standard.
One pick per machine type, and one thing worth knowing about each: the xTool F2 Ultra (60W MOPA fiber plus 40W diode, $4,999, and no goggles included, an honest gap at that price) for metal; the F2 Ultra UV (355 nm, $4,299) for glass and crystal, the only laser here that engraves inside glass, which the reviewer called a sight to behold; the Glowforge Aura (6W diode, $999 sale price, $1,199 MSRP) for crafts; the xTool S1 (40W diode, $1,849 with coupon) cutting 20 mm pine in one pass; the xTool F1 portable for craft vendors; and the Creality Falcon T1‘s five swappable modules flagged as risky, since testing was incomplete at 3 of 5 modules and the UV and MOPA modules lacked release dates. Lowest laser cutter price sits around $220. Prices may vary.
Accessories that change results before you touch a setting
A honeycomb bed beats slats: the R1’s removable slats let small pieces fall and scorch, and the reviewer wanted a supplied honeycomb. Rotary, conveyor, and riser attachments expand cylindrical and tall work. And Class 1 enclosed versus Class 4 open changes your safety obligations, which matters more than any number in a settings table. For a printable version of the reference tables here, see our laser engraving speed and power settings PDF.
Frequently Asked Questions
What materials should not be laser engraved?
PVC and vinyl release hydrochloric acid gas, polycarbonate emits harmful fumes, and ABS poses a cyanide hazard — none are safe at any setting. HDPE, nylon, and polyethylene melt instead of cutting, Mylar, styrene, and EVA foam are prohibited, and metals, glass, and mirrors can bounce the beam back and damage the focus assembly. For unknown synthetics, get an MSDS from the supplier before lasering.
Can you cut 100% polyester in a laser?
It depends on the form: polyester film (Mylar) is prohibited, but polyester fabric is a different material that behaves differently under the beam, so a ban on one doesn’t extend to the other. Don’t extrapolate in either direction — verify with an MSDS before lasering any unknown synthetic.
What are the 5 parameters of laser?
Power, speed, frequency, DPI, and interval (scan gap). Power sets beam intensity and speed sets head movement; frequency yields smoother engraving when high and cleaner vector cuts when low. DPI is roughly 300 for text and logos and 600+ for photographic detail, while the scan gap — the spacing between scan lines — is the parameter most charts omit, and leaving it out means your line density won’t match the source even with identical power and speed.
How do I test laser settings on an unfamiliar material?
Run a speed-and-power test grid: 10-15 mm squares with speed varying per column and power per row, on scrap, with the axes labeled directly on the material. Evaluate contrast, depth, edge sharpness, and charring, adjust one variable at a time, start low on power, and run one element of the file before committing the whole job. Save winning parameters as named presets in LightBurn or your controller so you never rediscover them.
CO2 laser vs diode laser vs fiber laser: which materials can each engrave?
Wavelength, not brand or wattage, decides it. CO2 at 10.6 µm is absorbed by acrylic — so it cuts clear acrylic a 455 nm diode passes straight through — but reflects off bare metal; it marks anodized aluminum and works on bare metal only with CerMark or Enduramark compounds. Fiber at 1.06 µm is absorbed by metals, making it the actual metal machine, while wood and acrylic aren’t suitable for it. Diodes do wood and leather well but struggle with clear acrylic and bare metal.
How much power do you need to engrave acrylic?
Less than you’d think, and it scales inversely with wattage: NC State’s chart engraves acrylic at 350 mm/s with a .065 mm scan gap at 20% power on a 105W machine but only 15% on a 155W one. Epilog’s Fusion tables scale the same way across 30-120W, with photo engraving dropping from 60% power at 30W to 30% at 120W. Interpolate for your own wattage rather than copying a single number.
