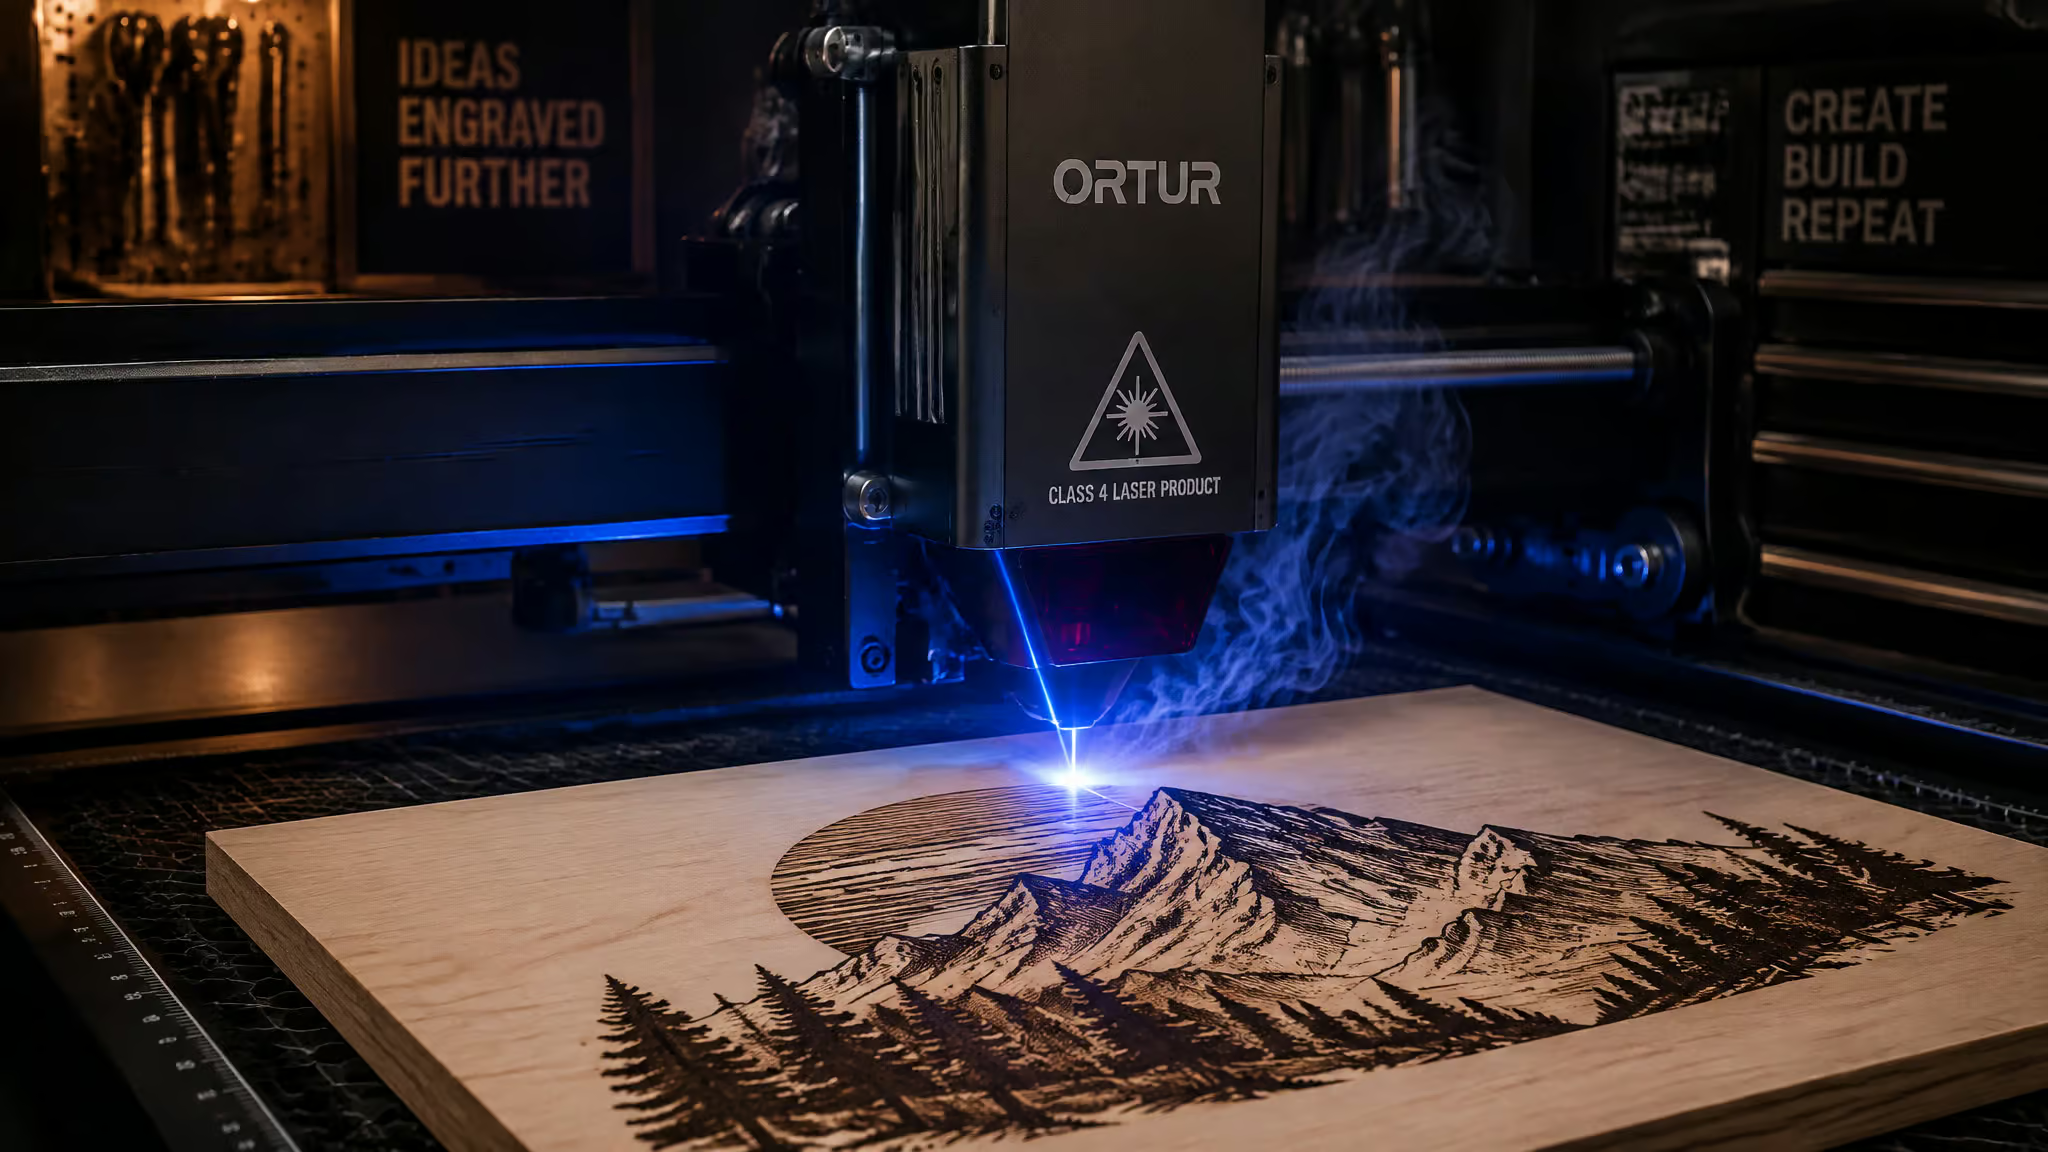
Every forum chart I’ve ever copied has betrayed me at least once. Same wood, same wattage on paper, and my machine scorches where theirs etches a clean shadow. That’s the moment you realize the best laser engraver settings aren’t universal constants hiding in someone else’s spreadsheet. They’re a function of your material, your laser type, your actual wattage, and what you’re trying to do. The tables below are GeekExtreme-verified starting points, and the test-grid method at the end is how you turn any of them into numbers that actually work on your machine.
Key Takeaways
A 5W diode on wood starts around 3000 mm/min at 60% power with 8 lines/mm, then gets tuned with a test grid.
Speed and power trade against each other as one energy dial; resolution is set once and matched to your spot size.
Cutting is the opposite regime from engraving: slow, full power, multiple passes, M3 instead of M4.
Charts go stale even on the same machine: settings don’t transfer between machines, and a CO2 tube can drop from 60W to 50W or lower after 2,000-4,000 hours.
Table of Contents
The three core settings: speed, power, and resolution
For a typical job, a 5W diode on wood starts around 3000 mm/min at 60% power with 8 lines/mm resolution. Everything else is a variation on those three knobs.
Speed is the F value in your G-code. When you see G1 X100 F3000, that F3000 means the machine moves at 3000 mm/min. Diode engraving mostly lives between 1000 and 6000 mm/min, so that’s the range your mental slider covers.
Power is the S value, and this is the part that explains half the “same settings, different results” arguments online. GRBL caps power at the $30 parameter, usually 1000. S600 on a $30=1000 controller is 60%. It’s just math, but it’s the hidden reason a “60%” behaves differently across controllers with different $30 values. Two machines, same percentage, different actual output.
Resolution is lines per mm, the spacing between raster passes. Here’s the conversion cluster worth keeping on a sticky note:
- 8 lines/mm = 80 lines/cm ? 203 LPI = 0.125mm line interval
- 6 lines/mm ? 152 LPI
- 10 lines/mm ? 254 LPI, and costs about 25% more job time than 8
Why is 8 the default? Because it isn’t arbitrary. A typical diode spot is 0.08-0.15mm, so 0.125mm line spacing matches the hardware. Going finer mostly burns overlap, and you pay for it in time.
The core intuition: high power at low speed deposits lots of energy, which is how you get marks that are both dark and deep, but the material overheats easily at that end of the dial. Low power at high speed gives faint marks. They trade against each other as one combined energy quantity, which means you’re really tuning one dial, not two. So the workflow is: pick a speed first, tune power until the darkness looks right, set resolution once, and stop thinking about it.
Wood engraving settings for 3W, 5W, and 10W diode lasers
Here’s the cheat sheet I wish I’d had, at 8 lines/mm with proper focus (mm/min @ % power):
| Material | 3W | 5W | 10W |
|---|---|---|---|
| Basswood | 1500 @ 60% | 3000 @ 50% | 5000 @ 35% |
| Birch plywood 3mm | 1200 @ 70% | 3000 @ 60% | 5000 @ 40% |
| Bamboo | 1000 @ 75% | 2500 @ 65% | 4000 @ 45% |
| Pine / poplar | 1500 @ 55% | 3000 @ 45% | 5000 @ 30% |
| Oak / walnut | 800 @ 80% | 2000 @ 70% | 4000 @ 50% |
| MDF | 1200 @ 65% | 2500 @ 55% | 4500 @ 40% |
The 5W column is the sensible default: 3000 mm/min at 60%. Softwoods run 40-50% power, dense hardwoods want around 2000 mm/min at 70-80%. And boards of the same species vary, so run a test grid before committing a workpiece. For deeper engravings, the counterintuitive move is to reduce speed by 10-15% rather than increasing power, that’s what keeps edge charring down. Higher speed with lower power, active air assist, and painter’s tape all help too, and a quick wipe with a damp cloth cleans up any residue afterward. One plywood quirk: the adhesive layers burn differently than solid wood, so results can be inconsistent across a sheet.
Leather, paper, and acrylic: delicate and chemistry-sensitive materials
Each of these materials has a specific failure mode, and the failure mode dictates the settings strategy.
Leather fails by over-burning, which is why the resolution drops to 6 lines/mm. Counterintuitive but true: more closely spaced lines over-burn the material between them, so fewer lines wins. Veg-tan at 2-3mm starts at 1500 mm/min @ 40% on a 3W machine, steps through 3000 @ 30% on a 5W, and tops out at 5000 @ 20% on a 10W. Suede at 1mm wants even less: 2000 @ 25% / 3500 @ 20% / 5000 @ 15% across 3W/5W/10W. Leather is expensive, so test on scrap first. Trust me on this one.
The safety split matters here, so verdict first: never laser PVC-based synthetic leather, and never laser chrome-tanned leather on a diode. Vegetable-tanned leather engraves cleanly with minimal odor. Chrome-tanned leather must be avoided on diode lasers entirely, because lasering it releases toxic chromium; on CO2 it’s usable but results are inconsistent. And synthetic leather is a chemistry lottery: PVC-based must never be lasered, heating PVC releases hydrochloric acid, while PU-based is generally safe.
Fume extraction is essential either way. This failure pattern shows up constantly in beginner workshops: someone engraves a “leather” item that turns out to be vinyl-coated synthetic, and the tell is a sharp chemical smell nothing like normal wood or leather burning.
Red flag: A sharp chemical smell that doesn’t match wood or leather burning usually means vinyl-coated synthetic — stop the job and check the material.
Paper fails by cutting through, so the strategy is high speed, minimal power. Corrugated cardboard: 2000 @ 25% / 4000 @ 15% / 5000 @ 10%. Cardstock at 300gsm: 2500 @ 15% / 4000 @ 10% / 5000 @ 8%. Cardstock is more forgiving than printer paper, so start gentle. Paper burns, so supervise the job, keep an extinguisher nearby, and use air assist for cleaner edges.
Acrylic has the best gotcha in the whole hobby: clear acrylic simply doesn’t absorb 445nm diode light. The beam passes right through, unabsorbed, and no settings change fixes a wavelength problem. Black 3mm acrylic: 800 @ 80% / 2000 @ 65% / 3500 @ 45%. Painted or coated acrylic: 1000 @ 60% / 2500 @ 50% / 4000 @ 35%.
Dark surfaces absorb; transparent ones don’t. Wavelengths matter. Ventilate, ideally with an enclosure and exhaust fan.
Anodized aluminum, slate, and ceramic: hard surfaces on a diode laser
Yes, a cheap 3W diode can mark anodized aluminum (600 mm/min at 90%) and it can work slate, but only at very slow speeds. Bare metal is a different laser entirely.
| Material | 3W | 5W | 10W |
|---|---|---|---|
| Anodized aluminum | 600 @ 90% | 1500 @ 80% | 3000 @ 60% |
| Slate | 600 @ 100% | 1500 @ 90% | 3000 @ 70% |
| Dark ceramic tile | 500 @ 100% | 1200 @ 95% | 2500 @ 75% |
These are the most power-hungry materials in this guide, and the logic inverts: instead of moderate values, they want maximum power and the highest resolution. Anodized aluminum is the exception to the 8 lines/mm default, running 10 lines/mm for smoother, more complete anodize removal, and multiple low-power passes can beat one aggressive pass. The mechanism is simple: the laser removes or bleaches the anodized layer, revealing the bare aluminum underneath. Slate varies piece to piece because mineral composition is inconsistent. Nature doesn’t do QA. If you want to actually engrave bare metal, that’s fiber or IR territory, covered further down.
Engraving vs cutting: two opposite parameter regimes
Engraving runs fast and light: 1000-6000 mm/min at 30-80% power, raster passes, M4 dynamic power mode. Cutting runs slow and hot: 100-600 mm/min at 80-100% power, vector paths, M3 constant power, usually multiple passes. It’s laser engraver settings like these, power, speed, passes, that are nearly opposite in every parameter.
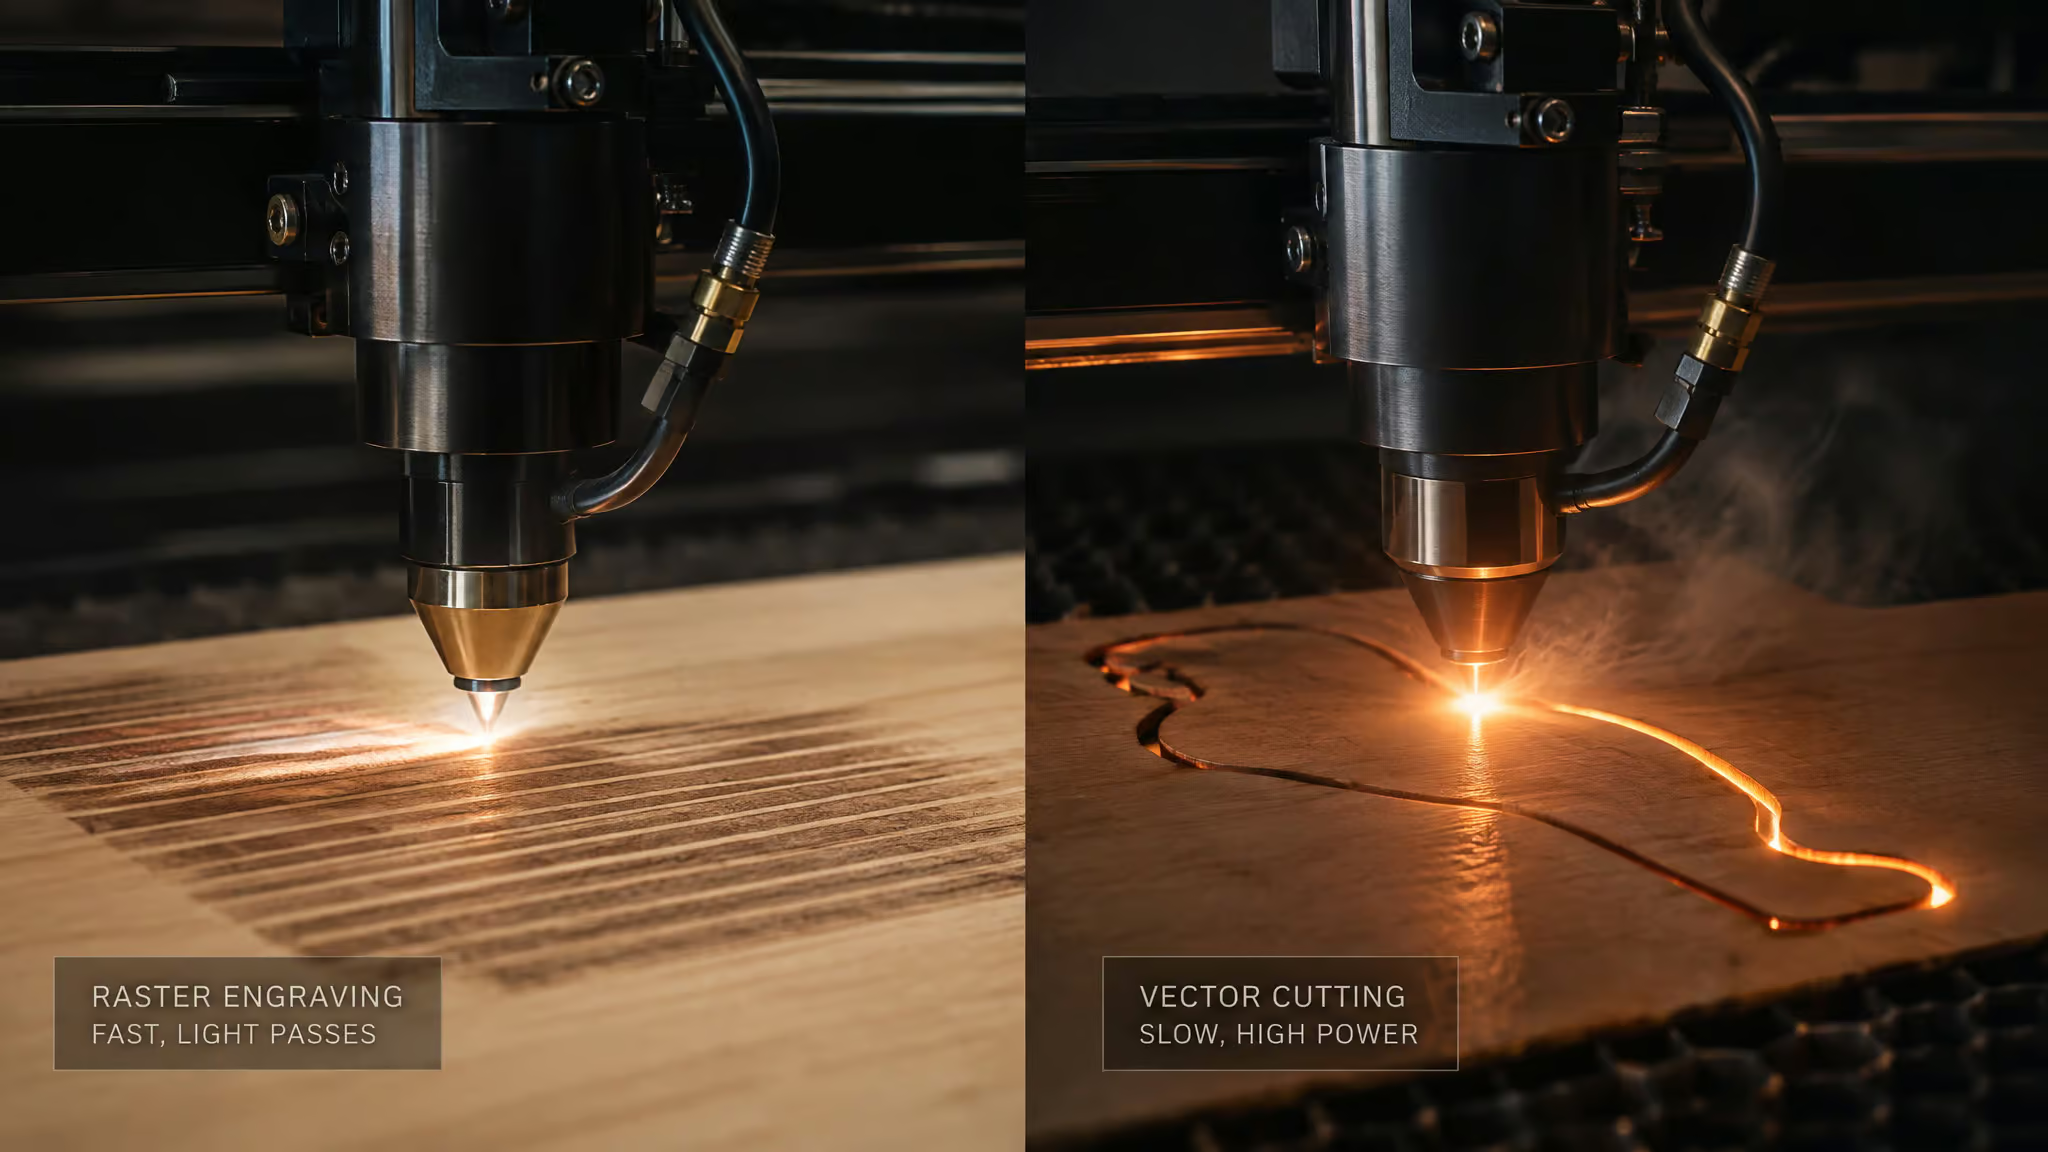
The firmware logic is genuinely elegant. M4 scales laser power to the machine’s actual movement speed, which keeps corners and direction changes from over-burning during raster work. That’s why your corners look scorched if you’re running M3 for engraving. M3 delivers full specified power regardless of speed, exactly what a cutting beam needs to stay consistent around curves in an SVG outline.
Full diode cutting table, 3W/5W/10W, with pass counts:
| Material | 3W | 5W | 10W |
|---|---|---|---|
| Plywood 3mm | 150 mm/min, 100%, 6 passes | 300, 100%, 3 | 400, 100%, 1 |
| Basswood 3mm | 200 @ 100%, 4 passes | 300, 100%, 2 | 500, 100%, 1 |
| Black acrylic 3mm | 100 @ 100%, 8 passes | 200, 100%, 4 | 300, 100%, 2 |
| Cardboard 2mm | 300 @ 80%, 2 passes | 500 @ 80%, 1 | 800 @ 60%, 1 |
The speed-vs-passes tradeoff is visible right in the numbers, and pass-count data like this rarely gets published. Two workflow rules: finish all rastering before cutting so cut pieces don’t shift, and keep cut lines at minimum thickness (0.025mm in Inkscape, .001pt in Illustrator) or the software rasterizes them and engraves instead of cutting. If a cut needs a redo, resend with only the vector data selected, without touching layout or power/speed. Software like Lùmen handles the mode split for you: engrave layers auto-use M4, which scales laser power to actual movement speed so corners don’t over-burn, while cut layers use M3 constant power for consistent energy delivery along vector paths, both combinable in one job, so you engrave the coaster design then cut the outline. It’s €19.99 one-time (price as listed, may vary), no subscription, native macOS, supports GRBL diode engravers, and ships with a built-in test-grid generator and material presets.
How to find your own optimum: the test-grid method and iterative narrowing
Run a test grid: 10-15mm squares, columns are speeds, rows are powers, burned into scrap with the axes labeled on the material itself. That labeling detail is the clever bit; your grid becomes its own documentation. Judge each square on contrast, depth, edge sharpness, and charring. The whole thing takes 5-10 minutes and a small scrap, which is cheaper than one ruined workpiece.
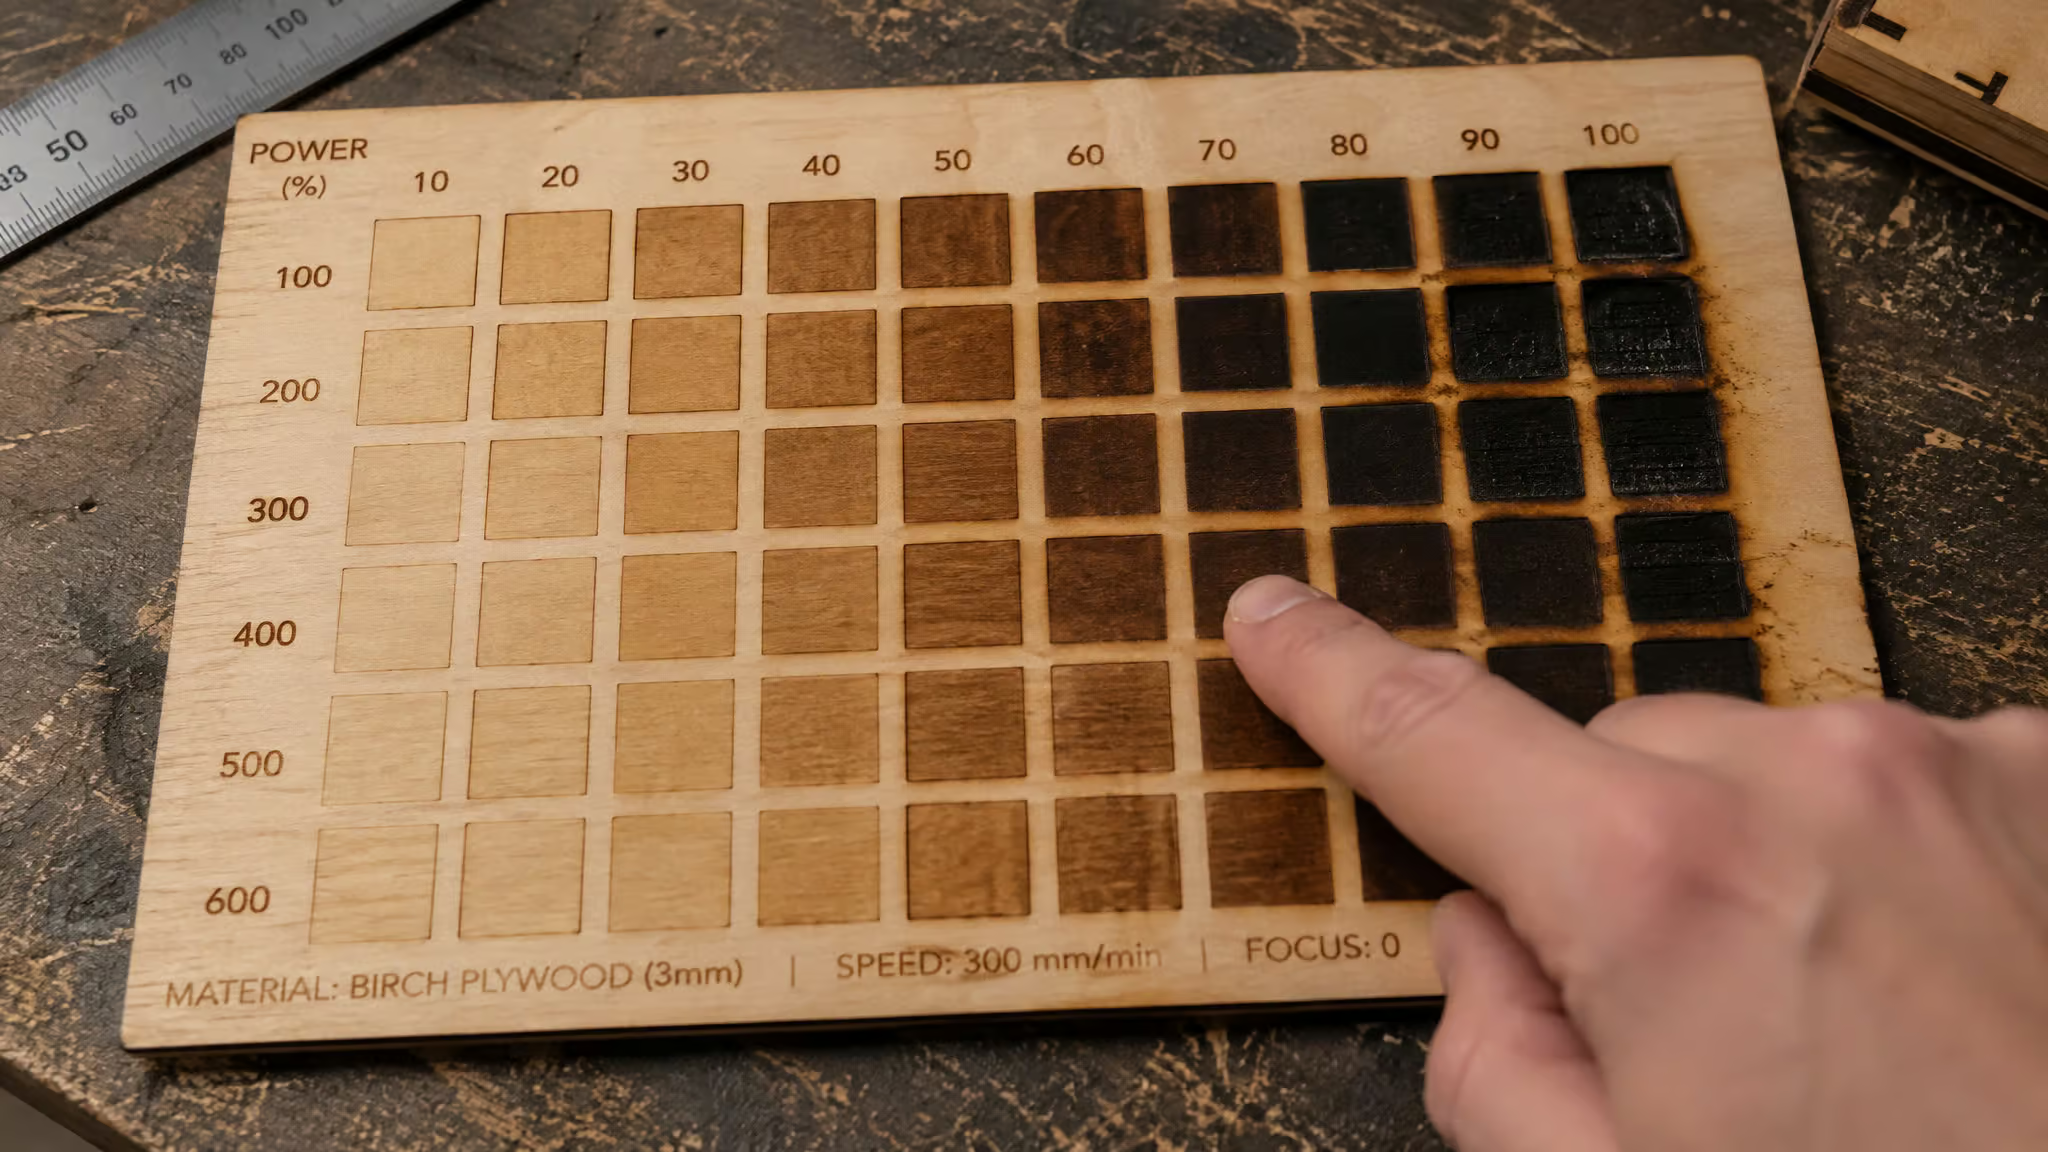
Then narrow iteratively. Discard the non-viable extremes, re-run a tighter grid around the winners, a printable test-matrix cheat-sheet helps you plan those grids in advance. It’s like bisecting a bug. In three rounds, a community demo on a 60W MOPA over matte 3mm acrylic narrowed 100-1000 mm/s and 10-100% power down to roughly 300 mm/s at 75% power, frequency ~20, Q-pulse ~130.
(Frequency and Q-pulse tuning is galvo/fiber only; diode folks can skip that step.) Save your winners as presets in LightBurn‘s material library, Lùmen, LaserGRBL, or your controller. Preset discipline: always load the preset first, since it may set other impactful settings you forgot about, adjust no more than 10% per change, match piece size to the workspace, and bring extra material.
Field note: Adjust no more than 10% per change and label the grid axes on the material itself, so your winning square stays readable after the burn.
The classic failure pattern, straight out of maker forums and support channels: one test, pick the darkest square, ruin the real piece because the batch or focus differed. Great on scrap, burned on real.
Why settings charts stop working: machine drift and transfer limits
Settings don’t transfer across machines, wattages, or locations, and there’s no conversion algorithm. Trial and error is the way; the test grid is the algorithm.
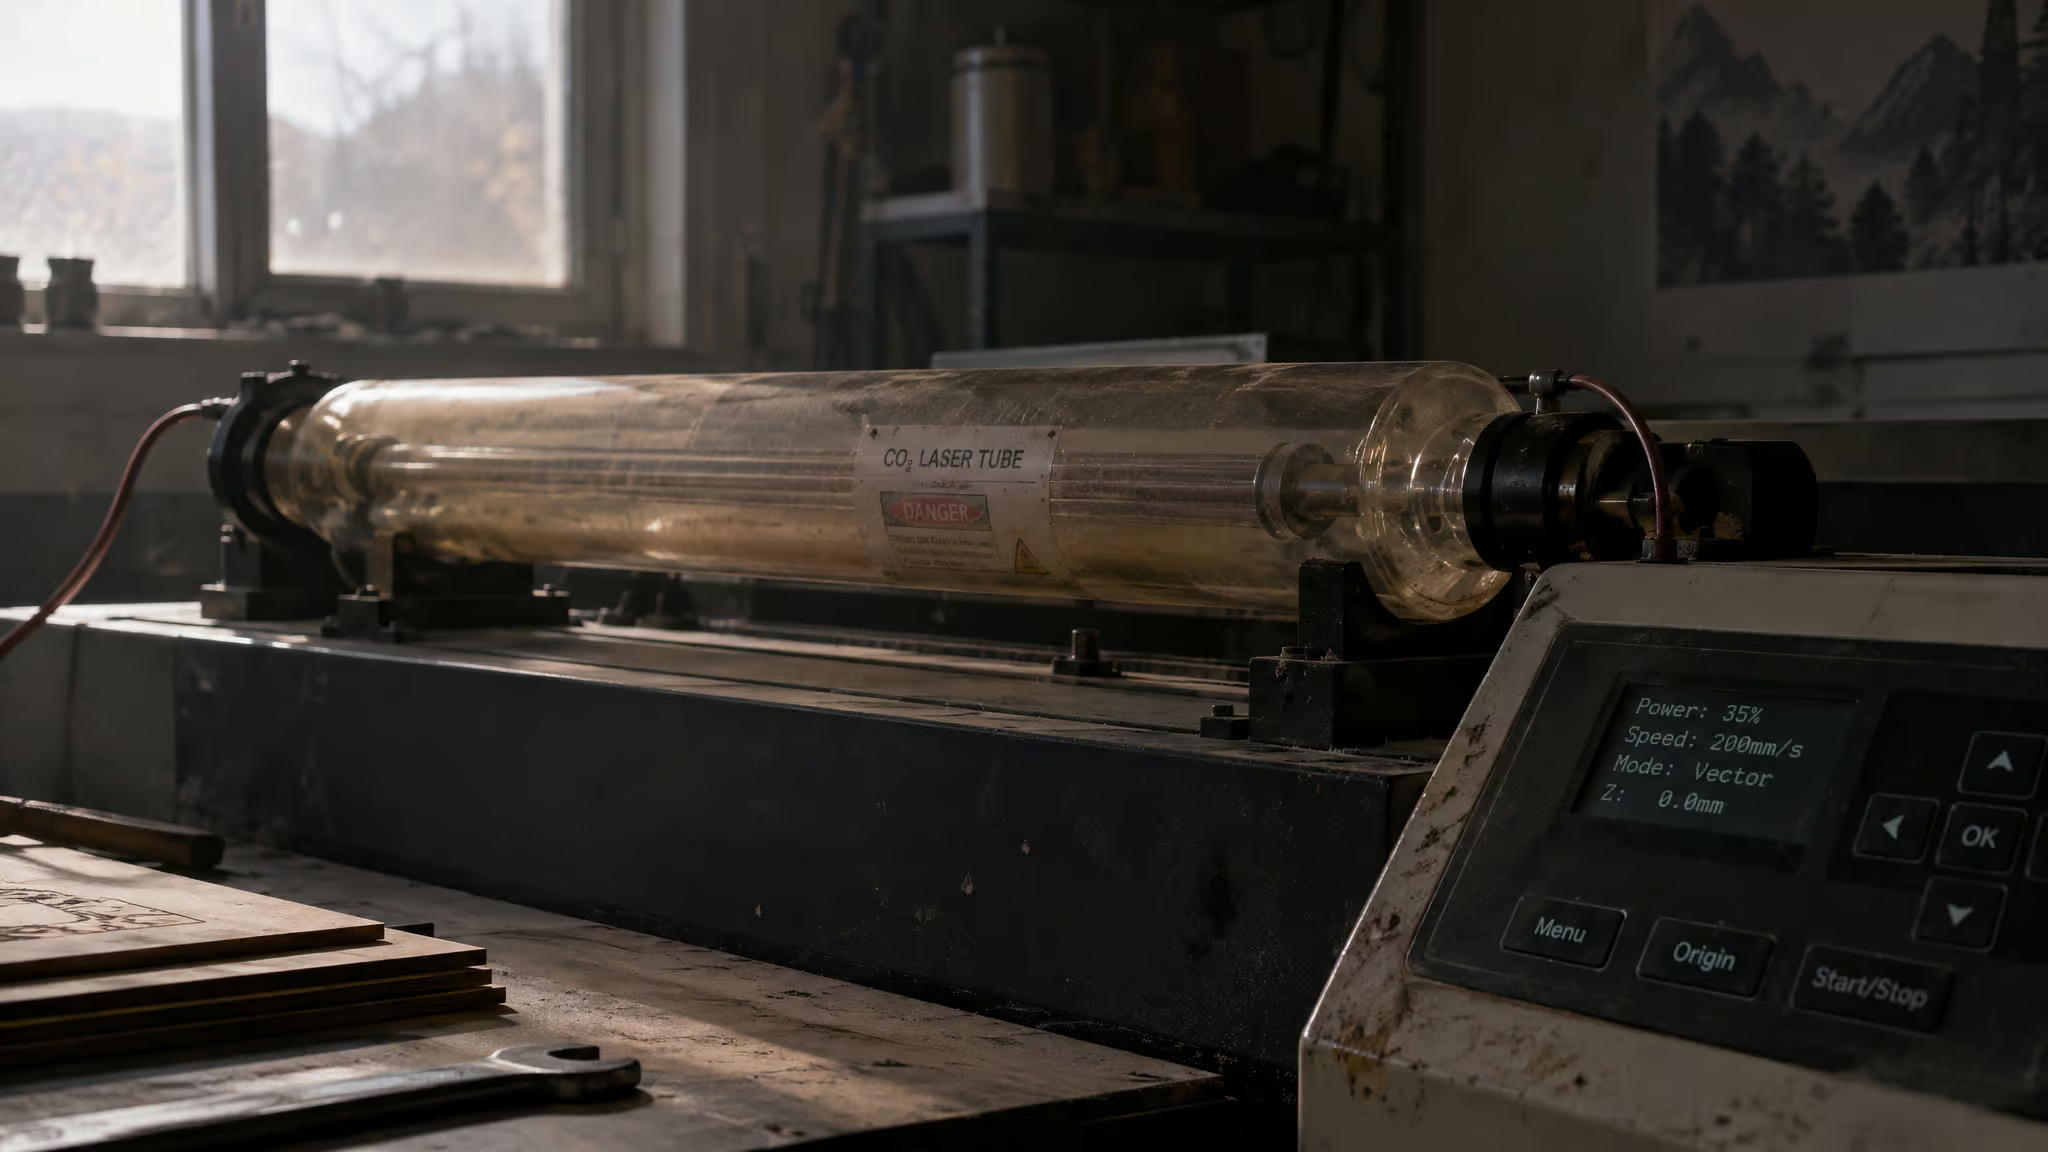
Three drift sources explain it. First, machine aging: a 60W CO2 tube may drop to 50W or lower after 2,000-4,000 hours, meaning last year’s chart can fail this year on the same machine. Recalibrating periodically is maintenance, not failure. Second, material batch variation: different boards of the same species behave differently, and every piece of marble is different, so start low and increase power on unfamiliar stone. Third, controller differences, including that $30 scaling from earlier.
The frustration pattern looks like this: someone copies settings for the same nominal wattage, gets different results, and blames the machine. Usually it’s tube or diode age, focus, or the material batch. Machine quality and system configuration matter alongside the numbers.
CO2 laser settings: 60W reference tables for wood, acrylic, and leather
Clear acrylic fails on a diode but works beautifully on CO2, because CO2’s 10.6µm wavelength is absorbed efficiently. That’s the decisive difference, and it comes with a unit warning: CO2 settings are in mm/s and DPI, not mm/min and lines/mm. Don’t cross-contaminate the tables.
Wood, generally 15-35% power at 300-600 mm/s (though grain, hardness, resin, and moisture all shift the ideal power and speed): basswood 15-20%, 350-500 mm/s, 300-400 DPI; Baltic birch 20-30%, 300-450 mm/s; maple 25-40%, 300-400 mm/s; walnut 20-35%, 300-450 mm/s; pine 15-25%, 350-500 mm/s (chars easily); MDF 15-25%, 350-500 mm/s.
Acrylic: cast clear 10-18%, 400-500 mm/s, which gives that lovely frosted white finish; cast colored 12-20%, 350-450 mm/s; extruded 10-15%, 400-500 mm/s, less frost but better edges; two-tone 15-25%, 350-450 mm/s at 400-600 DPI. Cast engraves better, extruded cuts better. Use low air assist pressure when engraving acrylic, because high pressure blows debris into the mark. Bonus trick: engrave the back surface of clear acrylic for LED-lit signage.
Leather: veg-tan light 10-15%, 300-400 mm/s, 300-500 DPI; veg-tan heavy 15-20%, 200-350 mm/s; chrome-tan 10-18%, 250-400 mm/s, test first because results vary; PU synthetic 8-15%, 300-450 mm/s, low power so it doesn’t melt. Handling bundle: air assist off or low, magnets or weights to hold the leather flat, dampen the surface to cut smoke staining, and multiple light passes beat one aggressive pass.
Fiber laser settings: metals, frequency, pulse width, and multi-pass workflows
For stainless on a 30W fiber laser, start at 40-60% power, 200-500 mm/s, 20-50 kHz, 1-3 passes for a black anneal mark. Fiber adds two knobs diode and CO2 users have never touched: frequency, where higher gives smoother metal engraving and lower is more aggressive and suits vector cutting, and pulse width on MOPA machines, which controls energy distribution. Four parameters, power, speed, frequency, and pulse width, balance per material.
| Metal | Power | Speed | Frequency | Passes | Result |
|---|---|---|---|---|---|
| Stainless | 40-60% | 200-500 mm/s | 20-50 kHz | 1-3 | Black anneal |
| Aluminum | 30-50% | 300-600 mm/s | 20-40 kHz | 1-2 | White/gray |
| Brass | 40-70% | 150-400 mm/s | 20-30 kHz | 2-4 | Deep engrave possible |
| Titanium | 30-50% | 200-500 mm/s | Color marking at low power |
And 60W CO2 on anodized aluminum: 15-25%, 300-400 mm/s, one pass, stripping the anodize layer. CO2 can’t touch bare metal directly, since 10.6µm reflects off it; the workaround is marking compounds like CerMark, Enduramark, or Alumamark, the spray-on cheat code. Fiber’s 1.06µm, by contrast, is absorbed by metals, which is what enables deep engraving, annealing, and color marking on stainless, aluminum, brass, copper, and titanium.
Multi-pass workflows are what make fiber results look professional: deep engrave, then clean/whiten, then blacken, then polish. Some shared community recipes, not my own tests: a 60W MOPA brass coin runs deep engrave at 2000 mm/s, 90%, 45kHz, 200ns for 30 passes, cleans at 3000/20%/100kHz, blackens at 1000/50%/105kHz/100ns, then polishes with 600-grit wet sandpaper and WD-40. A 30W with a 300mm lens on metal drops focus about 4mm and runs 2 passes at 1000 mm/s, 100%, freq 30. A 20 oz tumbler marks on a 50W fiber with 9mm defocus and cylinder correction, no rotary needed.
The extreme end, and I love this one: 3mm copper on a 60W JPT M7 at 500 mm/s, 90%, 30kHz, 500ns, 240 passes in 3 sets of 80 at staggered focus depths of 0.5, 1.5, and 2.5mm. Staggered focus so each pass set works a different depth. That’s the clever part.
Then there’s the rabbit hole of 3D slice and depthmap engraving: a 60W machine on 3mm brass at 2000/90%/55kHz took 200 passes and a 106-minute engrave, and yes, people do river stone 2.5D at 300 passes, ceramic depthmaps with 256 passes and wobble, and Midjourney images converted to heightmaps for LightBurn at 150 passes on a 30W Raycus. The UV niche corner: 5W UV on sanded poplar (320 grit) with ImagR Kasia dither at 70 speed, 40 freq, 9.5 pulse, and an AcidBurn wallet on an anodized business card at 420 dpi, 100 mm/s, 50 freq, 13 pulse. One genuinely blessed exception to the everything-needs-testing rule: a 60W CO2 galvo marks powder coat with one setting across all brands and colors, about a minute per job, no cleanup roughly 90% of the time.
Photo engraving settings: DPI and dithering are what matter
600+ DPI with Stucki or Jarvis dithering is the photo recipe; 300 DPI suits text and logos. Once you’re engraving photos, the tuning axis shifts: the dithering algorithm and your source-image resolution matter more than power and speed.
The overengineering trap is 1200 DPI. It takes twice as long as 600 with no visible improvement unless your source image was actually made at 1200 DPI, which almost none are. Most 72-300 DPI sources upscale fine to 600, so stop worrying about your files. Slower speeds and consistent focus are critical for photo work. For fabric, convert the graphic to 80% gray plus Jarvis dithering, and test a small swatch, because every fabric needs adjusted settings.
Safety floor: materials you must never laser, and non-negotiable practices
No, you can’t laser everything, and the reasons are chemical. PVC and vinyl release hydrochloric acid gas when lasered. Polycarbonate discolors and produces toxic fumes. ABS carries cyanide risk.
Chrome-tanned leather releases toxic chromium on diode lasers, though it’s usable-but-inconsistent on CO2. Never laser chlorine-containing or unknown-composition materials; if you’re not sure what something is, request an MSDS from the supplier. PU-based synthetics are generally safe, PVC-based never are. This is the one place in the hobby with no settings to tune.
The practices that aren’t negotiable: fume extraction for every material, with inline activated-carbon filtration if you can’t vent outside. Never leave a running laser unattended. Keep a fire extinguisher close by, and switch on flame detection wherever your machine supports it, and know that paper, fabric, and thin leather are especially flammable at low speeds and high power. The auxiliary knobs that improve results: air assist limits charring when engraving wood, stops acrylic from flaring up, and blows debris out of the work area, and correct focus gives you the smallest spot, which means the sharpest detail.
Choosing your laser type: what each can and can’t engrave
A 40-60W CO2 laser is the most versatile beginner choice across wood, acrylic, leather, and coated metals. 10-20W diodes cost less, but they struggle with acrylic and metal. IR lasers are essentially low-powered fiber lasers, good for engraving only.
The nice thing is that the compatibility matrix becomes derivable from absorption physics, so you can predict results on lasers you’ve never owned. 445nm diode light passes through clear acrylic. 10.6µm is absorbed by organics but reflects off bare metal. 1.06µm is absorbed by metals.
| Material | Diode | CO2 | Fiber |
|---|---|---|---|
| Wood | Good | Excellent | Not suitable |
| Cast acrylic | Limited (can’t cut clear) | Excellent | Not suitable |
| Leather | Good | Excellent | Possible (may scorch) |
| Bare metal | Surface-only with marking spray | With coating/compounds | Excellent |
| Anodized metal | Limited | Excellent | Excellent |
One honest close to this section: settings alone can’t guarantee stable results. Machine quality and system configuration matter too.
Vendor reference charts: Epilog Helix 75W and Epilog Zing 60W
Copied vendor charts are reliable only as starting points, and only on a machine whose wattage, laser age, focus, and material batch match the chart’s. These two Epilog tables prove the point, because the same vendor’s numbers change with wattage.
Epilog Helix 75W: acrylic cutting 1/8″ at 5000f, 25s, 100p; 1/4″ at 15s; 3/8″ at 5s, with focus set.030″ (0.762mm) closer for 1/4″ and thicker. Alumamark at 300 DPI 90s 20p or 600 DPI 90s 10p. Anodized aluminum photos at 300 DPI 90s 35p, text at 600 DPI 90s 40p. Wood photos 600 DPI 60s 100p.
Wood cutting 1/8″ at 500f 45s 100p, 1/4″ at 25s, 3/8″ at 12s. Stainless with CerMark at 600 DPI 45s 100p. The chart also stretches to cork, cotton, denim, fleece, glass, leather, mat board (engraved bottom-up, which is a delightfully weird detail), marble, painted brass, plastics, 2-layer plastic, rubber stamps, twill, and thin veneer. Multiple passes can cut thicker material; readjust focus between passes so the cut center point stays right.
Epilog Zing 60W: acrylic cutting 1/8″ at 5000f 50s 100p, 1/4″ at 30s. Wood photos at 500 DPI 95s 100p. Wood cutting 1/8″ at 500f 70s 25p, 1/4″ at 50s 100p. Stainless with CerMark 500 DPI 35s 100p.
Glass at 400 DPI 35s 100p with 80% gray plus Jarvis dithering, and fabric needs the same gray-plus-Jarvis treatment with swatch testing. Same material set as the Helix, lower wattage, different values: a live demonstration of why presets don’t transfer.
One DPI nuance worth noting: Helix text looks best at 600 DPI (photos down to 300), while Zing text peaks at 500 DPI (photos down to 400). And the glass prep hacks deserve their own paragraph because they’re wonderful. Airbrush Prang black paint dark, cover it with aluminum foil shiny side down, and lower the lens 7mm from measured focus. The alternative? Spread a thin sheet of dish soap over the surface and let it act as a heat diffuser, yes, really, dish soap.
Spread a thin sheet of dish soap over the surface and let it act as a heat diffuser. Yes, really. Dish soap. It works, and honestly that’s the hobby in a nutshell: half physics, half kitchen counter.
Frequently Asked Questions
What laser engraving settings work for leather without burning or cutting through it?
Leather fails by over-burning, so drop resolution to 6 lines/mm — counterintuitively, more closely spaced lines over-burn the material between them. Veg-tan at 2-3mm starts around 1500 mm/min at 40% on a 3W machine, up to 5000 mm/min at 20% on a 10W. Suede wants even less power, and since leather is expensive, test on scrap first.
