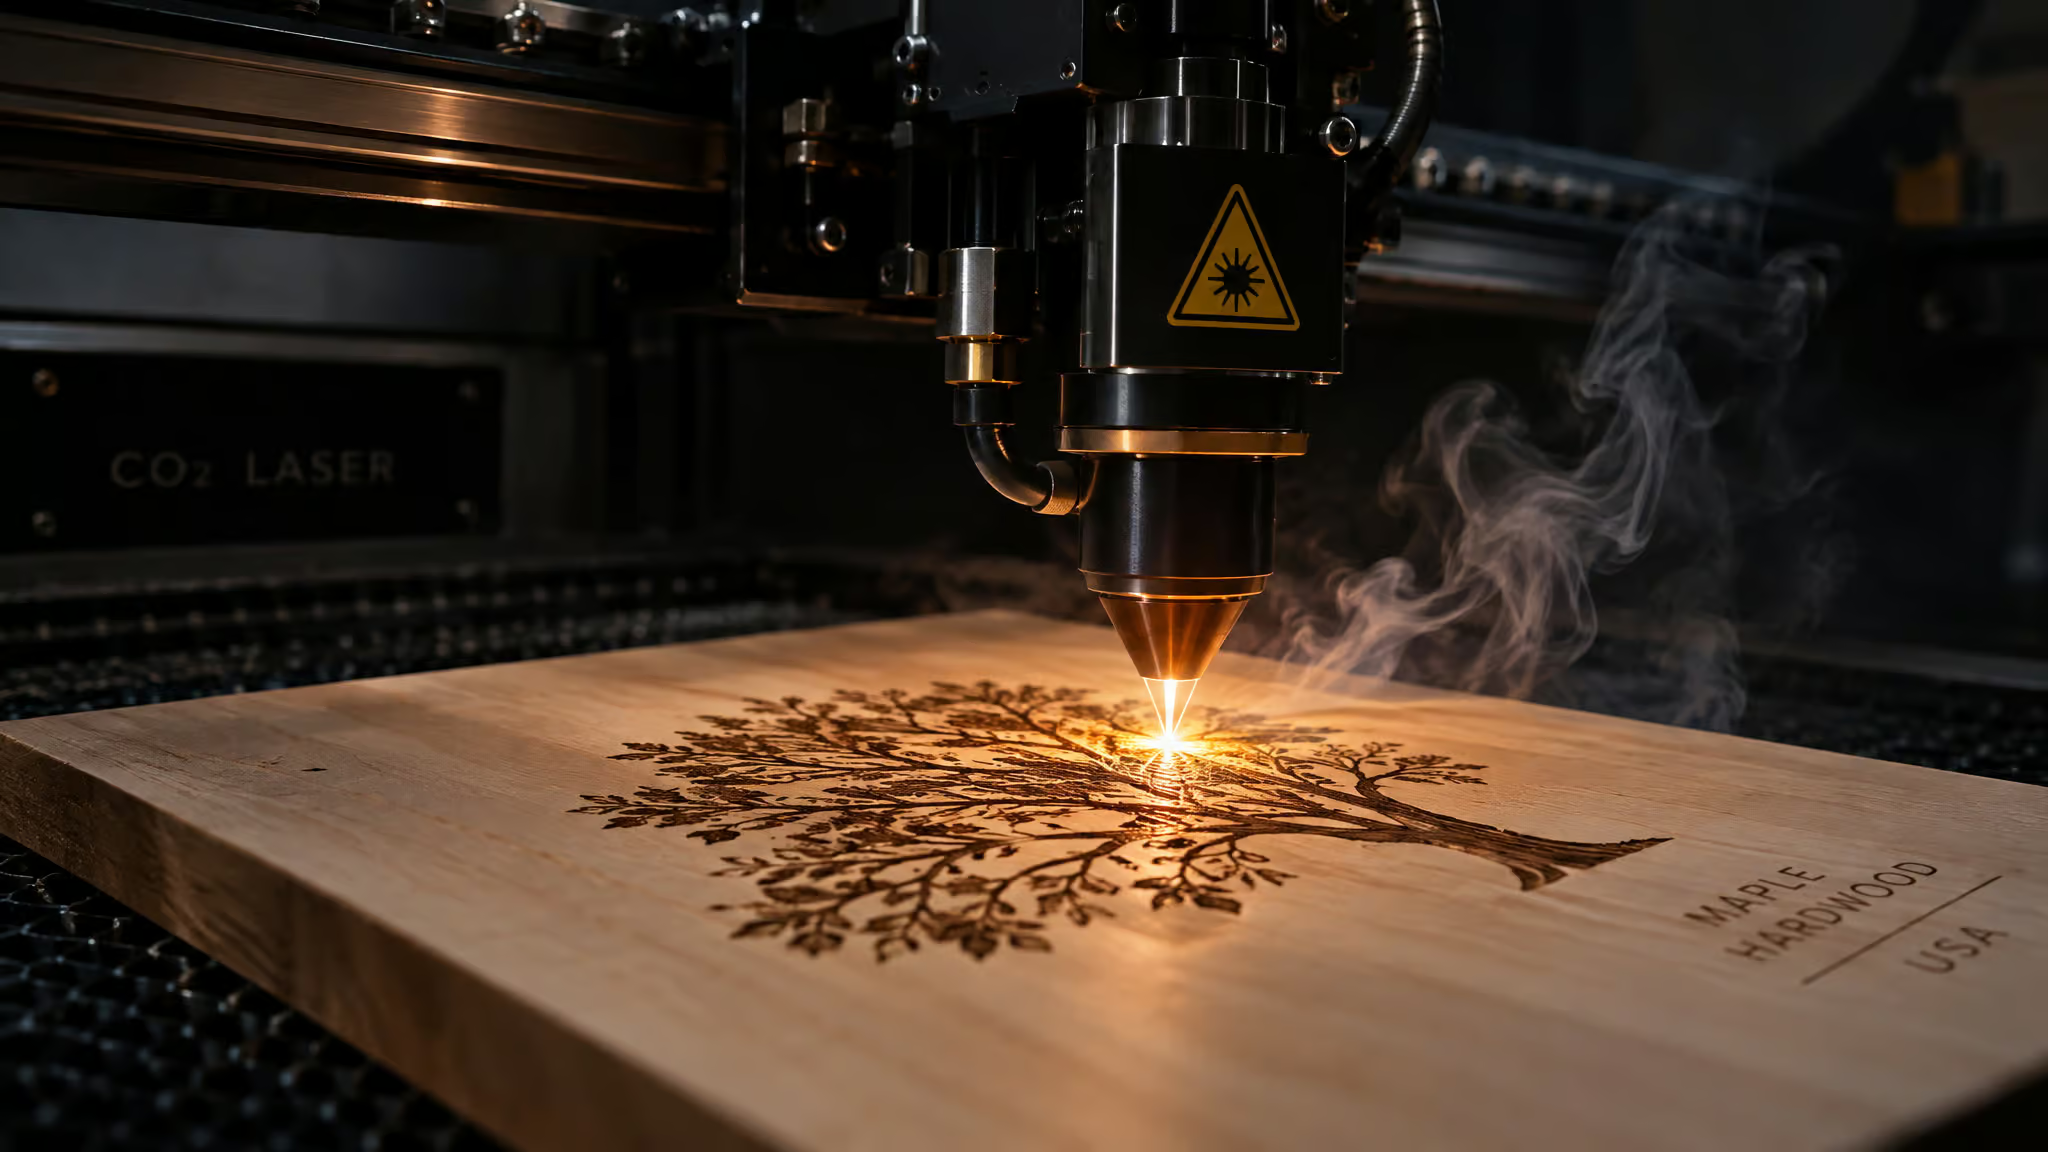
The settings chart said 300 mm/s at 40% power. It worked beautifully for whoever made it, and on my board it scorched half the design and barely touched the other half. That’s the moment most of us go hunting for “laser engraver settings for wood,” and it’s the moment this article exists for: wood engraving settings are a three-way match between your machine type, the wood species and its condition, and the task itself (engraving versus cutting), not a fixed list of numbers. Speed and power are two interacting dials, and grain, hardness, resin, and moisture are the four wood variables that keep shifting where those dials should sit.So here are real starting numbers, plus the diagnostic method for figuring out why someone else’s numbers failed on your board.
Key Takeaways
Machines advertising 1,000+ mm/s realistically engrave wood at 200-600 mm/s; acceleration, DPI, and frame rigidity matter more than top speed.
A solid starting point for wood is 20-60% power at 100-300 mm/s, with hardwoods dialed up and softwoods dialed down.
Engraving wants little to no air assist; cutting wood wants at least 25-30 PSI measured at the nozzle, not the supply.
Table of Contents
What speed and power actually mean on wood
The best speed and power for laser engraving wood live in a quality-maintaining range of roughly 200-600 mm/s, even on machines that claim 1,000+ mm/s on the box. Where you land inside that range depends on your laser’s wattage, the wood type, and how deep you want the mark; a 10W diode engraving a shallow logo on basswood sits nowhere near a 100W CO2 tube cutting through plywood. The spec sheet is the tell here: some machines claim 1,200 mm/s and almost never run there.
Here’s the distinction that makes the numbers make sense: maximum speed is what the machine can hit, effective speed is what you actually run to keep quality. It’s exactly like a CPU’s boost clock versus its sustained clock. The boost number is real, but you can’t hold it under load, and nobody should build their thermal budget around it.Same with a laser head. Advertised speeds assume long straight lines where the head can actually get up to speed, which is why the marketing number and your engraving reality diverge so hard.
The most quotable rule of thumb in this whole hobby: if you double your speed, you’ll need roughly double the power to keep the same depth. Say “roughly” honestly, because the relationship is non-linear.Faster speed with lower power prevents over-burning; too fast skips detail entirely, and too slow torches the workpiece.
The general starting point for wood, before species and thickness adjustments:
- 20-60% power
- 100-300 mm/s
That’s the “type this in first” number pair. Everything else in this article is a refinement of it.
Why chart speeds fail: acceleration, DPI, and frame rigidity
Running a laser engraver at maximum speed on wood is safe only if you back the power off and your frame can take it. Acceleration, measured in Gs, is how fast the head ramps up and down before changing direction, and small or intricate pieces never give the head runway to reach top speed. Advertised speeds assume long straight lines; detailed graphics spend most of their time accelerating and decelerating, so your 1,000 mm/s machine is mostly idling on detailed work. It’s a drag strip number applied to parking-lot driving.
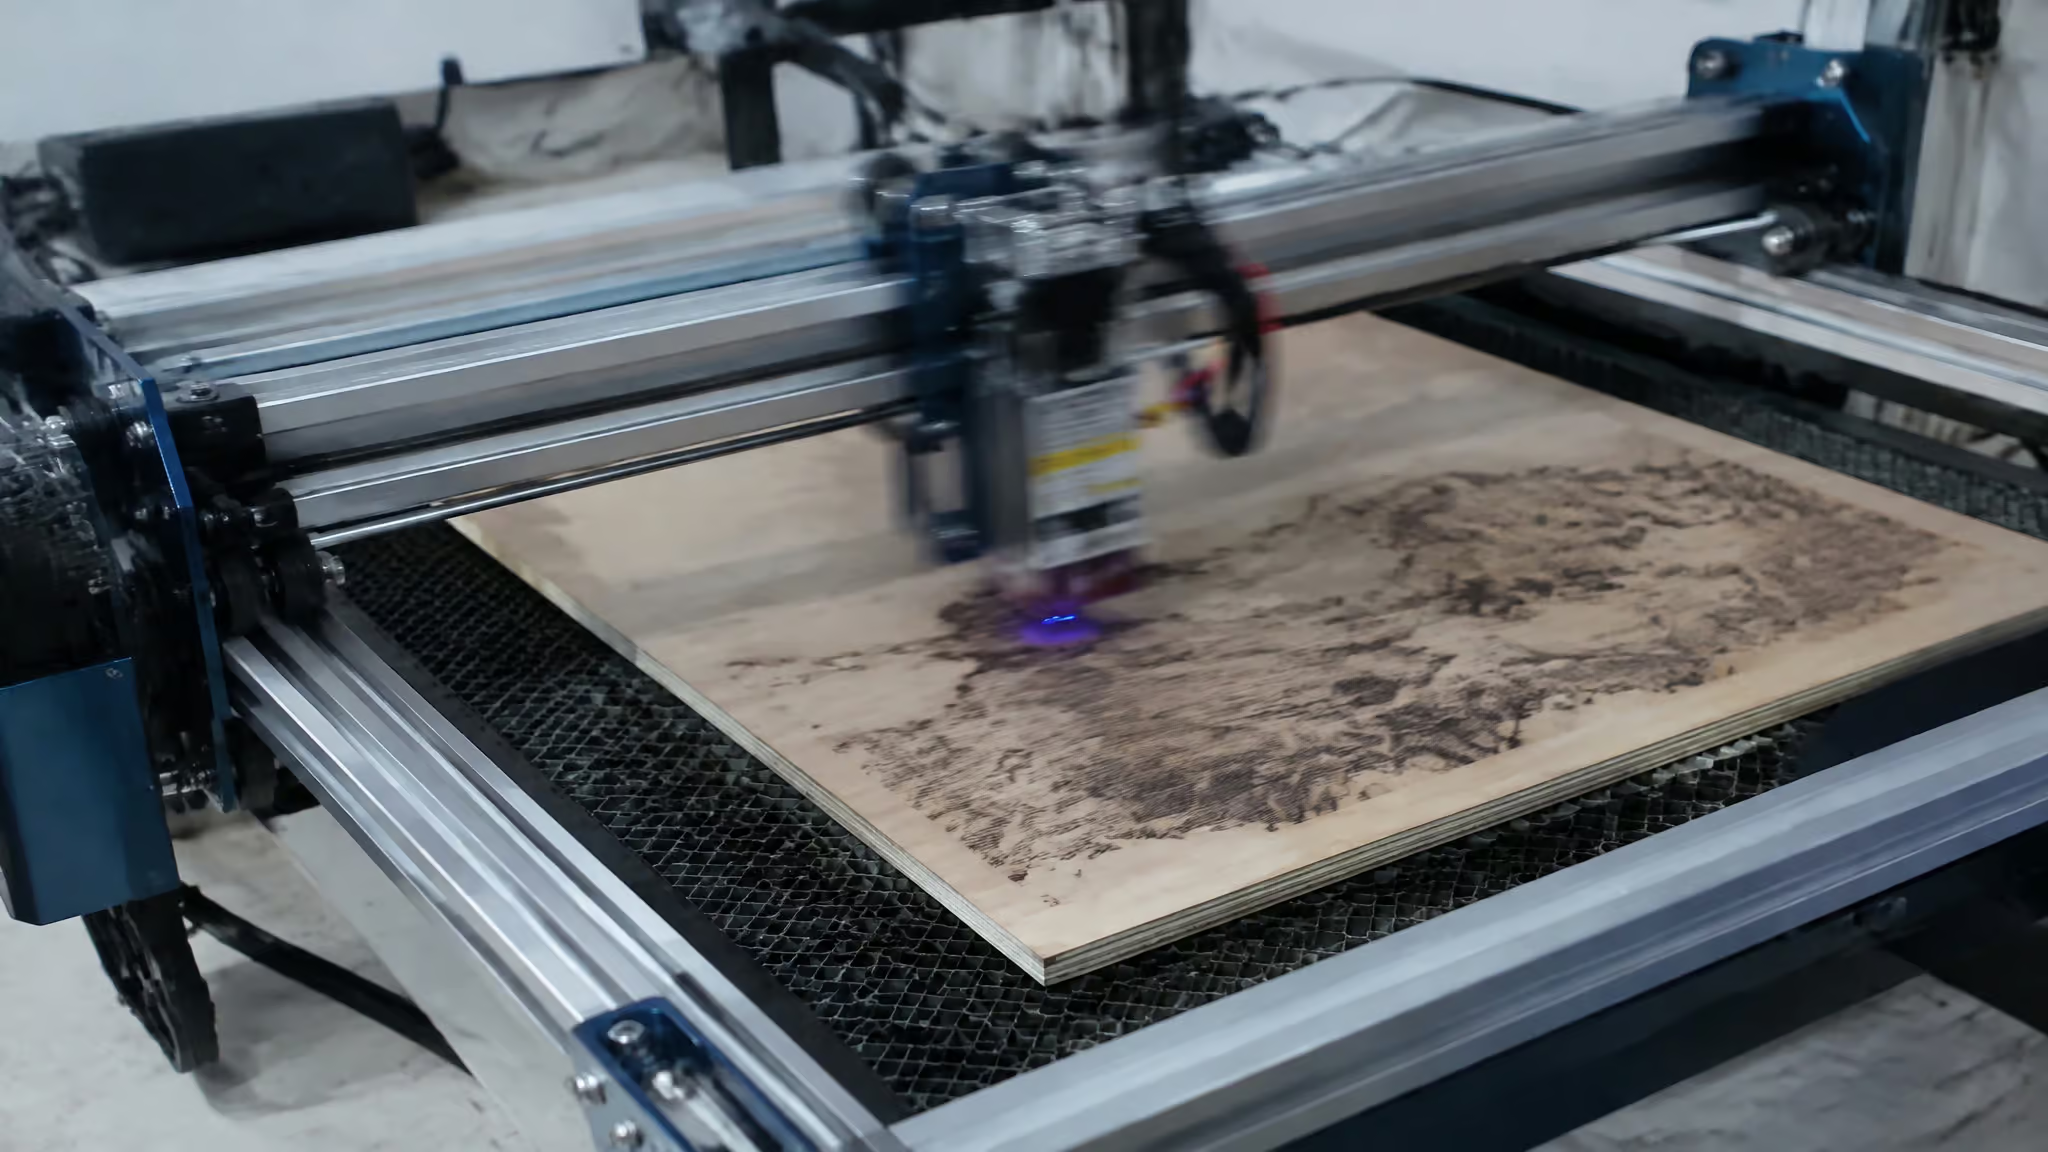
Then there’s whiplash. Run a 1,000+ mm/s gantry flat-out on a lightweight hobbyist frame and the frame flexes, ringing like a cheap 3D printer, and the vibration shakes the definition right out of the image. Rigid industrial frames handle high speeds cleanly; hobby frames shake and blur. The field diagnostic: if straight-line tests come out fine but intricate designs go wobbly, the frame is flexing, not your settings failing.
Even manufacturers advise against running gantry lasers at top speed, citing mechanical limits, vibration, and lost steps. Consider that permission to slow down.
DPI is the other hidden lever. Higher DPI/LPI means more data per inch and slower travel, so dropping DPI is the fastest way to cut job time without touching travel speed.Free speed, essentially.
Machine-type speed tiers, and which lasers can engrave wood at all
A diode laser engraves wood at 100-250 mm/s against a comparable CO2 machine’s 300-600 mm/s, roughly a third to half the speed, because the heavy diode module vibrates on the gantry at speed. Here’s how the tiers stack up:
| Laser type | Wattage | Wood engraving speed | Can engrave wood? |
|---|---|---|---|
| Diode | 5-20W | 100-250 mm/s | Yes (slower; heavy head vibrates) |
| CO2 | 40-100W | 300-600 mm/s | Yes (the natural fit) |
| CO2 RF tube/servo | varies | 600-700+ mm/s | Yes (only moves mirrors and lenses) |
| Fiber/galvo | varies | 1,500-6,000+ mm/s | No (metal, plastic, stone only) |
The RF tube/servo machines are the clever bit: they only move mirrors and lenses, not a whole gantry, so they hit 600-700+ mm/s without the mechanical drama. And fiber/galvo machines are wild, steering the beam with mirrors like something out of a sci-fi targeting interface, hitting 1,500-6,000+ mm/s.The punchline for wood workers: they can’t engrave wood at all. Wood settings only exist for CO2 and diode machines, which is the constraint most charts never state.
Gantry and galvo define “high speed” differently, though. Above 400-500 mm/s is high speed for a gantry; 3,000-10,000+ mm/s is high speed for a galvo.Don’t compare apples to mirror-steered oranges.
For CO2 hobbyists, 200-300 mm/s is the sweet spot: enough definition without lost steps or mechanical wear.
How the wood itself changes your settings
Hardwoods like maple and oak need more power than pine or basswood. That’s the standard hardwood/softwood consensus, and it shows up concretely in per-species data: on an 80W CO2 machine, maple engraves at 100 mm/s and 30% power while basswood engraves at 150 mm/s and just 15%.Same machine, same task, half the power for the softer wood.
Here’s the mental model:
- Hardwoods (maple, oak, walnut, cherry, birch) are dense. They engrave deeper and cleaner and need more power. The tradeoff is power for detail.
- Softwoods (pine, cedar, basswood, poplar, bamboo) cut easier with less fine detail.
Great for fast, cheap projects; the real cost is detail lost, not just money saved.
In dial terms, the model is simple: hardwoods up, softwoods down. Thicker wood wants more power and slower speed too, which is intuitive once you say it out loud.
For picking wood per project: walnut and cherry for detailed designs, maple for sharp engravings that stain well, basswood for beginners, cedar or pine for outdoor durability.
Resin content affects smoke and residue, moisture changes burn patterns, and unsanded wood picks up smoke burns.All qualitative, all real, all reasons the same species can behave differently board to board.
Storage is the ownership cost nobody mentions at purchase. Wood warps in storage from humidity and temperature, and a cupped sheet wastes both money and the job. Store sheets compressed flat under weights (granite tiles work great) or wrapped tightly in cellophane.
And here’s the recurring failure pattern, in practice: someone copies a working chart, runs it on a sheet of the same species, and gets patchy depth. The tell is that the inconsistency follows the sheet, not the settings. When the patchiness maps to the board rather than to any parameter you changed, the problem is the board’s condition, not a settings error.
Wood settings charts: starting numbers by species and machine
A 10W diode laser engraves wood within the 100-250 mm/s diode range, and cuts 3mm plywood at 200-900 mm/min at 85-90% power over 3-6 passes.The universal starting point holds: 20-60% power at 100-300 mm/s, hardwoods higher, softwoods lower, thicker wood needing more power and slower speed.
CO2 reference numbers:
| Material | Machine | Speed | Power |
|---|---|---|---|
| Softwood (pine, cedar) | 40-60W CO2 | 200-300 mm/s | 20-40% |
| Hardwood (oak, maple) | 40-60W CO2 | 150-250 mm/s | 30-50% |
| Plywood/MDF | 100W CO2 | ~400 mm/s | varies |
| Stainless steel (contrast case) | fiber laser | 1,000+ mm/s | high |
Yes, “power varies” for plywood and MDF is vague. That vagueness is real life; sheet quality swings the number more than any chart can. And the stainless row is there to show why wood numbers look slow: fiber lasers mark metal at 1,000+ mm/s and up.
One vendor’s general guidelines, from Monport’s 80W machine, as a concrete paired engrave/cut example rather than universal truth:
| Wood | Engrave (speed/power) | Cut (speed/power) |
|---|---|---|
| Basswood | 150 mm/s / 15% | 100 mm/s / 40% |
| Bamboo | 100 mm/s / 15% | 70 mm/s / 50% |
| Cherry | 100 mm/s / 20% | 80 mm/s / 60% |
| Maple | 100 mm/s / 30% | 90 mm/s / 70% |
| Walnut | 100 mm/s / 30% | 90 mm/s / 70% |
Now the tier most readers actually own, 3mm plywood cutting baselines:
| Machine | Speed | Power | Passes |
|---|---|---|---|
| CO2 40-50W (K40 territory) | 10-25 mm/s (600-1,500 mm/min) | 70-95% | 1 |
| Diode 5-10W | 200-900 mm/min | 85-90% | 3-6 |
| Diode 20-40W | 800-1,000 mm/min | 90-100% | 1 |
The diode multi-pass row is a feature, not a failure: spreading the energy over 3-6 passes prevents charring on low-power machines. And if any of this looks contradictory, it isn’t: engraving and cutting are different speed regimes, so engraving numbers never transfer to cutting the same sheet.
Every number here is a starting point to test, not a commandment.
High-wattage cutting baselines: 150W CO2 on thin wood
Cutting 3mm plywood on a 150W CO2 machine runs 35-50 mm/s (2,100-3,000 mm/min) at 55-70% power in one pass.The sequence: set air assist high and mandatory, it clears soot and stops flare-ups. 3mm MDF is its own row at 30-50 mm/s (1,800-3,000 mm/min) and 50-70% power with strong air assist, because MDF resins make thick smoke and sticky residue. Clean your optics often, avoid 90-100% power at slow speeds (that’s charring and flare-up territory), and get robust ventilation, because MDF smoke smells toxic because it is.
One home-lab habit worth stealing: cap software power around 70% to preserve tube life, and verify actual tube current with an mA meter rather than trusting the software readout.
150W is overkill for 3mm wood.The wider beam profile limits fine detail, and going too slow incinerates thin plywood. If you’ve got way more tube than the job needs, respect the mismatch.
Quick acrylic aside, then back to wood: on 3mm acrylic, Option A is 35-40 mm/s at 40-50% and Option B is 20-25 mm/s at 30-35%, and cast acrylic frosts cleanly while extruded goes stringy and gummy under high wattage. Not a wood fact, but a useful calibration cross-check.
Air assist, focus, and the settings people get backwards
Use little to no air assist when engraving wood, and reserve real pressure for cutting. That recommendation fits anyone running detail work where surface finish matters. Excess air flow during engraving causes soot splash, blowing residue across your design. Cutting wood is the opposite: it needs at least 25-30 PSI measured at the nozzle. And when you carry those numbers into LightBurn, carry the conditions too, most settings problems come from transferring numbers without the conditions under which they were developed.
You’ll find 15-20 PSI figures elsewhere, and the disagreement is real but explicable: that’s a supply-side measurement, not a nozzle figure. Keep both numbers and know which point each one describes.
Used correctly, air assist blows away smoke and debris, reduces scorching, and improves detail. It’s a task-specific setting, not one number.
Focus is the quiet quality killer everyone skips. Match lens focus to material thickness; thicker wood means more laser-to-surface distance, and it’s the setup step that silently wrecks more jobs than any speed/power choice. Long sessions also need cooling, water or otherwise, to keep the tube from overheating.
Getting darker burns without scorching
Darker laser engraving on wood comes from three mechanisms other than raw power, and the naive answer (just crank power or slow down) is precisely the one that produces charring.First: defocus 2-3 mm above the surface. This spreads the energy slightly and darkens the burn, at the cost of dot size, so fine detail softens. Second: a high-speed, low-power score-line pass layered over the engraving increases contrast, and it feels like cheating in a good way.
Third, the one that made me double-take: a 2-3% borax solution applied before engraving burns deeper and darker.Yes, laundry borax. Brush it on, let it dry, engrave. Each trick has a tradeoff, so pick based on whether your design can afford softer dots or an extra pass.
Photo engraving on wood: DPI, power, and species choice
Laser engraving photos on wood prefers 300-400 DPI (600 is possible) at much less power than logo work.That’s the standard photo workflow, and the species detail proves why: even-grain woods like alder, cherry, mahogany, and cedar reward the low-power adjustment with far better contrast than Baltic Birch. Premium plywood is worse for photos than cedar, because plywood’s layered structure hides detail while even grain shows it.
A common mistake when moving from logos to photos: the logo burned beautifully, so you apply similar power to a family photo and get a washed-out or over-burned result. The tell is that photos need 300-400 DPI and far less power than line art. Start low, and start with a high-quality source image, because the laser can only reproduce what the file actually contains.
Material quality and prep: plywood, sanding, masking, kerf
Uneven burning and voids in plywood engraving usually come from the sheet itself. Lowe’s and Home Depot plywood has thick interior glue pockets and voids that block the beam unpredictably, and the problem follows the sheet, not the settings. Laser-grade Baltic Birch cuts much more cleanly because it lacks those voids. Solid wood behaves more predictably, though moisture and resin still shift burn patterns board to board.If you want two “just works” woods for laser work, Baltic birch and basswood are them: smooth grain, low resin.
The before-you-hit-go prep chain:
- Sand, clean, and lightly finish first. Unsanded wood picks up smoke burns.
- Mask with transfer or painter’s tape to block smoke stains and residue. Cheap insurance.
- A light misting of water can reduce burn marks.
- Dust and debris off the surface. Once is enough on this one.
For fit-tolerance work, kerf is what separates snug parts from sloppy ones, and it varies by material.Measure it: cut a 1×1-inch test square, measure with digital calipers, and offset your lines inward by half the kerf. A 0.1 mm kerf means a 0.05 mm offset. The arithmetic is trivial; the fit improvement isn’t.
Calibration workflow: test grids, logging, and claimed-vs-tested reality
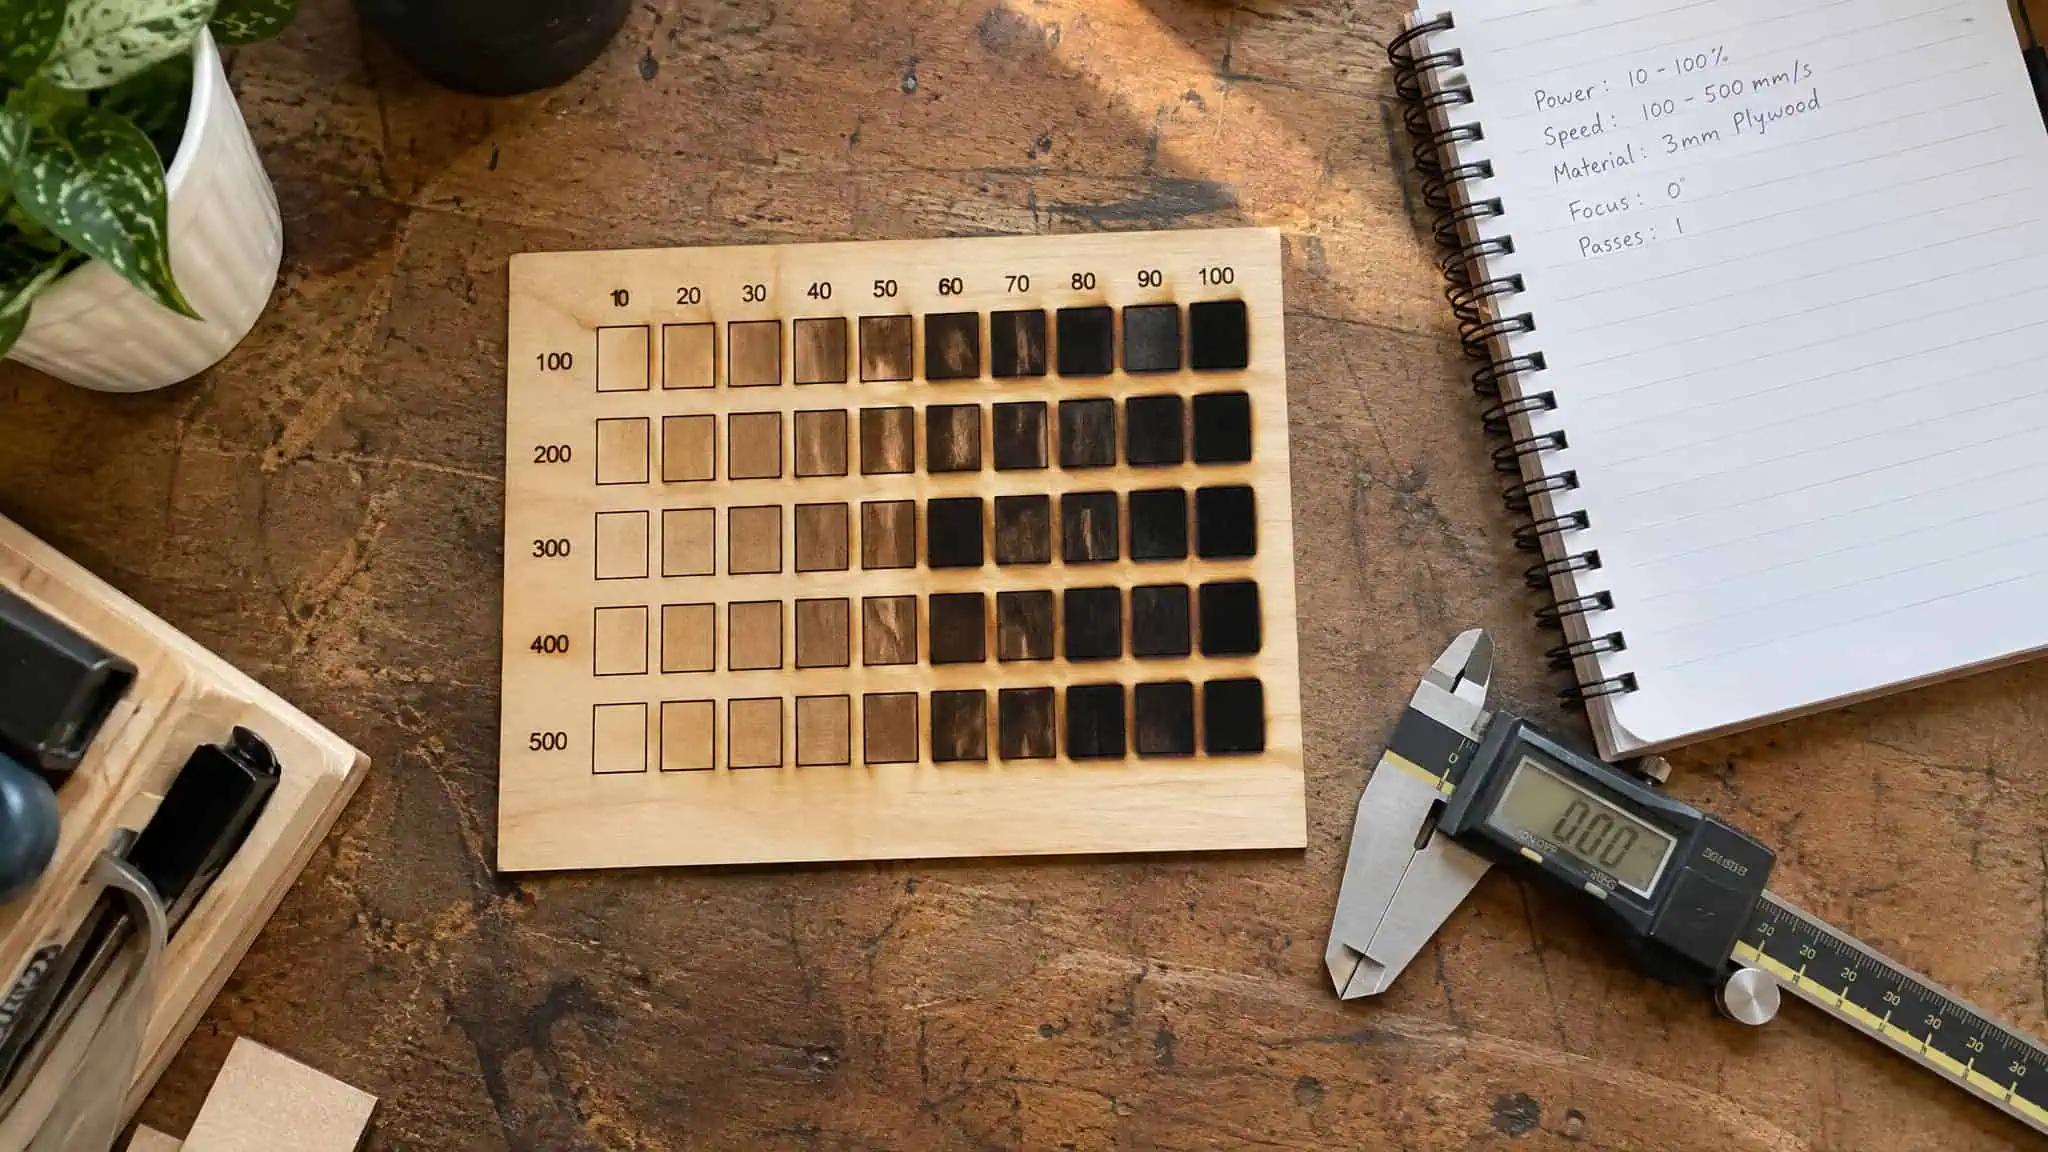
Testing and logging laser settings means running a test grid on scrap of the exact material, logging the results, and retesting until the cut edges come out smooth.Smooth edges mean correct settings; rough or jagged edges mean more power or less speed. Always test on scrap of the exact material, especially weird, uneven, or unfamiliar pieces, because the sheet is the variable. Log everything; future-you saves the time, and I keep a spreadsheet and I’m not sorry.
Per Tom’s Hardware’s review of the xTool P3 (the 80W CO2 machine released in September 2025), it claimed 20mm basswood single-pass cuts, but testing managed 15.5mm pine in one pass at 90% power and 5 mm/s, cleaner at 90% and 20 mm/s over four passes, and seasoned hardwood only reached about 10mm.Family photo engraving came out too weak. That’s not a knock on the machine so much as a demonstration that manufacturer depth claims and bench results are different documents.
Software caveats that ruin test grids: xTool Studio’s material test grid silently applies identical power/speed if you change the material type after generating it, which quietly invalidates the whole grid. SVG and DXF imports lose sizing.And dangling cutout debris can crash the laser head, which is exactly as alarming as it sounds.
On LightBurn, since it’s the workflow criterion that matters: it has no wood-specific parameter library to trust blindly, but it carries the speed-up tools. Lower the DPI/LPI to cut job time with little visible quality loss. Use Offset Fill so the laser traces shapes continuously instead of rastering blank space.And if lines go jagged or misaligned at higher speeds, calibrate scanning offset in LightBurn; that’s the fix for the artifact everyone blames on the machine. Vector files stay sharp at any size, and detailed designs need slower speeds and lower power for fine lines.
Machine selection and safety limits for wood engravers
A CO2 laser is the better wood engraver for a beginner if the budget allows, with a diode as the slower but much cheaper entry. Both handle wood; the CO2 just does it faster and more cleanly, which is why this article’s tables lean CO2.Run the selection checklist yourself: laser type, power, precision, workspace size, LightBurn compatibility, safety features, accessories, support, and price. The real cost is support and consumables, not sticker. Hobbyists get the best value mid-range; commercial users should invest upfront.
From a recent roundup (their picks, not my leaderboard): xTool P2 best overall, Two Trees TS2 for beginners, Wainlux K10 for budget (3W is tiny; budget means budget), Creality Falcon A1 Pro for custom crafts at 20W, ComMarker B4 for small business (a 20W review unit, with machines up to 100W, per the review-unit disclosure), ComMarker B6 MOPA for production, and Glowforge Pro for schools. What makes the wattage split useful rather than just list filler: a 5W diode engraves wood and light-cuts roughly 2-3 mm soft wood over multiple passes, 10W handles about 3-5 mm plywood or acrylic, and 20W+ can cut up to around 8-10 mm wood with passes, so the K10 is a detail tool, the Falcon A1 Pro is where actual cutting starts.The Thunder/OMTech promotional material praising the OMTech MF2028-80 as a strong wood choice comes from authors who have run Thunder machines since 2020, so treat it as the source’s pitch rather than neutral fact.
Safety boundaries, flatly: CO2 handles wood, leather, clear acrylic, glass, and stone but not bare metal. Diode handles wood, dark acrylic, and stone but not clear acrylic, glass, or bare metal; fiber handles metal, plastic, and stone but not wood or clear acrylic.Never engrave PVC. It releases toxic fumes.
Goggles and gloves on, flammables cleared, fume extraction robust. Especially for MDF batch jobs.
Pick a starting row from the species and wattage tables, test it on scrap of the exact board, and log the result per species and machine. That settings log replaces the universal chart you came searching for, because it’s the only one calibrated to your machine and your wood. And keep the two diagnostics that save the most time: wobble on intricate designs means frame flex, and patchy results mean the board.
Frequently Asked Questions
What are the best settings for engraving wood in LightBurn?
Start with 20-60% power at 100-300 mm/s, then adjust for species: hardwoods higher, softwoods lower. LightBurn has no wood-specific parameter library to trust blindly, but it has the tools that matter — lower the DPI/LPI to cut job time, use Offset Fill so the laser traces shapes instead of rastering blank space, and calibrate scanning offset if lines go jagged at higher speeds.
What are the recommended settings for a 10 watt laser engraver?
A 10W diode engraves wood within the 100-250 mm/s diode range and cuts 3mm plywood at 200-900 mm/min at 85-90% power over 3-6 passes. The multi-pass approach is a feature, not a failure — spreading energy over passes prevents charring on low-power machines.
Do hardwoods like maple and oak need different laser settings than pine or basswood?
Yes — hardwoods are denser and need more power, softwoods engrave easier with less fine detail. On an 80W CO2 machine, maple engraves at 100 mm/s and 30% power while basswood needs just 15% at 150 mm/s. The dial model: hardwoods up, softwoods down.
