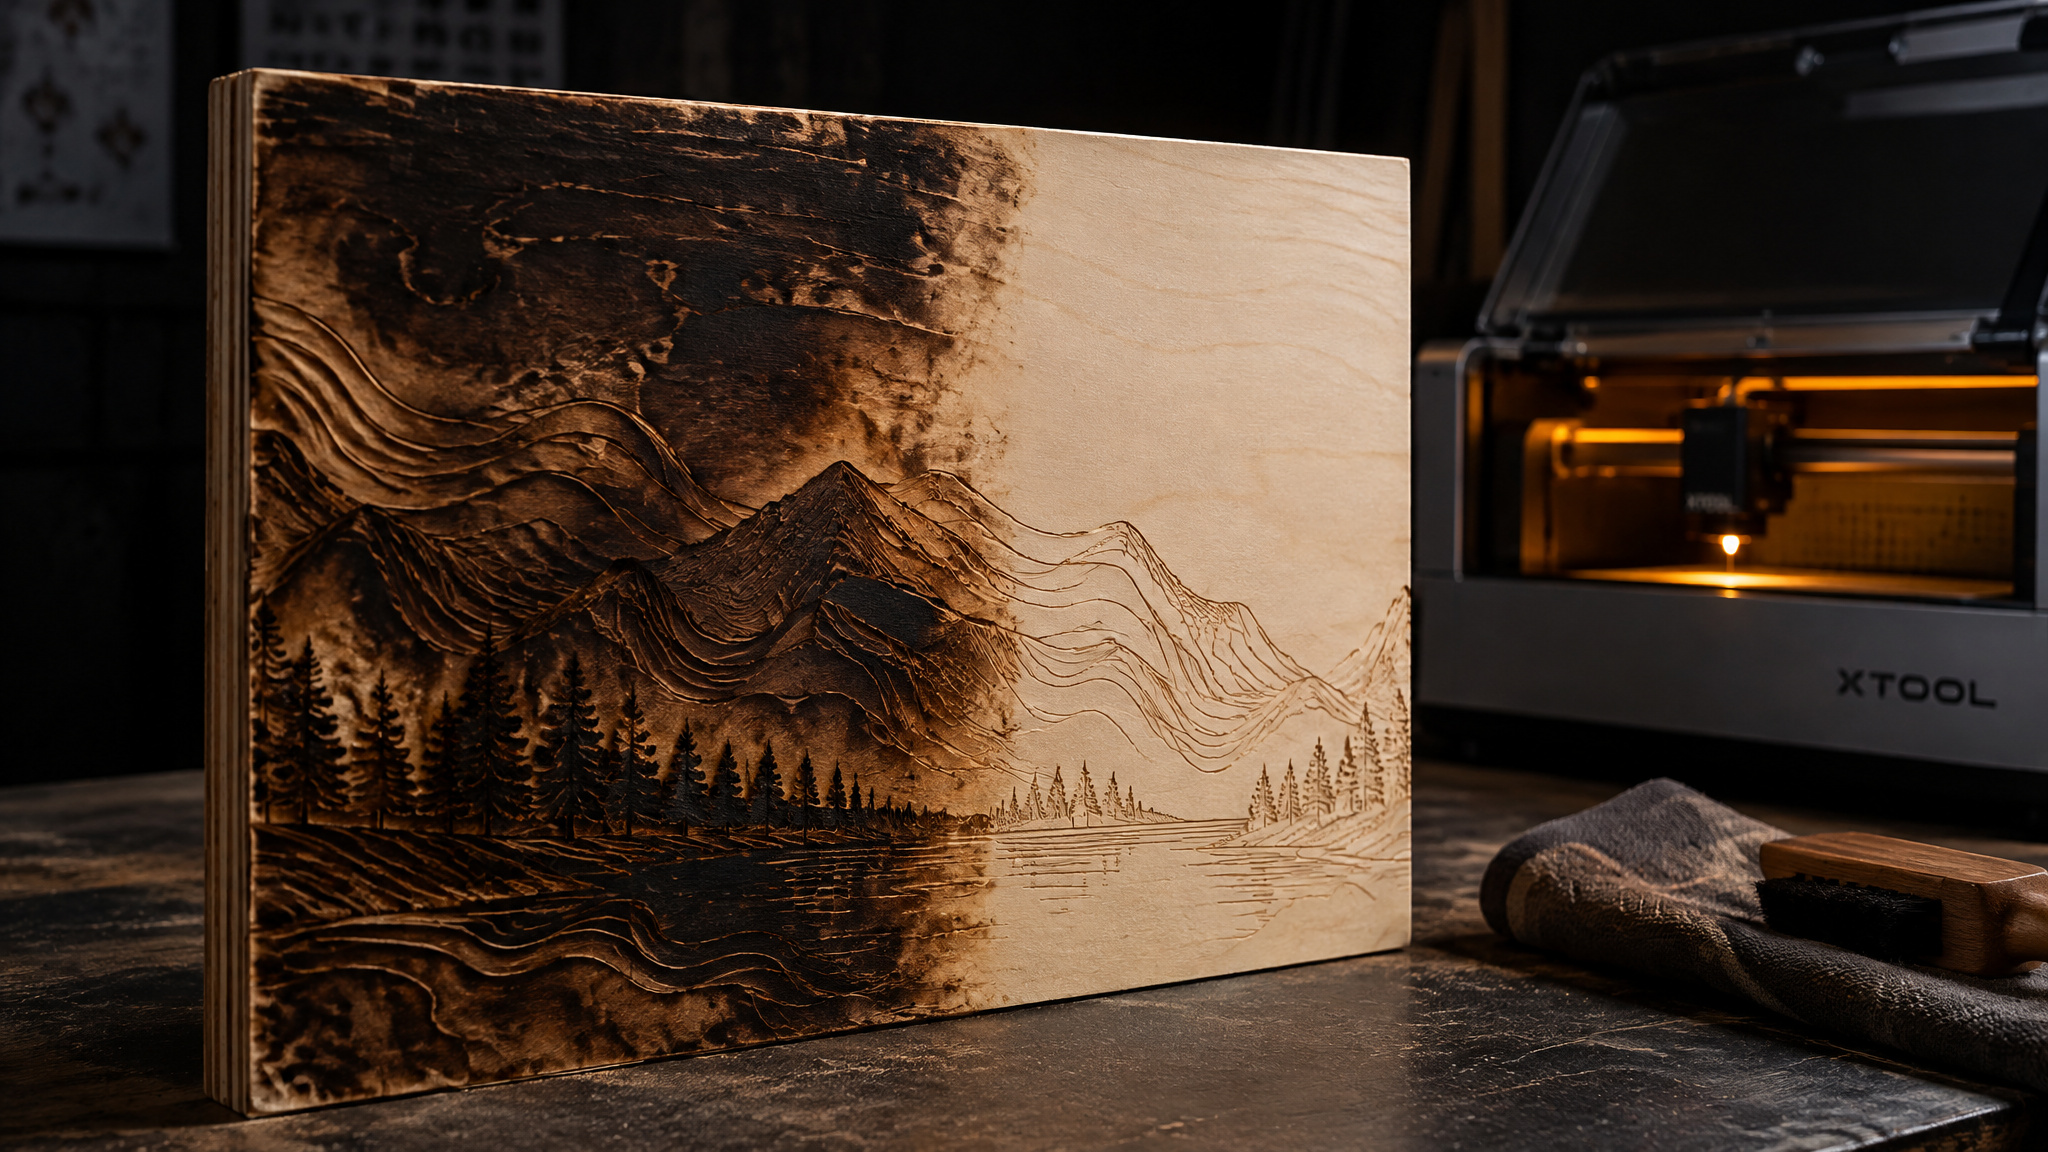
You peel the masking off a piece you just spent forty minutes cutting, and the scorch on the face of the board is way heavier than you expected. Or you ordered wood that arrived unmasked, ran it anyway, and now you’re staring at soot baked across a project you already kind of love. Either way, you’re here because you want to know how to remove laser burn from wood, and you want a real answer, not a listicle of guesses.
Some of what you’re looking at is permanent, some of it cleans up in minutes, and which method works depends entirely on where the soot sits and what finish is on the wood. I dug through forum threads and a surprising amount of laser YouTube to find what actually removes this stuff, including one documented side-by-side test that ranked six methods against each other. The best cleaning method is the one you never have to perform. But when you do, there’s a right tool for your surface.
Key Takeaways
In Craft Closet’s controlled head-to-head, six identical projects were cut at extra-low speeds to exaggerate scorching, and white vinegar plus light orbital sanding at 150 or 220 grit matched the results of masking, the test’s gold standard.
Black cut edges are permanent because the laser burns through the material; only the soot and scorching on the wood’s face is actually removable.
Paper masking applied before cutting prevents soot entirely, and a sheet of copy paper under the board absorbs flashback so the bottom stays clean without masking the back.
Table of Contents
What laser burn on wood actually is
Thicker wood burns worse because it forces the laser to move slower, and slower speed means more burning and discoloration. That’s why 1/4-inch stock comes off the bed looking rougher than thin ply from the same machine.
Cut edges are always black. The laser burns through the material to cut it, so that char is part of the wood itself, not a cleaning failure. Don’t sand charred edges trying to restore raw wood color, because you’re signing up for an impossible restoration project. What’s actually fixable is the soot and scorching that spreads onto the face of the board. That’s the removable problem, and everything below targets it.
The burnt edges are also the main source of that lingering burnt smell. More on that later.
Six cleaning methods tested side by side
Laser burn marks on laser-cut wood are removable, and the tested answer is sanding and white vinegar, which matched the results of masking in Craft Closet’s controlled head-to-head. That test is the spine of this article, and the methodology deserves respect: Craft Closet cut six identical projects at extra-low speeds on purpose, to exaggerate the scorching, kept one set masked as the gold standard, left the rest unmasked, then cleaned and compared them side by side. Deliberately stress-testing your system so the differences show?
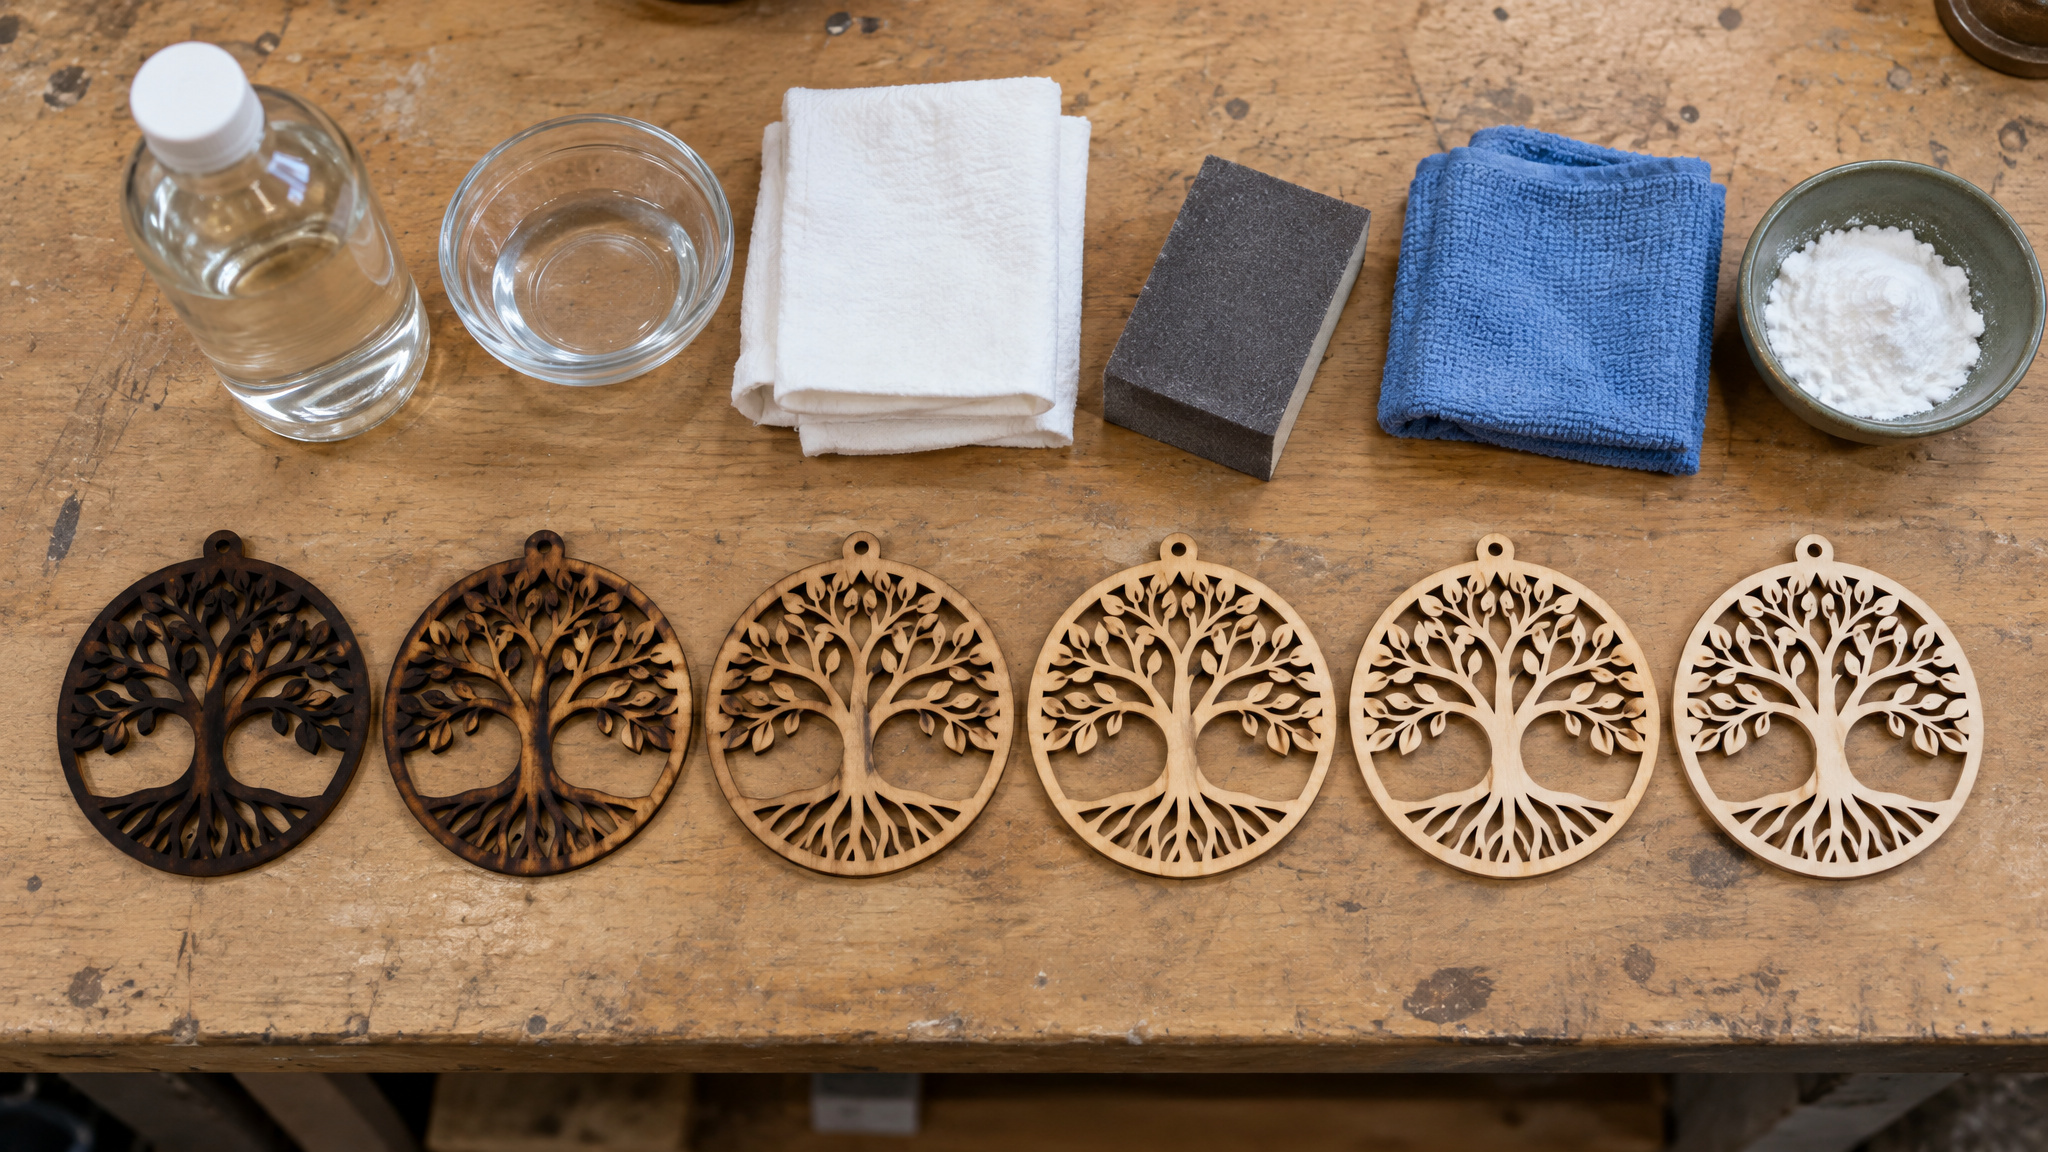
If you search this topic, the generic consensus says reach for a melamine sponge (Magic Eraser), isopropyl alcohol, or fine sandpaper. All three show up constantly. In the controlled test, the melamine pad actually lost.
The results, ranked:
- White vinegar: removed staining well without touching the dark discoloration inside the engraving, and matched masking results. The engraving-safe pick.
- Sanding: a couple of minutes of light work with an orbital sander cleared the scorching and matched masking too.
- Fast Orange hand cleaner: removed all discoloration without staining the wood, but lightened the engraving slightly. A win with an asterisk.
- Mineral spirits and Goo Gone: discoloration came off, but both appeared to leave a finish-like coating. Even after the boards dried for 2 to 3 hours before evaluation, that coating still showed up.
- Melamine pad: left a lot of residue. The popular hack underperformed in the only controlled test I found.
There’s a second ranking worth putting next to it. Josh at Fresh Start Customs ranked fine sandpaper his least favorite method, isopropyl alcohol second, and masking prevention first. That looks like a direct disagreement with the sanding result, and it is, until you look at where the sanding happened.
There’s no single best method. Context decides, and the rest of this article is the decision tree.
First step: brush or compressed air before any cleaner
Cleaning wood after laser engraving starts dry, with a soft-bristled brush or compressed air, before anything wet touches the surface. OMTech’s guidance (they run an OMTech Polar+ desktop CO2 laser, 55W, so this is bench advice from people who do this daily) puts the dry pass first for a reason, and it’s the step most people skip straight past.
The sequence is short:
- Sweep it dry. A soft-bristled brush or a blast of compressed air lifts off the loose debris and ash sitting on the surface. Most of what looks like heavy scorch at first glance is this layer, and it comes off with zero risk to the wood.
- Spot-clean stubborn residue. If something’s still stuck, wipe with a cloth that’s been barely moistened with water or a mild wood cleaner. The operative word is lightly. A damp cloth, not a soaked one.
- Dry it completely before you choose any deeper treatment.
If you go straight to a liquid cleaner, you’re rubbing loose ash into the grain with your cleaning fluid, which turns a surface problem into an embedded one. The wet stuff works best on a surface that’s already been swept, because then it’s dissolving scorch instead of making ash paste and painting it into the pores. This is the same reason you degrease before you paint, or blow the dust off a sensor before wiping it: the dry pass changes what the next step is actually working on.
Oversaturation is a real risk too. Wood that soaks up too much water can warp as it dries, which is its own cleanup problem stacked on top of the first one. Lightly dampen a cloth, wipe the surface, and let the wood dry fully before deciding whether anything more aggressive is needed.
Once the loose ash is gone and the board is dry, you can actually see what you’re dealing with: light face soot that a vinegar spray will handle, scorch that wants a quick sanding pass, or residue sitting inside engraving detail that needs a different plan entirely. The dry pass isn’t just step one of a cleaning recipe. It’s the inspection that tells you which recipe you need.
Sanding scorch marks: fast on flat faces, destructive in engravings
Sanding damages engravings inside engraved detail, but on flat faces it’s the fastest fix in the lineup, and location is the decisive condition.
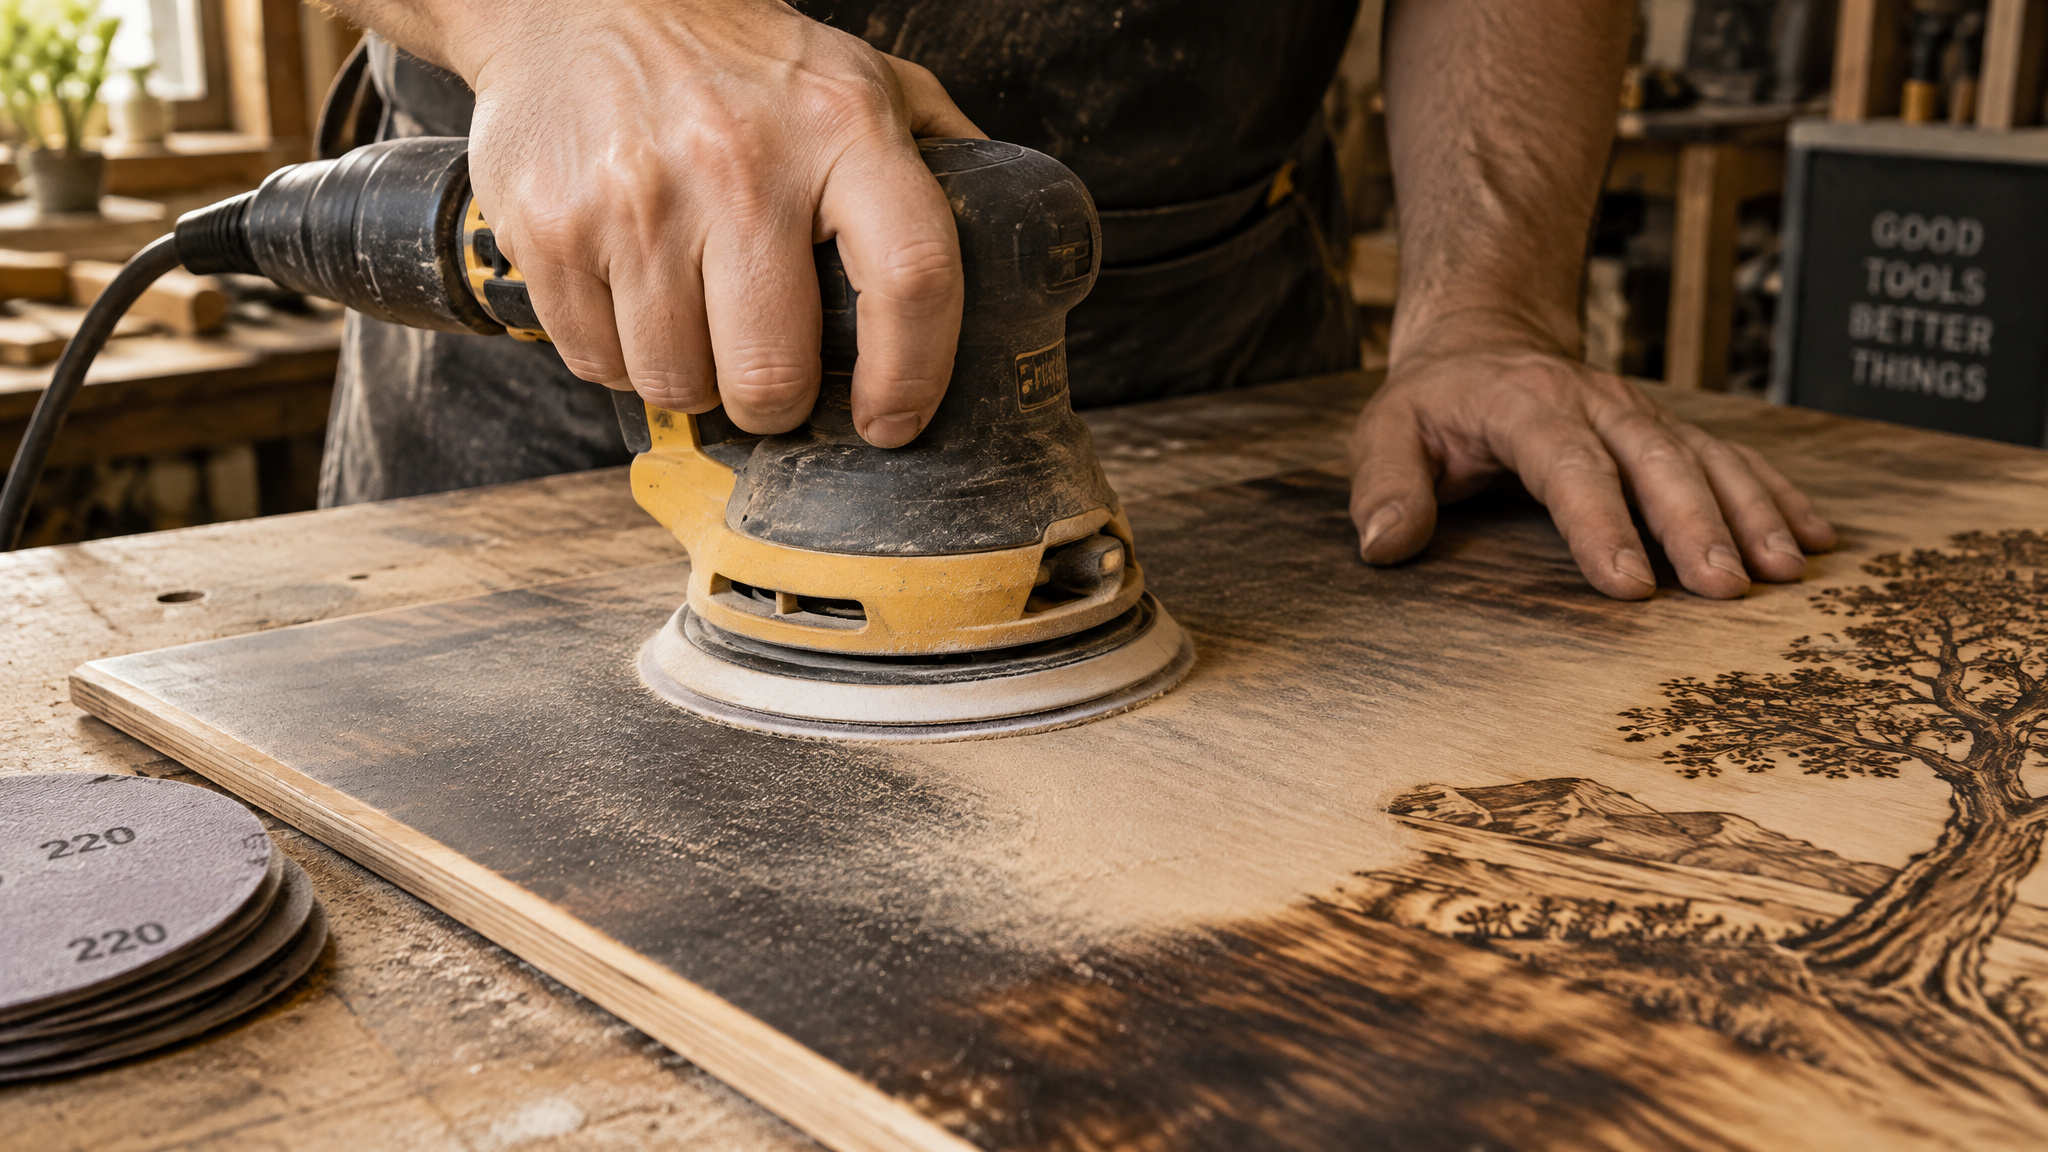
Flat surfaces
On a flat scorched face, orbital sanding at 150 or 220 grit removed scorching in only a couple of minutes of light work in Craft Closet’s test, matching the masked sample. The catch is thin-faced plywood: sand too hard and you go clear through the veneer, which turns a cleaning job into a ruined project. Light pressure, fine grit, done.
Inside engravings
Inside engraved detail, sanding is the worst choice. It chews up the detail and packs residue into the recesses, which is exactly why Josh at Fresh Start Customs ranked fine sandpaper least favorite among the laser and traditional engraving methods he tested. This resolves the apparent conflict from the test section: Craft Closet ranked sanding best (flat surfaces), Fresh Start Customs ranked it worst (engravings). Same tool, opposite verdicts, different locations. If you do end up sanding near an engraving, blow the dust out with an air duster afterward.
Makers reach for sandpaper first and damage a detailed engraving or punch through thin veneer, when a solvent was the right tool for that surface all along.
Liquid cleaners: vinegar, alcohol, thinner, and their trade-offs
The best no-sanding cleaners for laser burn on wood are white vinegar, isopropyl alcohol, lacquer thinner, and hand sanitizer, each with a finish-specific trade-off. Every liquid here carries a material-specific catch, so the choice depends on the finish state, not a universal best solvent.
White vinegar
Mix water and white vinegar in equal amounts in a spray bottle, let it sit a few minutes, wipe with a damp cloth. In Craft Closet’s test it removed staining well without touching the engraving’s dark discoloration, and matched masking results. Bonus: the vinegar smell dissipates as it dries, and the same spray neutralizes burnt odor.
Isopropyl alcohol
In Fresh Start Customs’ demo, alcohol beat sandpaper on soot. The catch: it soaks into raw wood and discolors it. Its sweet spot is wood already wearing a clear shellac spray topcoat, where the sealant takes the cleaning without the soak-in. It’s also handy for cleaning black cut edges and lifting residue.
Lacquer thinner
Removes char on basswood and evaporates afterward. OpenAirNet demonstrated it on scrap basswood, and the technique came from the creator’s cabinet-maker father, who used it on pencil marks.
Hand sanitizer and the grab bag
Name-brand hand sanitizer dissolves laser gunk and evaporates fast, so there’s no wet wood left behind. For extreme cases only: Clorox spray before brushing, then a quick hand-cleaner wash to disperse water and chemicals. That’s the “nothing else worked” tier, not the default move. And a reminder on mineral spirits and Goo Gone: discoloration came off, but both appeared to leave a finish-like coating after the boards dried 2 to 3 hours.
One reassurance after all those wet warnings: if wood gets wet enough to warp during cleaning, you can press it flat while it dries, possibly over several days, and it stays flat.
Magic Eraser, Fast Orange, and the pool salt scrub
The Magic Eraser verdict
It depends, and the layers are worth untangling. A Glowforge forum user, jamesdhatch, uses a dry Mr. Clean Magic Eraser on unfinished cherry, maple, walnut, red oak, mahogany, padauk, monkeypod, and zebrawood, plus leather, which is a species list that screams real bench time. But the product’s own instructions say it’s not recommended for polished wood. And in Craft Closet’s controlled test, the melamine pad performed poorly, leaving a lot of residue on laser-cut projects.
Same product, three different verdicts, and the boundary condition, unfinished versus polished, explains most of the conflict.
Fast Orange
The garage-shelf hand cleaner that doubled as the test’s surprise performer: it removed all discoloration without staining the wood. The asterisk is that it lightened the engraving slightly.
The pool salt scrub
My favorite weird one. A forum user rubs laser-cut parts in a Sam’s Club bussing tub filled with pool salt, and the loose char comes off. Practitioner-reported, never tested, so file it under anecdotal. The detail that makes it believable is the supply chain: they had just dumped their last pool salt into the pool and had to make a run to the pool supply store.
Prevent burn marks with paper masking tape
Applying paper masking before cutting prevents soot entirely: peel the tape off afterward and the material underneath is clean, with no charred edges to deal with. Fresh Start Customs demonstrated the peel-reveal on MDF, and it’s the satisfying moment that sells prevention better than any argument. Craft Closet’s head-to-head ranked masking the gold standard, above every cleaner in the lineup.
Application and tack
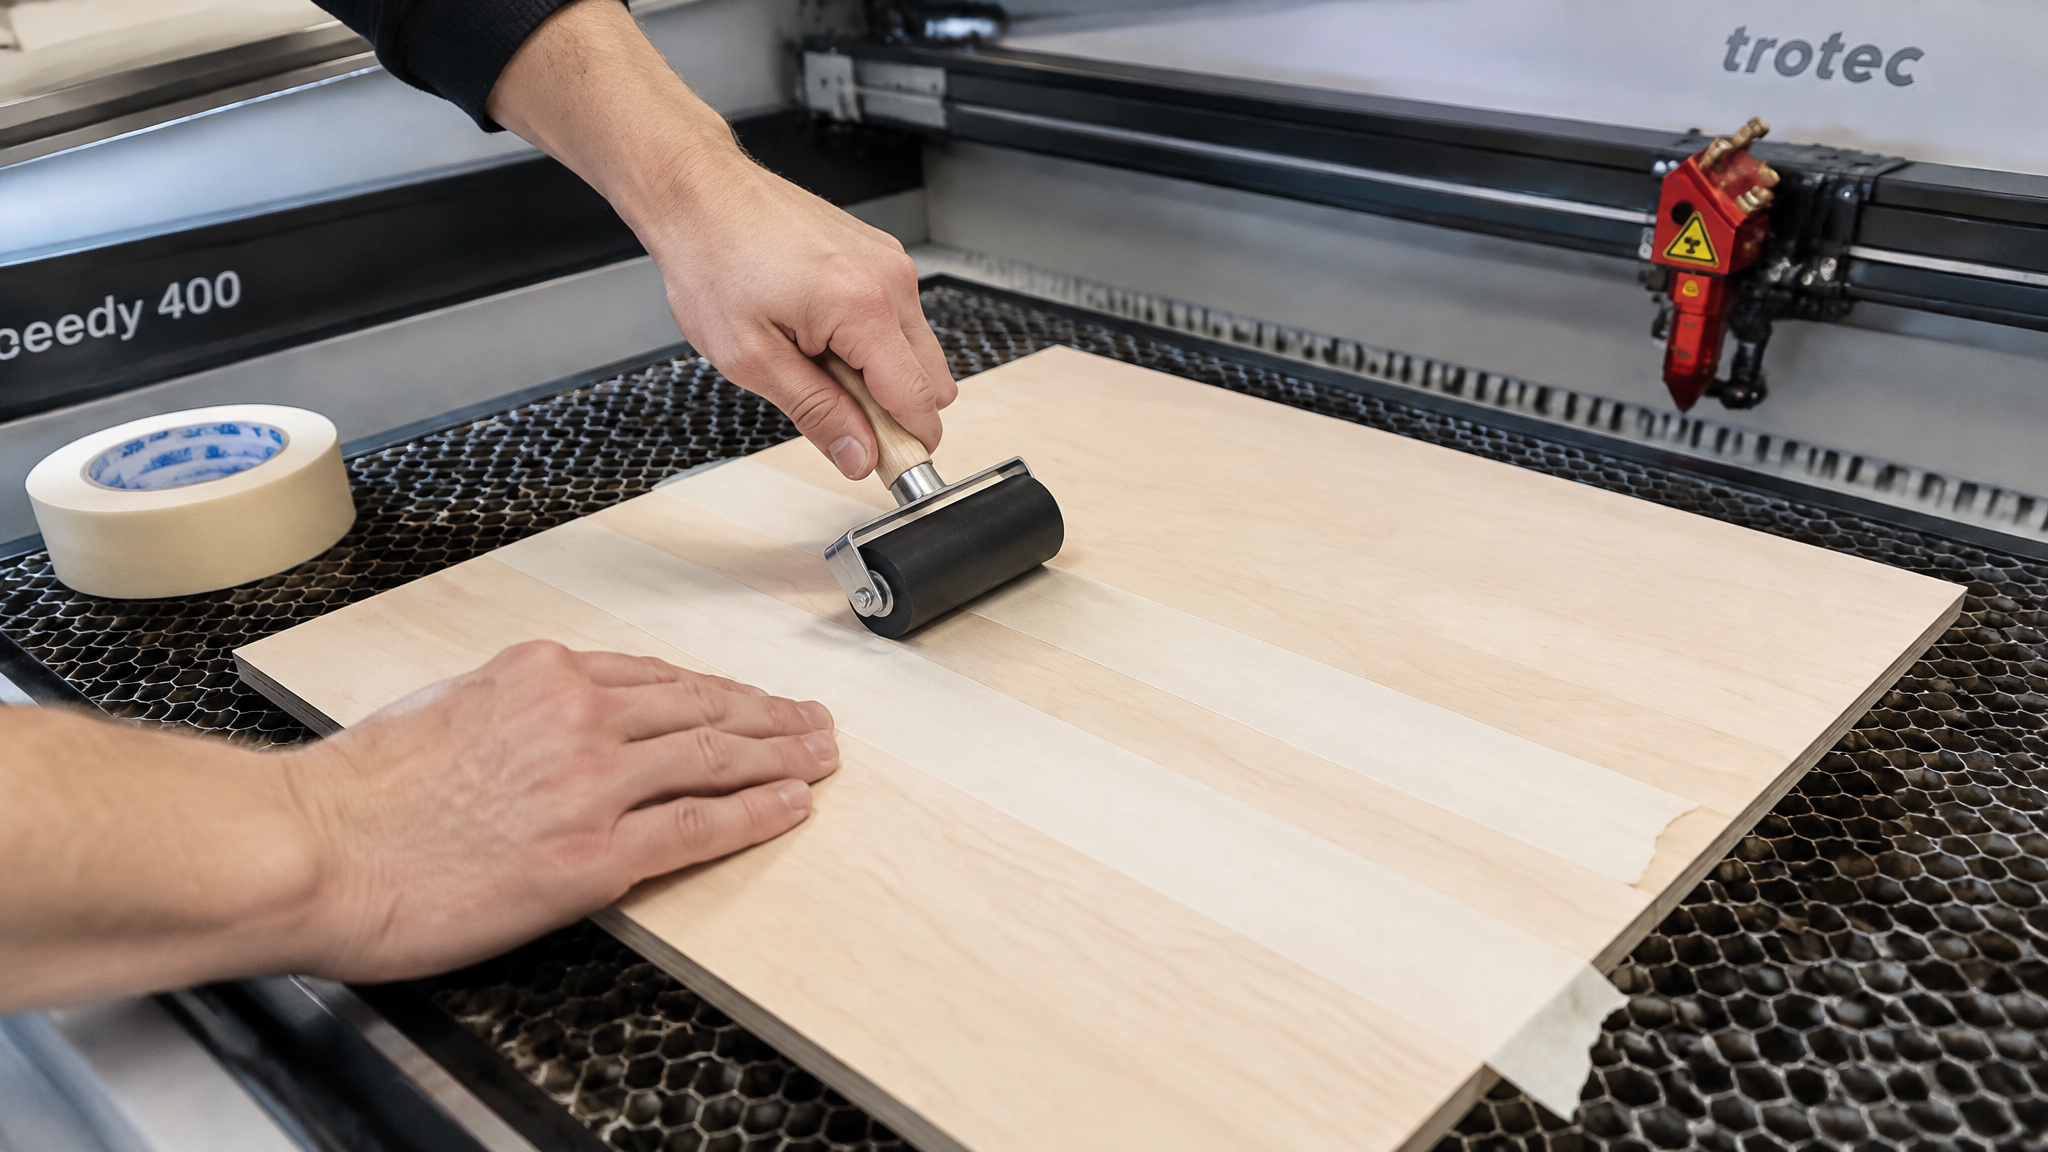
A roll of masking is way cheaper than your limited time, as the forum user put it. The non-negotiable is tack: masking has to have high enough adhesion to stay attached, because lifting masking mid-cut creates a fire hazard.
Apply it tight, or run a brayer roller over it to press it down flat.
Red flag: Masking that lifts mid-cut is a fire hazard, not a cosmetic problem. Press it down flat with a brayer before you run the job.
Weeding tiny masking pieces out of cutouts is tedious. It’s annoying, but it doesn’t come close to undoing the math.
The cost and the beginner mistake
On the sourcing side, the forum context is a poster who went unmasked after the Glowforge store ran out of materials and hunted Etsy for Proofgrade wood, some of it unmasked. Your alternatives are self-masking with a 12″ x 100-yard roll, which is the bulk-buy DIY route, or post-cut cleanup with an orbital sander at 150 or 220 grit.
And the classic first-projects pattern: peeling the factory masking before cutting because it seems like it’ll smoke, then discovering the scorch cleanup is extensive and laborious. One poster learned this after 2 to 3 sample cuts. Affection for everyone in this phase of the learning curve. The masking stays on.
Stop underside soot with a sheet of copy paper
Flashback from the laser bed scorches the bottom of unmasked wood, and a sheet of copy paper laid underneath absorbs it so the bottom stays clean without masking the back. One sheet of office paper completes the two-sided system, top masking plus bottom paper, and the entire solution costs less than a cent.
Burn marks are a settings problem: the clean edge demonstration
Burn marks are a tunable output, not a fixed cost of laser cutting, and the proof is two identical laser-cut roses from Edis Alic (Laserpreneur), cut on the same machine, material, design file, and settings, that produced radically different edge quality because the only variable was his “clean edge method.” The method’s specifics were never disclosed. It’s a paid system with a 100% money-back guarantee, so the demonstration is what I can point to, not the recipe. Dialing in your own parameters is exactly what a wood settings guide is for.
Removing the burnt smell from laser engraved wood
Air it out first, then wash, then neutralize, with ozone as the last resort. Nobody buys an ozone generator when an open window would do. The smell traces back to the same burning you’re cleaning off the face: engraving burns away small bits of material, and those burnt edges are the main source of the lingering odor.
Air it out
Set the piece somewhere well-ventilated for 1 to 3 days depending on smell intensity, turn it occasionally, and a fan speeds things up. Best for mild odors, and it costs nothing.
Soapy water and vinegar
Gentle dish soap in warm water, clean gently, don’t oversaturate (warping risk), rinse, pat dry, air dry fully. The 50/50 vinegar spray from the cleaning section does double duty here too; the smell fades as it dries.
Odor neutralizers
Pick sprays made for wood or smoke odors. The useful distinction is mechanism: these break down odor molecules rather than masking them, which is why the label matters more than the marketing.
Ozone and finishes
An ozone generator in a sealed room or container, run for a few hours, then air out for at least 24 hours afterward. Last resort, because ozone exposure is a real risk; follow the manufacturer’s safety instructions. The long game is a finish: clear lacquer, polyurethane, or linseed or tung oil in thin even coats protects the engraving, cuts odor further, and guards against moisture, UV damage, and wear. Light sanding between coats gets you an ultra-smooth finish, and test on an inconspicuous spot first.
Finished wood, leather, and the scrap-test rule
Cleaning soot off finished wood without damage starts with the scrap test, because no source here offers a tested method for finished furniture, and pretending otherwise is how finished pieces get ruined. Methods that are safe on unfinished hardwood can damage finished or polished pieces, and the Magic Eraser’s own instructions exclude polished wood outright. The honest answer for finished furniture is the scrap test and nothing more.
Vegetable tanned leather deserves its own gentle-hands warning every time it comes up: it’s fairly susceptible to scratching during cleaning.
Test any cleaning method on scrap first, especially before it touches finished work. Thirty seconds on a cutoff beats discovering your cleaner of choice dissolves a topcoat on the piece you actually care about.
Act soon after engraving, and be gentle. Delay lets residue set, aggression chews detail, and both degrade the engraving quality you spent all that compute time creating. Clean it early, clean it kindly, and mask the next one.
Frequently Asked Questions
How to get rid of laser burn quickly?
Start with a dry pass — a soft-bristled brush or compressed air lifts off the loose ash that looks like heavy scorch. On flat faces, a couple of minutes of light orbital sanding at 150 or 220 grit clears the rest, or spray a 50/50 white vinegar and water mix, let it sit a few minutes, and wipe with a damp cloth. Both matched masking results in a controlled head-to-head test.
Is laser etching permanent?
The engraving itself is permanent, but the soot and scorching that spreads onto the face of the board around it is removable. The dark discoloration inside the engraving detail is part of the design, so pick a cleaner that doesn’t touch it — white vinegar removed face staining well without altering the engraving’s dark discoloration in testing.
Do burns from laser go away?
It depends on where the burn sits. Soot and scorching on the wood’s face cleans up with vinegar, sanding, or solvents, but black cut edges are permanent because the laser burns through the material to cut it — that char is part of the wood itself, not a cleaning failure.
How to remove burn marks from laser cut wood
Brush or blow off loose ash first, then choose by location: orbital sanding at 150 or 220 grit for flat faces, a 50/50 white vinegar spray for engraving-safe cleaning, or isopropyl alcohol on wood already sealed with a clear shellac topcoat. Black cut edges won’t come back to raw wood color — don’t sand them chasing an impossible restoration.
Does sanding damage laser engraving on wood?
Yes, inside engraved detail sanding is the worst choice — it chews up the detail and packs residue into the recesses. On flat scorched faces, though, it’s the fastest fix in the lineup and cleared scorching in a couple of minutes of light work. Location decides: sand flat faces, use a liquid cleaner near engravings, and blow out dust with an air duster if you sand close to one.
How to prevent burn marks when laser cutting wood
Apply paper masking tape before cutting — peel it off afterward and the wood underneath is clean, with no soot to deal with. Masking ranked as the gold standard above every cleaner in a controlled head-to-head. Press it down flat with a brayer, because masking that lifts mid-cut is a fire hazard, not a cosmetic problem.
