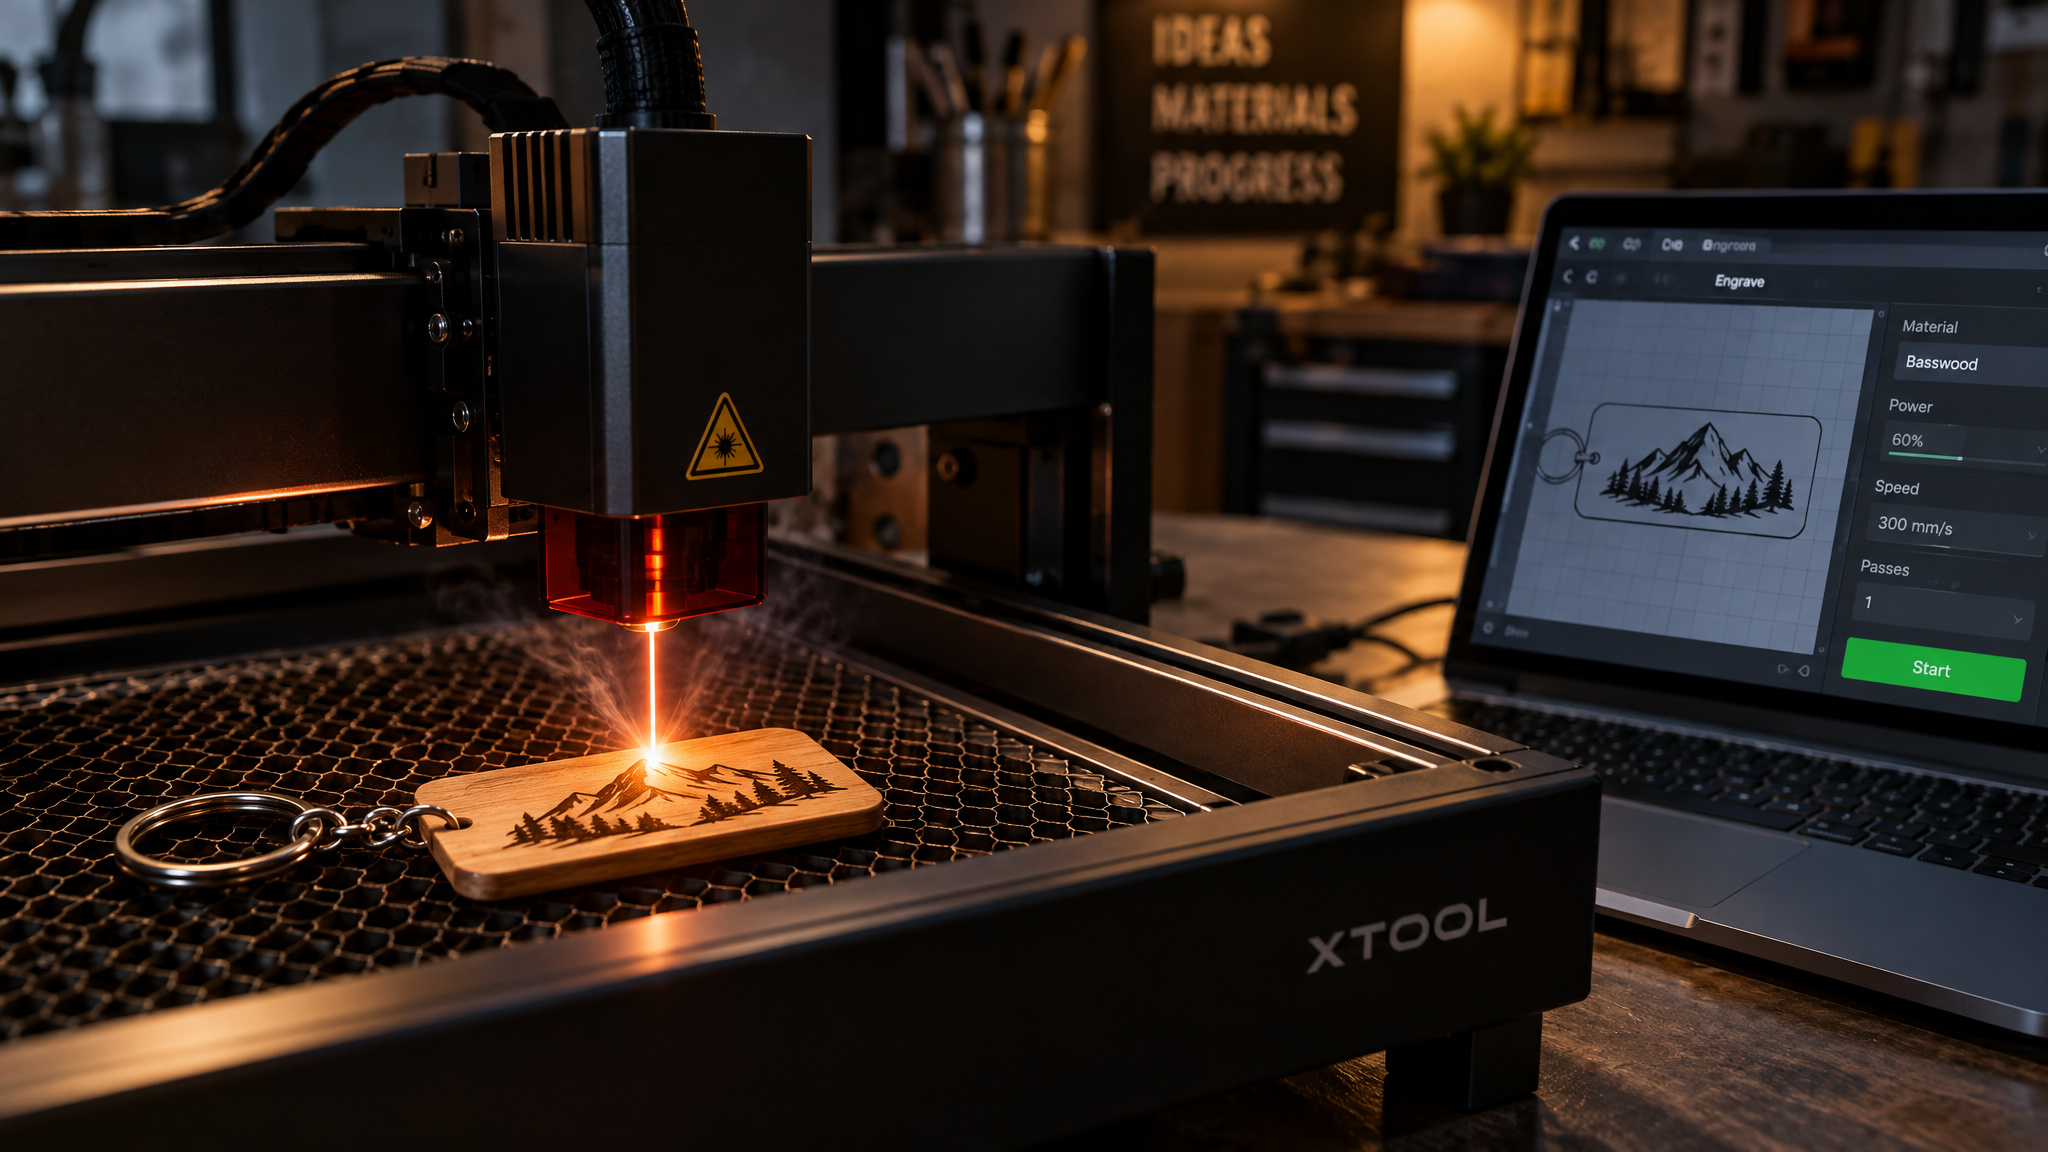
Software for laser engravers is one of those purchases people make backwards. It announces itself on day one, when you install the program a forum swears by, plug in the machine, hit auto-detect, and watch nothing happen. The G-Code diode laser sits there silently while someone else’s DSP CO2 machine connects on the first try, and then you’re three menus deep wondering where the speed and power controls for your wood job actually live. Maybe they’re gated behind a license tier you didn’t buy.
Maybe the tool doesn’t speak your controller’s language at all. There are only three programs worth evaluating here: LightBurn, the paid all-in-one; LaserGRBL, the free and open-source Windows tool; and the suite xTool bundles with its machines, xTool Creative Space. Which one fits isn’t a brand or budget ranking question. It’s a controller question, and the answer follows from the machine on your bench, not the marketing.
Key Takeaways
LightBurn supports grbl/G-Code diode machines, DSP/Ruida CO2 machines, and recently added galvo fiber support, with the license tier (Core at $100 for G-Code/diode, Pro at $199 for DSP) matched to your controller type.
LaserGRBL is 100% free and open-source but Windows-only, and it runs one speed and one power per job, so a layered engrave-then-cut project means two separately loaded, manually aligned files.
In LightBurn, layers are settings containers in the Cuts and Layers window, not Photoshop-style stacks: the default black layer runs Fill mode at 30,000 mm/min and 30% power, and a 10W diode cut 5mm wood at 300 mm/min and 100% power in a demo keychain project.
Table of Contents
Start with your controller: grbl, DSP, or galvo
LightBurn supports grbl/G-Code diode machines, DSP/Ruida CO2 machines, and, as a somewhat recent addition, galvo fiber lasers, with the license tier you buy matched to which controller your machine runs. That single mapping settles more of this decision than any feature comparison: figure out what the machine actually speaks before you care what the box promises.
Diode lasers: the grbl and G-Code family
Most diode lasers run grbl-style G-Code controllers, open-gantry frames and enclosed boxes alike. The Creality Falcon 2 Pro is a clean example: a 60W diode machine with a 400×400 mm work area and a front-left origin, all fairly typical for the class. The quirk shows up at connection time, because G-Code machines often fail Find My Laser auto-detection and end up needing manual device setup instead.
CO2 machines: DSP and Ruida
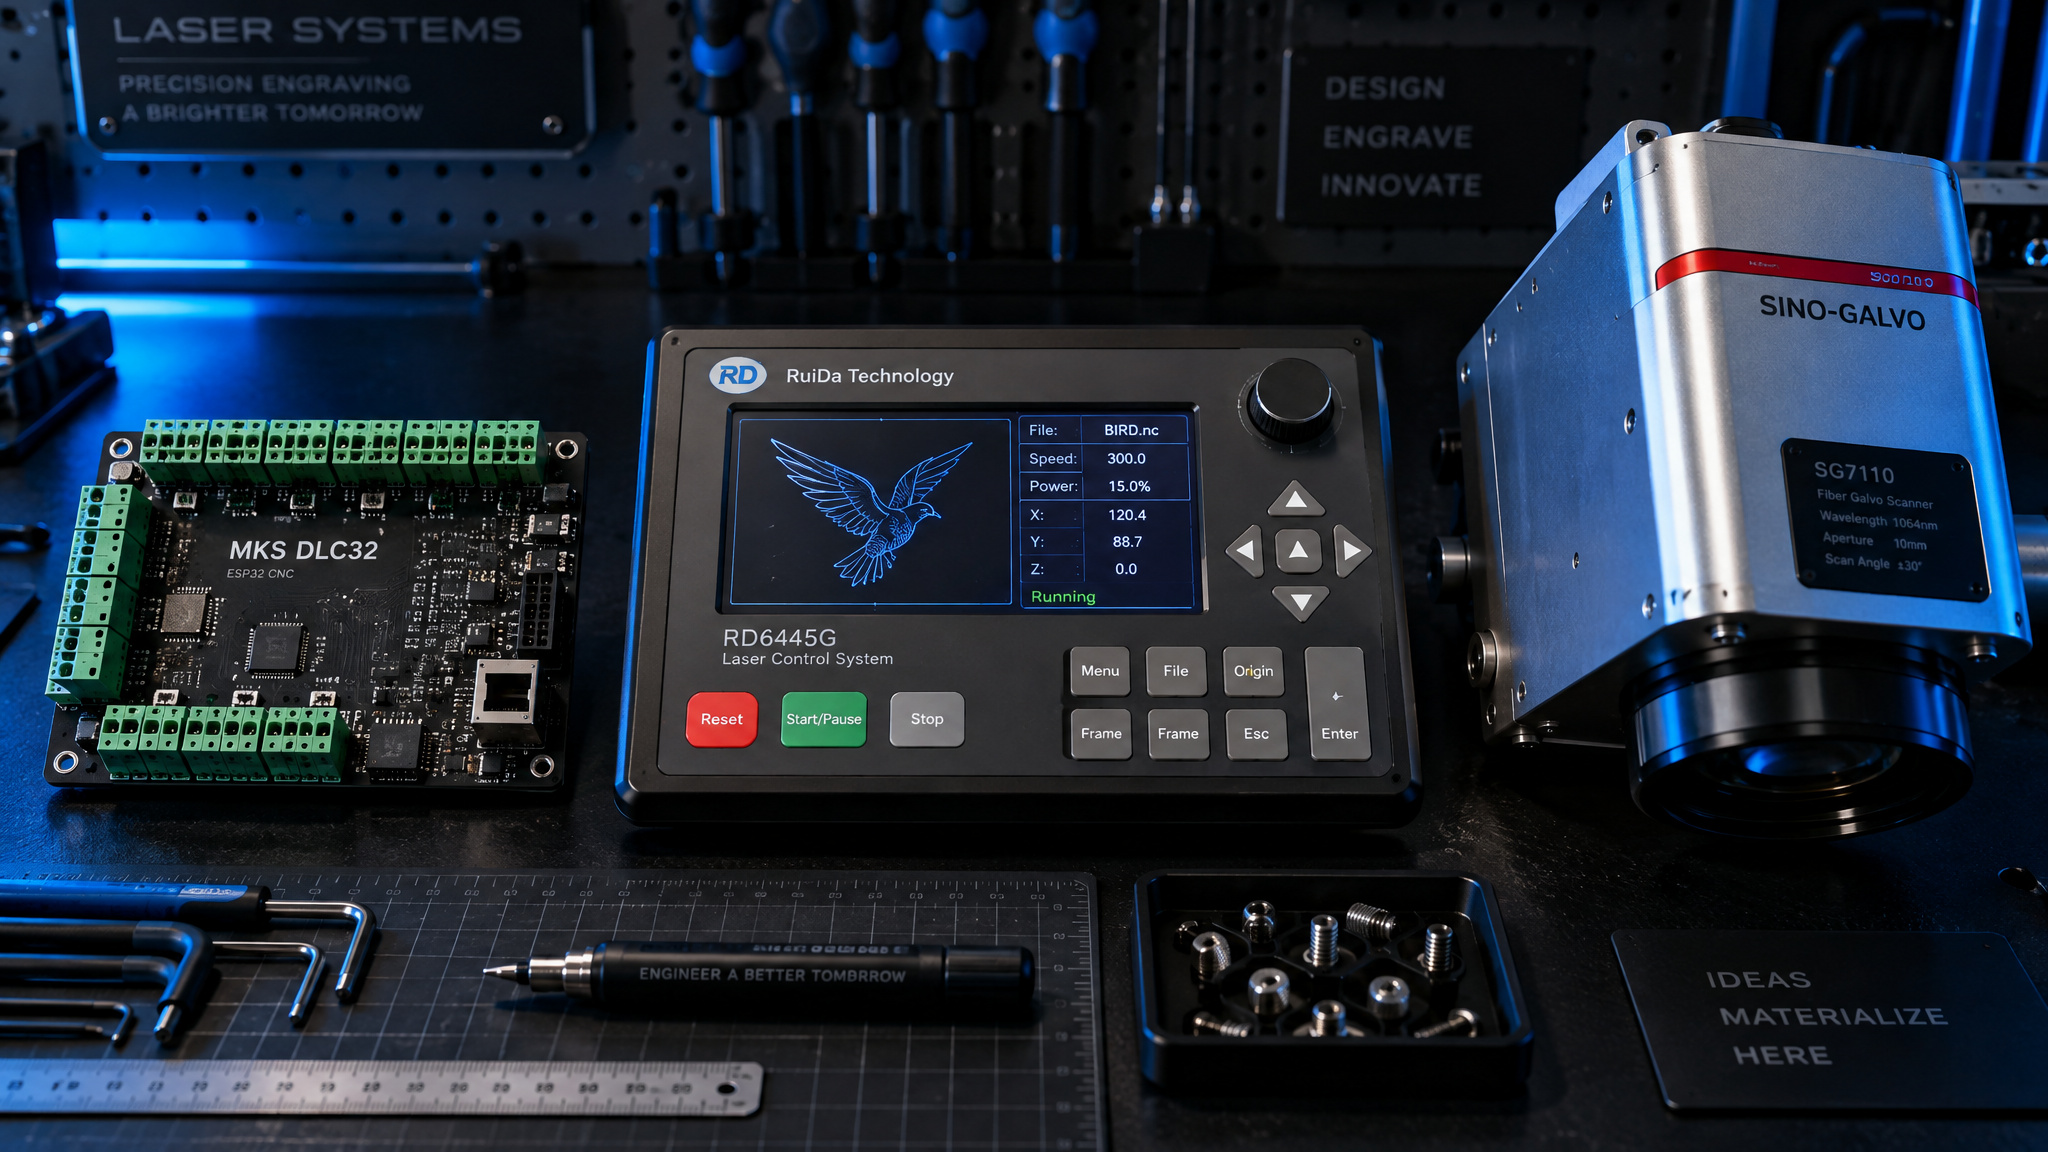
Higher-end CO2 machines typically run DSP controllers, and Ruida is the one you’ll keep meeting in setup guides. These machines usually carry a physical control panel on the chassis, and the panel looks like it wandered off a starship bridge, in the best possible way. The OMTech Pronto 60W, with its 700 x 500 mm (about 28″ x 20″) work area, plus the Thunderbolt and Aon line and the OMTech units, are the standard examples. DSP controllers usually connect automatically.
Galvo fiber: newer territory
Galvo fiber is the third family, and LightBurn’s fiber support was added somewhat recently. Treat that pairing as fresher ground, confirm the specifics for your own machine before committing, and don’t assume every fiber engraver behaves identically.
| Controller | Typical machine class | Example machine | License tier | Find My Laser auto-detect |
|---|---|---|---|---|
| grbl / G-Code | Diode lasers (open gantry or enclosed) | Creality Falcon 2 Pro, 60W diode, 400 x 400 mm | Core ($100) | Partial (often fails; manual setup) |
| DSP / Ruida | Higher-end CO2 | OMTech Pronto 60W, 700 x 500 mm | Pro ($199) | Yes (usually auto-connects) |
The G-Code machine that ignores auto-detection and the DSP machine that connects without complaint are the same two failure patterns you’ll hit during setup, so they show up again later.
LightBurn: the paid all-in-one standard
LightBurn is a paid suite that handles design and machine control in one app, and it’s often called the most popular laser control software around. The learning curve is steeper than the free options.
Runs where you run
It’s native on Windows, macOS, and Linux, and it works with diode, CO2, and galvo fiber machines, including the em-smart Nova, the Basic, and the Mopa fiber engravers, connected over USB or network. No WINE gymnastics required.
The design half is built in
SVG, DXF, AI, and PDF vectors import and stay directly editable, with no export-import roundtrip tax. PNG, JPG, and BMP bitmaps come in with image tracing. Node editing, Boolean operations, welding, path optimization, and text editing are all in the box, so you may not need a second app at all.
Layers and where to learn it
Color-coded layers let one button press handle engraving, shading, and cutting together, backed by material libraries, camera integration, and auto-generated G-code. There’s also a beginner mode that trims the interface down. For learning, the official forums, the official LightBurn YouTube tutorial series, and Make or Break Shop cover the ground.
LightBurn pricing: what each tier unlocks and the 30-day trial
LightBurn is paid software, priced as a single purchase that runs roughly $60 to $100 depending on version, with the G-code license usually running around $60, and there’s a 30-day free trial that’s fully featured with no watermarks. Activation is a license prompt. Readers assume trials are neutered; this one isn’t, which makes it the zero-risk way to test the fit before spending anything.
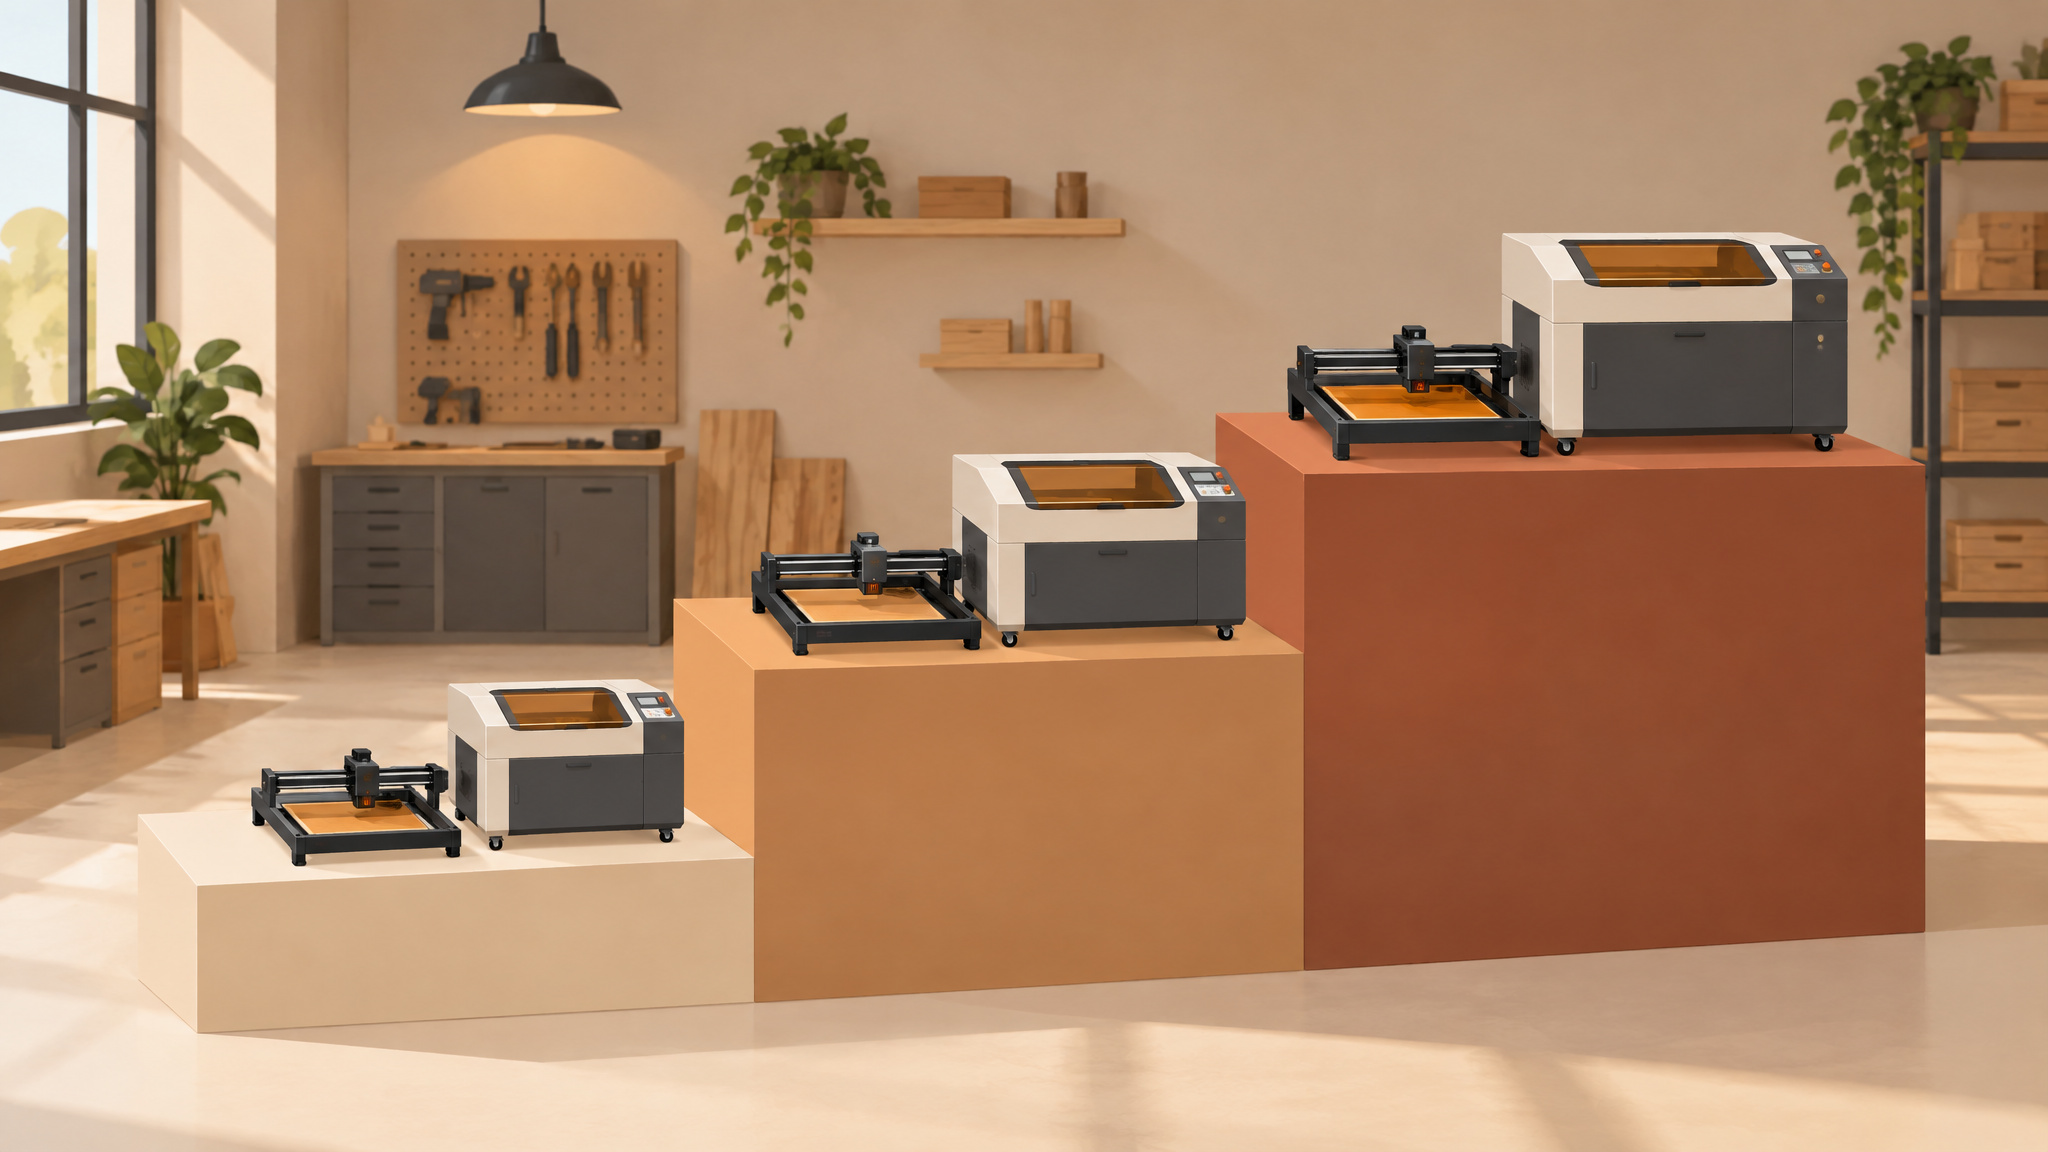
Whether it’s worth the price comes down mostly to time. The layered all-in-one workflow saves enough of it that the one-time cost pays for itself on anyone doing multi-operation projects, while someone engraving simple one-layer jobs occasionally has a weaker case, and free software covers that use fine.
The license tiers map to controller type, not to feature greed. Core, at $100, covers G-Code diode machines, including the Creality Falcon 2 Pro. Pro, at $199, covers DSP-controller machines, typically CO2: Thunderbolt, Aon, and the OMTech units. That’s why the CO2 owner pays more, and it’s also why the CO2 owner gets auto-detection convenience thrown in.
The roughly $60 G-code license and the $100 Core and $199 Pro tiers are all one-time costs on the same license ladder. Prices may vary.
| Tier | Price | Controller type | Example machines |
|---|---|---|---|
| Core | $100 | G-Code / diode (grbl) | Creality Falcon 2 Pro |
| Pro | $199 | DSP (Ruida), typically CO2 | OMTech Pronto 60W, Thunderbolt, Aon |
Galvo fiber support was added somewhat recently and doesn’t slot into the two tiers above the same way, so check the current licensing before assuming where a fiber machine lands.
One raised eyebrow before treating any of this as gospel: the “widely considered superior” reputation rests mostly on promotional and tutorial sources, and no independent negative reviews turned up in this material. That doesn’t make it wrong, but it does mean the strongest evidence here is a capability comparison, not a verdict.
LaserGRBL vs LightBurn: the actual ceiling of free
LightBurn is the better pick if you’re running multi-operation jobs; LaserGRBL is enough for simple, single-layer work on Windows. LaserGRBL is 100% free and open-source but Windows-only, and it gives you one speed and one power level per job; LightBurn is paid, runs on all three major platforms, and executes layered multi-operation jobs, with time savings as the justification for the price. LightBurn’s color-coded layers let it run engraving, shading, and cutting in a single button press, honestly kind of elegant compared to LaserGRBL’s one-layer-per-run ceiling.
What the ceiling actually looks like
LaserGRBL is a great repo find: free, open-source, and good at what it does. What it does is control and stream jobs. Design happens elsewhere, with Inkscape as the named companion, and framing is manual, backed by a small set of basic custom buttons. The hard limit is one speed and one power per job, one layer per run.
Lightly engrave an image, deeply engrave text, then cut the shape? That three-operation job is inexpressible as a single LaserGRBL file. It’s two files, manually aligned, loaded separately. So: LaserGRBL for a strict $0 budget, straightforward image engravings, and importing finished designs; LightBurn for time savings, multi-step projects, helper tools, and native Mac/Linux.
The free Mac question
Flatly: no free native Mac option exists in this evidence, and LightBurn is the main cross-platform choice. Getting LaserGRBL onto a Mac or Linux box means WINE or an emulator, which is the tax on free, not a tragedy.
xTool Creative Space: when the bundled software wins
On the xTool P2, the free bundled xTool Creative Space offers 300 material profiles, material test arrays, and generative AI art tools that LightBurn lacks, so for that machine the bundled program wins on features, full stop. XCS is free software from xTool, and the P2 is a CO2 laser cutter that works with every acrylic color, wood, leather, slate, coated metals, and glass. LightBurn can control the P2, but users give up many XCS features by switching; both facts are true at once, which is why the “best” answer flips depending on which machine sits on your bench. Many of the features XCS includes free are paid options inside GlowForge’s browser-based tools.
The practical tradeoff of browser tools is the cloud dependency, and whether that matters depends on how you work, a tradeoff overclock3d.net also weighs for these bundled suites. As for the claimed one-pass cuts of up to 20mm acrylic, 6mm leather, and 18mm walnut, those are vendor specs, not independently verified, the same caution applies when comparing machines in a portable laser engraver comparison. File them under “impressive if true,” and if wattage versus settings is your real question, our wattage guide for cutting wood sorts out machine limits from tuning problems.
Where speed, power, and DPI settings actually live in LightBurn
In control software like LightBurn, feeds, speeds, and power are assigned per operation through the layer system, and the Cuts and Layers window is the surface where those settings physically live.
Layers are settings containers, not Photoshop stacks
This is the misunderstanding that sends beginners hunting. A LightBurn layer doesn’t stack visuals; it’s a container that assigns feeds, speeds, and fill mode, and the layers execute top to bottom in the Cuts and Layers window. Reordering is a drag: move the fill layer above the cut layer. The outermost cut runs last so parts don’t shift mid-job, which is the why behind the rule. Text needs its own color layer or it gets cut out instead of engraved, and the welded setting should be on by default so overlapping script letters don’t produce slow engraves and stray cut lines.
Starting numbers for wood
Fill mode fills closed shapes; Line mode traces outlines. Basswood is a typical starting material for these test burns, and the default black layer ships as Fill at 30,000 mm/min and 30% power. Real worked numbers follow, and they’re machine-specific starting points rather than universal presets: a first keychain project, a 100 x 50 mm rectangle with a 5 mm key-ring circle, on a 10W Orchard laser Master 3 in 5mm wood, cut at 300 mm/min and 100% power with text engraved at 15,000 mm/min and 100%, absolute coordinates mode, framed first, whole job a couple of minutes. A 3mm birch plywood demo ran 600 mm/min at 50% power with 10,000 mm/min engraving. The speed-versus-power interaction gets full treatment in our laser settings for wood guide.
Field note: Treat the keychain and plywood numbers as starting points, not presets — every machine and material pair needs its own test burn.
Air assist, per layer
Air assist toggles per layer: on gives the cleanest cuts, and engraves are often nicer with it off. Excessive power at slow speeds causes charring, demonstrated on an oak-veneered MDF score test and on that birch plywood demo when air assist got turned down.
File prep: engraving versus cutting is decided at import
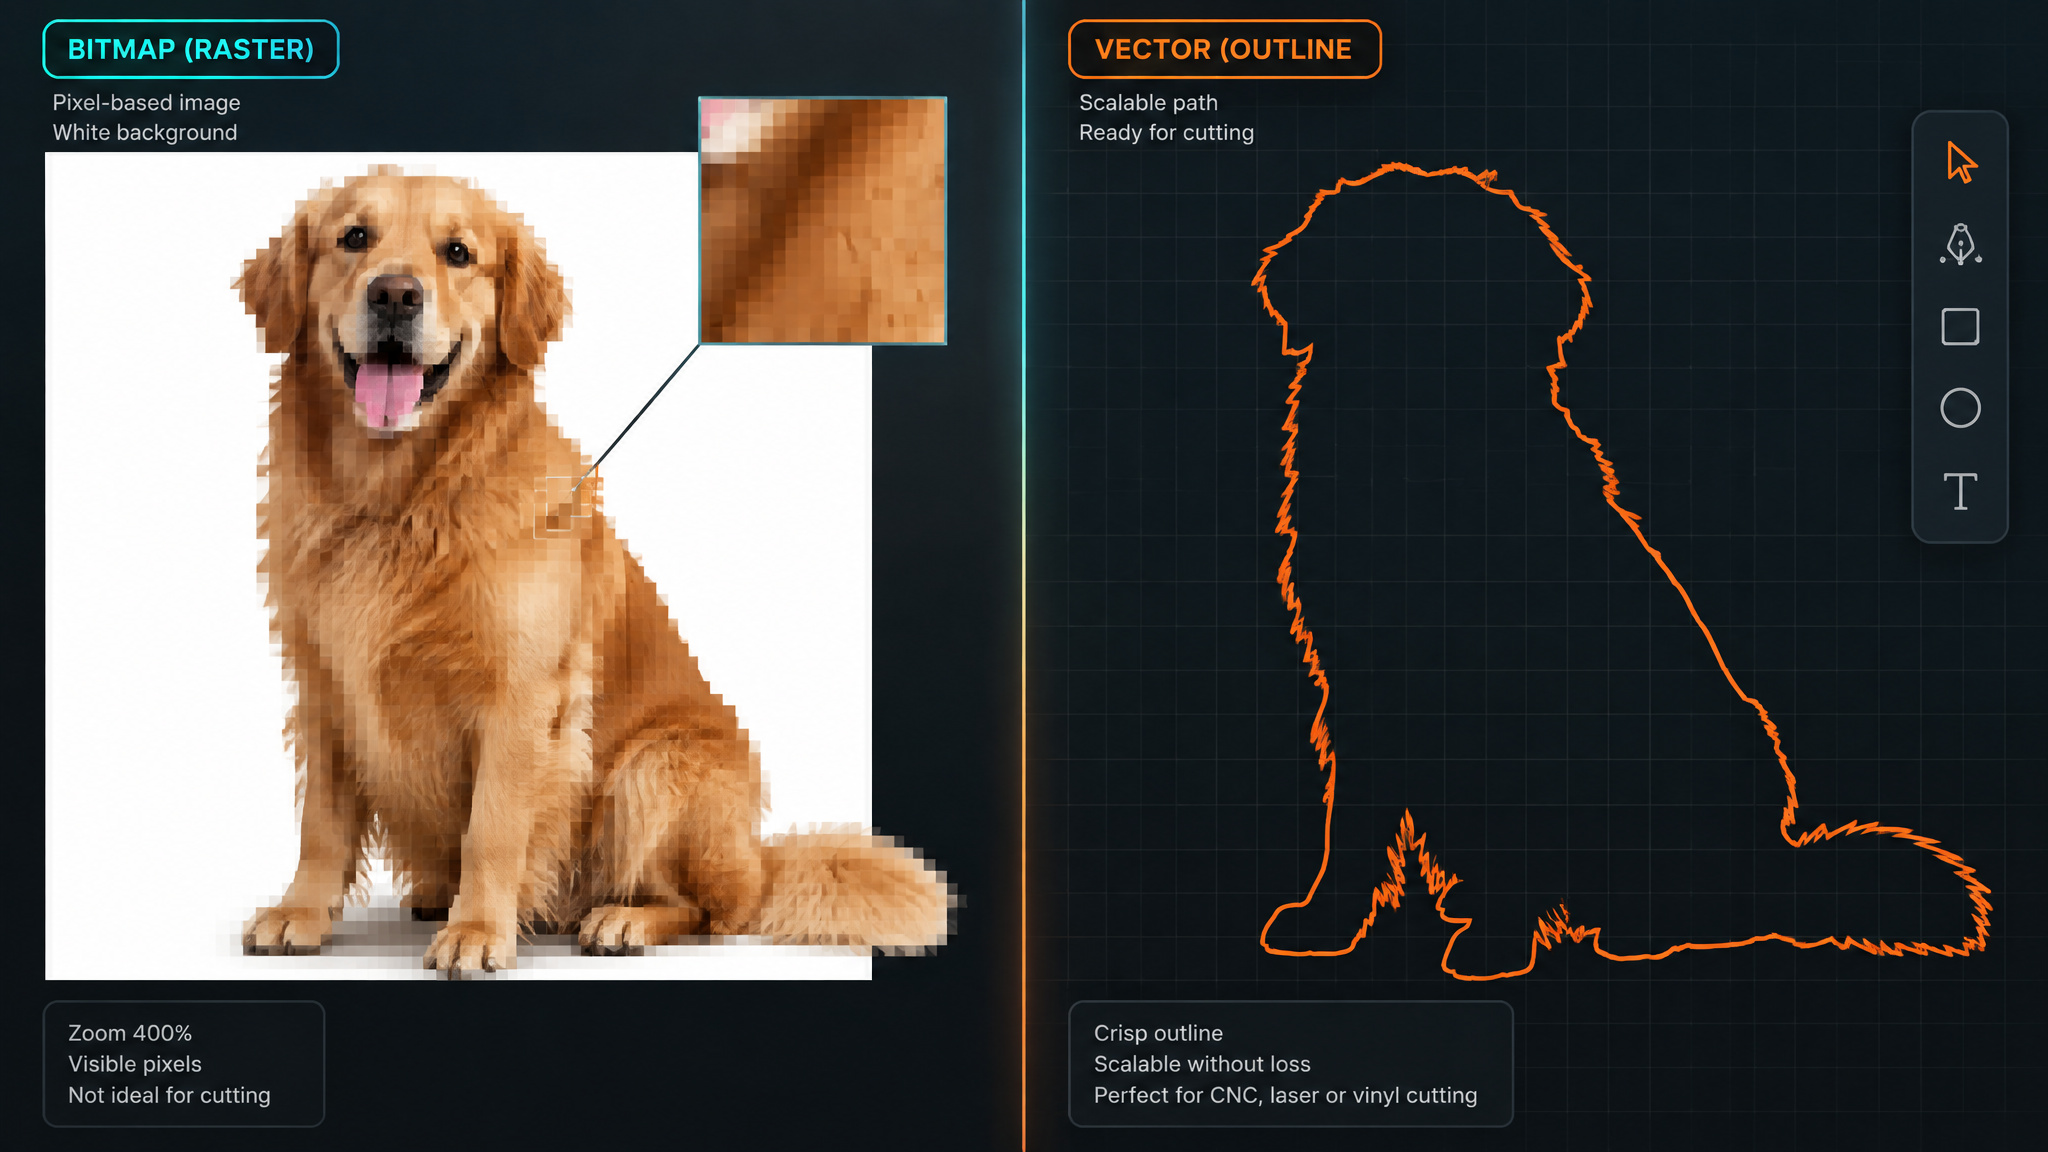
SVG, DXF, Adobe Illustrator (AI format), and PDF import and edit directly and are required for cutting. Bitmaps such as PNG, JPG, and BMP can be engraved but not cut, because cutting needs a vector path, whether from image tracing or original vector art. The engrave-versus-cut decision gets made when the file is prepared, before anything reaches the machine.
Why your PNG won’t cut
White space behind the artwork is the signature of a bitmap, and a bitmap will engrave fine. Cutting it needs a vector, so either trace the image or redraw it. Not a software failure, just how the physics of a cut path works.
SVG gotchas and selection behavior
SVGs are often nested-grouped and need ungrouping before editing; an Aztec calendar SVG was the demo case. Node editing, Boolean operations, welding, and path optimization handle the precision prep. Drag direction matters too: right-drag draws a red box that selects only fully enclosed items, while left-drag draws a green box that selects anything touched. Grouping, alignment controls, and the ruler tool round out layout work.
Real design pipelines
One forum user designs in CorelDRAW 12 and exports AI via X4, since X4 exports up to CS3 format with embedded bitmaps while X2 only manages AI 7.0 with rougher curves. New Corel for Mac was too expensive, so the old versions run in a Windows virtual machine on the Mac, peak home-lab energy, the kind of setup GeekExtreme readers respect. The AI file version affects how cleanly files import into LightBurn. Inkscape is the free external design tool required for the LaserGRBL workflow; another user pairs it with LightBurn alone, though that’s one person’s setup, not a trend.
Photo and image engraving: why results look soft and which settings fix it
- Import the image into LightBurn and pick a mode: grayscale, dithering, or threshold, each with adjustable contrast and brightness.
- For image mode, Jarvis dithering usually gives the best results on diode lasers.
- If the image was dithered outside LightBurn, use the Pass Through setting, or LightBurn resamples the image to output size and DPI and ruins the external dithering.
- Let LightBurn’s built-in dithering do the final dither step, it dithers at output size and offers more flexibility.
- Use overscanning so the laser head moves past the artwork and fires at full speed, preventing lighter or fuzzier engrave edges.
- Test per material rather than following one rule, and tune your laser engraver settings accordingly.
The settings that matter most:
- Images dithered outside LightBurn need the Pass Through setting, or the software resamples them to output size and DPI and wrecks your careful external dithering. The better move is letting LightBurn do the final dither step anyway, since LightBurn’s own dithering operates at output size and gives you more flexibility.
- Overscanning moves the head past the artwork so firing happens at full speed, which is what kills the lighter or fuzzier engrave edges.
- A light final outline pass over an engrave crisps the edge, and vector operations typically run faster than bitmap engraving.
One forum user runs 400 DPI BMPs for light 3D engraving on 1mm and 2mm MDF, 0.3mm cardboard, and 0.5mm Vivak. People have engraved small text on standard HB pencils, and xTool P2 owners have done toothpicks and individual grains of rice. A Mandalorian helmet image converted to grayscale made a solid demo. When results come out unclear or distorted, check calibration, lens alignment, contrast, and parameters; when tracing comes out poor, raise the resolution, pick the appropriate mode, and optimize the paths.
Setup and connection: what actually breaks on first run
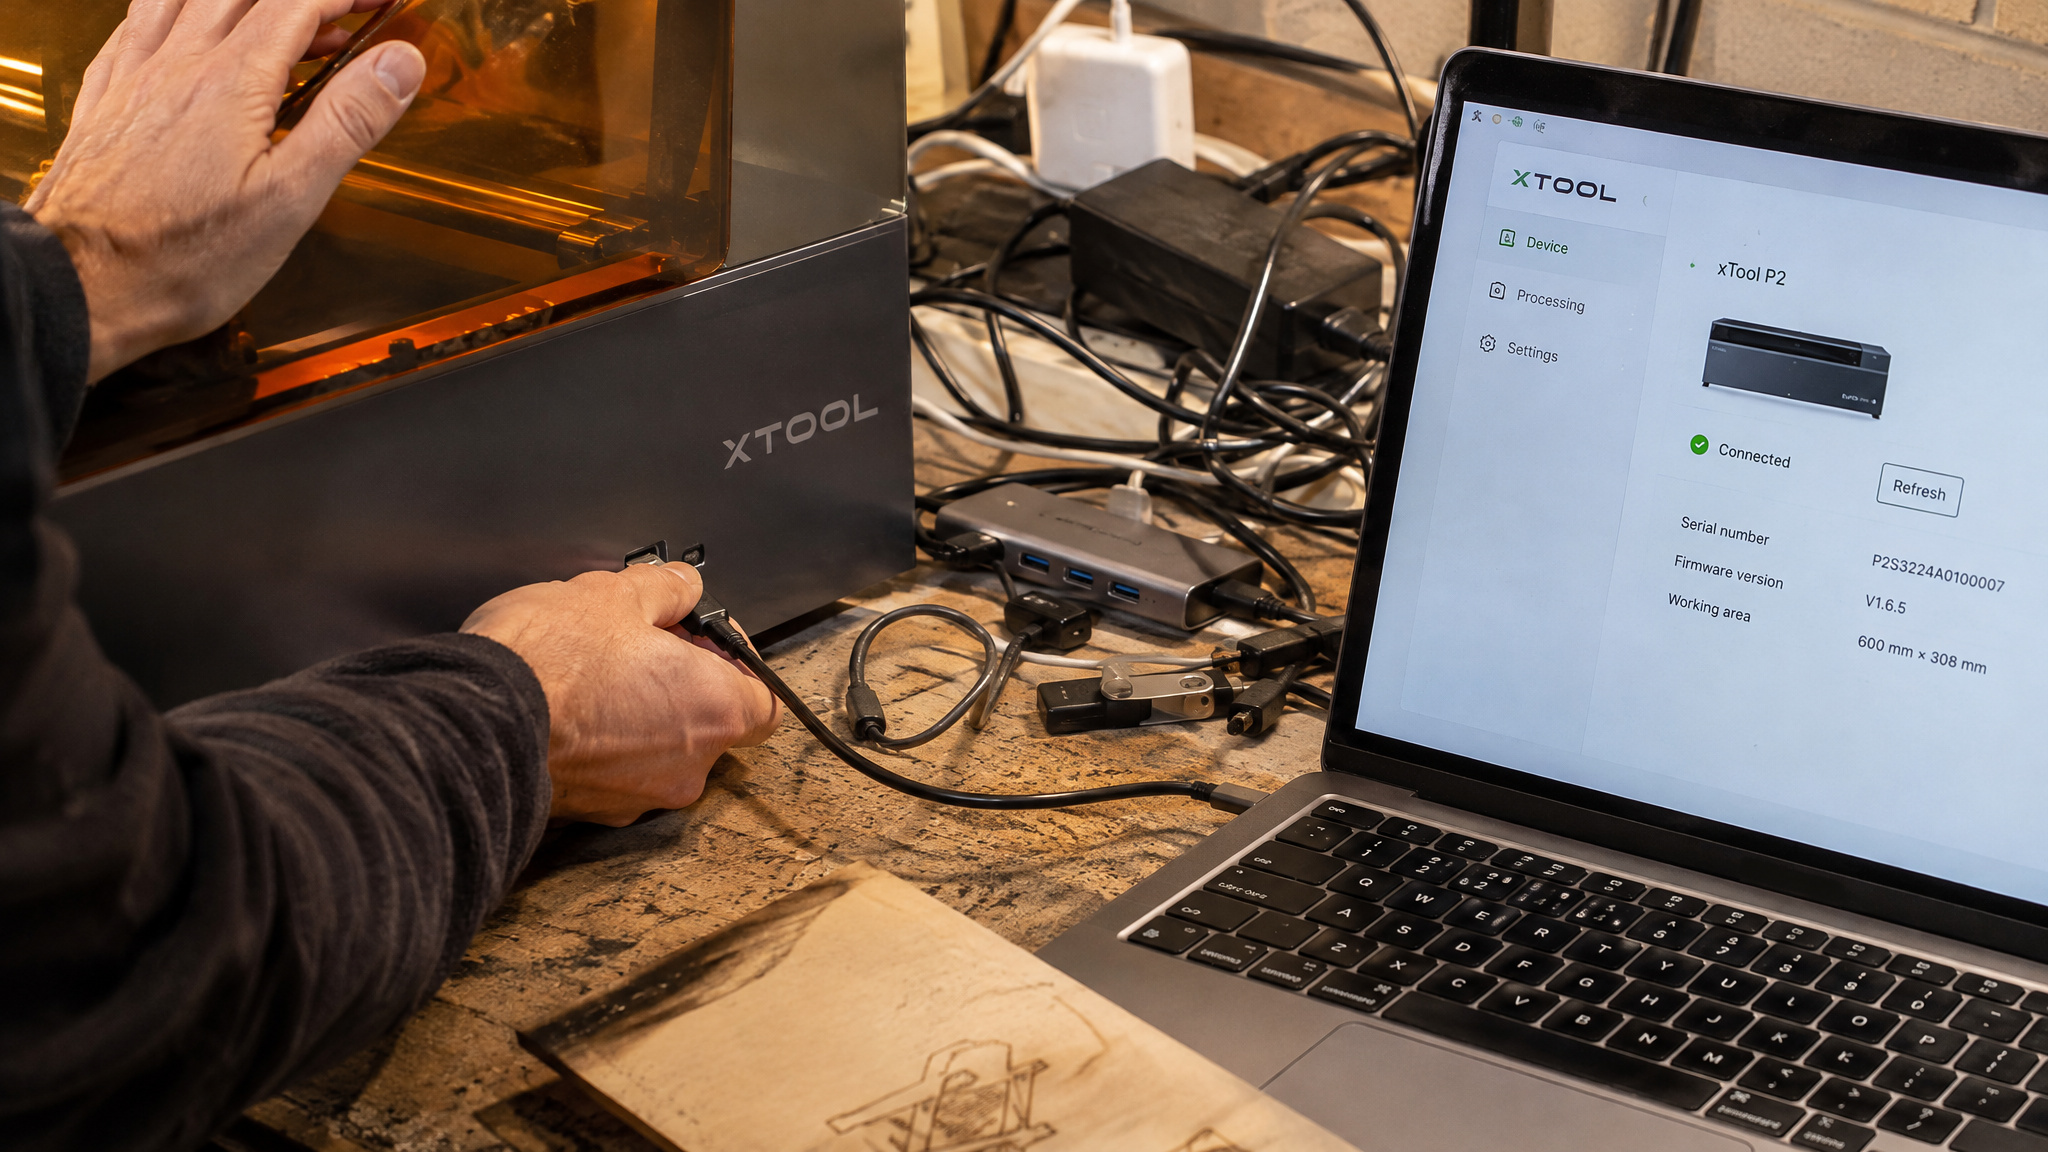
First launch means creating a device profile with the machine powered on and connected via USB, and the two most common first-run failures are a missed FTDI driver checkbox on Windows and failed auto-detection on G-Code machines, not a broken program.
When auto-detect bails
When it works, Find My Laser scans and imports settings from the machine. Some machines need manufacturer drivers first, the Auto Home on Startup feature requires limit switches to be installed, and origin is typically front-left or rear-right per manufacturer. G-Code machines frequently fail auto-detection, so manual setup is the norm: grbl, serial USB, a name, a work area, an origin.
The OMTech Pronto 60W, condensed
CO2 lasers don’t always auto-detect over USB, which is why the manual path exists:
- Devices > Create Manually
- Controller: Ruida
- Connection: Serial/USB
- Name it
- Work area: 700mm X, 500mm Y
- Origin: Rear Right, typical for OMTech Ruida machines
- Finish; status should flip from Disconnected to Ready.
Dongles, ports, and panel recovery
The Windows installer’s FTDI serial driver checkbox silently enables PC-to-controller communication, so don’t skim past it. An older MacBook Pro M1 needed a USB-C to USB-A adapter, and cable-adapter combos can be faulty, the dongle strikes again. Connection trouble responds to the boring fixes: restart machine and software, swap cables, adapters, and ports, and avoid debug or Bluetooth incoming ports in favor of one with an actual name. If panels wander off, Window > Reset to Default Layout restores them, and the Console panel shows connection status and the commands being sent.
Jog distance adjusts in mm (10 mm is a common example), default jog speeds run low and are worth raising, with the demo machine maxing near 24,000 mm/min and mm/min suiting slower diodes. The laser fire button is a diode-specific setting, usually off by default for safety, since diodes lack the red pointer dot CO2 machines use for framing alignment.
Pre-flight discipline: positioning, framing, and preview before you burn
Incomplete cuts are fixed by increasing power, lowering speed, and correcting focus; charred or fuzzy results trace back to excessive power at slow speeds, the air assist state, and missing overscanning, all software settings. The pre-flight below is what prevents the wasted material in the first place.
Start-from modes
Three positioning modes control where jobs fire: current position, user origin, and absolute coordinates, with absolute treating the artboard as the work area. Saved origins support jigs for repeat work. Current position is the tutorial presenter’s most-used mode, that presenter’s habit, not a decree. Positioning work on the material is reportedly the second most common problem after machine connection, per instructor experience.
Frame before you burn
Framing previews the job bounds before burning. Hold Shift for “laser on when framing” and you get the exact firing area, with framing power capped at 20% and 5% recommended on a 60W laser.
Preview, then run
Always check the Preview window before running: it simulates current settings, shows line tracing, and includes a time readout for optimizing speed. Measure twice, burn once. Templates storing layer settings save reconfiguration time, layer grouping and priority settings manage multi-operation jobs, and regular project-file backups protect against data loss.
Switching costs: what breaks when you migrate to LightBurn
Migration friction is real even when the upgrade is an improvement. A forum user with almost 10 years on Laserworks, cutting HO-scale (1/87) model-train kits, found LightBurn more advanced and friendlier but behaviorally different. Two documented quirks from that trial: a bitmap may engrave twice even at one pass, with duplicate stacked objects or a layer set to scan twice as the staff diagnosis (removing the top object or checking the scan setting are the fixes; one report suspected a file overwrite to the Ruida controller), and LightBurn treated inner-to-outer cut order differently than Laserworks for extra cut-lines inside contours, since lines touching a shape’s sides weren’t detected as inside it. A fix was scheduled for 0.9.15, with layer priority as the workaround in the meantime.
Galvo and fiber machines: calibration depth as a selection criterion
Galvo calibration keeps the beam focused accurately across the scanning area, preventing distortion from misalignment, and the F-Theta lens ensures uniform focus across the entire working area. The precision decision is grid granularity: 9-point calibration, a 3×3 grid, suits moderate-precision tasks, while 25-point, a 5×5 grid, delivers higher accuracy; more points, more precision, and more test time. LightBurn works with the em-smart Nova, Basic, and Mopa fiber engravers via USB or network, a pairing the vendor positions for home users, small studios, and independent creators. For this segment, weight calibration depth in the software choice, not design tools, a criterion most diode-focused comparisons never mention.
Which program for which user: the decision framework
Free software, meaning LaserGRBL, is enough when the budget is a hard $0, the jobs are simple single-layer engravings, and you’re on Windows; the upgrade to LightBurn pays off for multi-step layered projects, Mac or Linux, and helper tools like material libraries, with the 30-day fully featured trial as the honest way to test that before paying anything.
What the community evidence actually is
If you came hunting the Reddit-shaped answer, know what the base is: a LightBurn forum thread and vendor-adjacent comparisons. The sentiment may well hold, but treating it as independent peer validation needs supplementation beyond this article’s sources. The support ecosystem is a legitimate selection factor regardless: official LightBurn forums, an official YouTube tutorial series that runs beginner to advanced, and Make or Break Shop for beginner tutorials and reviews.
The scenario map
- Strict $0, simple single-layer jobs, Windows: LaserGRBL, with Inkscape as the design half.
- Multi-layer projects, Mac or Linux, time savings, material libraries: LightBurn, tried first through the fully featured 30-day trial.
- xTool owners: XCS first, LightBurn as a complement.
- Fiber and galvo users: weight calibration depth over design tools.
Frequently Asked Questions
Is LightBurn worth the price compared to free laser engraving software?
For multi-operation projects, yes — the layered workflow saves enough time that the one-time cost pays for itself. If you only do simple one-layer engravings occasionally, free software like LaserGRBL covers that use just fine. The fully featured 30-day trial with no watermarks is the zero-risk way to test the fit before spending anything.
Is a laser engraving business a good idea?
The software decision matters more than people expect: free tools like LaserGRBL cap you at one speed and one power per job, which makes multi-step products slow to produce, while LightBurn’s layered workflow handles engraving, shading, and cutting in one button press. If you’re doing production work, that time savings is exactly what justifies the paid license. Start with the 30-day fully featured trial to see whether the workflow fits your product line before paying.
Is xTool Creative Space better than LightBurn for xTool laser engravers?
For the xTool P2, the free bundled XCS wins on features, full stop: 300 material profiles, material test arrays, and generative AI art tools that LightBurn lacks. LightBurn can control the P2, but you give up many XCS features by switching. The recommended path for xTool owners is XCS first, LightBurn as a complement.
Why won’t my PNG cut on my laser engraver?
Cutting requires a vector path, and PNG, JPG, and BMP are bitmaps — they’ll engrave fine but can’t be cut. The tell is white space behind the artwork, the signature of a bitmap. Either trace the image or redraw it as vector art; it’s not a software failure, just how cut paths work.
Where do speed and power settings live in LightBurn?
In the Cuts and Layers window — layers are settings containers, not Photoshop-style stacks. Each color-coded layer assigns feeds, speeds, and fill mode, and layers execute top to bottom, so move the fill layer above the cut layer so the outermost cut runs last and parts don’t shift mid-job. The default black layer ships as Fill mode at 30,000 mm/min and 30% power.
