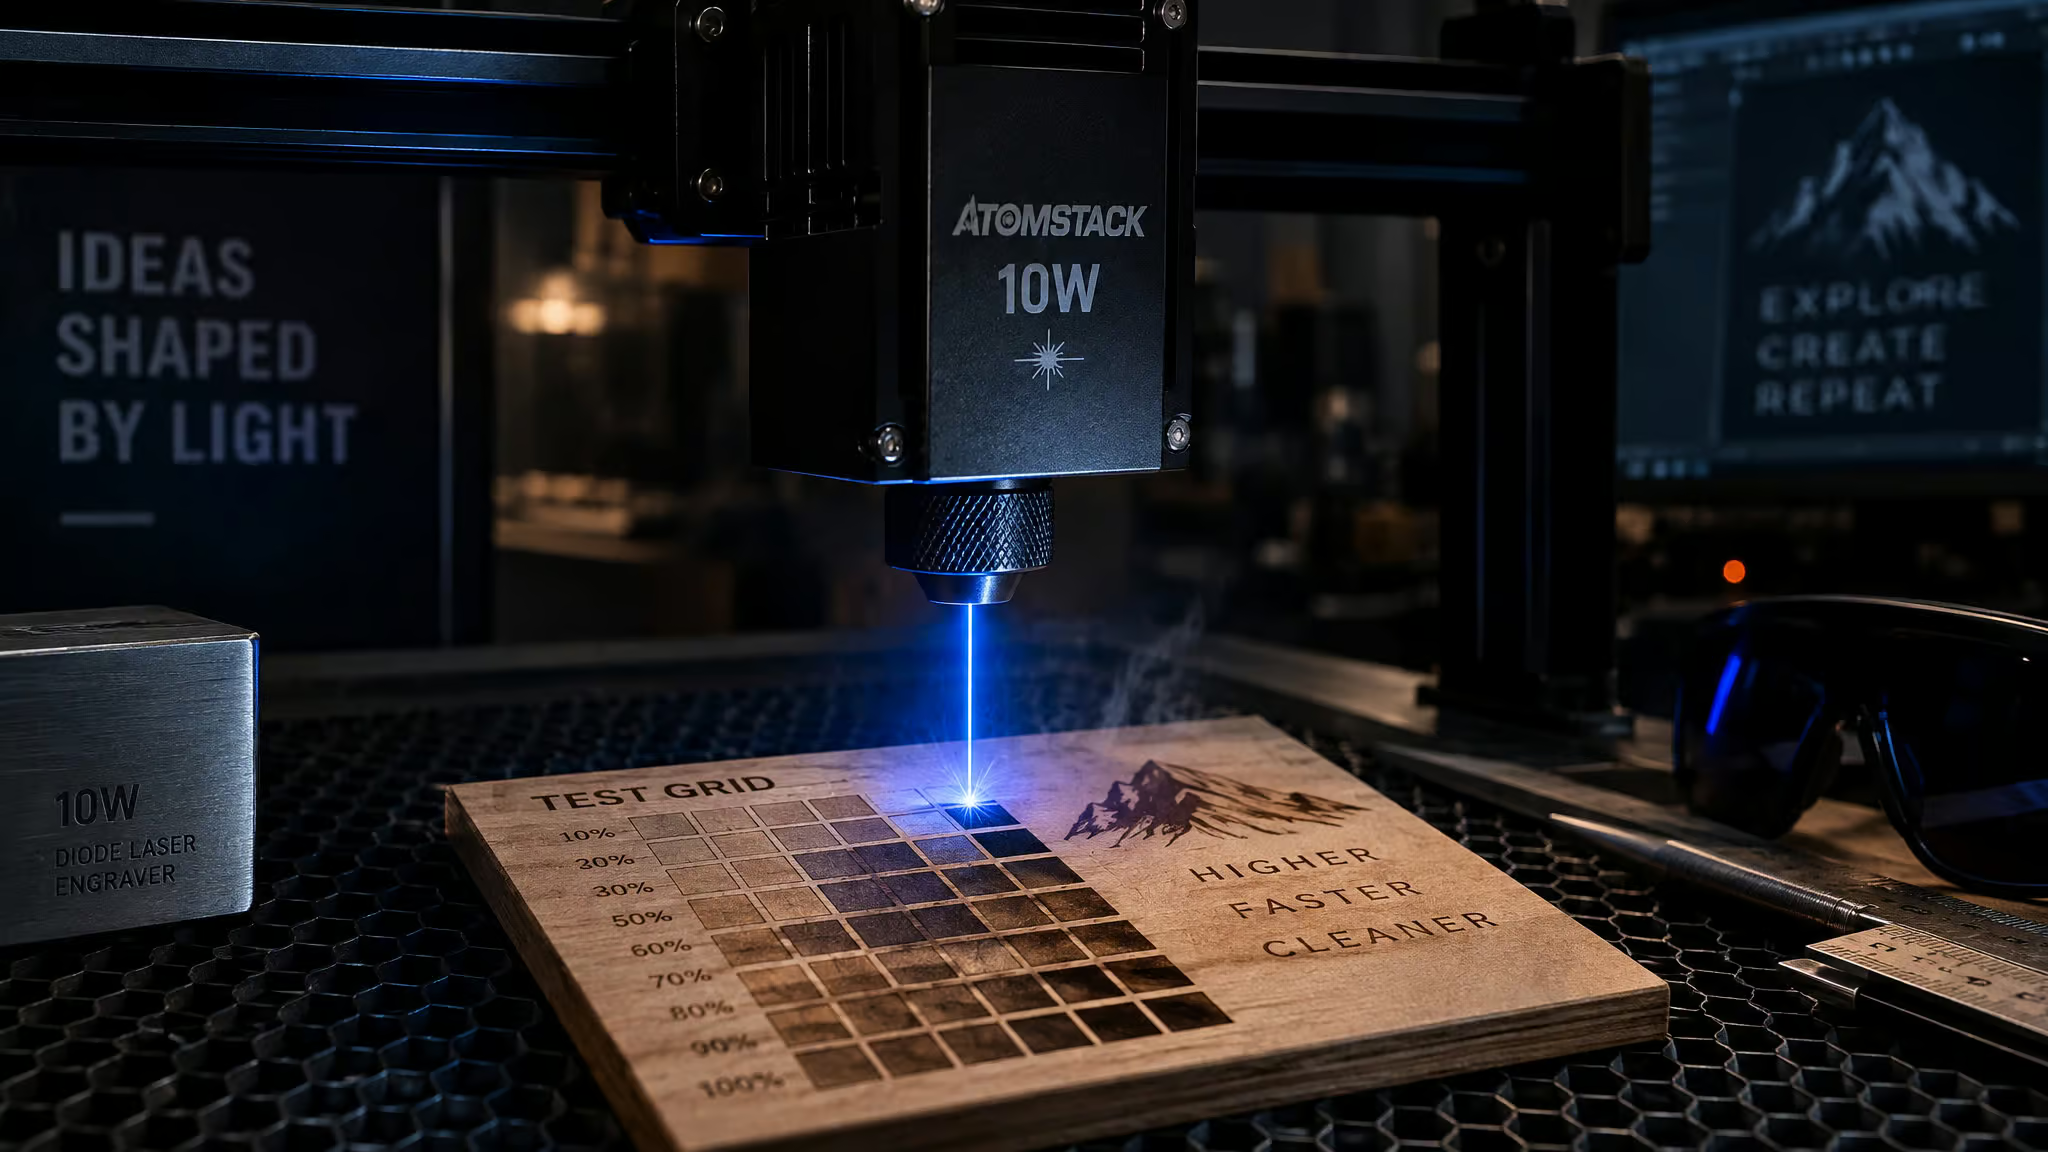
You just unboxed a 10W diode laser, typed “settings for 10W laser engraver” into a search bar, and got back a wall of numbers written for 5W machines and CO2 conventions. I know exactly that moment, because it’s documented everywhere once you know where to look. An AtomStack S10 10W owner found that the SD card bundled with the machine shipped a materials list covering only 5W diodes, searched everywhere for 10W starting points, and came up empty enough to plan an email to the manufacturer. A forum user named Phil went looking for settings for 4mm balsawood on a 10W diode and found nothing at all. That’s the gap this article fills: tested starting numbers per material, an explanation of why wattage changes them, and the test-grid method that turns starting numbers into settings that actually work on your machine.
Key Takeaways
A 10W diode cuts roughly 3-5mm plywood and acrylic with multiple passes, handles quarter-inch plywood cleanly, and can’t cut metal or clear acrylic.
Copied settings fail because 10W modules are new enough that vendor docs lag, and because CO2-oriented tools use mm/s while diode settings in LightBurn belong in mm/min.
The settings table is only the starting hypothesis; a 4×4 or 5×5 test grid burned on scrap from the exact same board is the real answer.
Table of Contents
Why there’s no official 10W settings list (and why copied settings fail)
The trustworthy references that exist are the table in this article and Snapmaker‘s vendor guide for its 10W High Power Laser Module, which covers 11 materials with recommended Luban settings and sample result images. Beyond that, the pickings are thin, and the reason is simple: 10W modules are new enough that vendor documentation hasn’t caught up. The AtomStack S10’s bundled SD card list is the clearest example, covering only 5W machines while the 10W owner searched in vain.
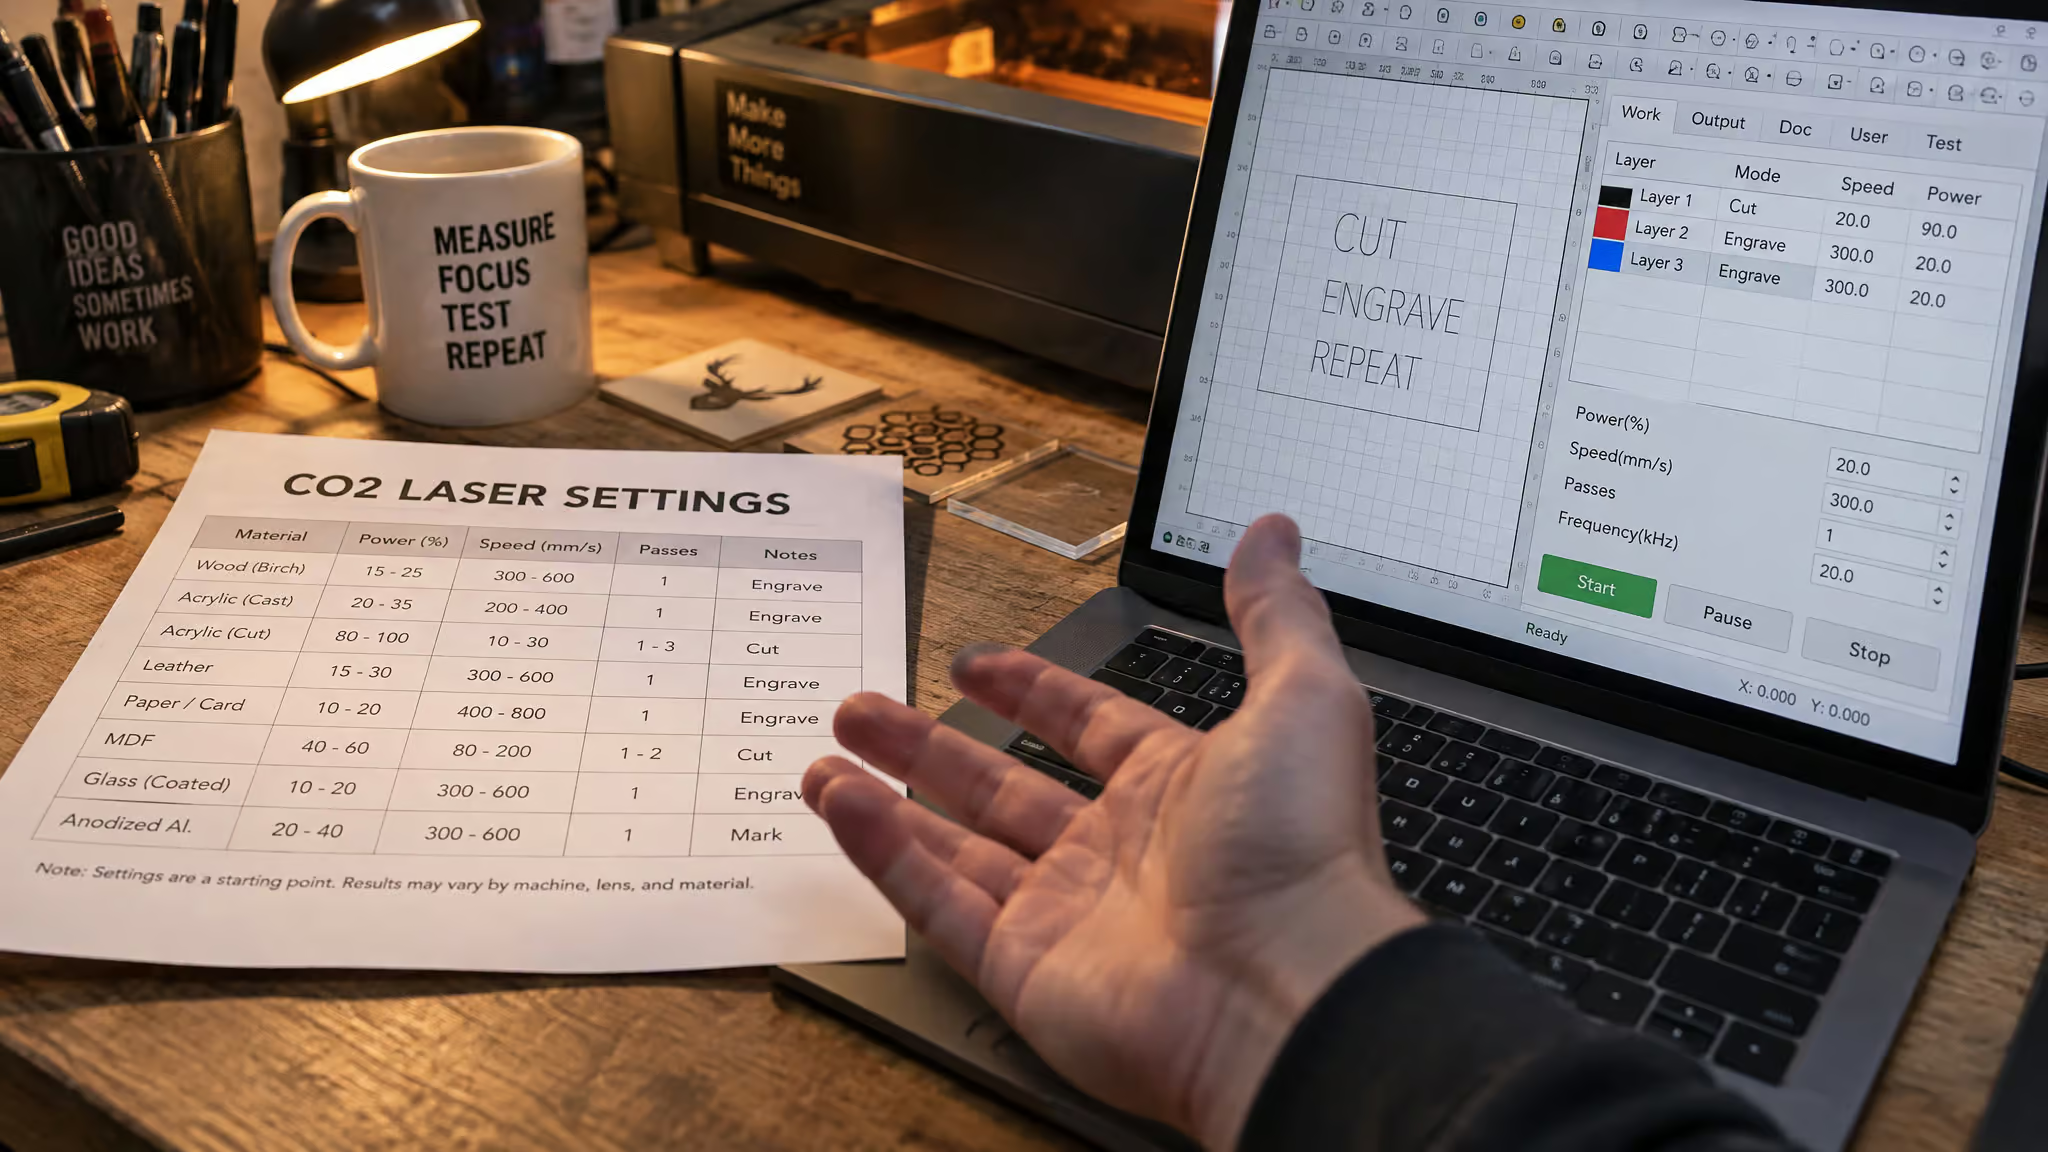
Then there’s the unit trap. Phil grabbed a “BasicPowerScale Tool for LightBurn” that turned out to be CO2-oriented: it used mm/s where LightBurn recommends mm/min for diodes, cited 30000mm/s as a speed, which is not a real useful value for a diode, and his first burn at 100% power barely marked the balsa. The forum thread got smarter from there. CO2 machines run faster, so mm/s keeps their numbers smaller, which is exactly why a CO2-oriented tool spits out speeds that look absurd for a diode.
One more wrinkle: many grbl diode controllers may not execute all the advanced power-scale techniques designed for DSP controllers. Phil’s workaround was the good kind: he recreated PowerScale and engraving test files for 10W diodes and asked the community for working values on leather, jeans cotton, acrylic, paper, and black anodized aluminum. The tool wasn’t broken. It was built for a different machine.
The five core settings and what a bad burn tells you
Yes, you need correct focus and air assist, and they quietly do more work than any slider. Correct focus puts the lens at the distance where the spot is smallest, which means sharper detail and a narrower kerf; focus is where the magic spot actually happens. Air assist blows debris and smoke out of the cut, improving quality and reducing scorch. Skip it on MDF and the material will char on you.
The other three knobs are power, speed, and passes. Power is a percentage of the module’s max output, which is why settings don’t transfer between machines: 50% on a 20W diode is about 10W, but 50% on a 5W is only 2.5W. The two failure modes you’ll hit first are obvious once you’ve seen them. High power at low speed cuts deeper but scorches edges and widens the kerf; low power at high speed leaves faint marks that read as a ghost of a design. Medium power at medium speed is the safe start before you get clever.
And the counterintuitive trick that feels wrong until you see the edges: multiple moderate passes beat one scorched high-power blast, especially on wood and acrylic. The failure symptoms are your cheat sheet: scorched edges mean too hot, faint marks mean too fast, melty acrylic edges mean you need air assist, and smoke stains mean time for masking tape.
Recommended settings for a 10 watt laser engraver, by material
Settings for a 10W diode vary by material, but the typical baselines are power percentages and speeds in mm/min. Here’s the 10W-only starting table, the one the bundled SD cards should have shipped with:
| Material | Engrave | Cut |
|---|---|---|
| Wood, 3mm ply | 30-50% @ 3000-5000 mm/min | 90-100% @ ~600, 2-3 passes, air assist |
| Opaque acrylic, 3mm | 40-60% @ ~3000 | 100% @ ~400, 3-4 passes |
| Leather, 2-3mm | 15-30% @ 4000-6000 | 80-100% @ ~600, 2 passes |
| Paper/cardboard | 5-10% @ 6000-9000 | 15-25% @ ~4000, 1 pass |
| Anodized/coated metal | mark 10-15% @ 4000-5000 | marking only |
For context on how wattage shifts the numbers, the same chart’s parallel columns put a 5W machine at 100% @ ~300 mm/min in 3-4 passes to cut 3mm ply, and a 20W at 80-100% @ ~1000 mm/min in 1-2 passes. So a 20W cuts the same plywood roughly 40% faster in speed terms and needs fewer passes, though it’s not a measured benchmark, just the chart’s starting values side by side.
A few per-material notes worth their own lines:
Wood. Plywood glue content varies by brand, so the same settings that cut one board cleanly may scorch another. Masking tape over the surface reduces scorch, and you peel it off after. MDF chars easily, so lean on air assist and more, lighter passes.
Acrylic. Air assist is the specific fix for melty edges here. And note the table says opaque acrylic for a reason covered below.
Leather. Leather wants lower power and faster speed than wood to avoid scorching. Ventilate well, and know that some hides darken unpredictably. Leather keeps secrets until you burn it, so test on scrap first.
Paper and cardboard. Look at those power numbers: 5-10% for engraving. Paper is highly flammable. Never leave it unattended, and keep a spray bottle nearby. That one isn’t a joke.
Metal. This is surface marking of the coating only. Bare aluminum won’t mark without a coating, and nothing in this table cuts metal.
Every value here is a starting point that varies by machine, optics cleanliness, glue content, and brand. Treat the table as the hypothesis and the test grid in a bit as the experiment. If you want a printable reference, this chart is the one to keep, and it pairs well with our deeper guide to laser cutter settings for the cutting-versus-engraving distinctions, as does a complete guide to laser engraver settings that works through how power, speed, frequency, passes, and focus interact by material and machine type.
What a 10W diode laser can and cannot cut
A 10W diode laser cuts roughly 3-5mm plywood and acrylic with multiple passes and handles quarter-inch plywood cleanly. It can’t cut metal, and it can’t reliably cut clear acrylic. Those two boundaries explain most of the frustration people have with these machines.
The capability ladder looks like this. A 5W diode engraves wood, leather, and paper and lightly cuts about 2-3mm of soft wood with multiple passes. Your 10W is the balanced tier: moderate cutting plus solid engraving. A 20W+ module cuts up to about 8-10mm of wood with passes and engraves faster at lower power percentages. Same tuning logic at every tier, just more headroom.
The acrylic color gradient is the detail the commodity articles miss, and it’s genuinely interesting physics. Dark cast acrylic cuts well. Opaque white is difficult. Clear and translucent acrylic is unreliable to cut, because the diode’s ~455nm wavelength passes straight through it. The beam isn’t too weak; it’s the wrong color, literally.
Most of the photon energy sails through the clear material instead of being absorbed, which is why your 100% power run left the acrylic untouched and your patience gone. If you’ve been there, welcome; it’s a rite of passage. The workaround is a maker-hack classic: paint or blacken the surface and engrave only.
Metal is the other boundary. Diodes can’t cut metal and can’t engrave bare metal, full stop. What works is marking coatings, paint, or anodization, which is why the settings table has a marking-only row. If you really need metal engraving, the escape hatch is an add-on infrared module; the xTool S1 infrared module option is the documented example.
And to answer the wattage question that comes up here: wattage isn’t the issue with metal. Wavelength is. A 10W diode marks coatings fine, but engraving metal itself needs infrared light the metal actually absorbs.
Worth knowing what’s under the hood: these modules combine individual diodes capped around 5-6W each via mirrors, producing that ~455nm visible blue beam that looks like a tiny lightsaber. One genuine advantage falls out of the optics when comparing diode and CO2 laser engravers: the diode’s spot is smaller than a CO2’s, which gives better photo engraving detail.
Is 10W the right power? The 10W vs 5W vs 20W tradeoff
Yes, a 10W laser engraver is good, and for most beginners it’s the right starting power. The case is concrete: it cuts quarter-inch plywood cleanly, it produces better photo engravings than higher-power modules because of the smaller spot size, and it costs hundreds less than a 40W machine. The 20W comparison comes straight from the chart’s parallel columns: 3mm ply cuts at ~600 mm/min in 2-3 passes on a 10W versus ~1000 mm/min in 1-2 passes on a 20W, derived from starting-point values rather than a measured benchmark. Here’s the contrarian beat worth internalizing: the “bigger laser” reflex is wrong for detail work.
One source author deliberately uses a 10W module over an adjacent 40W module just for photo engravings, a choice that makes more sense once you understand how laser engraving works. Higher wattage buys faster engraving at lower percentages, not just thicker cuts.
The test-grid method: dialing in your own 10W machine
A power and speed test grid is a 4×4 or 5×5 matrix of squares, 10-15 total, burned on scrap from the exact same board you’ll cut. That last part is mandatory, not pedantic: plywood glue content varies by brand, so a per-board test is the only test that counts.
- Burn the grid, the 4×4 or 5×5 matrix of speed/power squares, 10-15 total, pick the best square, and keep that tile as your machine’s reference for that material. A tile library is the low-tech version of a settings database, and it saves jobs and material.
- LightBurn’s Materials Test generator does the grid for you, and it’s input-driven and fully configurable: set your units to mm/min for a diode, define the power range, adjust labels and layer type. One honest caveat: a new-user thread raised unanswered questions about the preset block, the ‘ht’ field, axis-centering options, and a missing fire button, so expect a learning curve in that UI.
- A community-planned idea worth watching: a shared DIN A4 layout, 210mm × 300mm, easily rescaled in LightBurn. It was planned, not published, so don’t go hunting for a download yet.
- LightBurn’s material library is a useful cross-reference, though settings still vary machine to machine.
The chart is the starting hypothesis. The grid is the answer.
Troubleshooting weak or inconsistent burns on a 10W laser
Weak or inconsistent burns on a 10W diode laser usually come from dirty optics, shifted focus, material variability, or duty-cycle stress, not from the settings themselves. That’s the pattern I keep seeing in forum threads, and it’s worth walking in order.
Faint marks after previously good results point to dust and resin on the optics, which cut effective power and blur the spot. Your laser is lying to you because the lens is dirty. Sudden inconsistency between jobs suggests the focus shifted a few millimeters after re-clamping, which is enough to visibly hurt cut quality, or plywood glue and moisture variability by brand. And results that degrade over a long session point to duty-cycle stress from running 100% power continuously, which shortens the diode’s life. None of this is a lab-verified protocol, just a common diagnostic pattern, but it’s the one most settings articles skip entirely.
Red flag: Faint marks after previously good results usually mean dirty optics, not bad settings — clean the lens before touching the numbers.
Safety and material cautions for a class 4, 10W machine
Snapmaker’s 10W High Power Laser Module guide covers 11 materials: acrylic, MDF, leather, basswood, cardstock, coated paper, corrugated paper, glass, pinewood, stainless steel, and anodized aluminum, each with recommended Luban settings and sample result images. Treat those settings as a reference and fine-tune per material; Luban’s Material Test feature lets you test anything the guide doesn’t cover. Set a good work origin or add a background before engraving; it’s a two-minute habit that saves a whole workpiece.
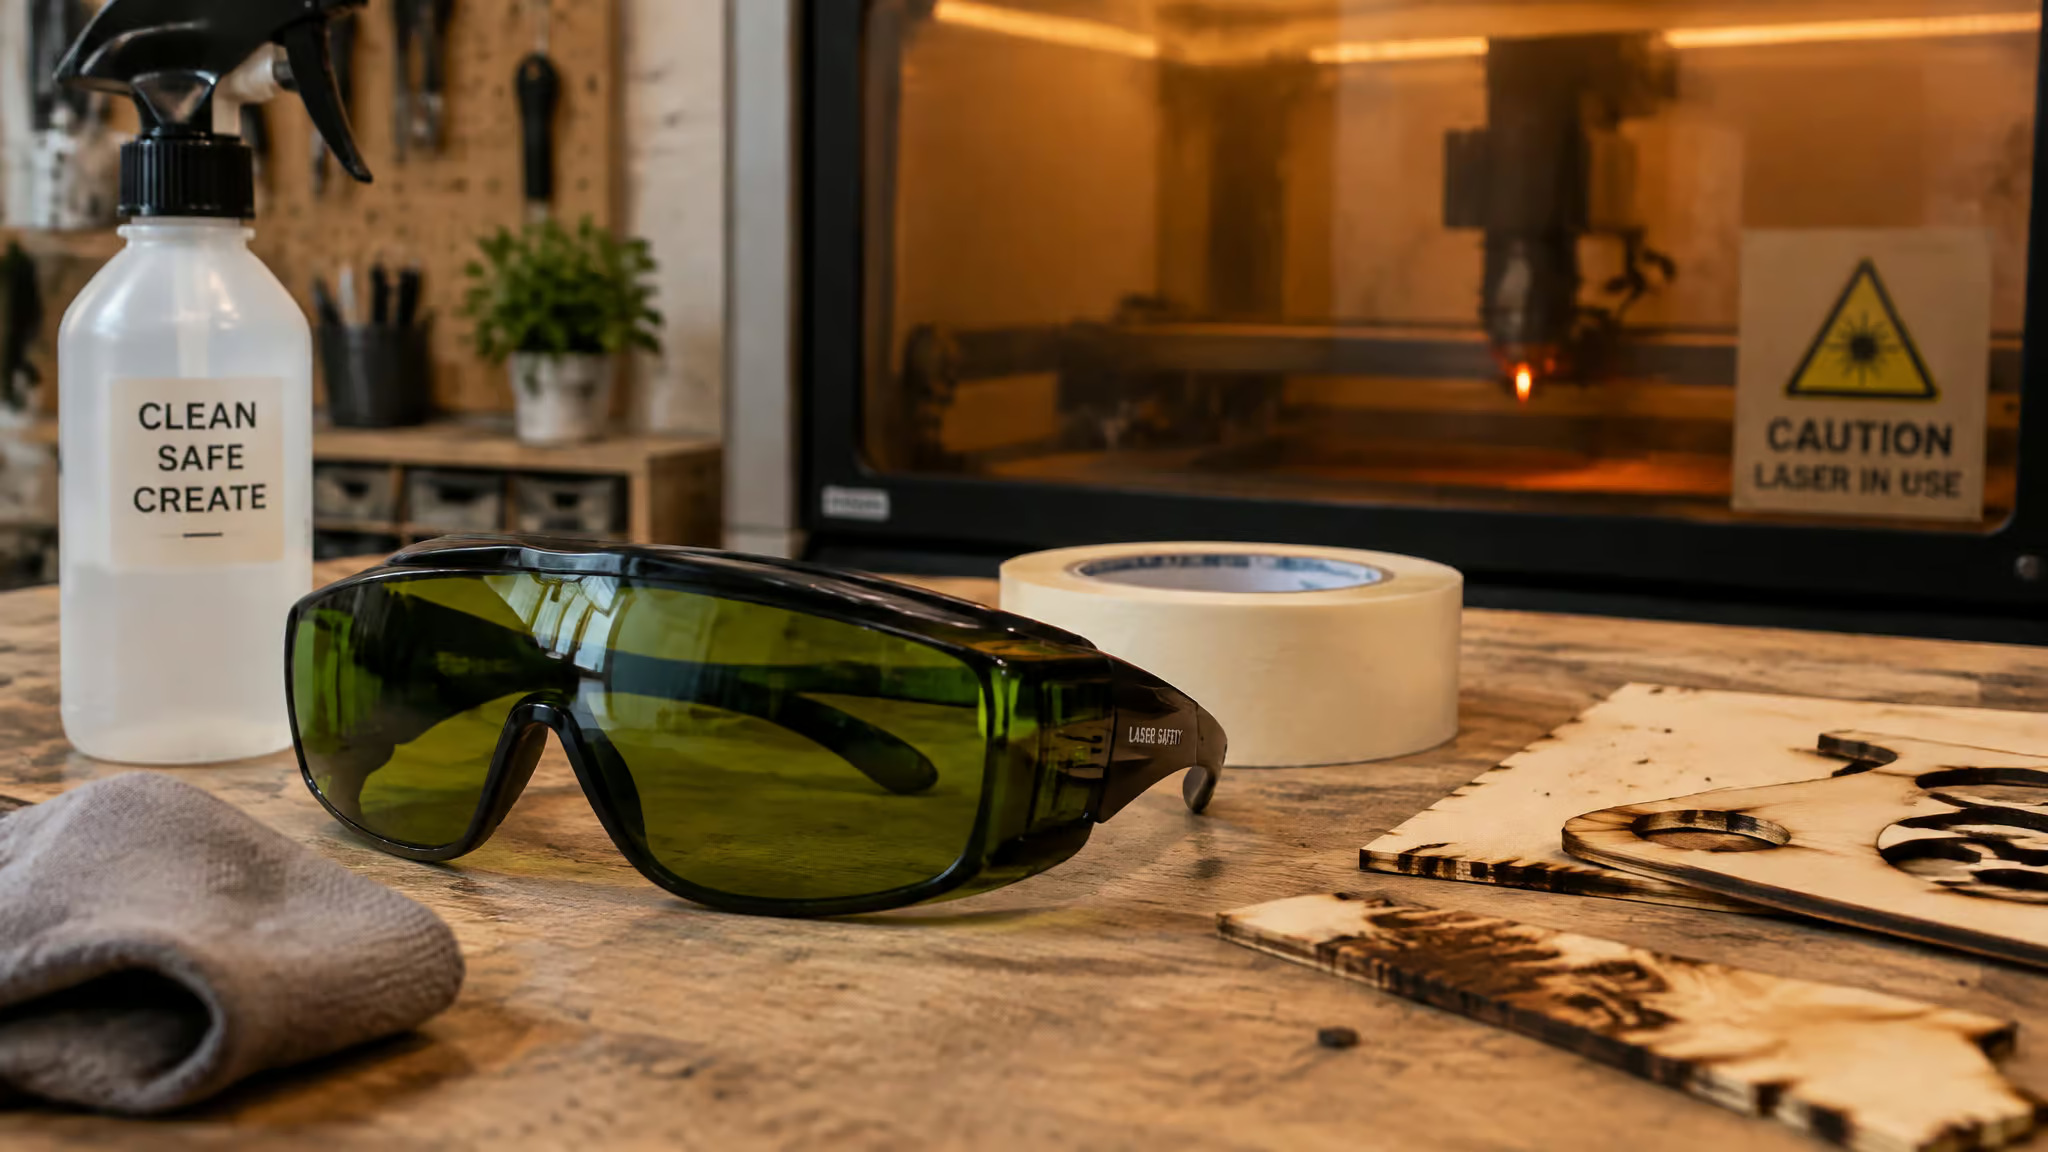
Now the safety block, stated straight. The 10W module is a class 4 laser product, which practically means this thing can hurt you. Snapmaker requires its Enclosure for operation, and the operator and all bystanders must wear Snapmaker Laser Safety Goggles throughout the whole process. Everyone in the room, not just the person driving.
On materials: paper and cardboard are highly flammable, so never leave them unattended and keep a spray bottle nearby. Leather needs strong ventilation and darkens unpredictably. MDF chars easily, so use air assist and more, lighter passes. Masking tape reduces smoke stains on wood, and plywood glue varies by brand.
From chart numbers to a finished piece: the powder-coated tumbler workflow
Powder coating absorbs the beam, not the metal, which is how a diode-class machine produces crisp, permanent engravings popular for custom gifts and small business orders. A rotary attachment is what makes round items like tumblers possible, spinning the piece as the laser fires. The tested parameters: speed 400, power 40%, LPI 423, fill mode, low air assist, with cleanup via LA Awesome or a Magic Eraser. Rotary setup in LightBurn runs through Laser Tools ? Rotary Setup: chuck style, steps per rotation (8200 for a Thunder Nova 35), object diameter, with design width equal to the circumference.
Get started: baseline, then test
Pick your material’s row from the table, burn a test grid on scrap from the same board, and keep the best tile. Once that’s dialed in, you get cleaner results in fewer passes and more time making than troubleshooting. The chart was never the answer; the grid is.
Frequently Asked Questions
How much faster is a 20W laser than a 10W?
For cutting 3mm plywood, a 20W module runs around 80-100% power at ~1000 mm/min in 1-2 passes, versus 90-100% at ~600 mm/min in 2-3 passes on a 10W — roughly 40% faster in speed terms with fewer passes. That’s a comparison of starting-point chart values, not a measured benchmark.
What are the typical settings for a laser engraving machine?
The five core settings are focus, air assist, power, speed, and passes. Focus puts the lens at the distance where the spot is smallest, air assist blows debris and smoke out of the cut, and power/speed/passes control how much energy hits the material and how quickly. For diode lasers in LightBurn, speeds belong in mm/min, not the mm/s used by CO2-oriented tools.
What settings should I use to engrave metal with a 10W diode laser?
You can only mark coatings, paint, or anodization — start around 10-15% power at 4000-5000 mm/min. Bare metal won’t mark at all, because a blue diode’s wavelength isn’t light the metal absorbs; engraving metal itself requires an infrared add-on module. Wattage isn’t the limitation here, wavelength is.
What can a 10W laser cut and how thick can it cut?
Expect roughly 3-5mm plywood and opaque acrylic with multiple passes, and clean cuts through quarter-inch plywood. Dark cast acrylic cuts well, opaque white is difficult, and clear or translucent acrylic is unreliable because the ~455nm beam passes through it — the workaround is painting or blackening the surface and engraving only.
