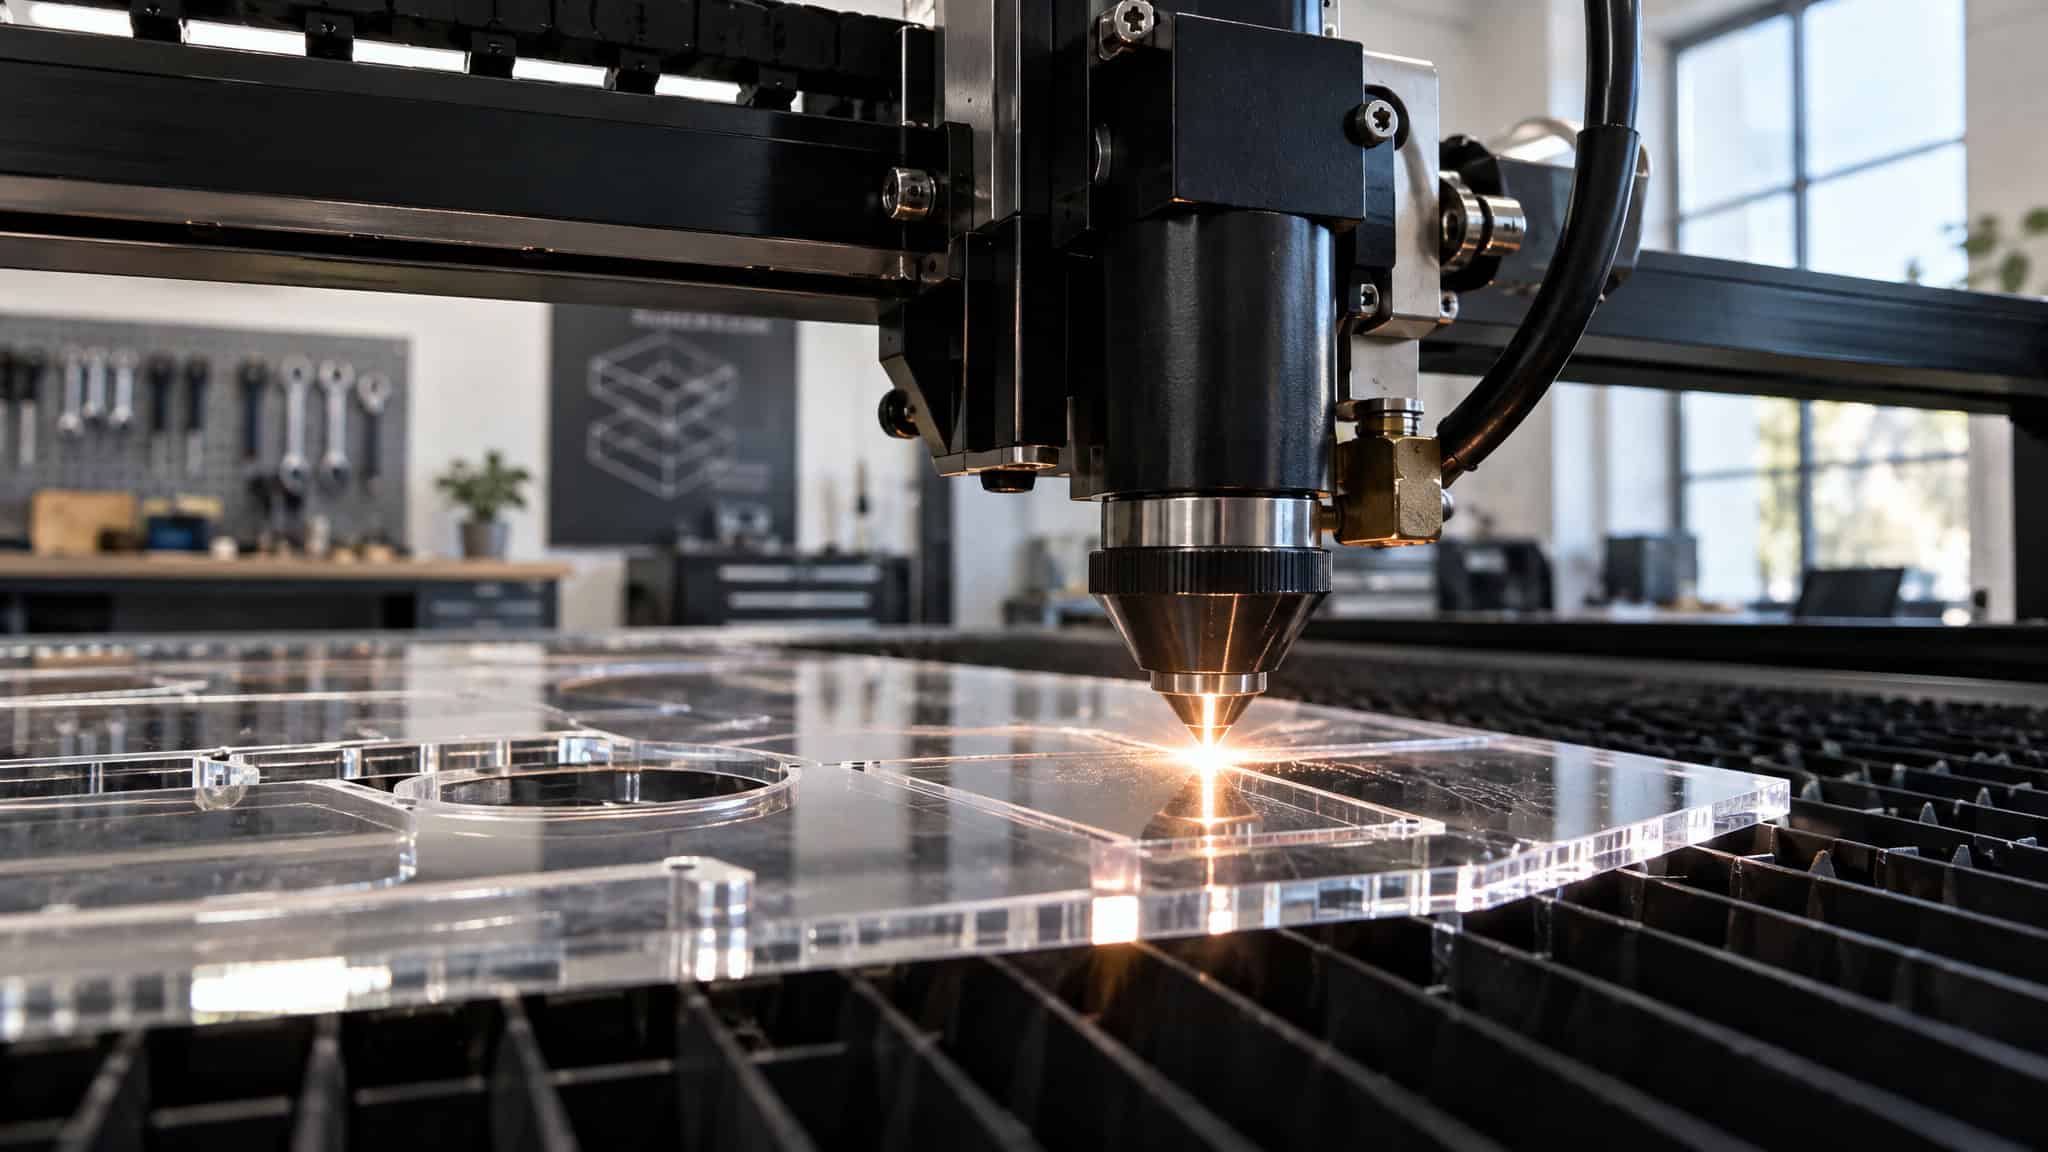
One machine, one sheet of 3mm acrylic, and a search box that keeps handing you settings charts built for someone else’s tube. That’s the loop, and it’s maddening, because the number that cuts clean on one 80W CO2 scorches the same sheet on another. The honest version: no universal chart exists, since wattage, tube health, optics, focus, and even the acrylic batch all differ. What you can have is calibrated starting points and a method for diagnosing your own machine, and that’s what this is.
Key Takeaways
For 3mm acrylic on CO2, start at 60-80% power and 1000-1500 mm/min, with speed scaling from 37mm/s at 60W up to 60mm/s at 130W.
A diode laser can’t reliably cut clear acrylic because 450nm blue light passes straight through it; CO2 is the default for clear and blue stock.
On cast acrylic above 5mm, little or no air assist can produce flame-burnished transparent edges, because full airflow disturbs the self-leveling melt film in the kerf.
Table of Contents
The five parameters that control every laser cut
Every recommended setting you’ll ever see is some combination of five dials: power, speed, passes, focus (focal distance), and air assist. Kerf compensation sits alongside them as a design-side sixth concern, handled in your vector software before the beam ever fires. The thing charts never say out loud is that these aren’t isolated knobs. They’re one interlocking tradeoff system, and every “recommended number” is just a point someone picked on a curve of speed versus edge quality versus machine wear.
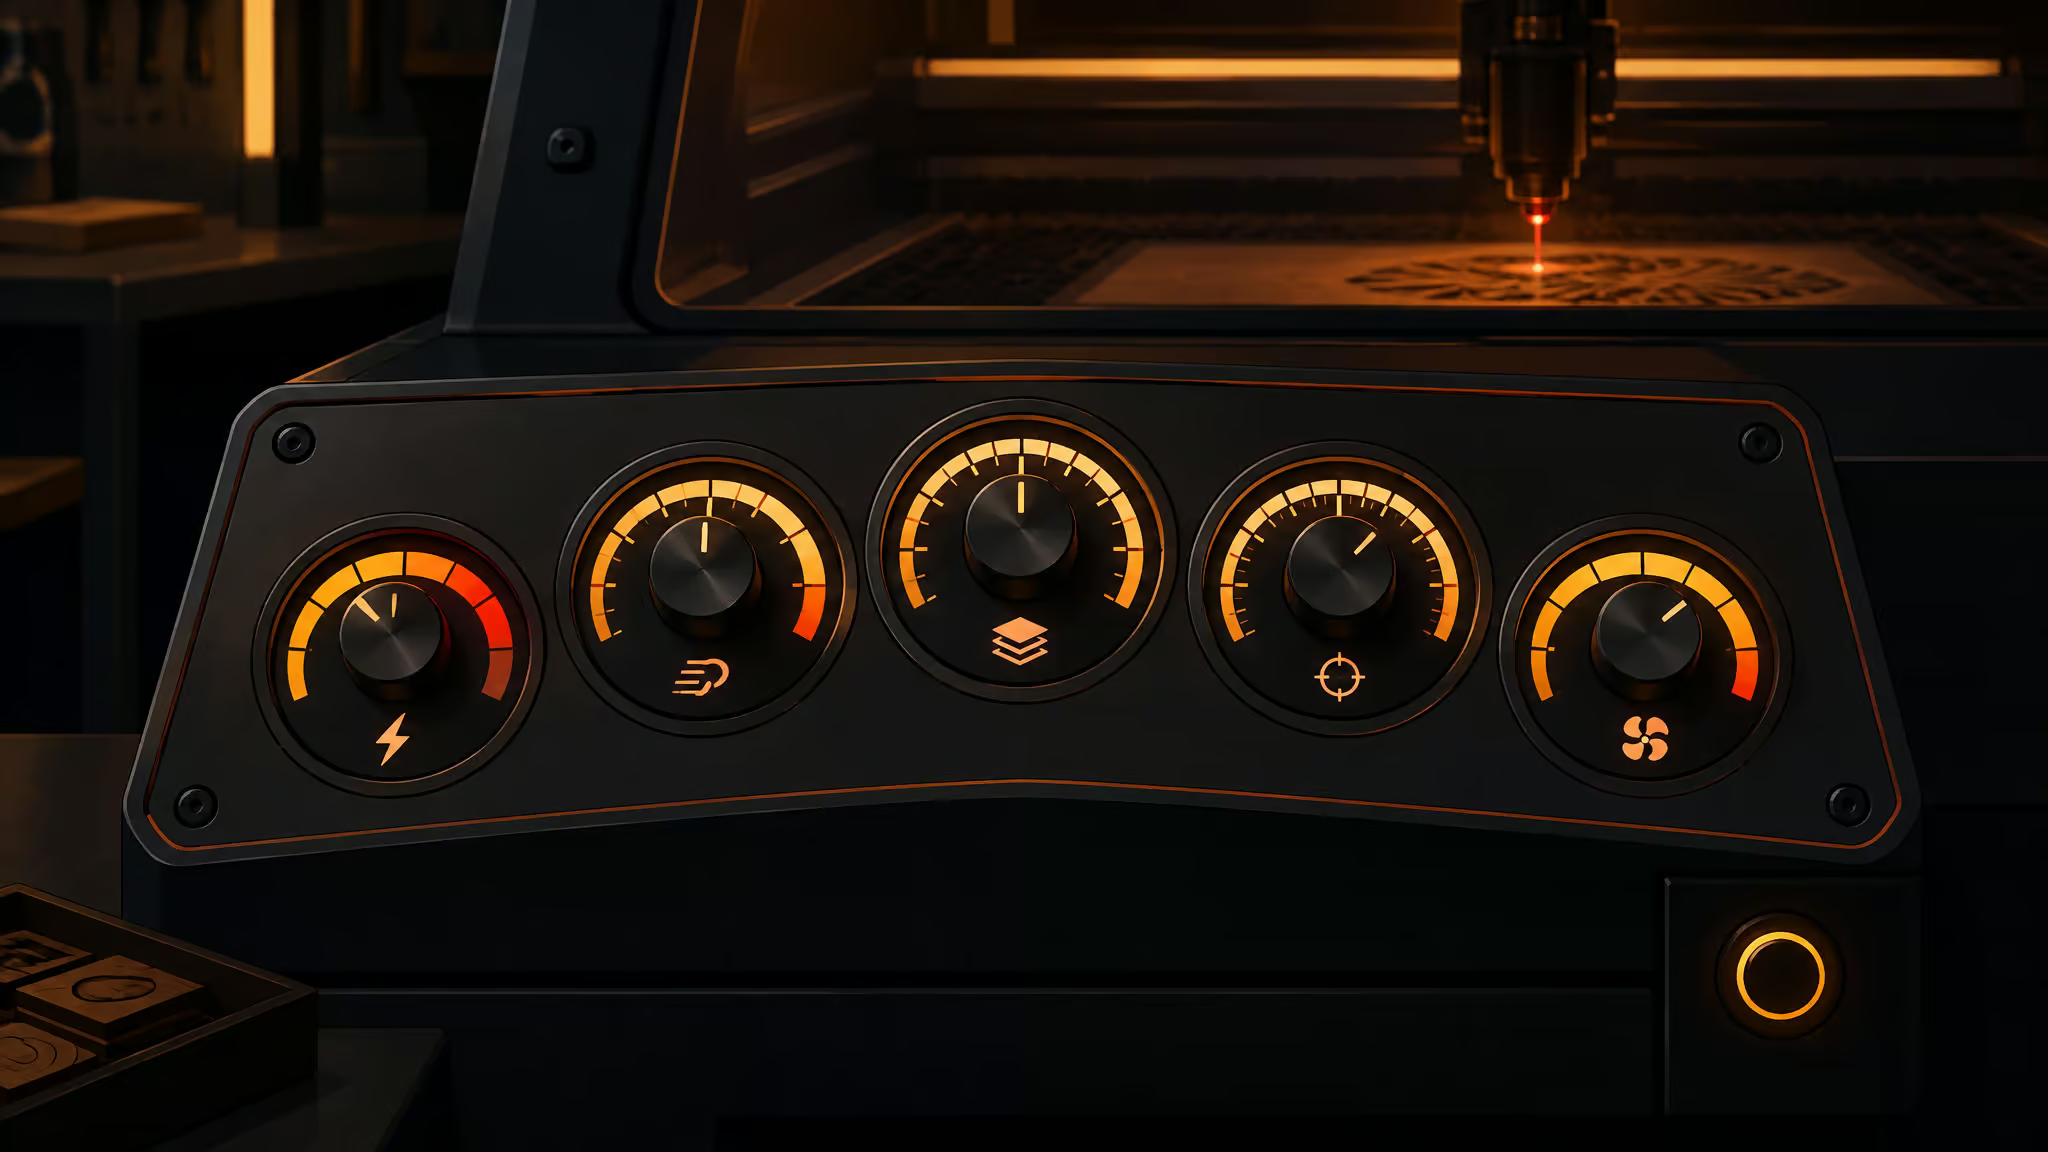
The core tradeoff lives between speed and edge quality.Slow down and your edges get smoother, but push too far and you’re burning material. Speed up and you’re efficient, but you risk rougher finishes or incomplete cuts. Overcook it with excessive power or a crawl-speed pass and you get burns or cracks, wasted sheets, and accelerated wear on tubes, lenses, and motors. That last part is why accurate settings matter beyond aesthetics: your machine lives longer too.
One unglamorous prerequisite before any number works: focus has to match your material’s thickness. Clean cuts follow from correct focus, full stop.
Cutting settings vs engraving settings: two opposite logics
Cutting settings differ from engraving settings in almost every dimension: cutting drives the beam through the full thickness of the material at high power and slow speed, often with kerf compensation and sometimes multiple passes, while engraving removes only a surface layer at lower power and higher speed. Same machine, same sheet, opposite parameter logic.I organize my whole mental model around this split, and it’s the thing most settings pages blur.
- Cutting: full penetration, slow speed, kerf matters, passes may stack
- Engraving: surface depth only, faster speed, no kerf concern, no pass stacking
The concrete anchor is a real bench log from a LaserPecker LP4 cutting 3mm acrylic: 10W 450nm diode, 1k resolution, 100% power, 95% depth, 1 pass, focal distance 150mm verified with a ruler or by overlapping the red alignment dots. Those numbers are adjustable by result, not gospel, but they’re a real machine’s recipe rather than a chart average.
Here’s the failure pattern that shows up constantly in the first week: someone applies cutting parameters to an engraving job, or the other way around, since the software exposes both as a single power/speed pair. The tell is a job that barely marks the surface at full power, or a supposedly shallow engrave that burns straight through.If your result is wildly off from expectation, check which mode you’re actually in before you blame the numbers.
Acrylic cutting settings by wattage and thickness
Acrylic cutting speeds on a CO2 laser scale with both machine wattage and material thickness, and that’s the single fact that explains why the chart you found doesn’t match your machine. Same material, different machines, different answers.
First axis, wattage.For 3mm acrylic at 10-90% power, Thunder Laser’s tested speeds look like this:
| Machine wattage | 3mm acrylic speed |
|---|---|
| 60W | 37 mm/s |
| 80W | 50 mm/s |
| 100W | 55 mm/s |
| 130W | 60 mm/s |
Screenshot that if you want. It’s the quick lookup most charts omit, because most charts assume one wattage.
Second axis, thickness, on a 130W CO2 at 10-90% power:
| Thickness | Speed |
|---|---|
| 3mm | 60 mm/s |
| 5mm | 30 mm/s |
| 10mm | 7 mm/s |
| 15mm | 3 mm/s |
| 20mm | 2 mm/s |
Watch how fast the speed falls off a cliff as thickness climbs. From 3mm to 20mm you lose thirty times the speed.That’s the interesting part of the table, and it’s why “just slow down” advice breaks down fast on thick stock.
The baseline answer, the one everyone shows up for: 60-80% power and 1000-1500 mm/min, varying by thickness and acrylic type. Treat it as a starting point to adjust from. Acrylic machines run from 30W to 130W, and 130W is the recommendation, mostly because more wattage buys speed and headroom rather than any new capability.Common sheets run 1/8 inch to 1 inch, with 1/8 to 1/4 inch the sweet spot for best results, and thicker acrylic always wants slower speed and higher power.
The support-team pattern worth internalizing: readers copy a chart number exactly, get a failed cut, and blame the chart, when the real variable is wattage, lens condition, focus, or the material batch. The chart wasn’t wrong. It was calibrated to a different machine.
Diode lasers on acrylic: passes, wattage limits, and the clear-acrylic trap
No, not reliably. A diode laser cuts clear acrylic only at 60-80% power if the stock is impurity-free, and the reason is physics, not settings: 450nm blue light passes straight through clear acrylic. The beam goes through the sheet instead of into it. This is the “wait, why?” moment, and once it clicks, a lot of forum arguments resolve themselves.
Here are the capacity thresholds, stated plainly.
- A 10W 450nm diode cuts 5mm acrylic. Small machine, real capability.
- A 20W diode handles up to 15mm, which is more than most people expect.
- 10W is the minimum recommended diode power. Below that, you’re buying frustration.
- Multiple passes are the diode owner’s primary thickness workaround.
Machine anchors from LaserPecker’s lineup: the LP2 Plus and LP4 cut 5-6mm acrylic in a single pass, and the LX2, with 20W/40W/60W options and a 500 x 305mm work area, cuts 20mm in one pass. Fiber lasers are mostly a metal tool, so wrong tool for this job, moving on.
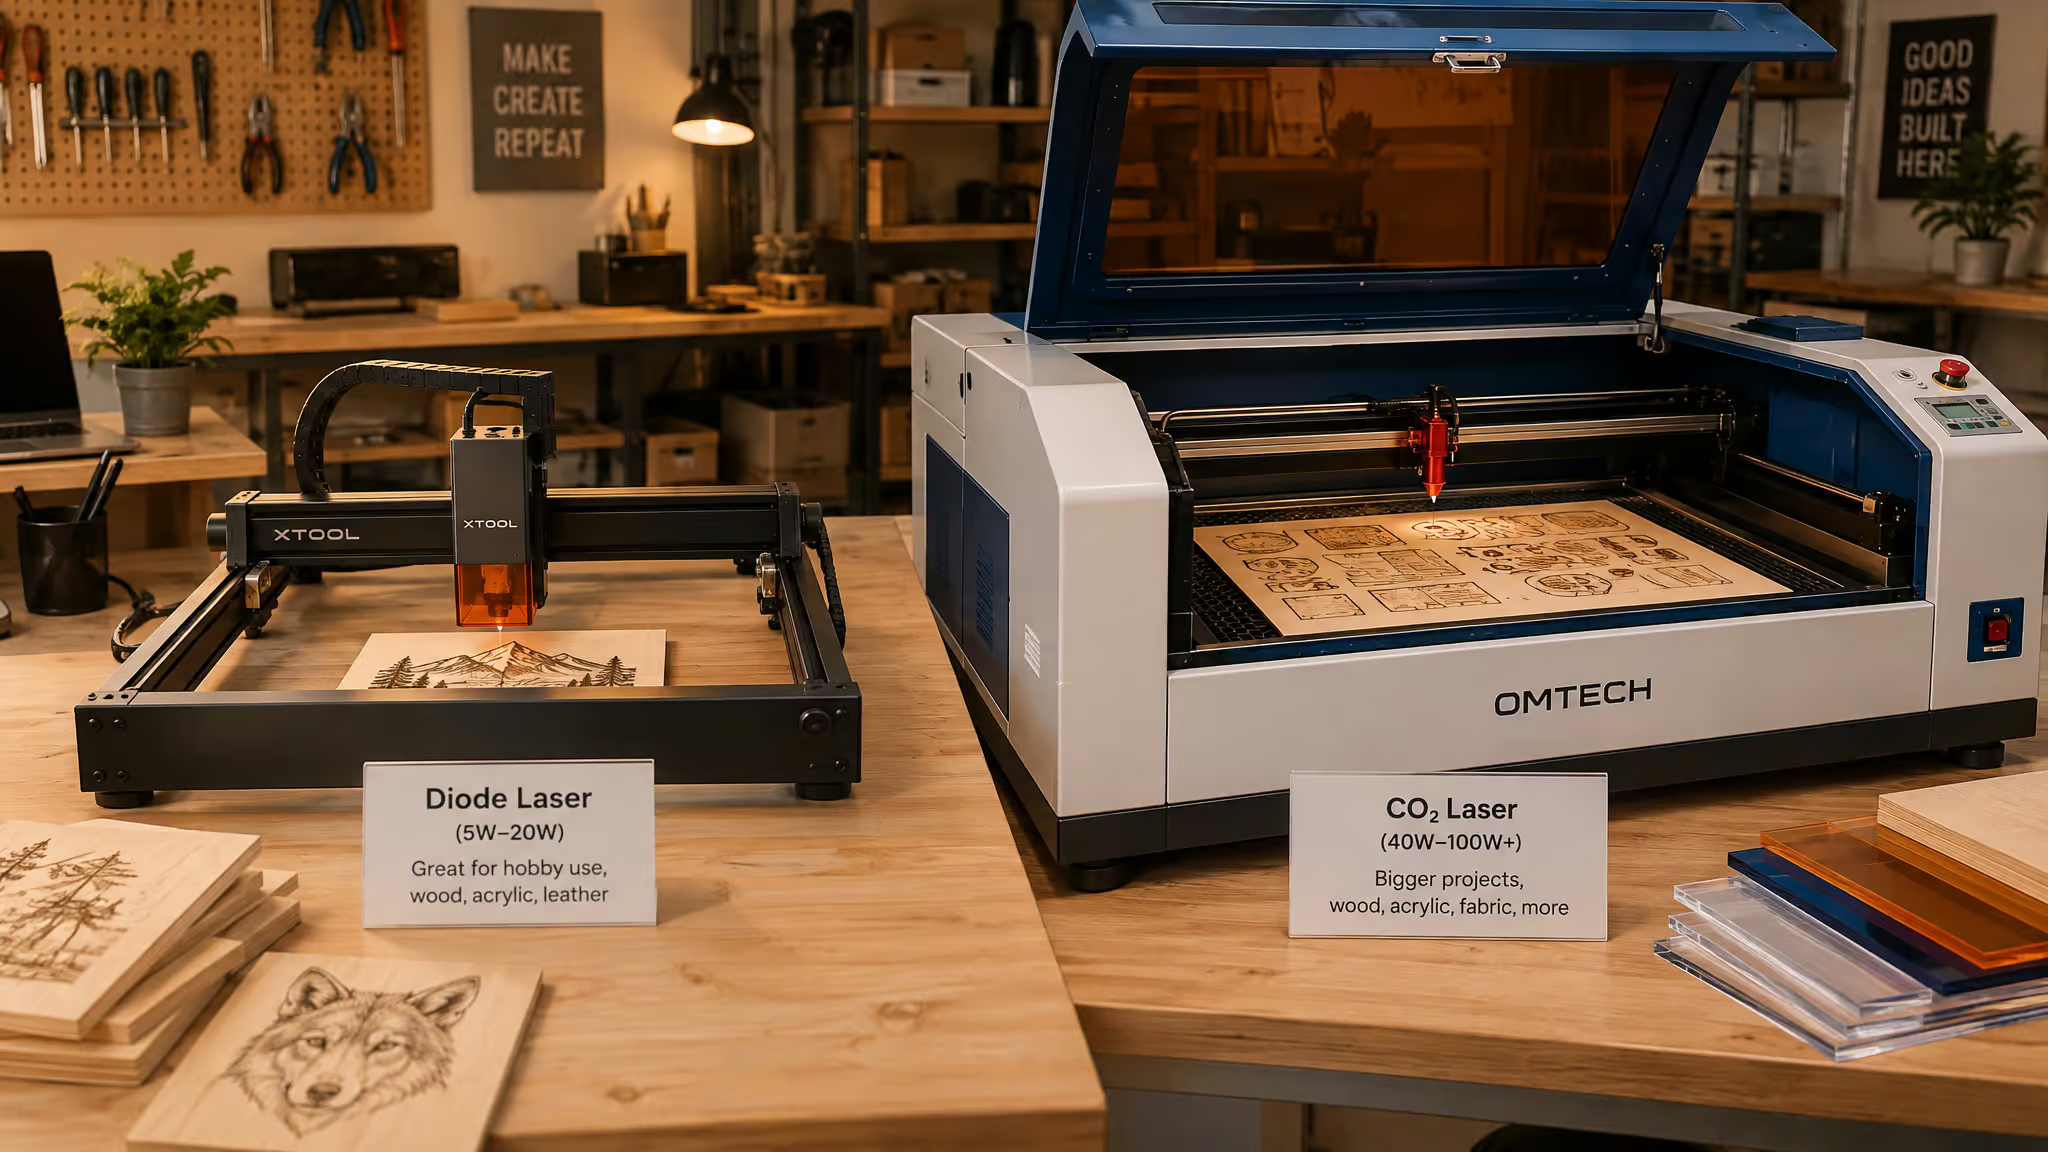
The trap deserves its own breath: clear and blue acrylic are invisible to diode blue light. The beam passes right through, so the settings “aren’t wrong,” the wavelength is. CO2 remains the default for clear and blue acrylic, and diodes work best on opaque stock. If you want to engrave clear acrylic with a diode, you’ll need an additional aid, which is a known workaround rather than a failure.
How many passes for thick acrylic on a diode laser
There’s no fixed pass count for cutting thick acrylic with a diode laser; the number scales with the gap between your diode’s wattage and the material thickness. The anchors: a 10W 450nm diode cuts 5mm in one documented pass (that LP4 recipe, Pass 1), a 20W diode reaches up to 15mm, and thicker stock up to that ceiling benefits from multiple passes.
Passes are the diode owner’s substitute for wattage.Same path, run it again. Low effort, real results. The failure mode to watch is heat accumulation between passes: acrylic holds warmth, and a hot kerf behaves differently than a cold one.
The tradeoff-system framing holds here too, since passes trade time for penetration without the burn risk of one slow, high-power run.If your first pass doesn’t punch through, don’t reach for more power. Reach for a second pass and a short cooldown.
Air assist and edge quality: the kerf-heat physics most charts skip
Burnt or rough edges trace back to the speed/power tradeoff plus air-assist tuning, and the kerf-heat physics explains why the fix is counterintuitive. Cast acrylic melts at 160°C and evaporates at 200°C. Above 160°C, a self-leveling liquid film forms on the kerf walls, which is honestly kind of elegant: the melt smooths itself.The wild part is that only the first millimeter is cut by the beam itself. Superheated acrylic gas erodes the rest, so the laser is mostly a starter pistol. Eddying gas at the bottom of the kerf roughs up the edge into frills.
Here’s the contrarian finding from community analysis of Thunder Laser’s 80W glass-tube tests (credit to @SarbarMultimedia’s comment analysis, medium confidence, not peer-reviewed): full air assist disturbs that melt film and cools the kerw, producing frosted edges, while little or no air assist on thick cast acrylic yields flame-burnished transparent edges.That trick is valid only for cast acrylic above 5mm, stated upfront so you don’t torch a 3mm sheet expecting glass.
The bench log, compact: a 25-second cut showed about 10° of beam drag with frilly edges; a 45-second cut with little or no air assist dropped to about 5° drag and came out transparent; doubling power and speed for a 1-minute cut brought back 10° of drag and the frills. Working settings: 6mm/s at 50% power (strong and weak blowing tested), 10mm/s at 90% power with weak blowing, and a 6mm nozzle as an option. The myth debunk: beam drag isn’t caused by reflection, because about one second of pulsing straightened a dragging cut to 90 degrees.One caveat: weak air assist leaves marks or residue, so inspect the air assist regularly.
Cast vs extruded acrylic: why identical settings cut differently
Cast acrylic offers better clarity and edge quality and suits engraving and aesthetic work, while extruded is cheaper, easier to shape, and the usual recommendation for cutting despite rougher edges. Which is right depends on the use case, not a winner-take-all verdict.
The mechanism is thermal, and it’s the counterintuitive bench finding where the cheap stuff wins: extruded acrylic conducts more than 10% more heat than cast, which is why it soaks up warmth faster and keeps kerf-wall heat around longer.Because extruded acrylic is over 10% more thermally conductive than cast and retains kerf-wall heat longer, it tolerates full air assist and can give clear edges even on thin material, where cast would frost under the same airflow. Chemically identical, thermally different, and your settings feel the difference before your eyes do.
That’s also the scope limit on Section 7: the low-air-assist transparent-edge trick works only on cast above 5mm. Extruded plays by different thermal rules.
One community trick with honest sourcing: the wet paper towel hack for cleaner acrylic cuts is a low-confidence YouTube metadata claim. It sounds odd, it’s cheap to test, and I’m not going to launder it into fact. And a quick myth-correction: borax is unsuitable for laser engravings. Skip that one entirely.
Settings for wood, MDF, plywood, and leather
Wood settings on a laser cutter depend on wattage: a 40W diode and a 130W CO2 laser need different starting points, and every wood number should be verified with a test cut. The reference data, by machine class:
130W CO2 baselines:
- MDF: 65-80% power at 25-5mm/s (6-8mm)
- Plywood: 65-75% at 13-2mm/s (5-10mm)
- Wood/acrylic/PU leather: 20-60% at 1000-300mm/s (1-3mm)
- Non-woven fabric: 15-80% at 50-5mm/s (1-10mm), where the wide power range is the interesting bit
40W diode wood settings:
- MDF: 100% power at 250mm/s
- Hardwood: 100% at 100-150mm/s, possibly two passes, because dense stuff fights back
- Softwood: 70-90% at 20mm/s cutting versus 200mm/s engraving. Note that tenfold gap; the cut-vs-engrave speed contrast is the useful part of this row.
- Veneers: 50-70% at 300mm/s
- Plywood engraving: 100% at 200mm/s
Leather on CO2: the CO2 wavelength suits leather, and 130W is recommended for varying thicknesses. 1.5mm cuts at 135mm/s, 3.0mm at 100mm/s, at 10-90% power. Values vary by leather type, since leather covers many different materials.Test first.
Full honesty about the evidence base here: it’s acrylic-heavy. Questions like how thick a 100W laser can cut through wood need test-cut verification, not extrapolation from an acrylic chart. The one concrete diode-wood anchor: the xTool S1, a 40W diode, cuts 20mm pine in one pass with 600mm/s etching.
Kerf tolerance and design preparation
Kerf is the small gap the laser makes as it removes material, designs in vector-based software must compensate for it, and there’s no universal kerf width, since material, thickness, and settings all shift it.Measure it on your own setup rather than trusting a number from a forum. Kerf only applies to cuts, not engravings, since the two modes differ at the parameter level, since an engrave removes a surface layer rather than a channel.
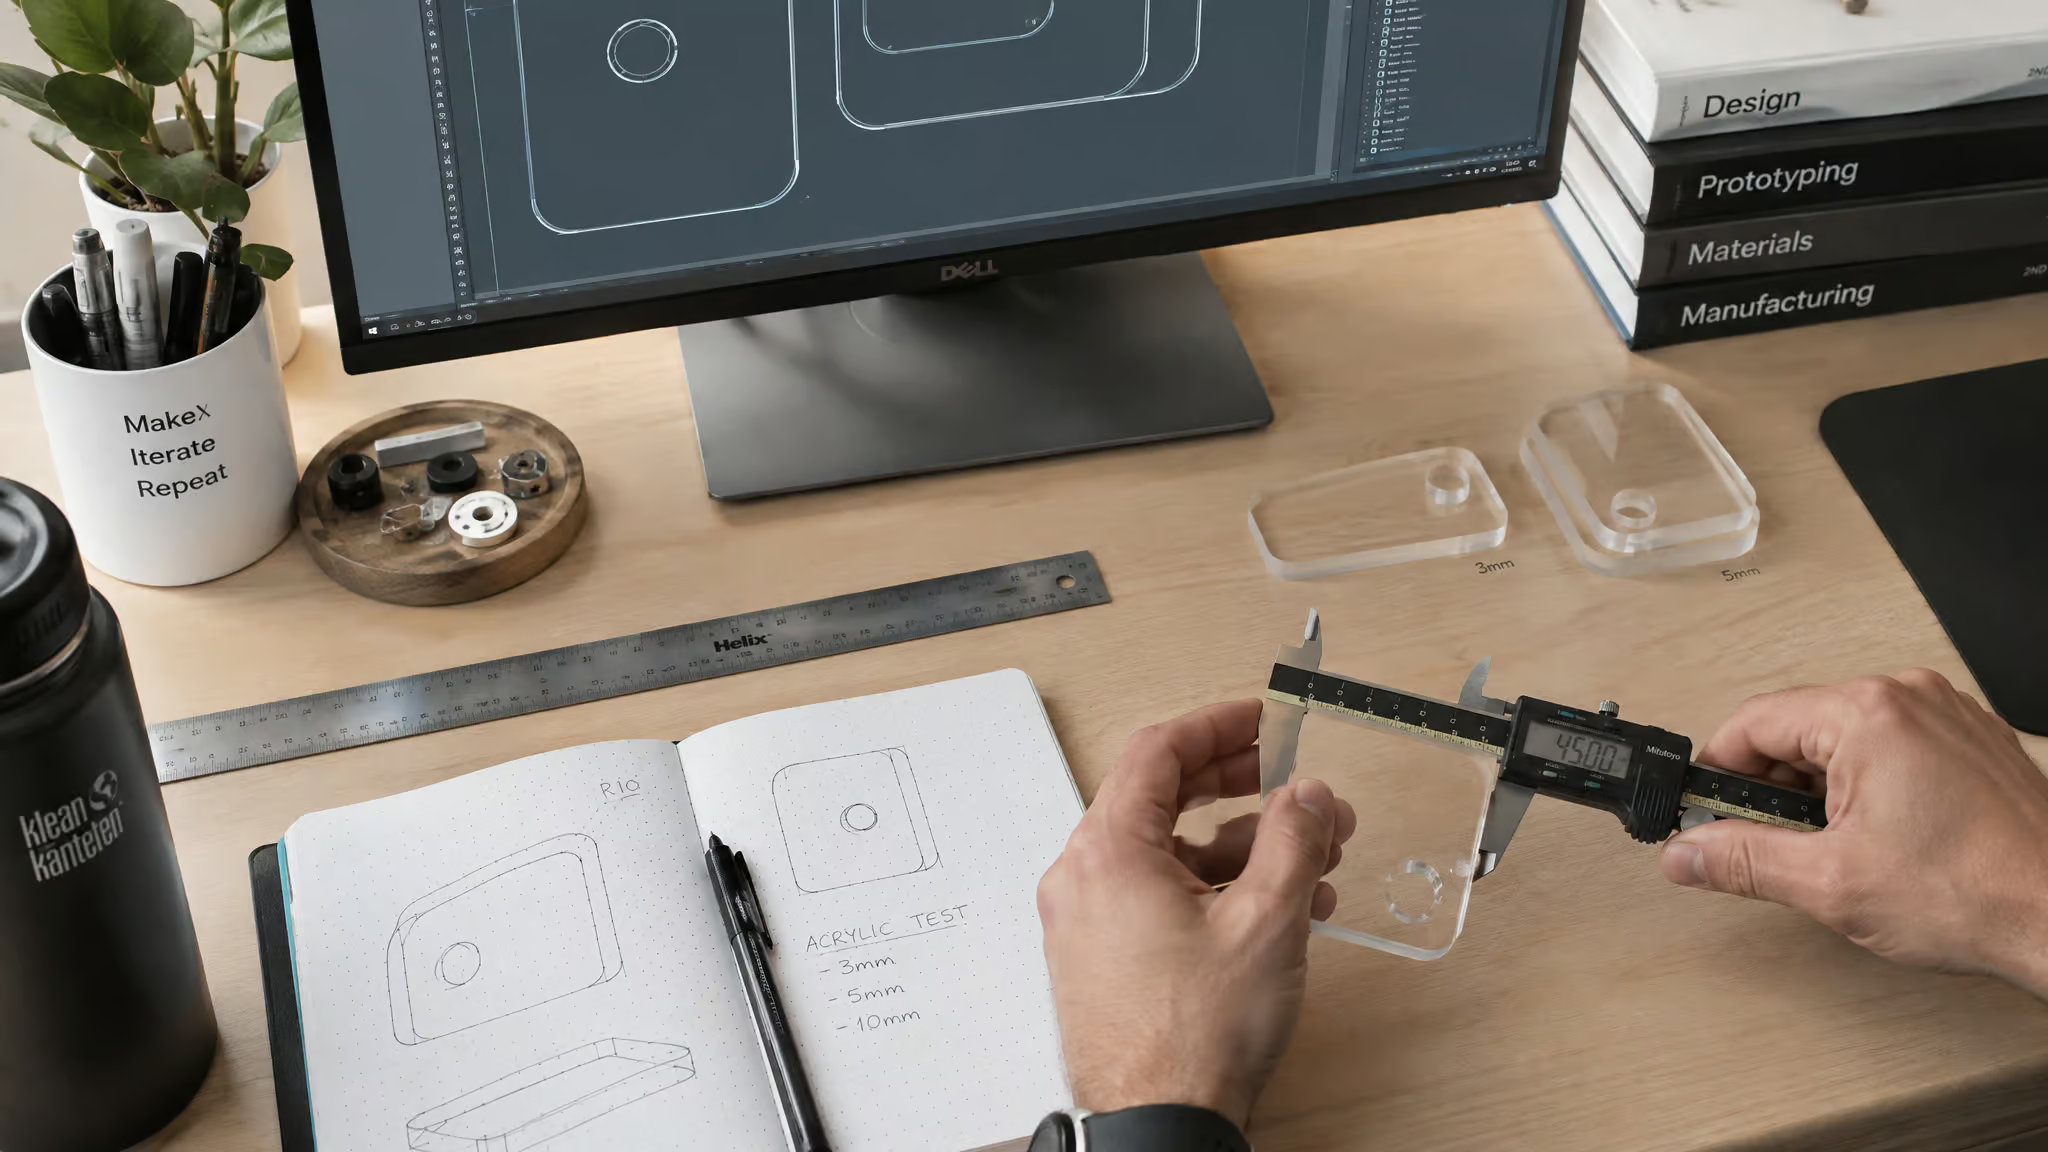
Design-side quality matters more than people expect. The laser follows your lines, so give it good lines: simple curves and rounded edges cut better than sharp corners and tiny details.It’s the same design-for-the-tool thinking as designing around a 3D printer’s overhang limits. And preview the design before cutting. It’s the ten-second check that saves a sheet.
Two finishing touches on prep: masking tape protects the acrylic surface, so tape the sheet, cut through it, and peel off a scratch-free surface.And clean the sheet before cutting, since even dust and fingerprints show up in the result at this scale.
The test-cut workflow: turning any chart into your machine’s settings
Vendor settings charts are starting points, not guarantees: they’re accurate only after a test cut on scrap confirms them, because tube health, optics, focus accuracy, and material batch all differ from the machine the chart was written on. A single scrap piece can spare the good sheet.
Structure the loop around the variables that actually moved results in the documented experiments: speed, air-assist intensity, nozzle size.The Thunder Laser tests changed exactly one or two variables per run and measured cut time and drag angle. That’s the model. Cut, look, tweak, repeat. Not “try different settings” vibes, but a controlled experiment on your own bench.
The diagnostic that saves the most time: when a cut fails at the same spot on every attempt, the culprit is usually one of those machine variables rather than the chart itself. Same failure point means something mechanical or optical is consistent, and charts can’t fix that.
The economics close the loop: accurate settings waste less material and energy and go easier on tubes, lenses, and motors. And stay at the machine while it runs.Acrylic burns easily with wrong settings, and a machine firing a beam deserves a watcher.
Safety setup and keeping your settings accurate
Ventilation, goggles, gloves, masks or air purifiers, and a fire extinguisher at the workplace, the one purchase you hope to never use. The gotcha that makes ventilation stick: one Fstoppers reviewer filled his office with smoke by assuming the air assist pump was a filtration system. The pump aids the cut, not the room; he ended up moving to a carport, then near a window with exhaust. Maintenance keeps your settings honest, too: a dirty lens and mirrors weaken the beam, and weak air assist leaves marks, so yesterday’s “correct” numbers silently stop being correct.After the cut, rinse with water and mild soap, pat dry with microfiber, sand to smooth edges, and flame polish for shine, the tiny bit of pyromancy that makes edges glass-clear.
What wattage laser cutter do you need for acrylic and wood
For cutting acrylic and wood at home, you need at minimum a 10W diode for thin acrylic, a 40W-class diode for wood, or a CO2 laser for all acrylic types including clear and blue. The reality check by laser type: diodes keep costs down, though low-end models only etch organic material well; CO2 cuts nearly any organic material and all acrylics but costs more; fiber is niche and mostly metal. Entry-level machines start around $220, which is the real floor of the hobby, no judgment.
The picks, with tradeoffs rather than a podium. The Bambu Lab R1 is a 55W CO2 at $2,499 and Tom’s Hardware’s best overall/CO2 pick. The xTool S1 is a 40W enclosed diode at $1,699 on sale that cuts 20mm pine in one pass. The Glowforge Aura is a 6W diode at $1,199 ($999 on sale), enclosed and kid/pet safe.
The Creality Falcon A1 Pro is a fully enclosed 20W diode with a 358 x 268mm bed at around $1,100 ($900 on sale), with the non-Pro around $550; the QR-coded acrylic samples that auto-load settings are tiny wizardry and remove the scariest beginner step. The xTool F2 Ultra UV at $4,299 is the only laser for crystal and inside-glass engraving. WeCreat Vision Pro (45W, $2,399.99 for the Basic config, $3,499.99 to $3,749.99 for the Super Pack), Snapmaker Artisan, xTool F1, and xTool F2 Ultra round out the tier anchors.
Tested-but-not-recommended, with specifics: the Creality Falcon T1 starts at $2,249 and costs over $10,000 fully kitted, with rotary failure and a UV calibration rushed across 57 pages of Word docs, and the Word docs are the tell.The Falcon2 Pro 60W has light leakage and wobbly slats, though its adjustable 60/40/22W power is a genuine plus. The Mecpow X4 Pro is a 22W machine under $1,000 with no first-party software and cracked panels on the review unit. The WeCreat Vista is 10W at $1,059 on sale, so know what you’re getting.
One budget line people forget: LightBurn at $60/year is the industry gold standard, while xTool and Glowforge bundle proprietary software, and LaserGRBL and RDWorks exist as alternatives. Prices may vary, and the laser isn’t the only cost.
If you’re deciding what to make first, acrylic is forgiving: signs, displays, logos, and branding work; awards, gifts, and nameplates land well; and the fun-specific end includes reversible open/closed shop signs, personalized keychains, wall art, and Halloween skull ornaments, which hit a pleasingly nerdy note.
Frequently Asked Questions
What are the recommended settings for a laser cutter?
There’s no universal chart, because wattage, tube health, optics, focus, and even the material batch all differ between machines. For 3mm acrylic on a CO2 laser, a solid starting point is 60-80% power at 1000-1500 mm/min, then adjust from test cuts. Treat any chart number as a calibrated starting point, not a guarantee.
How thick of wood can a 100W laser cut?
That depends on the wood species and your machine’s condition, and honest answers require test-cut verification rather than extrapolation from an acrylic chart. As a concrete diode anchor, a 40W machine like the xTool S1 cuts 20mm pine in one pass, and a 130W CO2 baseline for plywood runs 65-75% power at 13-2 mm/s for 5-10mm stock. Run a test cut on scrap before committing a good sheet.
Why are my laser cut edges rough or burnt and how do I fix the settings?
Rough or burnt edges trace back to the speed/power tradeoff plus air-assist tuning. Slow down for smoother edges, but push too far and you burn the material; overcook it with excessive power or a crawl-speed pass and you get burns, cracks, and wasted sheets. Also check focus first — clean cuts follow from correct focus, full stop — and remember a dirty lens or mirrors silently weakens the beam.
