I went down a laser-parameter rabbit hole recently, expecting a tidy little field of five equal dials. What I found instead was spec sheets quietly telling on themselves: depth experiments with actual numbers, speed claims that only hold under 900 mm scan lengths and 2 G of acceleration, and a frequency dial that means different things depending on which laser family you own. The five parameters are real. The idea that they’re five peers on a settings panel is not.
Key Takeaways
Experimental depth studies rank parameter impact as Power > Speed > Frequency > Hatch Spacing, and a 100W laser reaches about 1.7× the depth of a 60W unit under identical conditions (148.97 µm vs 88.82 µm).
A 1200 mm/s advertised speed is a mechanical sprint, not a commute: real jobs run 300-500 mm/s, a 50-70% effective reduction, and vector path engraving rarely tops 600 mm/s.
A single pass removes only 0.01-0.1 mm of material, so 1 mm of depth takes 10-100+ passes, with grouped scanning and cooling pauses past 0.5 mm.
Table of Contents
What are the 5 parameters of laser engraving and cutting
The five core parameters of a laser engraving machine are power, speed, frequency, focus, and passes. Everything else on the settings screen supports these five, and honestly kind of elegantly, since power and speed are the two that matter most, jointly setting the energy per unit area the beam delivers:
- Power, the laser’s output, set from 0 to 100%, where 100% is maximum output.
- Speed, how fast the head moves, which controls how long the beam dwells on any patch of material.
- Frequency, pulses per second, the rate at which the beam delivers its hits.
- Focus, the z-offset, or where the beam’s focal point sits relative to the material surface.
- Passes, repeat runs over the same design, used to build depth in layers.
Here’s the part the flat list hides: they are not equal. Experimental studies that measured engraving depth rank their impact as Power > Speed > Frequency > Hatch Spacing. That ranking is specific to engraving depth, not a universal law for cutting or marking contrast, but it tells you where to spend your tuning time. Want a concrete starting point? On a OneLaser X Series with a 5mm cherry wood sheet (200×200mm), dial in 95% power at 200mm/s for engraving, 99% power at 50mm/s for cutting, and expect roughly 4mm of engraved depth, treat those as a starting point, not gospel.
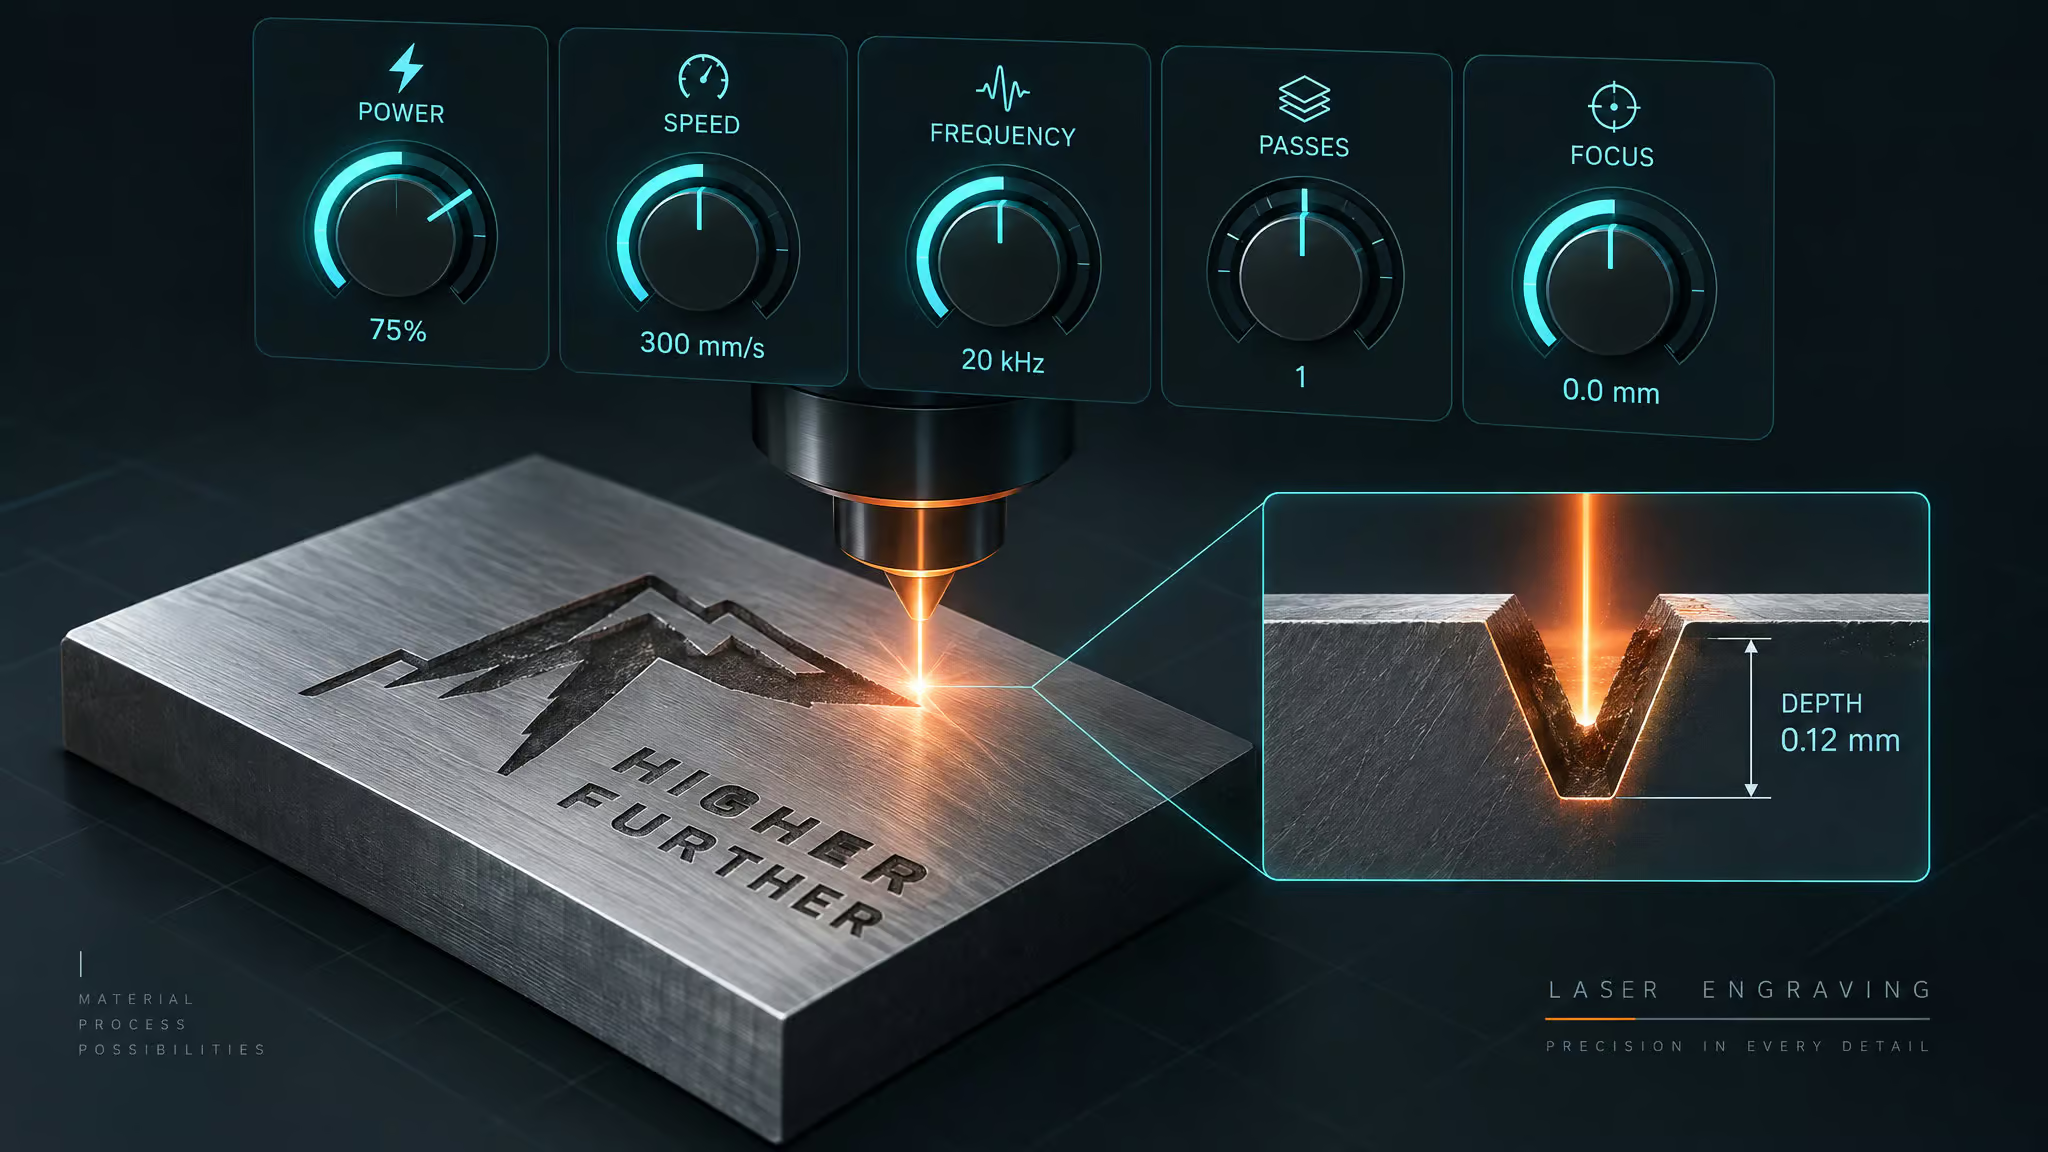
The physics that ties the whole thing together is energy per unit area. Power and speed jointly set how much energy lands on each square millimeter, which is why the rule “slower plus more power equals deeper” holds across every laser type. Quick definitions, since these two are the settings you’ll touch most: power is the laser’s output (set as a percentage from 0-100%), and speed is how fast the head moves, which also controls how long the beam dwells on any given spot.
It also helps to name what you’re doing.Surface marking runs about 0.01-0.03 mm deep. Standard engraving is roughly 0.05-0.1 mm. Deep engraving is anything past 0.1 mm. Now when someone says “deep engraving,” you both know what that means.
So why doesn’t your settings chart transfer to the new machine? Because each parameter’s meaning shifts by laser family. CO2 speaks in percentages and Hz, fiber speaks in kHz and pulse widths, and MOPA rearranges which dials exist independently. That’s the actual problem this article fixes.
Power: the depth dial and its ceiling
Yes, too much power damages the material. Excess power causes overheating, burning, and spatter, which is why a 200W machine should start at 60-80% power, not 100%. Even the big iron holds back on the first pass.
Power itself is simple: a 0-100% output slider, like a volume knob on the beam.Higher means deeper and darker; low power is for delicate stock like paper. The benchmark that sold me on how much this dial matters: under identical conditions, a 100W laser reaches about 1.7× the depth of a 60W unit, 148.97 µm versus 88.82 µm. That’s the cleanest data point in the whole discussion, with the identical-conditions caveat doing real work. And on MOPA machines, power adjusts independently of pulse width and frequency, which is a decoupling you don’t get elsewhere.
More watts help until they don’t.
Speed: exposure time and the advertised-vs-real gap
If the material won’t cut through even at full power, the only remaining lever is slowing the speed. And slower cutting yields a lighter burn rather than dark edges, which surprises people expecting the opposite. Speed is exposure time in disguise: a fast pass gives the material a brief flash, a slow pass lets it soak.
Cutting and engraving speeds don’t share a scale
A “high” cutting speed is around 10% on the same dial where raster work lives at 80. The task ranges make the split obvious: raster engraving runs 300-1200 mm/s at 30-70% power, vector engraving 100-600 mm/s at 40-80%, and cutting 10-300 mm/s at 60-100%. Below 100 mm/s, heat-affected zones balloon, because the beam dwells long enough to cook material you never asked it to touch.
The advertised-vs-real gap
The 1200 mm/s on the box only happens under ideal conditions: a 900 mm scan with 2 G of acceleration.Real jobs run 300-500 mm/s, an effective reduction of 50-70%, and vector path engraving rarely exceeds 600 mm/s. The documented failure pattern is benchmarking a new machine against the spec and finding effective speed roughly half or less, because acceleration and path geometry dominate on small graphics like a 100 mm logo. The number on the box is a sprint time, not a commute.
One vendor at least defines its terms: OneLaser splits speed into RES (raster), VMS (vector max), and RTA (acceleration), where higher RTA means sharper detail and less corner burn.Useful vocabulary for reading any spec sheet, whatever the badge. As for the Gweike G2’s ~10× throughput claim and ComMarker Titan’s 25× efficiency, those are vendor claims, not verified measurements. Interesting if true.
Frequency and pulse width: the machine-family split
Laser frequency sets the tradeoff between engraving depth and mark smoothness.Lower frequency means higher energy per pulse and deeper marks; higher frequency gives smoother fine marks. That tradeoff is the whole concept, and the experiments back it with numbers.
Fiber regimes
Depth work lives at 20-50 kHz; smooth fine marks at 80-150 kHz. The depth numbers back the split: brass gains 0.5 mm of depth going from 40 to 70 kHz, and aluminum reaches 2.43 mm of depth at 100 kHz while 600 kHz does nothing.
The CO2 dialect
CO2 frequency runs 1,000-60,000 Hz and is decisive in cutting: 5,000-20,000 Hz for smooth acrylic edges, around 1,000 Hz for the brightest wood-cut edge. Same dial, two different sweet spots.One matching rule worth knowing: PPI should equal or be a multiple of DPI. Ruby adapts PPI to DPI automatically, and JobControl’s Auto setting resolves optimal pulse resolution, so let the software do the matching math.
MOPA vs Q-switched: why charts don’t transfer
MOPA adjusts power, pulse width (2-500 ns), and frequency (20-1000 kHz) independently. Q-switched lasers couple frequency and pulse width: 240 ns pairs with roughly 10 kHz, 160 ns with roughly 105 kHz. Change one, the other moves.Longer pulse means more energy per pulse, which means stronger removal, and 240 ns yielded maximal depth across every tested material, with depth work liking 200-400 ns or wider.
This is the common failure pattern in one sentence: a settings chart copied from a different laser type produces shallow or rough marks because the same “frequency” number means different things per machine family. On a CO2 machine, frequency is pulses per second in the 1,000-60,000 Hz range, tuned for cutting quality; on a fiber MOPA, the useful band splits into depth-oriented 20-50 kHz and smooth fine marks at 80-150 kHz. Same word, different dial. And this is why MOPA owners won’t shut up about MOPA.
Focus and defocus: the most critical, most overlooked parameter
Focus is the z-offset, where zero means in focus on the material surface, and it’s a signed, tunable depth lever, not just a setup step. The experimental optima for metals point the focal point below the surface on purpose: -3 mm for aluminium and brass, -2 mm for stainless and carbon steel.Uneven surfaces tolerate about ±0.1-0.3 mm of defocus, or you can Z-map and tile with 10-15% overlap. Trotec’s z-offset range runs -5 mm to 127 mm, and deep work drops focus 0.05-0.1 mm every 50-100 layers, chasing the bottom of the trench as you dig it.
Passes: depth as a layered process
A single laser pass typically removes 0.01-0.1 mm of material, so 1 mm of depth requires 10-100+ passes. Depth is bought in installments.For 0.2-0.4 mm, budget 8-20 passes depending on alloy, checking progress in 3-5 pass increments. Past 0.5 mm, switch to grouped scanning: 3-5 layers per group with cooling and slag-removal pauses.
Multiple low-power, high-speed passes reduce per-pass material stress, which makes them a natural fit for relief engraving, and rotating hatch angles between passes (0°/45°/90° or autorotate) flattens the bottom. The typical mistake is expecting one aggressive pass to reach depth and scorching the material instead.If you’ve ever watched a 3D printer build a part one thin layer at a time, you already understand the logic. The community’s favorite polish-between-coats trick is a low-power, high-speed cleaning pass between engrave passes.
Supporting parameters: hatch spacing, air assist, and damage limits
Yes, parameters differ between CO2 and fiber. CO2 speaks in percentages, PPI, and Hz with a z-offset, frequency in the 1,000-60,000 Hz range; fiber speaks in kHz frequency, pulse width, and hatch spacing.And cutting vs engraving speeds aren’t comparable on either.
Hatch spacing (line interval)
The rule of thumb is 1/3 to 1/2 of the beam spot diameter. The regimes: 0.01-0.02 mm for maximum depth (0.01 mm maxed depth on aluminum, brass, stainless, and carbon steel), 0.03-0.04 mm balanced, 0.05-0.1 mm rough and fast. Tighter 0.02-0.05 mm gives smooth high-contrast fills; above 0.06 mm it’s faster but striated. Cross-hatching at alternating angles kills grooving.It ranks last of the four depth parameters. It matters, just least. Don’t start your tuning here.
Air assist
Compressed air improves engraving and cutting results and keeps dust off the lens, and software toggles it automatically. Cheap upgrade, real difference.
Damage limits
Plastics like ABS and polycarbonate need 20-35% power and 3000-6000 mm/s or they char; wood needs controlled energy to avoid burning. The physics reason is the one from the intro: power and speed jointly set energy per unit area, so optimal values are material-specific.
Parameters as a workflow: test grids and multi-stage recipes
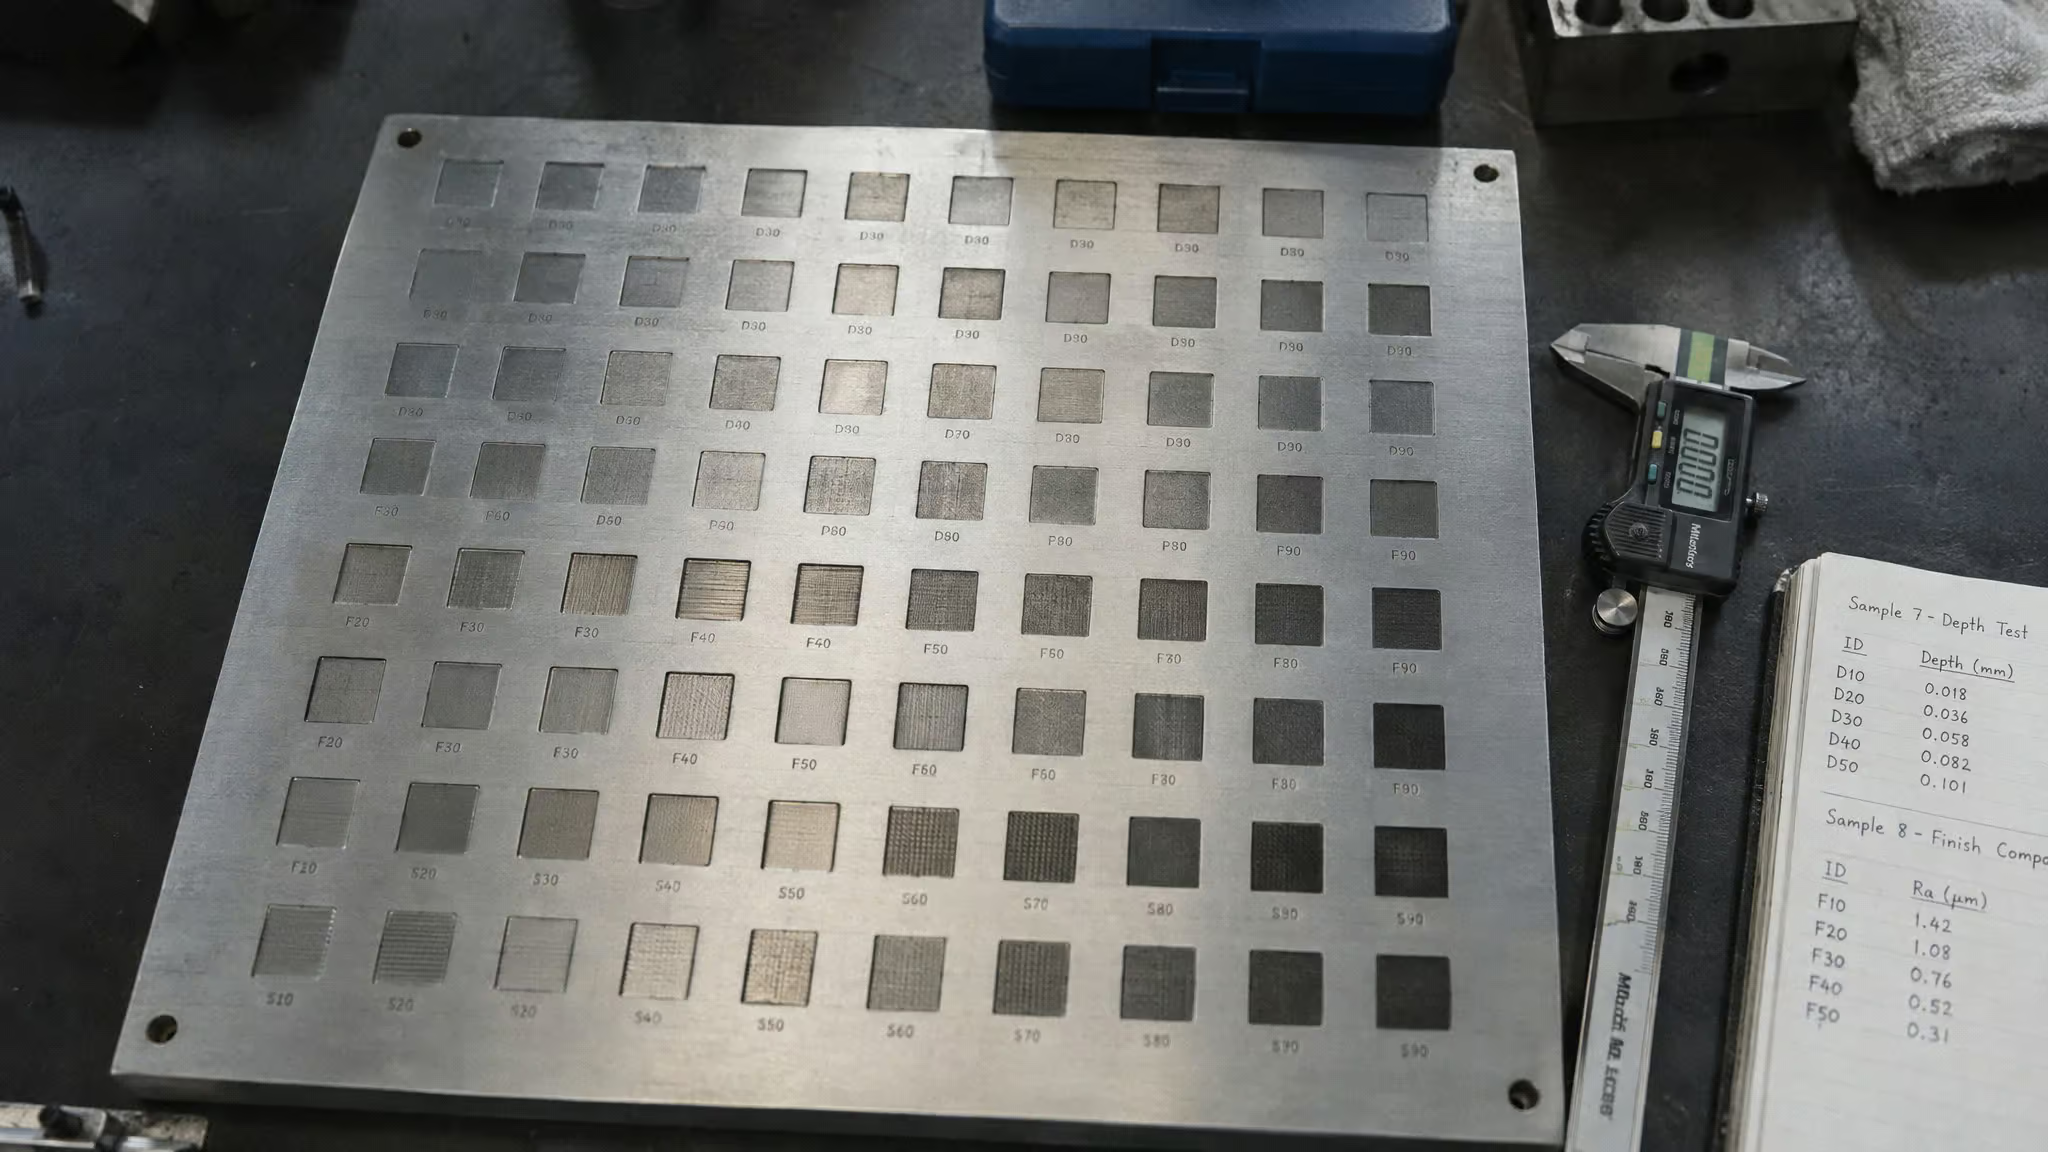
The way to tune a new material is a structured test grid. Start from material guidelines, then bump speed until the mark fades, back off, and compensate with power. A concrete matrix to steal: power 10-100% in 10% steps, speed 500-6000 mm/s, frequency 30/60/100 kHz, spacing 0.02/0.04/0.06 mm. Log each mark’s settings (W, mm/s, kHz, hatch, passes, focus offset) so future-you starts from data instead of a copied chart.
The multi-stage recipe
Pros don’t do it in one pass. One documented community example, the OMG JPT 60W MOPA 1 mm deep engrave: engrave at 2000 mm/s, 90% power, 45 kHz, 200 ns, 0.023 mm spacing, 30 passes; clean at 3000 mm/s, 20%, 100 kHz, 2 passes; blacken at 1000 mm/s, 50%, 105 kHz, 100 ns; then polish with a 40 mm dowel and 600-grit wet sandpaper. Not a universal starting point, but the point stands: all five parameters get re-tuned across stages of one job. Parameters are a sequence, not a single setting.
One 3D note: LightBurn’s 3D Slice mode runs 200-1000 pass counts, grayscale images engrave darker areas deeper, and engraving the surrounding area leaves text raised.
CO2 vs fiber: same concepts, different vocabularies
MOPA gives more independent control than Q-switched, full stop. MOPA adjusts power, pulse width (2-500 ns), and frequency (20-1000 kHz) separately; Q-switched couples frequency and pulse width, which is the coupling in the numbers above. That independence is also what unlocks color marking on stainless and titanium via oxide-film interference, something a coupled Q-switched source can’t dial in. Beyond that, the two laser families speak different dialects of the same language:
| CO2 | Fiber | |
|---|---|---|
| Power | Yes (0-100%) | Yes (0-100%) |
| Speed | Yes (percentage, task-dependent) | Yes (mm/s, task-dependent) |
| Frequency | Yes (1,000-60,000 Hz, plus PPI) | Yes (kHz, 20-1000 kHz on MOPA) |
| Pulse width | No | Yes (2-500 ns on MOPA; coupled on Q-switched) |
| Hatch spacing | No | Yes |
| Z-offset | Yes (-5 mm to 127 mm on Trotec) | Yes (focus) |
| Air assist | Yes | Yes |
The five concepts are universal; the units, ranges, and which dials exist independently differ.That’s why charts fail across machine families. Fiber specifics worth knowing: 1064 nm marks steels, aluminum, brass, and titanium with 20-40 µm spots, and MOPA’s independence is what enables color marking on stainless and titanium via oxide-film interference. This is where the rainbow steel comes from.
Beyond engraving: the same parameters applied to laser cleaning
The same five parameters run laser cleaning, with the defocus logic inverted: positive defocus spreads energy, where depth engraving uses negative defocus to concentrate it.The heavy-rust recipe is 100% power, 1500 mm/s, roughly 90° incidence, 40-60 µm spacing, and 0.5-1.0 mm positive defocus, and the plume color shift from dark to light is the endpoint signal. No blasting media or solvents, removal rates of tens to hundreds of cm²/min, and real adoption in automotive restoration, MRO, and shipyards.
Which parameter should you adjust first
Power first, until you’re at maximum, then speed. The universal depth rule is lower speed plus higher power equals deeper and darker, and once you’re at full power, slowing speed is the only remaining lever.One scope caveat on that ranking: Power > Speed > Frequency > Hatch Spacing comes from engraving-depth studies and may not transfer to cutting or marking contrast.
For deep engraving, a sane baseline loadout, not gospel: 80-95% power, 300-1500 mm/s, 20-50 kHz, 0.01-0.03 mm spacing, multiple passes, dynamic focus. Adjust from there.
Then make it a habit: start from material guidelines, run a test grid, log per-mark telemetry. The next material starts from your data instead of someone else’s chart. That’s the whole game: cutting through spec-sheet hype with measured numbers, one logged mark at a time.
Frequently Asked Questions
What are the key parameters of a laser?
For laser engraving and cutting, the five core parameters are power, speed, frequency, focus, and passes. Power and speed jointly set the energy per unit area, frequency controls pulses per second, focus is the z-offset of the beam’s focal point, and passes build depth in layers. They aren’t equal peers — depth studies rank their impact as Power > Speed > Frequency > Hatch Spacing.
What is a 5 point laser level?
That’s a different tool entirely: a 5-point laser level projects five dot points (typically up, down, and three level reference points) for construction and layout work. It has nothing to do with laser engraving machines, where the five parameters are power, speed, frequency, focus, and passes.
What are the five main types of lasers?
In engraving contexts, the main machine families are CO2, fiber, MOPA fiber, and Q-switched fiber, with diode lasers as the entry-level option. CO2 speaks in percentages, PPI, and Hz, while fiber speaks in kHz frequency, pulse width, and hatch spacing — which is why settings charts don’t transfer between families.
What is the best setting for laser hair removal?
Laser hair removal uses a different class of equipment than engraving lasers, and its settings (fluence, spot size, pulse duration, skin type matching) belong with a licensed practitioner, not a settings chart from an engraving machine. The two fields share almost no parameter vocabulary.
What are the key parameters of a laser engraving machine?
Power, speed, frequency, focus, and passes — everything else on the settings screen supports these five. Power is a 0-100% output slider, speed is exposure time in disguise, frequency is pulses per second, focus is the z-offset, and passes repeat runs to build depth. Their meaning shifts by laser family: CO2 uses percentages and Hz, fiber uses kHz and pulse widths.
What does power and speed do in laser engraving?
Together they set how much energy lands on each square millimeter of material. Higher power means deeper and darker marks; slower speed means the beam dwells longer and soaks the material more. The universal rule: slower plus more power equals deeper, which is why power is the first dial to push and speed is the only lever left once you’re at maximum.
