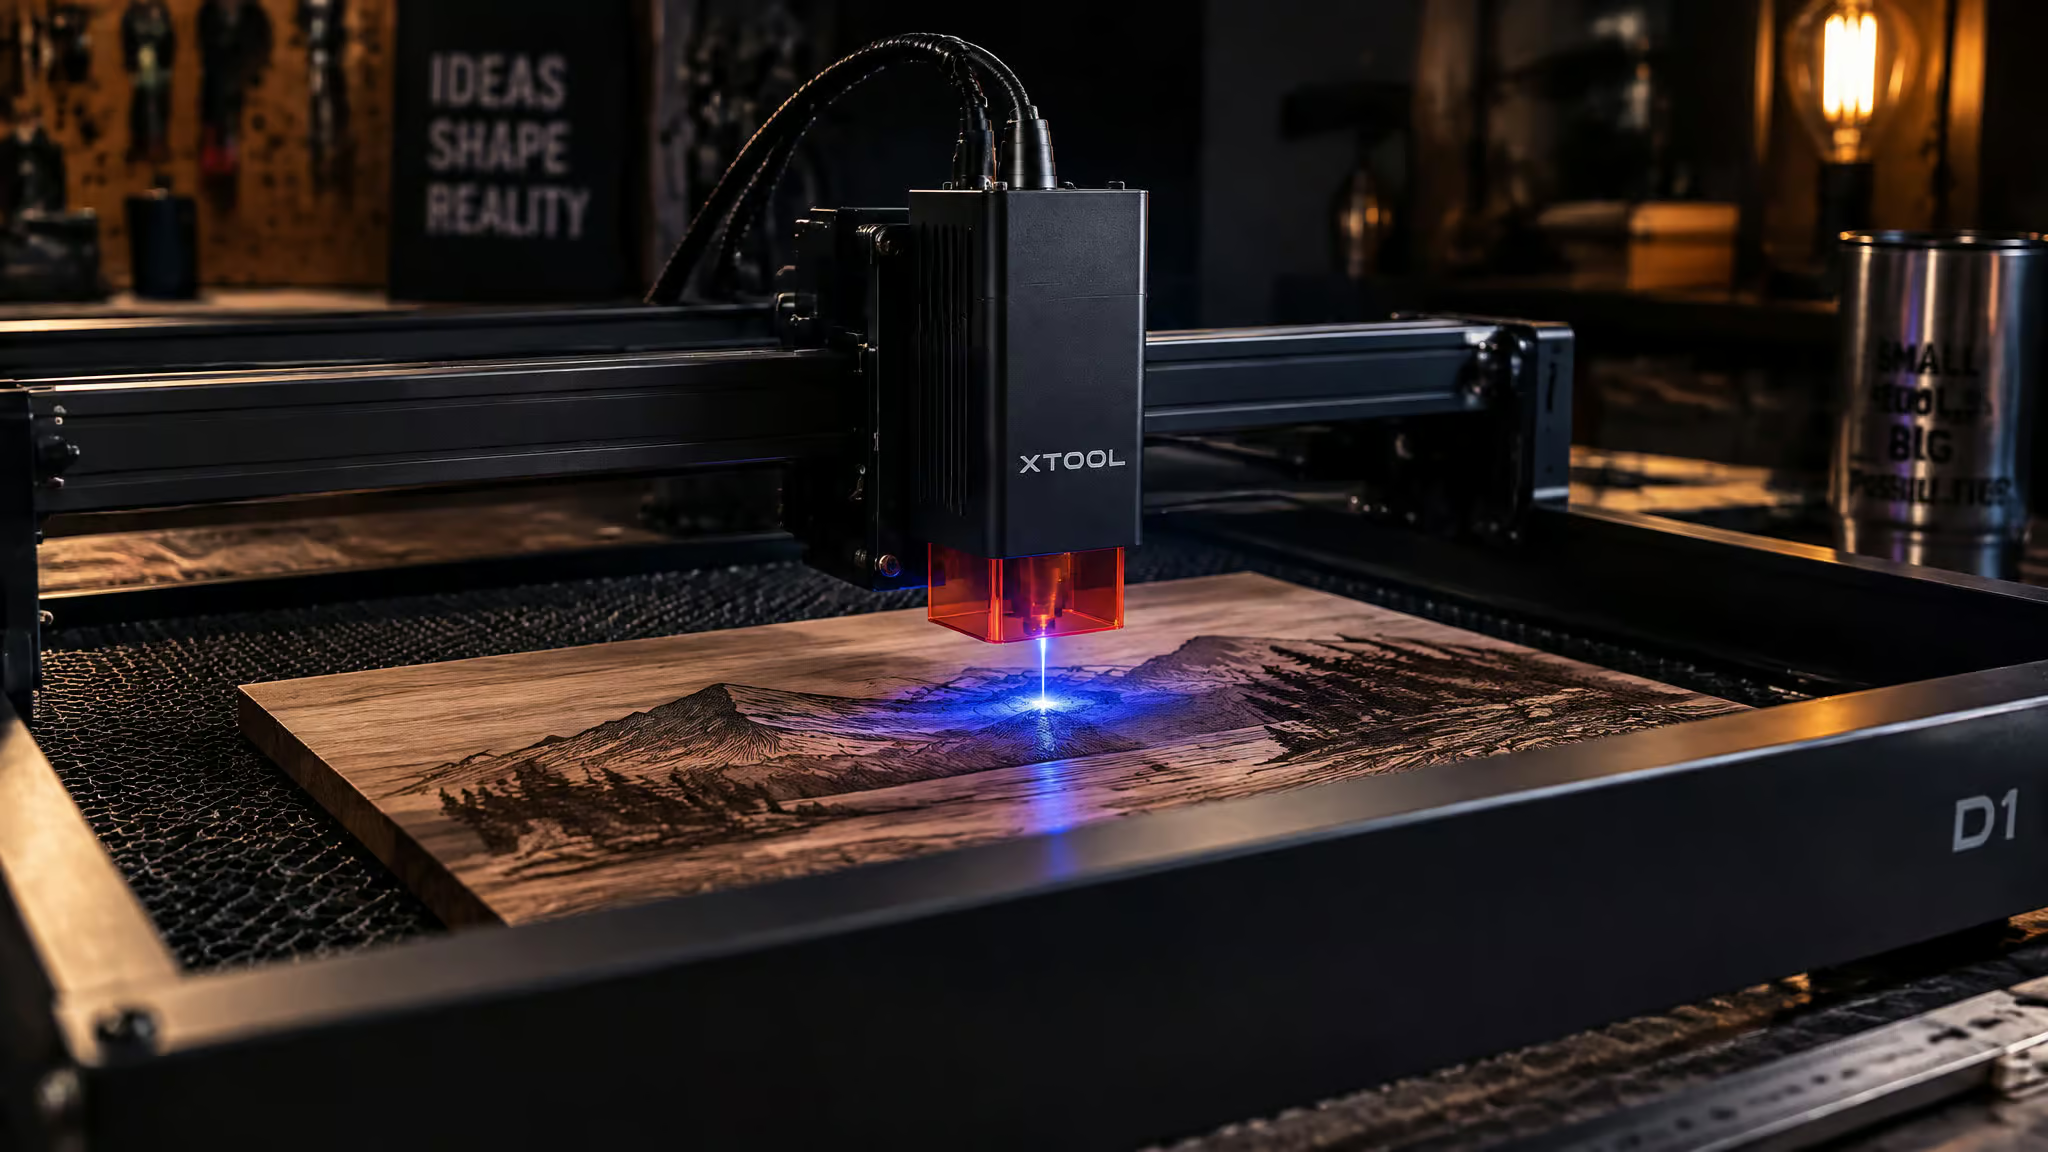
I fell into this rabbit hole the way I fall into most of them: a product page promised “no computer needed,” and I wanted to know what that sentence was hiding. So I went digging through spec sheets, forum threads, explainers from All3DP and laserengravingtips.com, a PPLD Research library guide, an EMPOWR Academy course page, WhatNot livestream clips, and YouTube comment threads under creator videos, some of them now years old. Here’s the short version. Do you have to have a computer to use a laser engraver?
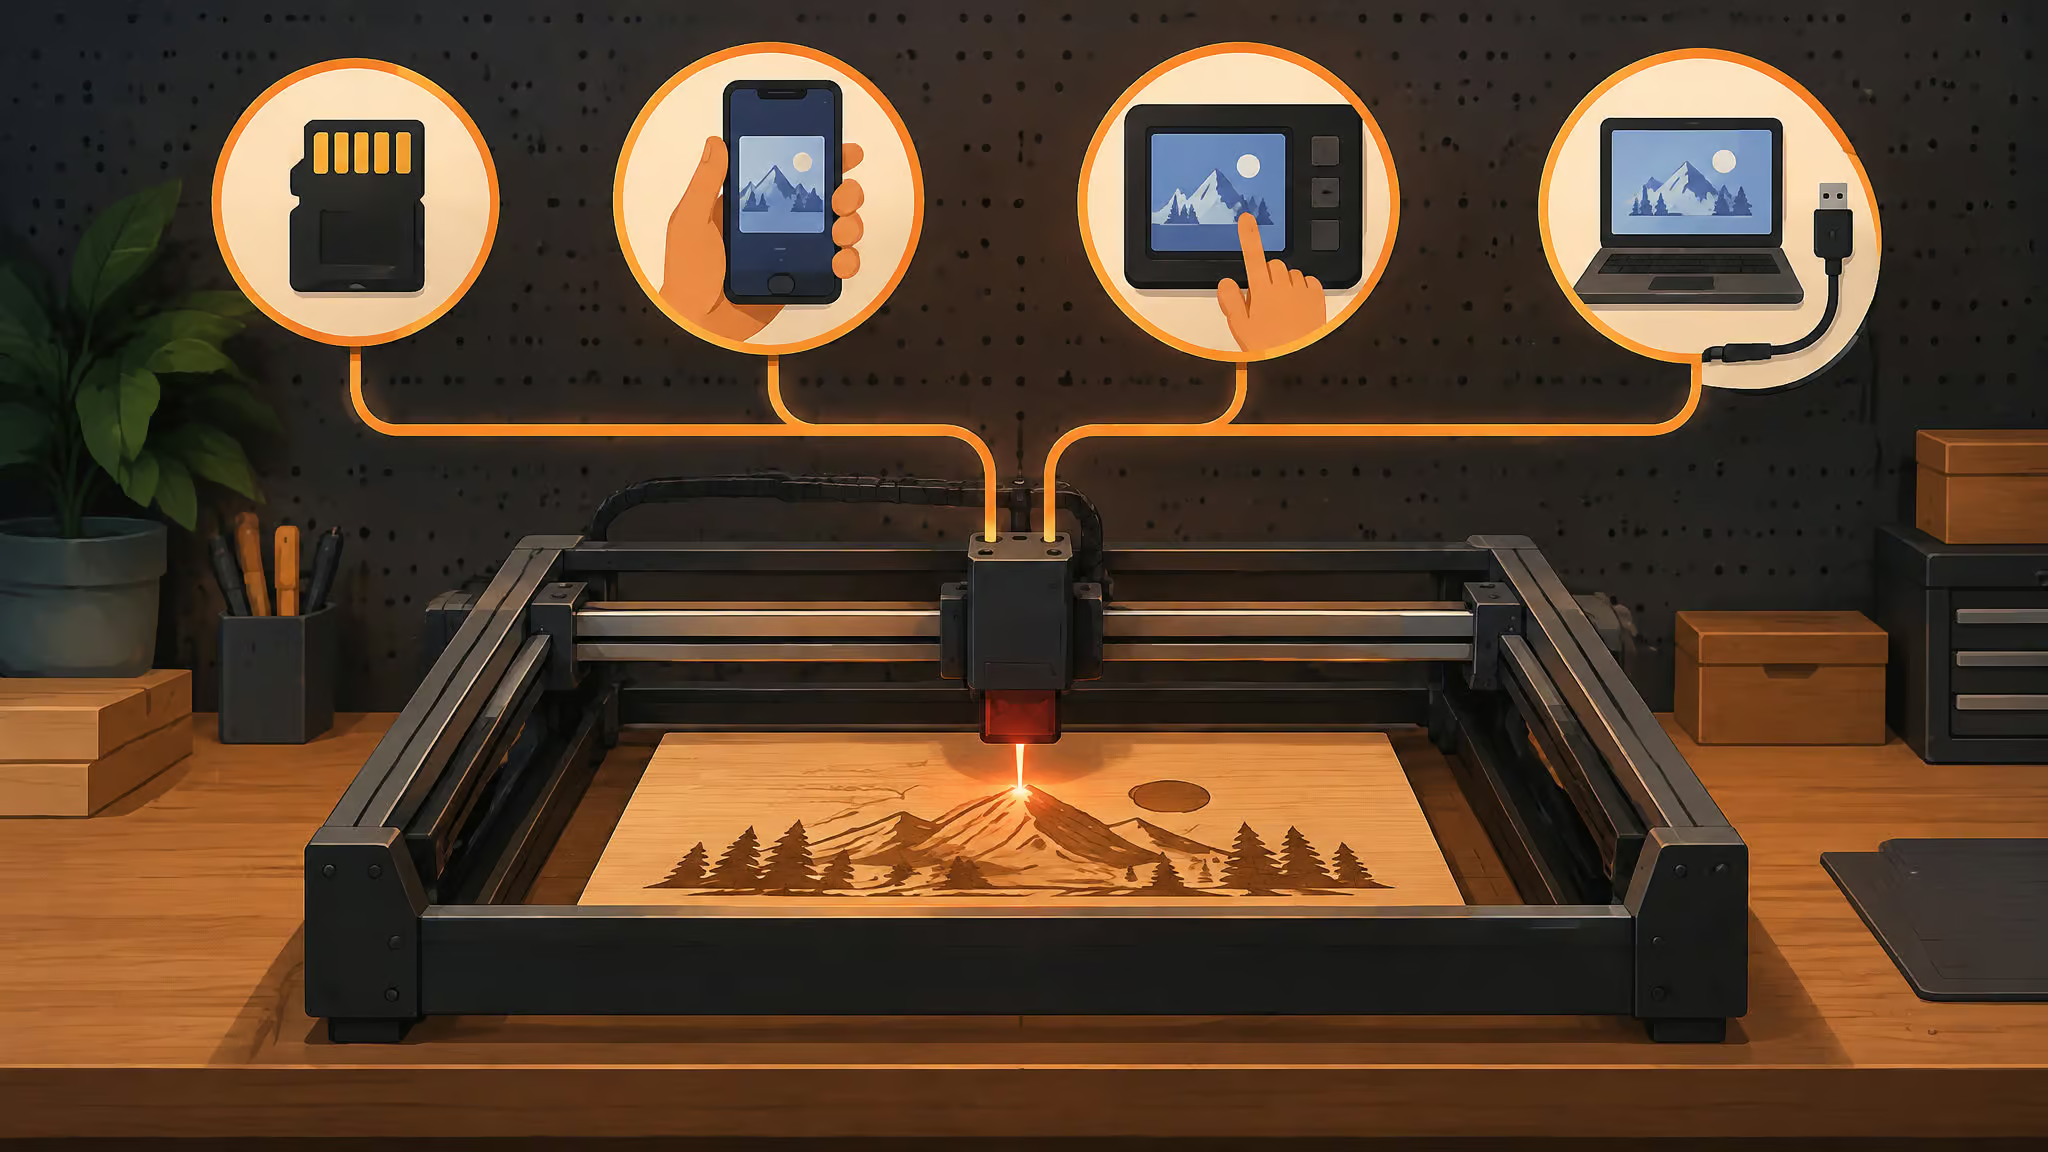
For most modern diode machines, no, not while it’s running. But you’ll generally still want one to create and prepare the designs beforehand. The machines I found run standalone four different ways: tethered PC software, SD or TF card playback, phone apps, and built-in touchscreens. What follows is the honest map: which machines offer which control path, why standalone control works at all, and the documented places where the laptop-free promise fell apart for real owners.
Key Takeaways
Most modern diode engravers run without a computer connected, via SD/TF-card playback, phone apps, or onboard touchscreens like the AlgoLaser 3W Smart running AlgoOS on a 3.5-inch display.
The computer’s real job is upstream: making the design and setting power, speed, frequency, and focus, usually in LightBurn or LaserGRBL.
Standalone workflows fail at the connection layer, not the laser; a ZBAITU M81 owner couldn’t get the machine onto Wi-Fi, but SD-card transfer still runs jobs.
Table of Contents
Do you have to have a computer to use a laser engraver?
Whether a laser engraver needs a computer depends on the machine, and the machines that don’t need one aren’t exotic. Most modern diode engravers run standalone, and the mechanisms are specific enough to name:
- AlgoLaser 3W Smart runs AlgoOS, an onboard operating system, on a 3.5-inch touchscreen. There’s genuinely no PC in the loop; the computer is a tiny one living inside the tool.
- ZBAITU M81 and M37 work offline from an SD card.
ZBAITU describes this drag-and-run workflow as its engineer’s patent, which is the vendor’s own framing, not something independently verified, but the described flow is simple: drag a file onto the card and the machine runs it. - LaserPecker LP1 Pro pairs over Bluetooth from a phone in a three-step setup.
- TwoTrees and Carverall machines take app and Wi-Fi control, with the phone doing the job setup and file transfer.
- The traditional path is a PC tethered over USB, running LightBurn or LaserGRBL, and plenty of people still prefer it.
So the honest answer has two halves. Downstream, at run time, the computer is optional on a lot of machines. Upstream, it usually isn’t: something still has to create the design, and something still has to configure the power, speed, frequency, and focus before the job is worth running. That something is typically a computer running desktop software, and the rest of this article keeps those two halves separate, because conflating them is where most of the marketing lives.
How standalone laser engravers work without a computer
The reason a phone app doesn’t make the machine lag is that the app isn’t driving the motors. The onboard controller is. Hobby diode lasers commonly run on ESP32-class boards, and if you haven’t met the ESP32, it’s Espressif’s cheap, dual-core Wi-Fi microcontroller that powers half the maker world. The TwoTrees TTS-20 Pro uses a 32-bit dual-core ESP32 motherboard with native Wi-Fi, and the Ray5 5W runs a 240MHz ESP32.
That little board executes motion in real time while the phone or PC acts as a transfer and control layer. That separation is also why running a compiled. Gcode or.nc file from a TF card with every other device disconnected isn’t a degraded mode. It’s the machine’s native way of working.One boundary worth stating: hobby diode lasers commonly ship with this kind of controller, as those two boards show, though not every engraver is built this way.
Four ways to run a laser engraver without a computer
Four control paths cover nearly every standalone setup: local storage, wireless app control, onboard screens, and the classic USB tether. They differ in where the job file lives and who presses start. The first three are the ones that let the laptop stay closed.
SD-card and TF-card offline playback
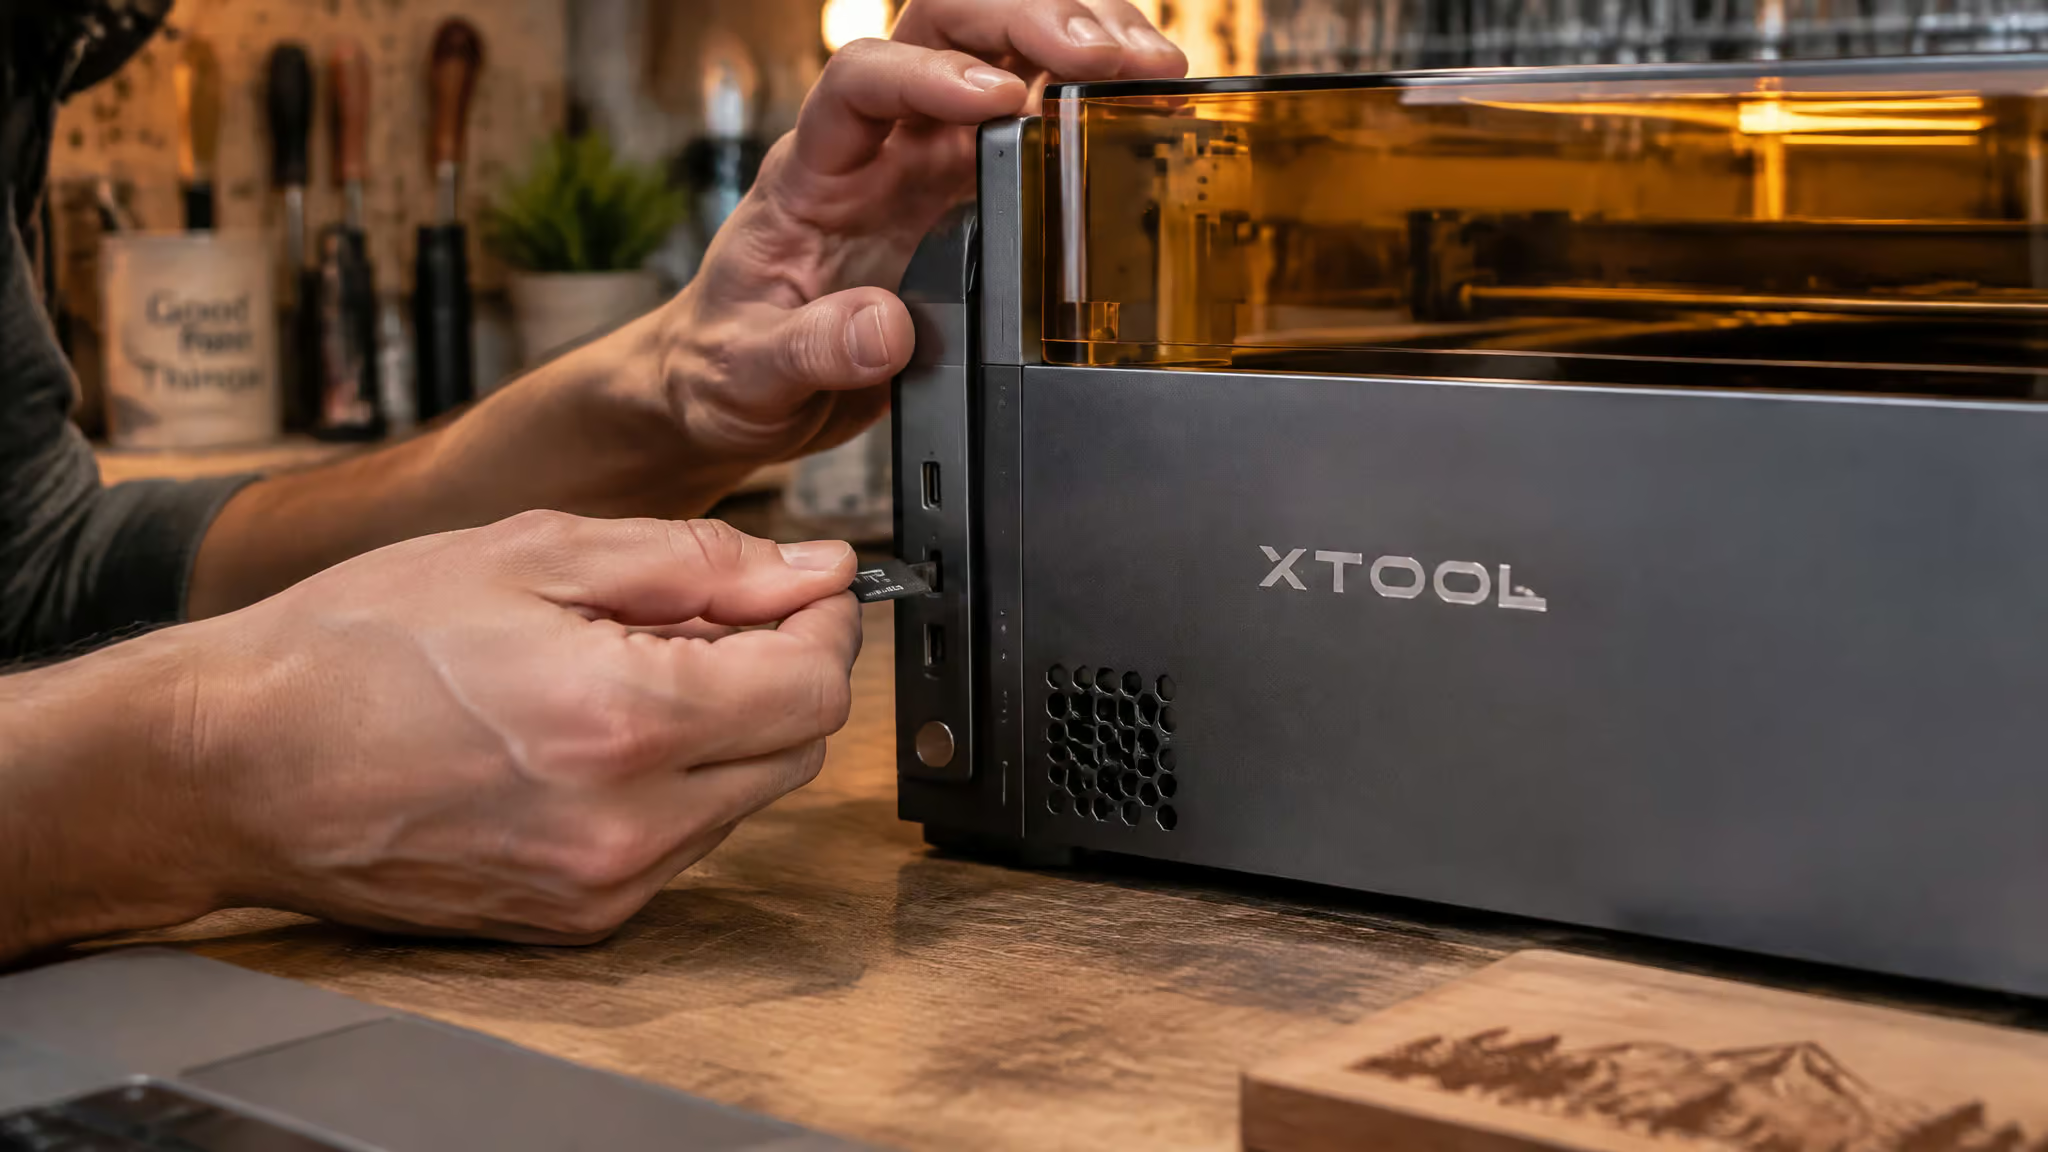
The offline card workflow is short and satisfying. Prepare the art, convert or trace it, set the power, speed, framing, and origin, save the compiled. Gcode or.nc file to the card, then insert the card and run. No laptop tethered to the bench, no Wi-Fi to drop mid-job.
ZBAITU describes its version as an engineer’s patent on the M81 and M37: drag a file to the card, the machine works, and the computer or phone can be closed entirely. Their claim, their framing.
This is the mode for batch and repeat jobs. Event labels, name plates, craft-fair booth production where the venue Wi-Fi is a rumor and your phone battery is at 12%.And here’s the insight I keep coming back to: the card is the most robust path precisely because it eliminates the active connections. USB and Wi-Fi links are where long runs tend to break down, while an SD card has no connection to fail. The job either plays or it doesn’t, and nothing in between can drop a packet.
Phone apps and wireless control
Wireless control comes in two pairing flavors with opposite tradeoffs.Some machines broadcast their own direct Wi-Fi network, which suits one person with one machine. Others join your existing local network instead, which is how multi-user shops and makerspaces share a single laser without fighting over a cable. The apps themselves are capable little control panels: they handle JPG, PNG, and DXF upload, let you adjust power and speed, set the framing origin, and send jobs wirelessly.
CutLabX runs on Windows, Mac, and phones on the Carverall K15 Pro, and the LaserPecker LP1 Pro pairs over Bluetooth in three steps.The honest framing is that wireless is a workflow improvement. It’s “send files from your phone,” not “walk away.” The full supervision caveat lives in the safety section below, and it applies here too.
Built-in touchscreens and onboard operating systems
The AlgoLaser 3W Smart is the category’s flagship example: AlgoOS running on a 3.5-inch touchscreen, with OTA updates and more than 300 material profiles built in.It’s the only class of machine where the computer is truly optional end to end for simple jobs, because the parameter settings and file handling happen on the machine itself. The question to ask about any machine in this class is whether the onboard OS handles parameter settings and file prep, or whether it’s just press-start playback with a pretty screen. The Ray5 5W hedges nicely, pairing its touch screen with USB, TF card, Wi-Fi, and app control as parallel paths. And the reassuring part: onboard-OS machines keep LightBurn and LaserGRBL compatibility, so the no-PC path doesn’t lock you out of desktop tools later.
The design-prep boundary: what still needs a computer
The main limitation of running a laser engraver without a computer is design preparation. The computer didn’t disappear; it moved upstream. Design creation and the power, speed, frequency, and focus settings still take place on a computer, or at least in desktop software, for anything beyond simple jobs. The specific sticking points:
- Phone-camera photos need preprocessing before they engrave cleanly: crop them, clean up the contrast, and convert them into a dotted raster map, which is what the laser actually burns.
- Complex multi-layer files that mix vector cuts with raster fills are better prepared in LightBurn on the desktop before you send them over Wi-Fi or save them offline.
Anything ambitious, like deep relief engraving on wood, lives on this side of the boundary. - Devices support vector engraving alongside raster, and some process vectors faster, so which mode is quick depends on the machine.
Owner reports keep circling the same snag: with touchscreen and app-controlled machines, the job transfers fine, but the artwork was never ready to run. The bottleneck is almost always upstream of the machine.
What kind of computer do you need for laser engraving?
A computer for laser engraving design work needs a specific, checkable set of things, per the guidance AGC Education published back in May 2023:
- RAM determines how smoothly the design side runs, it’s the spec that sets the computer’s overall efficiency for laser engraving work.
The source lists 16 MB, which is almost certainly a typo for 16 GB; treat 16 GB as the realistic number. - An i5-class processor is suggested for faster processing, offered as a reasonable baseline rather than a hard requirement.
- A video card becomes important when graphics workloads are demanding; don’t skimp if you handle big complex files.
- A large hard drive, since engraving project files tend to accumulate quickly over time.
- The OS needs to be Windows or macOS.
On the software side, the usual suspects are Adobe Illustrator, Affinity Designer, Inkscape, and LightBurn, and the practical rule is to pick what you already know, as long as it’s compatible with your machine. The payoff: check the laptop you already own against this list before assuming you need a new one.
LaserGRBL vs LightBurn and the firmware gate
Before picking between the two desktop programs, there’s a gate worth understanding: compatibility is decided by the machine’s firmware, not by which software you install. This section covers how the two tools compare for beginners, and the documented case where that gate kept a new owner’s machine invisible to LightBurn entirely.
LaserGRBL vs LightBurn for beginners
LaserGRBL and LightBurn are the two programs beginner laser engravers encounter, and between them they dominate the computer-control ecosystem. The reassuring proof is in the hardware lists: the Ray5 5W, the Carverall K15 Pro, and the AlgoLaser 3W Smart all support both. That dual support is genuinely useful flexibility, but it’s not automatic, compatibility is gated by your machine’s firmware, and low-cost DIY diode lasers sometimes ship with proprietary firmware that has to be flashed before LightBurn will even see them.That means:
- Orion Motor Tech Ray5 5W: LaserGRBL and LightBurn compatible, alongside its touch screen and USB/TF/Wi-Fi/app paths.
- Carverall K15 Pro: LaserGRBL and LightBurn compatible, alongside the CutLabX app.
- AlgoLaser 3W Smart: LaserGRBL and LightBurn compatible, even though it runs happily with no PC at all.
Machines that speak both are common and easy to learn on, so picking either tool is a low-risk choice. Even the no-PC machines keep the desktop path open, which means your software decision today doesn’t wall off anything tomorrow.
Why LightBurn can’t find your laser over USB
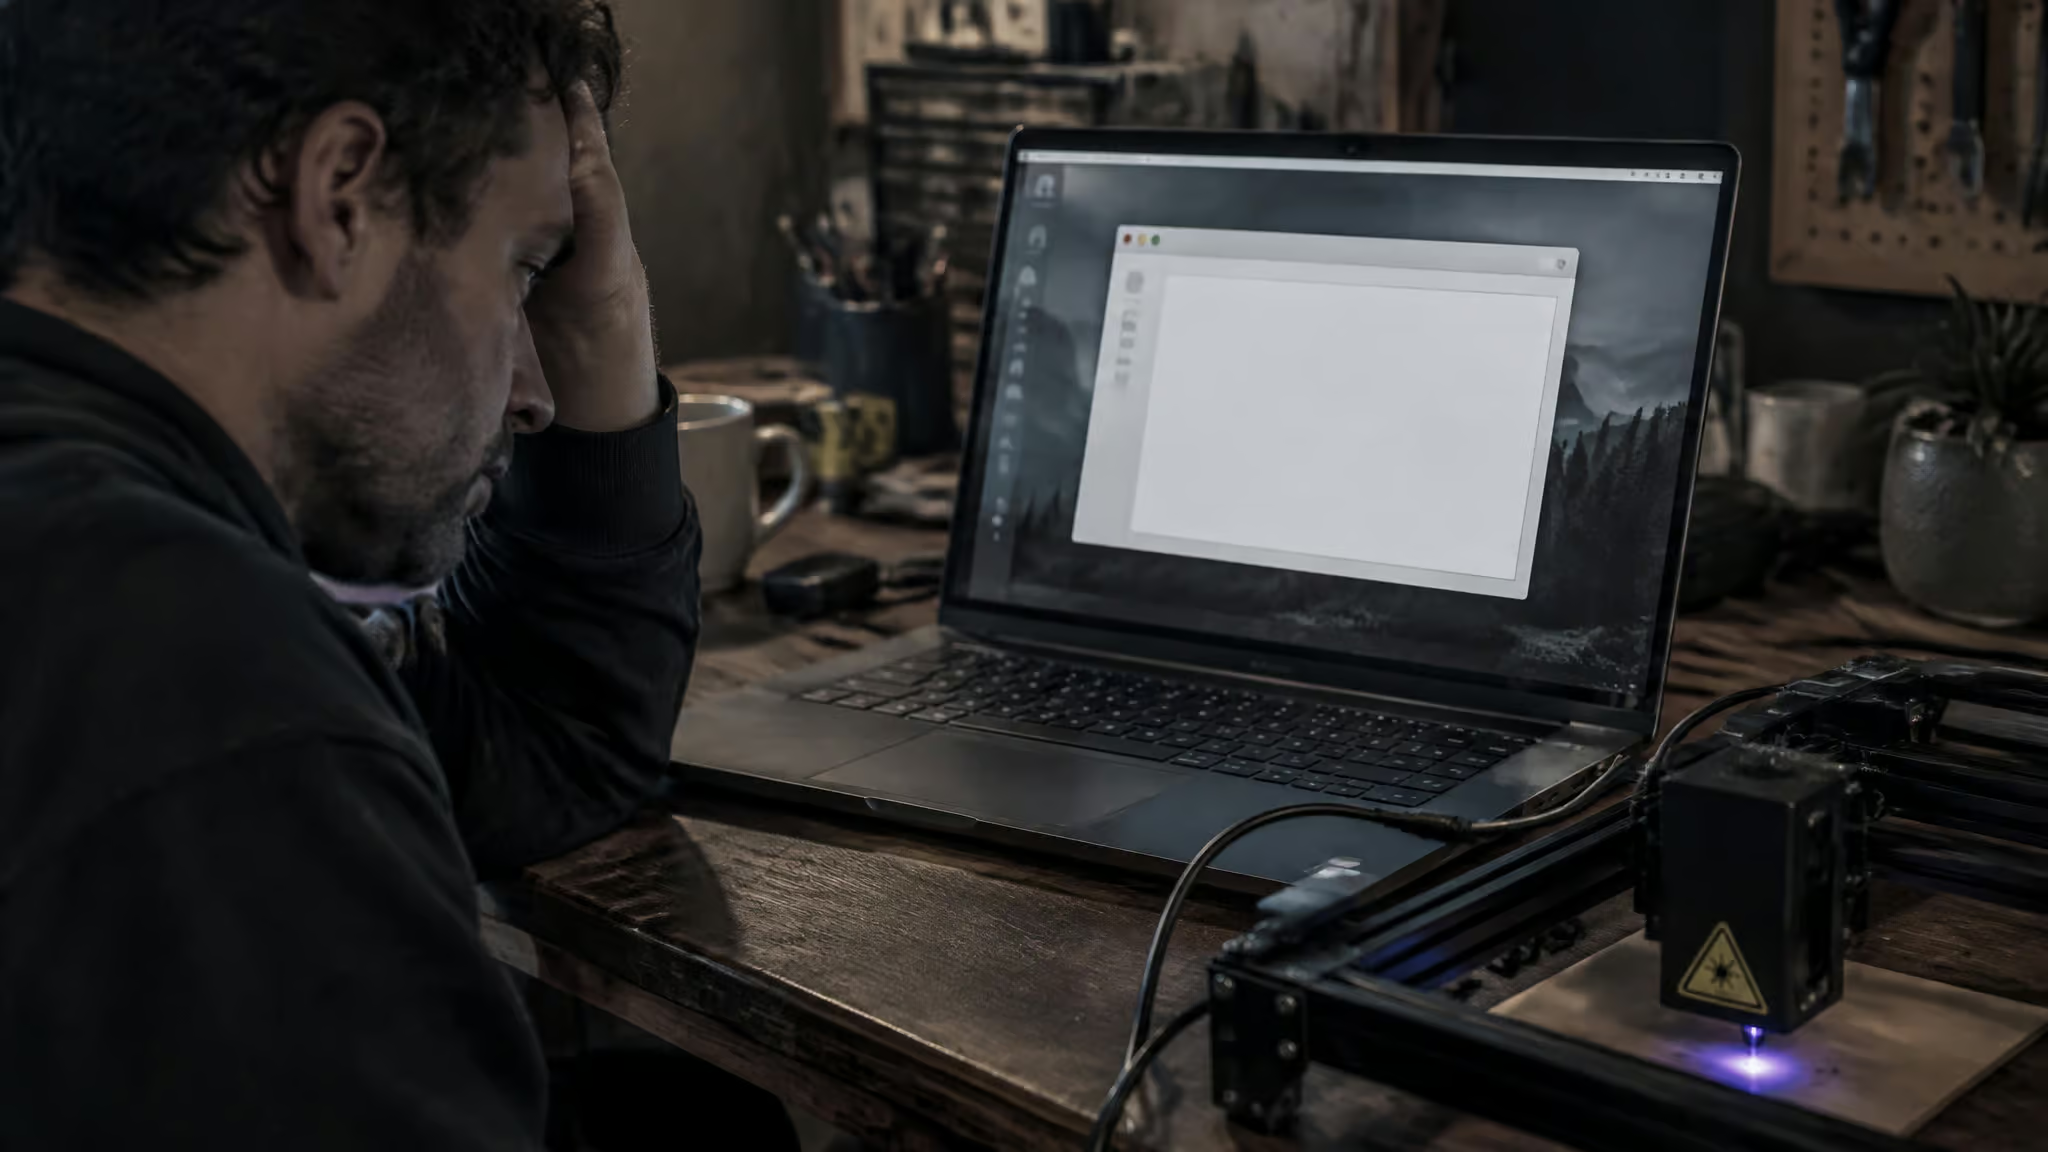
Then there’s the forum thread I fell into. One new owner hooked up a diode laser bought on eBay over USB. The machine appeared on COM6, an ordinary serial port, and LightBurn still couldn’t detect it.The bundled software, which was literally named “laser engraving machine v1.0,” had no console, so there was no way to poke at the machine and figure out what firmware it was actually running. The user knew the bed size and where it homed, and the eBay listing didn’t identify the firmware either.
The thread just… stops there. No resolution documented, and I’m not going to invent one.
The lesson survives the mystery: compatibility depends on the machine’s firmware rather than the software install, so figuring out which controller you have is the first step, before any configuration. Low-cost DIY diode lasers often ship with proprietary firmware that may need flashing before desktop software will cooperate, which is one of the hidden costs of the cheap listing. If you’re in the TwoTrees ecosystem, the TwoTrees Download and Firmware Center is the bookmark-worthy place to check current firmware, software features, and downloads before you troubleshoot anything.
Where the no-computer promise breaks down in practice
Standalone workflows fail at the connection layer, not at the laser. The documented case: a ZBAITU M81 owner posting under the name RobinPiekarski, about three months into ownership at the time, left a comment roughly two years ago saying the machine never showed up on their Wi-Fi network, whether they tried from a phone or a computer. No fix was documented. For context on where this lives: it’s on ZBAITU’s YouTube channel, which has around 1.23K subscribers, so it’s a small community space rather than a support forum, and one owner’s experience is not a failure rate.
The same comment thread shows the ecosystem’s gaps: an unanswered question about rotary-attachment compatibility for engraving cups, and a request for an offline Android app for the ZBAITU M37. Here’s the lesson worth carrying into a purchase: when Wi-Fi fails, SD-card transfer still works, which is why machines with multiple control paths are more resilient. Make that a buying criterion.
Fume extraction, materials, and safety without a computer
Running a laser without a computer changes nothing about the physical demands of the machine: fumes still need handling, settings still need to match the material, and supervision is still mandatory. This section walks through each of those, starting with ventilation.
Fume extraction and indoor ventilation
Whether you can run one indoors comes down to extraction, and extraction isn’t optional.The physics is simple: the beam marks the surface by vaporization, the solid turns to gas, and fumes are the result. Two paths handle them. An exhaust blower ducts fumes out of the machine, or a standalone HEPA-type filtration unit traps the harmful chemicals, which is the apartment-friendly, no-window option. A proper exhaust fan removes odors and smoke, reduces sparks and flames, and, the part that surprises people, improves engraving quality. The caveat hiding in the cute form factors: some portable engravers lack dedicated exhaust, so plan room ventilation.
Material-matched settings and accessories
Materials span wood, plastics and acrylics, metal, leather, rubber, fabric, and cardboard, plus plywood, cork, anodized metals, and dark plastics. Settings need to suit the material: high power on something soft like leather will burn it. Manufacturers publish material test results, so start from their numbers and tweak. Accessories expand what’s possible and cost real money beyond the machine: a cutting grid (buy one or DIY; an Instructables tutorial exists), a rotary attachment for cylinders like pens and mugs, and an air assist compressor to prevent flare-ups, reduce residue, and help focus.
Portable units may engrave wood and acrylic cleanly but struggle with anodized metals or dark plastics, so verify wattage, supported materials, and mask or coating requirements before buying. For a closer look at what the beam actually does to one of the most popular materials, see how lasers interact with wood.
Supervision is mandatory in every control mode
Wireless and SD-card operation are workflow improvements, never substitutes for fire safety or unattended operation. Keep the machine visible and keep a physical power switch reachable as the emergency stop.The same sources selling wireless convenience state this themselves, which tells you something.
Maintenance, spare parts, and the beginner learning curve
For a small home workshop, a laser engraver is worth buying if you’ll actually run repeat jobs, and the honest cost framing starts with this: the sticker price is never the whole price. Software choice, accessories like the cutting grid, rotary attachment, air assist, and filtration, and spare parts all add up. Spare parts economics depend on brand popularity: common-brand parts are readily available and affordable, while less popular models can mean costlier, slower-to-obtain parts.Power class feeds into the decision too, and whether 20W or 40W makes sense is worth settling before you commit.
Is it hard to learn? No, and the ease factors are concrete. Setup times range from under 90 seconds, which is six screws on the K15 Pro, to considerably longer.Safety features worth checking for include lid switches, auto shutoff, clear enclosures, a strong power switch, stable bases, non-slip feet, protective covers, lens guards, and overheat reminders.
Free templates and manufacturer-published material test results shorten the ramp, and 24/7 support is cited as valuable for setup and project issues. One practical trick worth stealing: run a timed sample project on each unit to gauge its speed. Then there are the chores, which are control-agnostic and monthly: clean the optics, check the belts, lubricate the guide rods, swap out air filters, snug up fasteners, verify the fans are working, run a test pattern, and wipe down the lenses.Occasional firmware updates apply regardless of how the machine is controlled; the TwoTrees firmware center is where to check. One caveat survives all the reassurance: settings must match the material, or soft materials burn.
Matching the control workflow to your use case
Map the workflow to the situation, not the machine to a ranking:
- TF-card batch runs for craft-fair vendors and repeat production
- Direct device-to-machine Wi-Fi pairing for a single mobile machine
- Shared local-network app control for workshops and makerspaces
- Touchscreen machines like the AlgoLaser 3W Smart for gifts, signs, and school projects
An AGC Education article by Leila Giles, published May 16, 2023 and aimed at teachers and community leaders, made the group-setting case: the full setup, machine plus software or standalone path plus materials plus extraction, needs to be ready before students start, with projects like name tags, 3D letters, wooden boxes, mugs, and glassware. Its beginner picks were the Ray5 5W as the all-in-one, the K15 Pro for larger work areas, the LP1 Pro as the pocket-sized starter, and the AlgoLaser for no-PC simplicity; those are the source’s picks, not verdicts.The supervision caveat attaches to every scenario equally. Start with a machine’s control paths, then check that the rest of your requirements are covered.
Frequently Asked Questions
Can you run a laser engraver without a computer using an SD card or phone app?
Yes, and the SD card is actually the most robust path because it eliminates active connections — there’s no USB or Wi-Fi link to drop mid-job. You prepare the file on a computer, save the compiled Gcode or .nc file to the card, insert it, and run. Phone apps work too, handling JPG, PNG, and DXF uploads with power and speed adjustments, but they’re a workflow improvement, not a license to walk away.
Is it worth buying a laser engraving machine?
For a small home workshop, it’s worth it if you’ll actually run repeat jobs. The honest cost framing: the sticker price is never the whole price — accessories like a cutting grid, rotary attachment, air assist, and filtration, plus spare parts, all add up. Spare parts economics depend on brand popularity, so common-brand machines are safer bets for long-term ownership.
Is laser engraving hard to learn?
No, and the ease factors are concrete: setup can take under 90 seconds (six screws on the Carverall K15 Pro), free templates and manufacturer-published material test results shorten the ramp, and safety features like lid switches and auto shutoff reduce the stakes. The main discipline is matching settings to the material — high power on something soft like leather will burn it.
Why won’t LightBurn find my laser engraver when I connect it via USB?
Usually it’s a firmware gate, not a software problem. Compatibility depends on the machine’s firmware, and low-cost DIY diode lasers often ship with proprietary firmware that may need flashing before desktop software will cooperate. Figure out which controller your machine actually runs first — cheap bundled software often has no console to help you check — and for TwoTrees machines, the TwoTrees Download and Firmware Center is the place to start.
What are the limitations of using a laser engraver without a computer?
The main limitation is design preparation. Phone-camera photos need preprocessing — cropping, contrast cleanup, and conversion into a dotted raster map — and complex multi-layer files mixing vector cuts with raster fills are better prepared in LightBurn on the desktop. The documented failure pattern with touchscreen and app-controlled machines is that the job transfers fine but the artwork was never job-ready; the bottleneck is almost always upstream of the machine.
