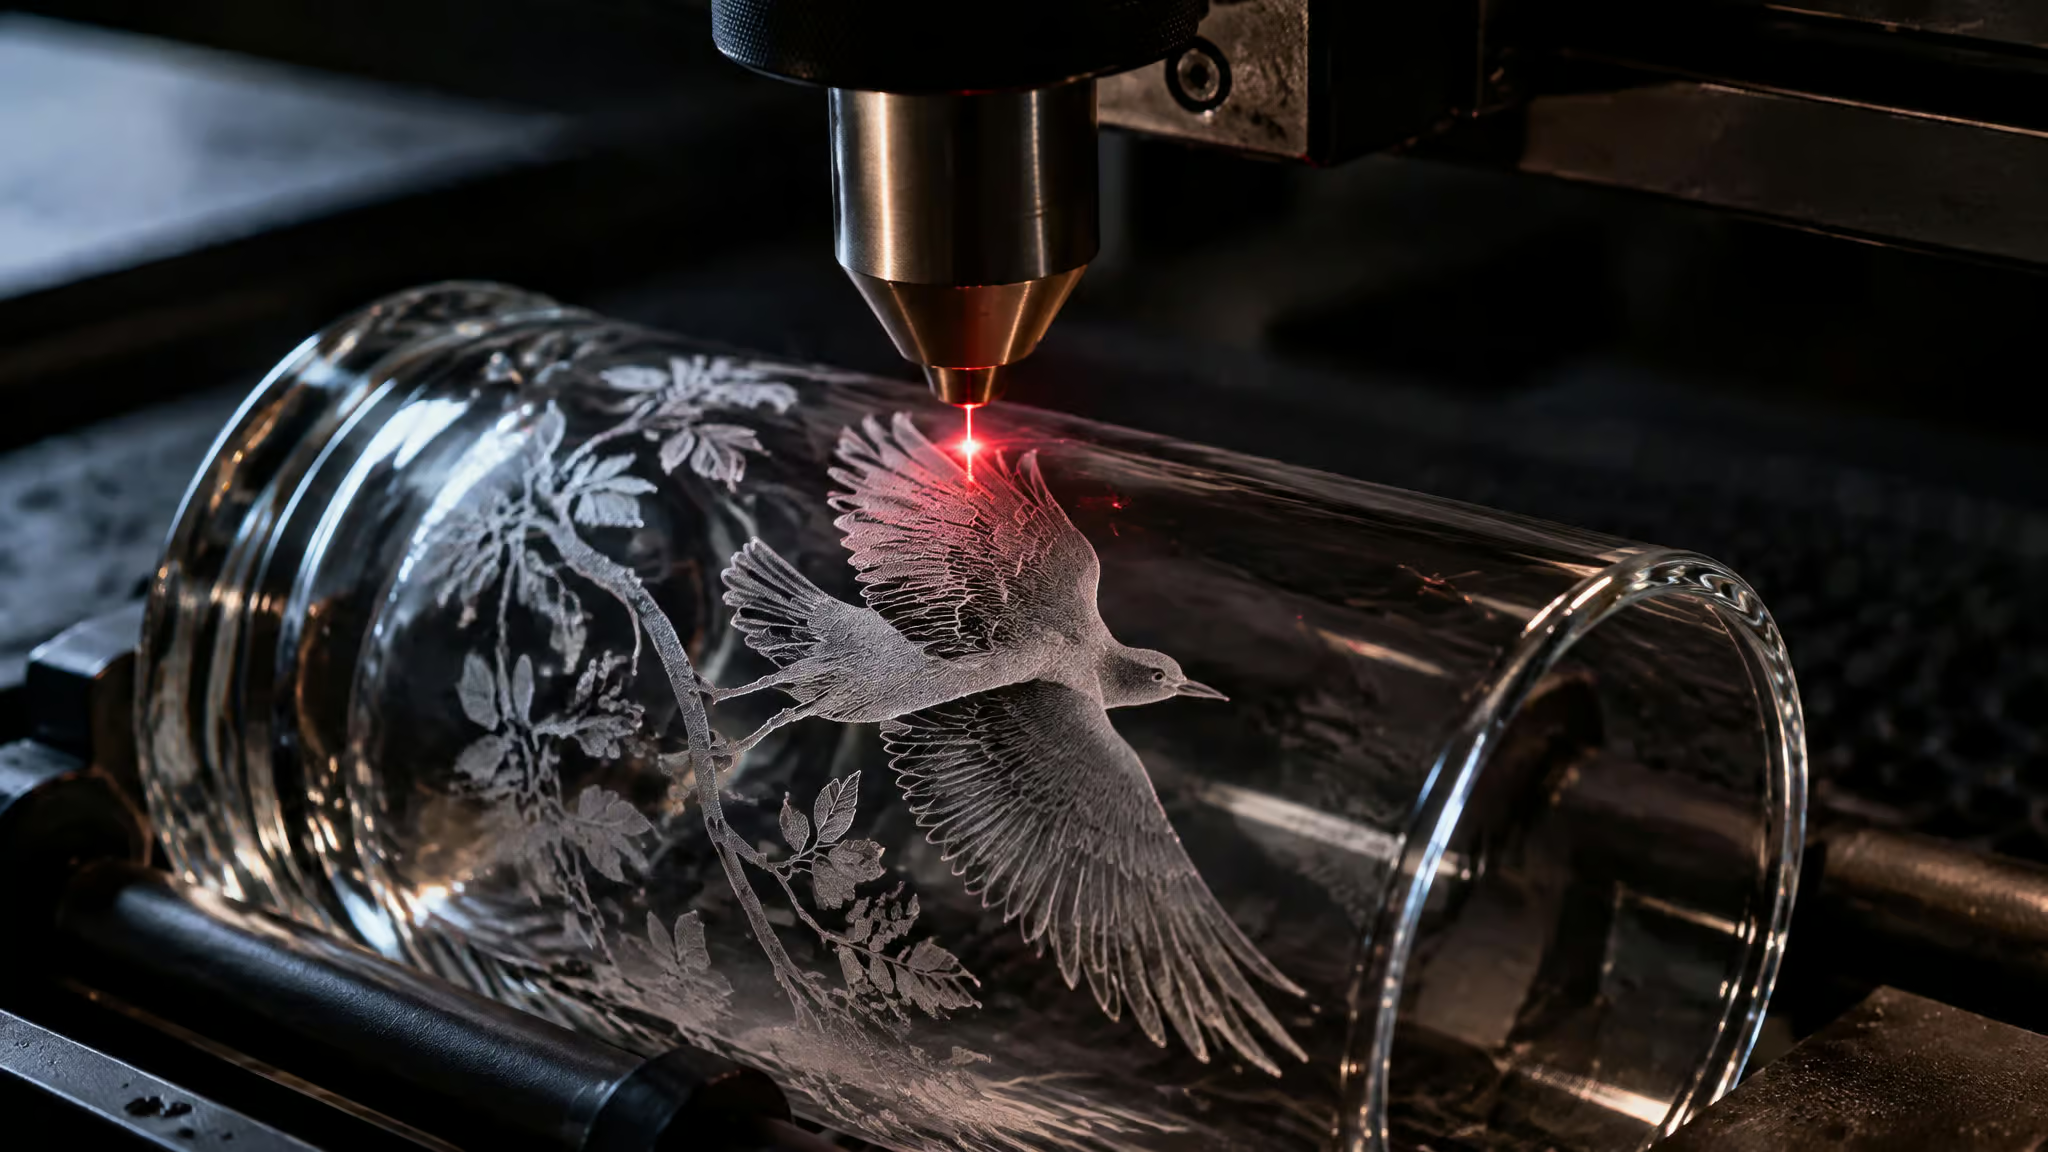
Can you laser engrave glass? Yes, and it’s not even a close call. Glowforge owners have documented their machines doing beautiful engraving on glass, and the results hold up. But the reason it works is also the reason half of what you’ll read about lasers and glass is misleading: the mark isn’t a melt, an ink, or a cut.
It’s a field of micro-fractures that reads as white frost, and that same fracture mechanism is exactly why the same beam that frosts glass perfectly cannot cut it. Engraving success and cutting failure are the same physics event, read two different ways. Below: which laser classes actually work, what the result physically looks like, where the hard limit sits, and one decision tree to route you to the right method. What you won’t get is a fake universal settings chart, because for glass, those don’t exist.
Key Takeaways
CO2 lasers engrave glass directly and fast; diode lasers can’t mark bare clear glass at all and need a marking layer (a coat of tempera paint, a chalk spray, or laser marking paper); fiber lasers leave no mark; UV lasers work but are the class few people own.
The frosted mark is a field of micro-fractures, and that same mechanism is what makes cutting impossible: super-macro photos show laser “cuts” leave discontinuous fractures with no continuous score line, so the glass never snaps cleanly.
Paint brand matters more than color or application method: on a 10W xTool D1 Pro, Prang tempera, in both black and white, produced clean white frost while Sax tempera produced gray muddy frost on the same glass.
Table of Contents
What a laser beam actually does to glass
Laser engraving on glass is controlled surface damage: the beam creates tiny micro-fractures across the surface, and that fracture field is what your eye reads as a white frosted finish. Not a melt, not a smooth ablated groove, not ink. The frost you admire is the damage, which is honestly kind of elegant once you see it that way. This isn’t a theoretical claim, either.
Glowforge community members have confirmed firsthand that the machine does beautiful engraving on glass, and if you want the deeper physics of what happens to glass under a laser, The Engravers Journal published a good read on exactly that. The same surface explosions that produce a gorgeous frost produce a terrible score line. We’ll get to why that matters when we hit cutting.
Which laser classes can engrave glass
The decisive split across laser classes comes down to one question: does the beam’s wavelength get absorbed by glass, or does it pass straight through? Everything else follows from that. Here’s the verdict list:
- CO2 (10.6µm): Engraves glass directly and fast, on flat panels and on drinkware with a rotary attachment for tumblers and stemware. A CO2 laser can mark bare glass, but many operators still add a temporary marking layer to prevent uneven chipping. So prep is an improvement, not a requirement.
- Diode (blue, ~450nm): Can’t mark bare clear glass at all, since the beam passes straight through it. The marking layer is the enabling condition, not a pro tip. Skip it and you get nothing, literally nothing, on the glass.
- Fiber (1064nm): Passes through transparent glass and leaves no mark. Non-starter. Say it plainly and move on.
- UV (355nm): Works on glass and crystal, but it’s the class owners least often have. Worth flagging honestly: source evidence for UV settings on glass is thin, so we’re not going to invent parameters here. We cover the UV cold-marking sub-world separately in our UV laser engraver for glass piece.
The pattern to internalize: absorption is everything. Glass is transparent to the wavelengths diode and fiber lasers emit, so the energy has nowhere to go unless something opaque on the surface absorbs it first. CO2 and UV wavelengths interact with the glass itself, which is why those machines can touch the material directly. Our wavelength-by-material compatibility map covers this absorption logic across every material, not just glass.
Diode vs CO2 laser engraving on glass
Diode and CO2 lasers both engrave glass. What differs is cost, speed, and how much prep each one demands.
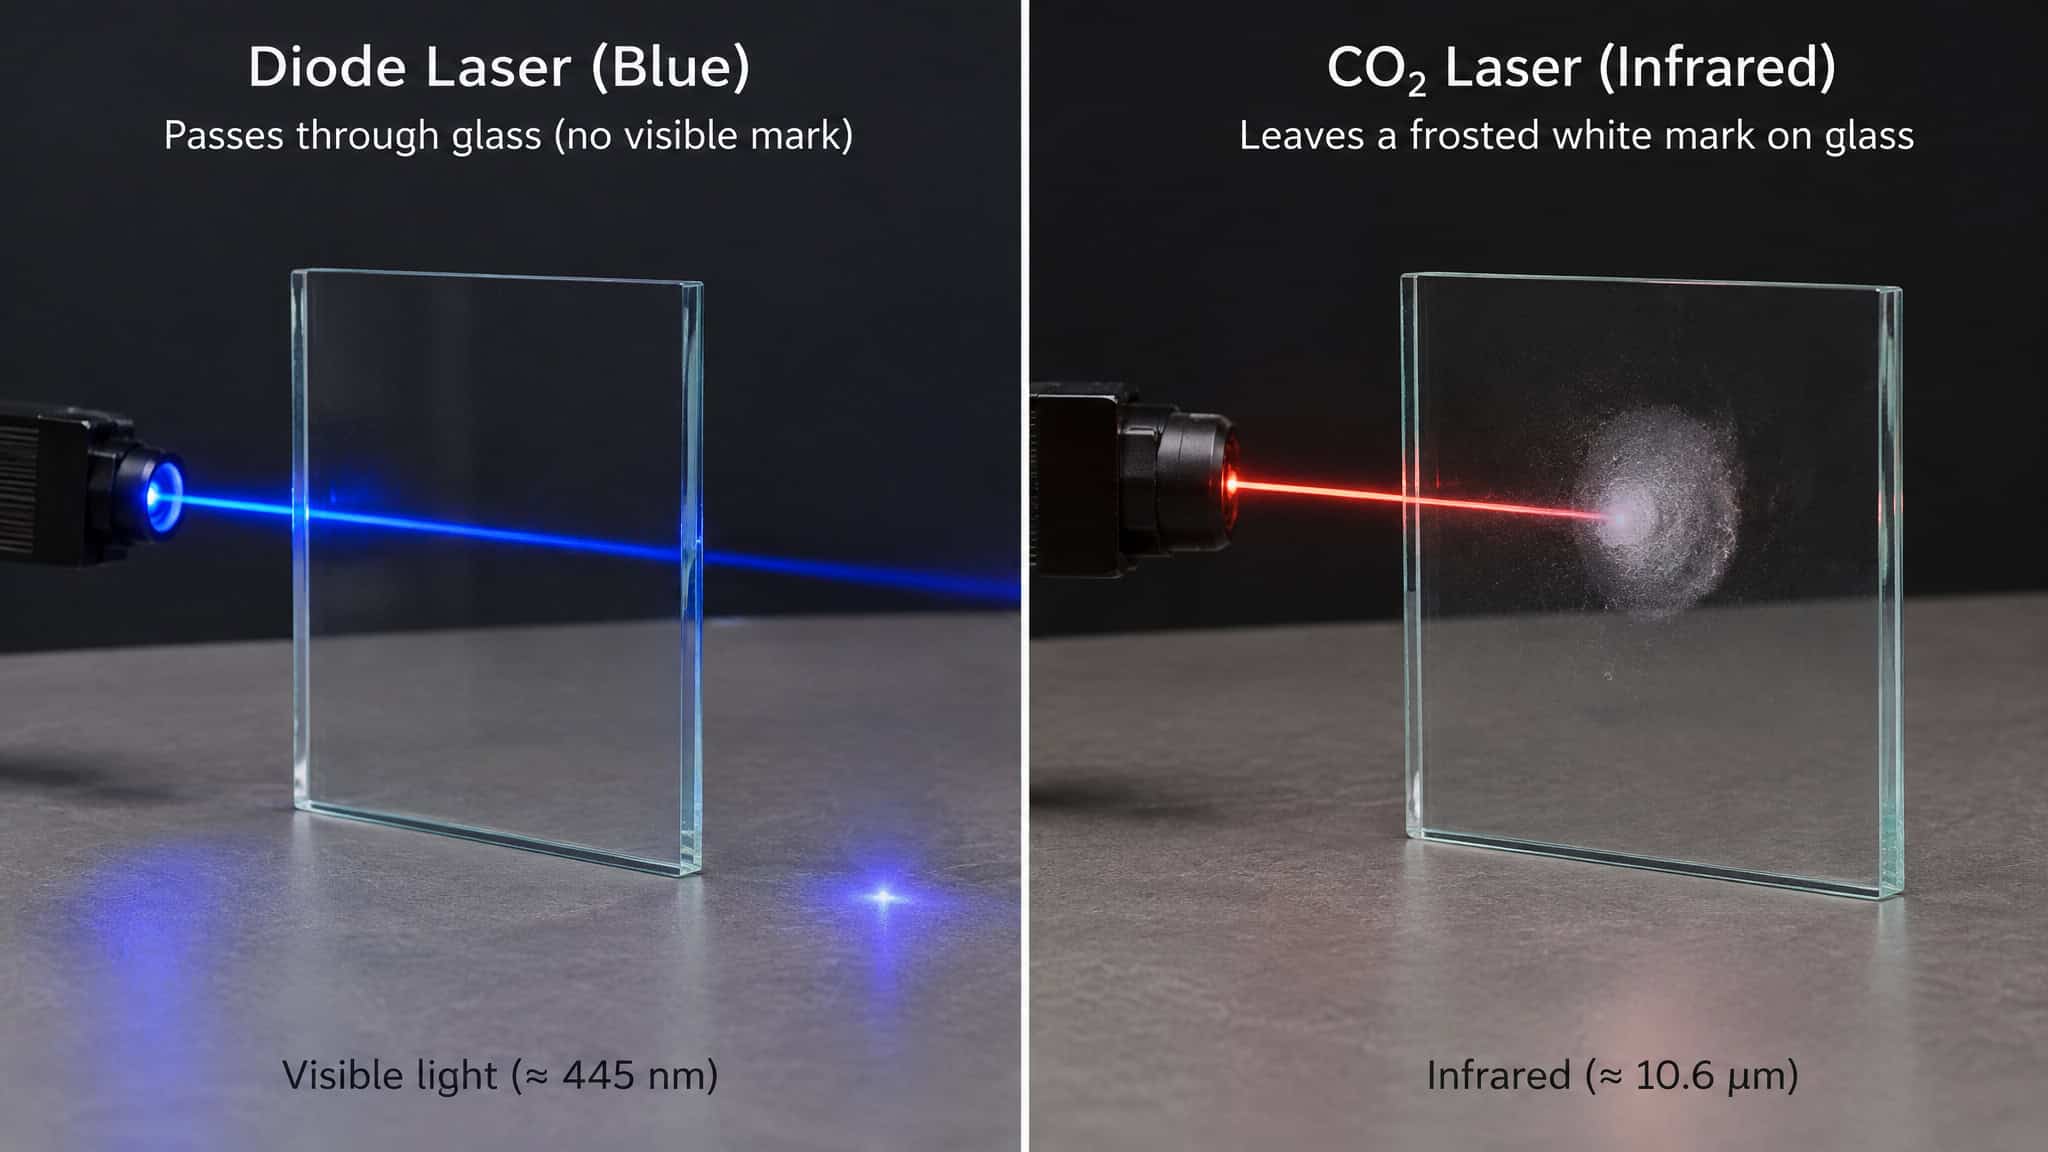
The diode path: low-to-moderate machine cost, slower engraving, and a marking layer that’s mandatory rather than optional. The result is also sensitive to your prep paint brand, which we’ll dig into below. The good news is it’s proven: a 10W xTool D1 Pro has produced clean white frost on camera, documented by the ChalkWatts creator.
The CO2 path: moderate-to-high machine cost with low per-piece consumables, fast engraving, and high repeatability once you’ve dialed it in. A marking layer is still commonly added to avoid uneven chipping, and a rotary attachment handles drinkware.
| Diode | CO2 | |
|---|---|---|
| Marks bare glass | No (beam passes through) | Yes (layer usually applied anyway) |
| Marking layer required | Yes (mandatory) | Partial (prevents uneven chipping) |
| Engraving speed | No (slow) | Yes (fast) |
| Machine cost | Partial (low-to-moderate) | Partial (moderate-to-high) |
The sources behind this comparison support relative cost ratings only, not actual prices, so treat that row as direction rather than dollars. Prices may vary.
Ask the question as an if-then and the choice makes itself. If you want entry-level frost on a budget and you already own or are eyeing a diode, the marking layer gets you there. If you want speed and repeatable production, especially drinkware, CO2 is the machine that earns its keep. The real tradeoff is throughput, prep discipline, and what the machine costs to get in the door.
What to put on glass before laser engraving
A marking layer is what lets a diode laser mark glass at all: clear glass lets the beam pass straight through, so something opaque has to sit on the surface, soak up the energy and pass heat into the glass. Tempera paint, chalk spray, and laser marking paper are the standard choices, and xTool users widely use all three.
Then there’s the finding that changes the usual advice. In a controlled same-glass swap test on a 10W xTool D1 Pro:
- Sax tempera produced gray, muddy frost. Prang tempera produced clean white frost in both black and white. Same glass, same laser, same application. That isolates paint brand as the variable, not color and not application method.
- Application method mattered little. Full-strength paint with a foam brush, a 50/50 water dilution with dipping, one coat versus several: all gave similar results. Airbrushing is skippable.
- The diagnostic: pale gray frost means wrong paint brand, not wrong settings. Swap brands before you burn hours re-running power and speed grids.
Quick test: If your frost comes out pale gray, swap the paint brand before re-running any power and speed grids.
To be fair, this is one creator’s controlled test on budget glass from Dollar Tree and Walmart, not a universal law. Prang isn’t mandatory and Sax doesn’t always fail. But if your frost comes out gray, brand is the first suspect. We go deeper on the full prep menu, including what washes off cleanly, in our what to spray on glass before laser engraving piece.
Will a 10W laser etch glass?
A 10W diode laser etches glass only with a marking layer; bare glass fails completely. The documented proof is clean white frost from a 10W xTool D1 Pro, and it’s worth noting the same machine appears across two independent sources, the ChalkWatts video on YouTube and the tempera paint testing, the video’s transcript alone runs 328 subtitle segments, which is genuine corroboration rather than one person’s lucky afternoon.
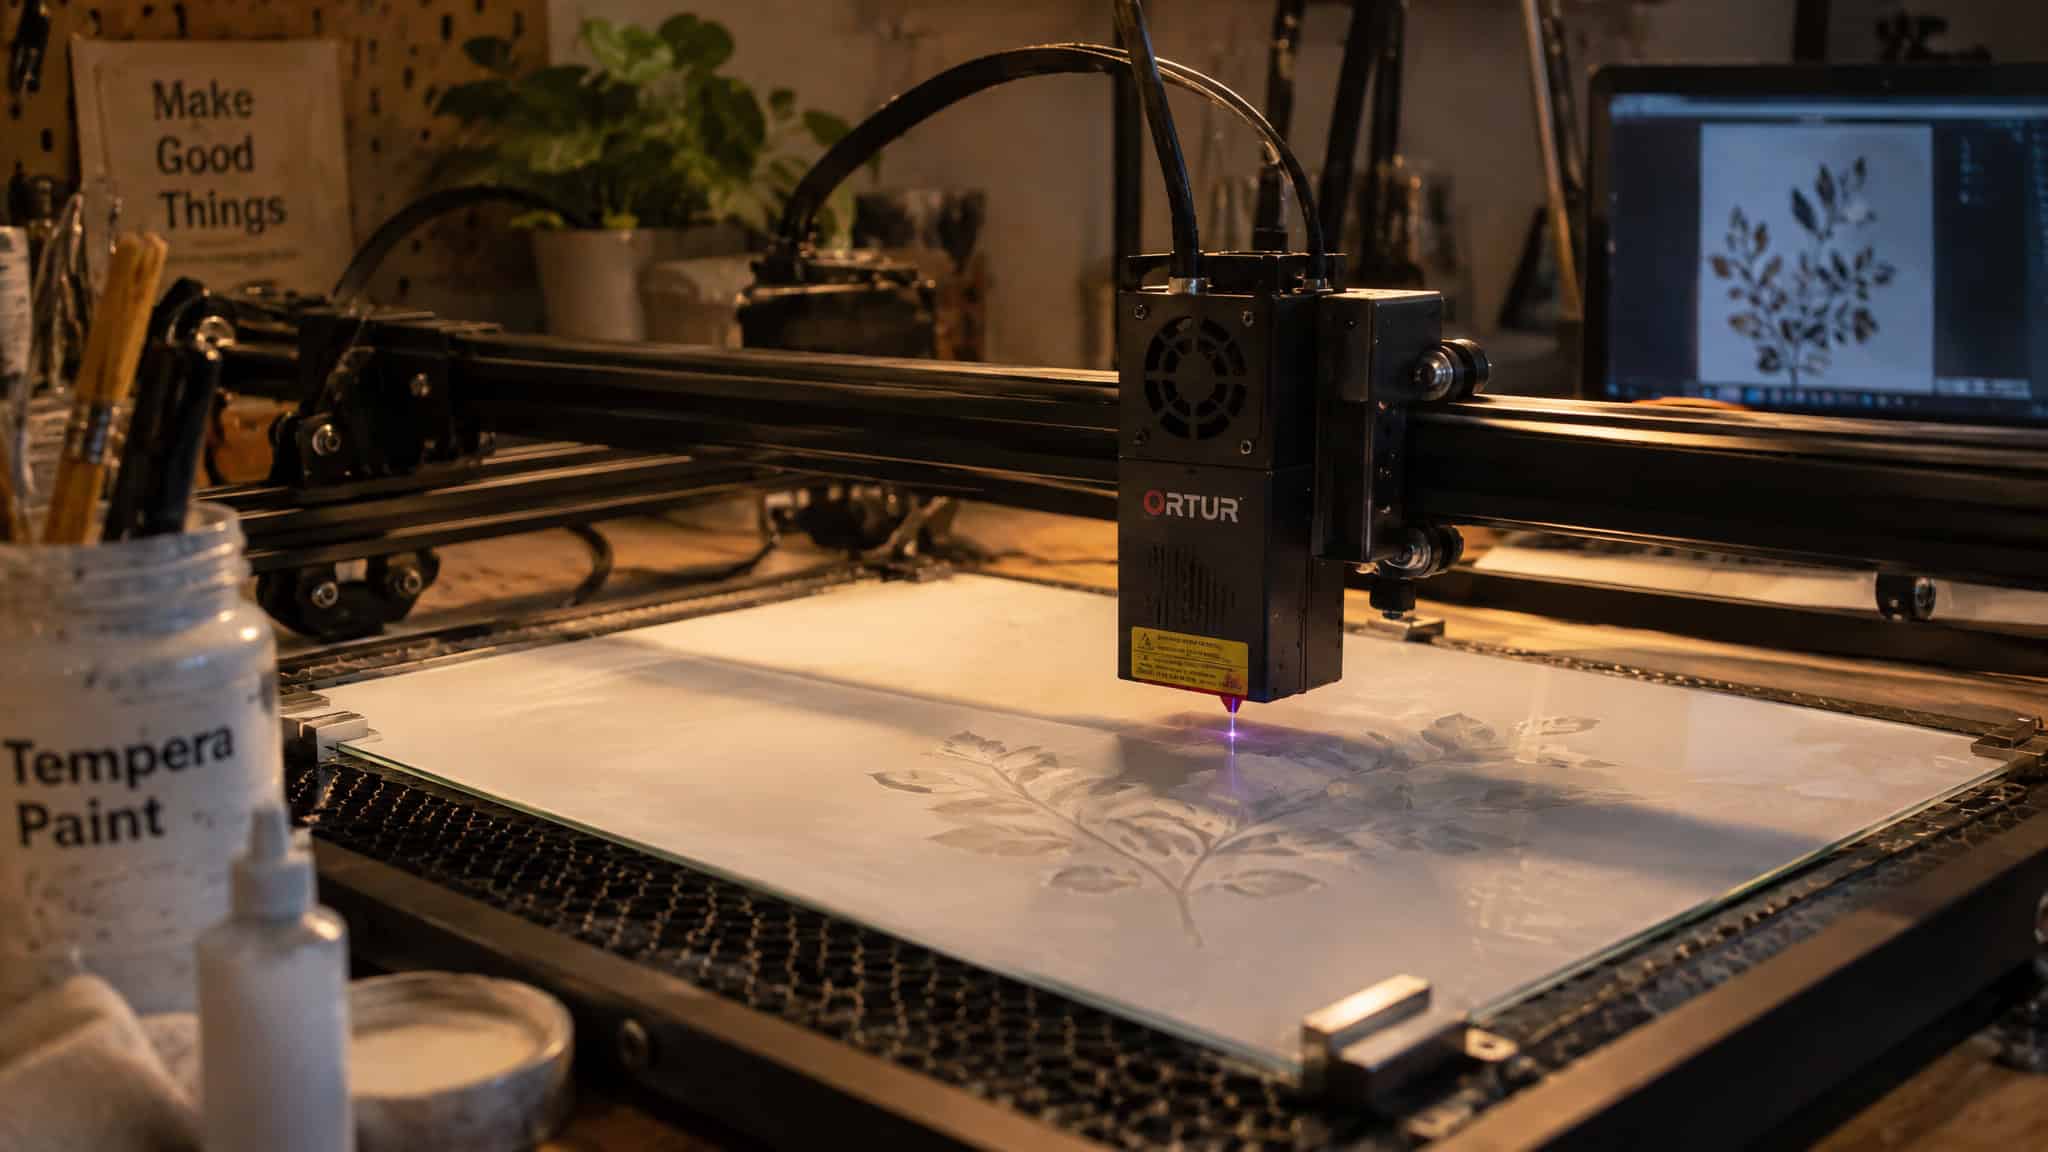
For a starting frame rather than a promise: run a test grid of 800 to 1200 mm/min at 60 to 100% power. The creator’s working setting was 100% power at 1000 mm/min, one pass, fill mode. In LightBurn, the text and vector settings were 2.5% overscan and a 0.08 line interval, and we keep the full parameter breakdown in our glass power settings deep dive rather than duplicating it here. One quirk to check before any image-mode job: LightBurn’s auto-set showed a line interval of 799 where 0.08 was intended, which will absolutely sabotage a job if you don’t catch it.
The caveat that matters most: glass shows the largest setting variation between same-wattage lasers of any material tested. These numbers are grid starting points for your machine, not universal answers.
Can you laser cut glass or only engrave it?
No, a laser cannot cut glass cleanly. Engraving is what it does, and the reason is geometric, not a power problem.
The failed cutting campaign
One tester, @Kusmeroglu, ran a 30-watt tube at 50% power and 14mm/sec over two passes, and the best result was a 3-inch circle that landed in mediocre territory: far from a disaster, but too rough to count as a success. The full matrix was brutal: multiple power levels, multiple speeds, up to 10 passes, various defocus amounts, and offset heated second passes hoping the heat would crack the first pass’s score. No reliable break, ever.
Why it fails
Super-macro photos tell the story: a glass cutter leaves one continuous score line, while the laser leaves discontinuous fracturing with no continuous line anywhere. Glass breaks along a score line, and without one continuous line there’s no clean snap. The best-supported explanation, offered by commenter @aeva interpreting those photos and not settled physics, is that the laser excavates a u-shaped channel rather than forming a narrow score, so there’s insufficient stress concentration to propagate a crack. More watts or more passes can’t fix a geometric failure.
The hybrid that works
Laser-engrave a guide line, then break along it with running pliers. The hybrid that fails: tracing an engraved line with an oiled cutter, because the engraved surface is essentially explosions scattered across the glass and the cutter wheel just can’t roll across it. One aside from the same thread, shared by @lcuellar63: the tester wanted straight rectangles for picture frames and 3D printer beds, and plain 2mm picture-frame or 3mm mirror glass survives 130°C as a printer bed with even heat and edges free to expand via picture frame clips, lasting years.
Score-and-snap: where the hand cutter wins
For simple rectangles, a cheap hand cutter beats the laser, and even the machine-first poster in the thread, who avoids manual-dexterity work, concedes it. His success rate was under 50% before oil on the cutter wheel; a diamond head cutter with mineral spirits scored smoothly and effortlessly for not much more money. John, an experienced hand cutter in the same discussion, adds two tips: snap the glass immediately after scoring, and clean it thoroughly before cutting. If snapping gives you trouble, flip the glass onto a soft surface, felt, carpet, or foam core, and apply slight pressure above the scratch; the crack runs ahead of the pressure point, which is honestly kind of elegant.
What laser-engraved glass looks like
Every laser mark on glass lands in one of a few result types, and knowing them upfront saves a lot of disappointment.
The default: white frost
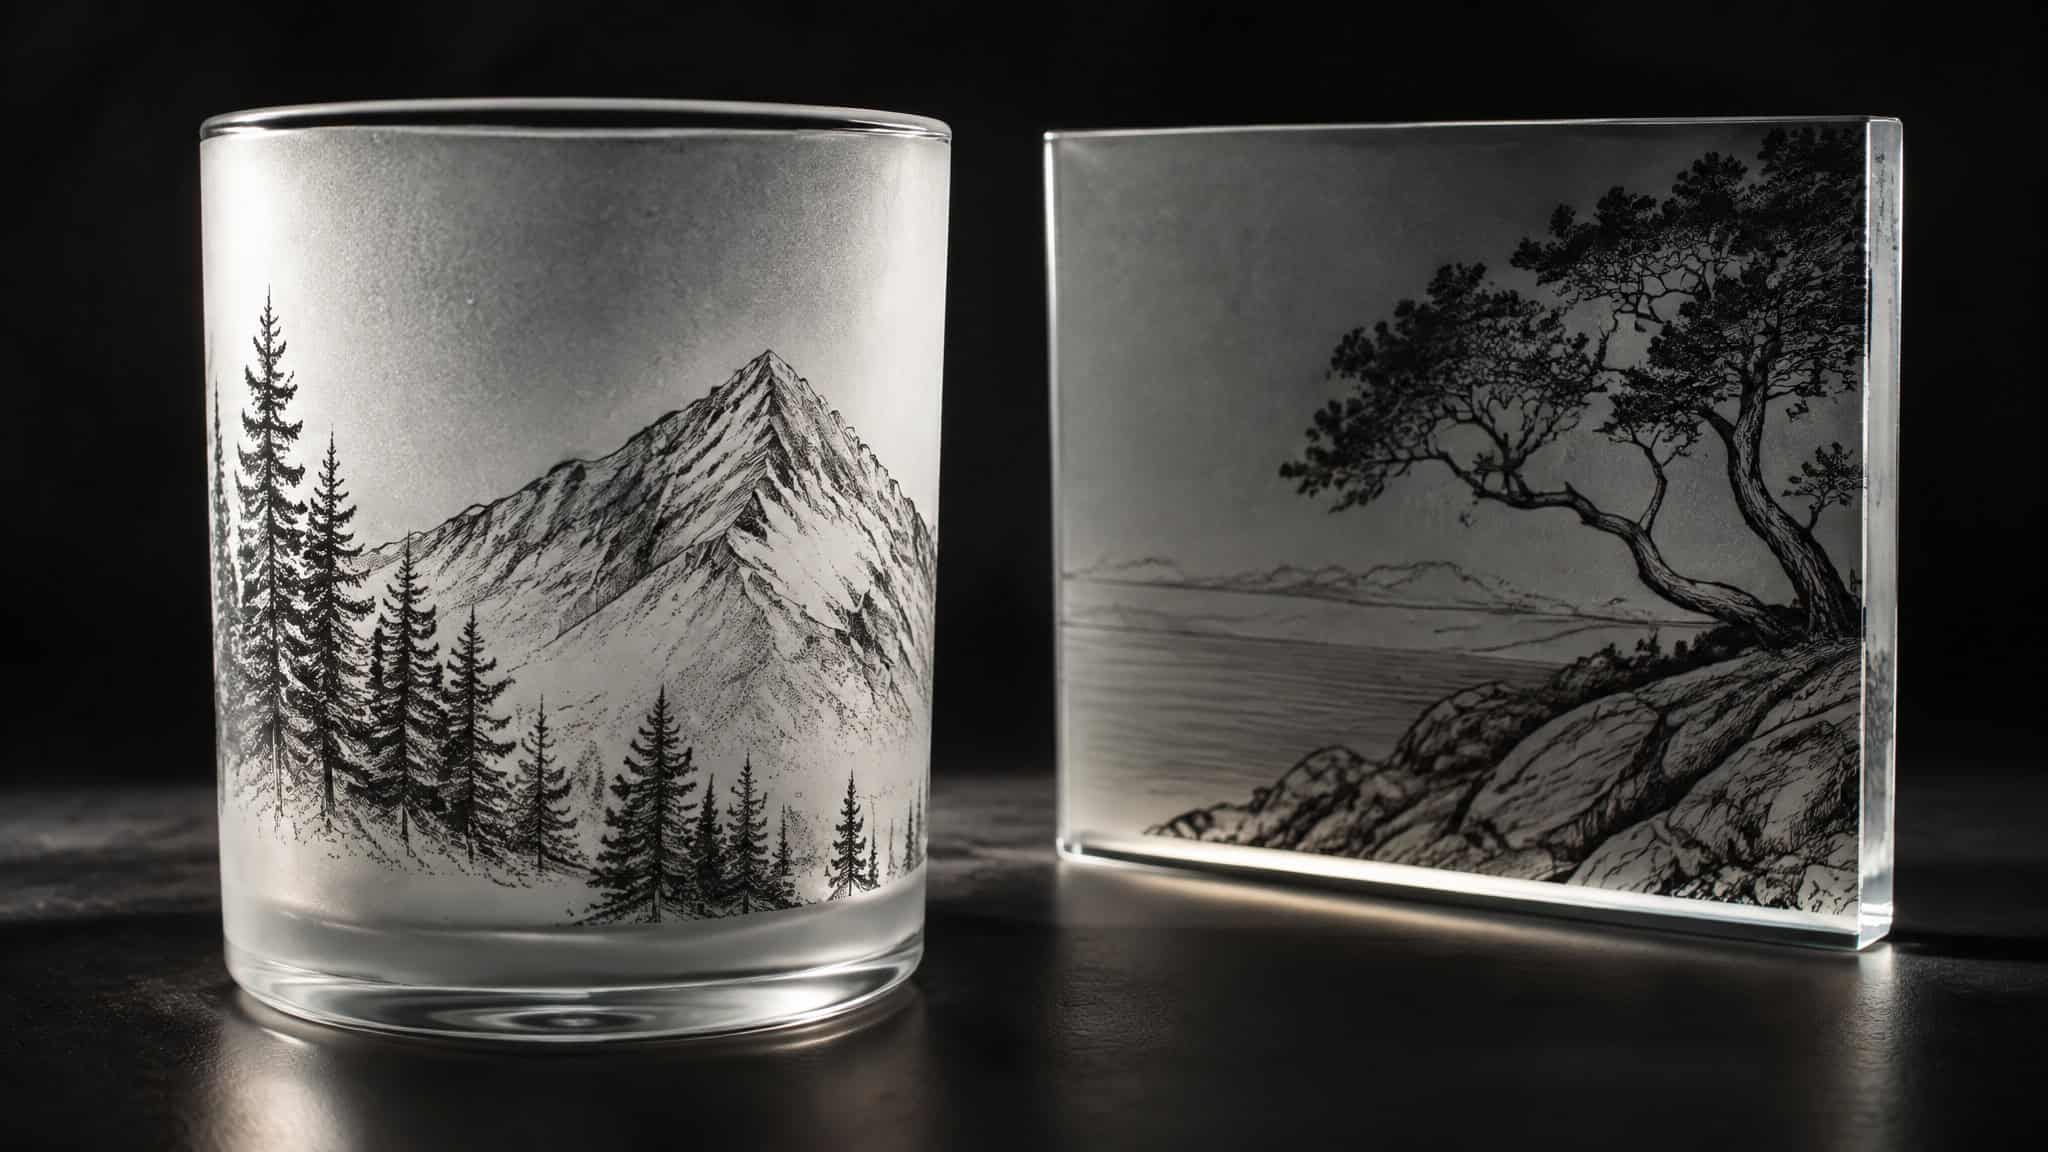
Frosted white is the default outcome, and it’s baked into how the mechanism works, not a shortcoming of your technique. The micro-fracture field scatters light, and that’s the look.
Black linework: the TiO2 fuse
Crisp inky-black lines require the TiO2 fuse technique: mix 2:1:2 water, glue, and TiO2, coat, engrave, and the pigment fuses into the scored grooves. Budget 30 to 90 minutes including drying. Vectors fuse darker than photo rasters, it works on ceramic tiles but not acrylic or wood, thin well-dried coats prevent flaking, scrub the grooves with a toothbrush after rinsing, and wear a respirator when mixing.
Photos and the negative image trick
Glass marks are WHITE, so the negative image checkbox must be enabled, the exact opposite of black ink on paper or dark marks on light birch wood. Two-color logo PNGs use threshold image mode; photo jobs use a 0.07 line interval, dot width correction at 0.48, dither, one pass. Prove the job on a small test section first, then tune contrast, brightness, and gamma in the Adjust Image menu. The photo used in the photo-engraving tutorial is a stock image sourced from Unsplash, with the photographer credited in the video description. The full LightBurn walkthrough lives in our settings deep dive.
Drinkware and the rotary
Bottles, tumblers, and stemware need a rotary attachment to hold the beam square to the surface; skills learned on a flat bed don’t carry over to curves. We cover the cylindrical workflow, including why bottles are the most common beginner failure, in our glass bottle engraving guide. After any job, wash away the residue; isopropyl alcohol is among the options.
Say plainly what the evidence doesn’t support: true multicolor engraving is not supported, only frosted white or TiO2-fused black. And neither food safety nor dishwasher durability of engraved drinkware is settled by the evidence here, which we’re acknowledging rather than answering.
Why glass laser engraving settings vary so much
The power and speed sweet spot for glass frost is narrow and double-bounded: too hot gives flaky or broken glass, while too weak merely shaves off paint without marking the glass at all. And here’s the honest reason nobody’s settings sheet works for you: the creator behind the diode testing reports that glass shows the largest setting variation between lasers of the same wattage of any material tested, which is why published settings conflict across the internet. That’s also why test grids and scrap testing are mandatory culture across every method here, not optional polish. Favor multiple lighter passes over one hot pass, and avoid sudden temperature swings, which cause chips and cracks.
The specific levers:
- Slight defocus of about 0.5 to 1 mm softens chipping for smoother frost.
- Lower or disable air assist so it doesn’t disturb the paint or lift paper edges.
- A wet paper towel protects glass from heat fractures during laser work, a firsthand community tip.
Field note: Chipping means defocus and lighter passes; shaved paint means power too low; flaky or broken glass means too hot; gray frost means paint brand.
Triage your failures: chipping means defocus and lighter passes; shaved paint means power too low; flaky or broken glass means too hot; gray frost means paint brand, per the section above.
One decision tree for laser glass engraving
One branching question, what do you own and what result do you want, routes you in seconds:
- Own a diode ? add a marking layer
- Own a CO2 ? engrave direct, or add a rotary for drinkware
- Want black linework ? TiO2 fuse
- Want depth or a one-off without a laser ? sandblast or etching cream
- Want ultra-fine detail ? photoresist or CNC diamond-drag
- Want a guaranteed result with zero learning curve ? order custom engraving. Prize Possessions, a family-owned shop since 2002, takes single pieces with no minimums and rush options; send vector logos in SVG, AI, or PDF, proofread names, dates, and titles, and share event dates early.
A quick word on how this piece fits the site: the full material-wavelength breakdown lives in our pillar piece, and the settings, prep, and bottle guides sit in their own clusters, so this breadth answer points there instead of repeating them. The decision tree ties it all together. Difficulty ratings help you pick: etching cream is easy, diode is easy-to-moderate, CO2 is moderate setup, sandblasting, CNC, photoresist, and hand engraving are moderate, and custom order is none. The safety floor applies across every branch: proper laser eyewear, ventilate fumes, never engrave unknown plastics or PVC near the beam, and a respirator for sandblasting and TiO2 mixing. Picture your first project: a wine goblet, a picture frame, or an award, with a single letter or icon as the design.
Where the laser loses: glass method tradeoffs
The laser wins for repeatable quick frost on a machine you already own. It loses on depth, fine detail, and cutting. Sandblasting beats it on depth, photoresist or diamond-drag beats it on detail, and ordering out beats it on learning curve. The supported beginner ladder: etching cream with a vinyl stencil first, a rotary tool for a handmade look, a diode or CO2 laser with a marking layer for speed, sandblasting for deeper uniform frosting, and the TiO2 fuse or photoresist for black linework or ultra-fine detail.
Frequently Asked Questions
What laser is best for engraving glass?
CO2 lasers (10.6µm) are the best choice: they engrave bare glass directly and fast, and with a rotary attachment they handle tumblers and stemware. Diode lasers work only with a marking layer and engrave slowly, fiber lasers leave no mark at all, and UV lasers work but are the class few people own.
Will a 10W laser etch glass?
Yes, but only with a marking layer — bare clear glass fails completely because the beam passes straight through. A 10W xTool D1 Pro has produced clean white frost on camera, with a working setting of 100% power at 1000 mm/min, one pass, fill mode. Treat any published numbers as starting points: glass shows the largest setting variation between same-wattage lasers of any material tested.
What do you put on glass before laser engraving?
Tempera paint, chalk spray, or laser marking paper — the standard marking layers that let a diode laser mark glass at all. Even on CO2 machines, many operators add a temporary layer to prevent uneven chipping. Application method matters little; paint brand matters a lot.
Can you laser cut glass or only engrave it?
Only engrave it. A laser leaves discontinuous fracturing with no continuous score line, and glass breaks along a score line — so it never snaps cleanly, no matter the power or passes. The working hybrid is to laser-engrave a guide line, then break along it with running pliers; for simple rectangles, a cheap hand cutter beats the laser outright.
Why is my laser engraving on glass chipping or uneven?
Chipping means use slight defocus (about 0.5 to 1 mm) and multiple lighter passes instead of one hot pass. Pale gray frost is a different problem entirely: it usually means the wrong paint brand, not wrong settings — swap brands before re-running power and speed grids. Flaky or broken glass means the job is running too hot.
Does paint color matter when laser engraving glass with tempera?
Less than you’d think — brand matters more. In a controlled same-glass swap test on a 10W xTool D1 Pro, Prang tempera produced clean white frost in both black and white, while Sax tempera produced gray, muddy frost. Application method (foam brush, dilution, dipping, coat count) made little difference, and airbrushing is skippable.
