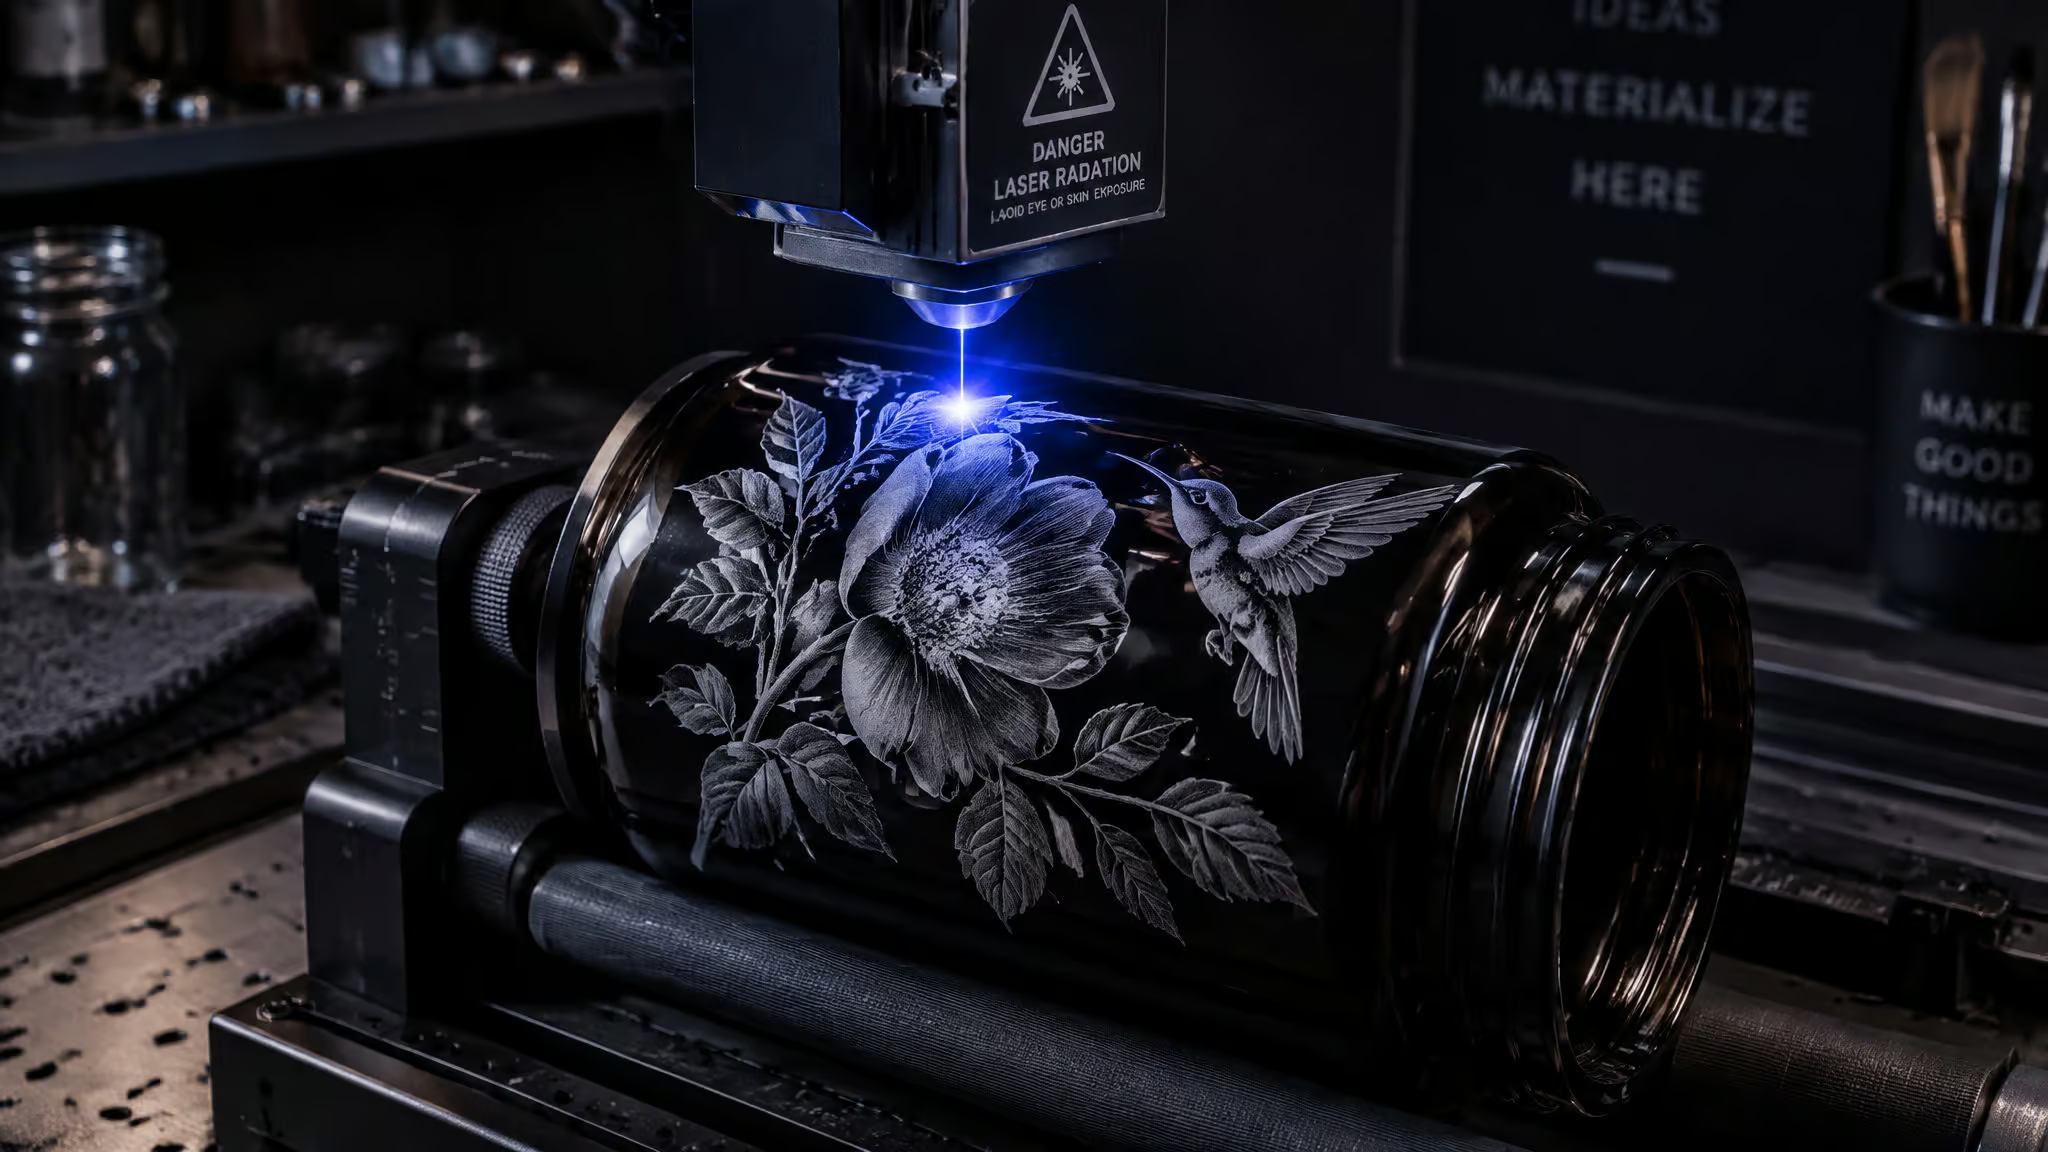
It’s late, the diode laser is finally dialed in, and the glass blank comes out looking like burnt oatmeal instead of that clean frost from someone else’s video. The fix usually isn’t a better laser. It’s what you spray or paint on the glass before the beam ever fires, and that coating matters more than the machine: black tempera paint, laser marking spray, dish soap, chalk paint, acrylic spray, markers, even dry lube. Black tempera is the best-performing DIY option in documented side-by-side tests, and most coating “failures” turn out to be application or brand failures.
Key Takeaways
Black tempera paint beat Molly dry lube, Sharpie, chalk paint, and acrylic in multi-coating tests, and it washes off with warm water.
Brand and application matter as much as the coating: airbrushed tempera nearly matched pro marking spray, while Sax Versa Temp black tempera left burnt marks that resisted water, acetone, alcohol, overnight soaking, and a Magic Eraser.
Glass inverts your settings instincts: +1 to +2 mm defocus, air assist off or very low, and for a 10W diode start at 3500 mm/min and 65% power.
Table of Contents
What to spray on glass before laser engraving
The coatings are laser marking spray, black tempera paint, dish soap, chalk paint, acrylic spray paint, dry erase and Sharpie markers, and dry lube. In multi-coating side-by-side tests, black tempera ranked as the best-performing DIY option, ahead of dry lube, Sharpie, chalk paint, and acrylic. Every ranking in this piece comes from documented tests rather than consensus lists, because the mechanism below is exactly why consensus lists fail: results change with the coating.
Why diode lasers need a coating on clear glass
Clear glass is nearly invisible to diode laser wavelengths, so the beam passes straight through until something on the surface absorbs the energy. The heated coating bonds to or micro-fractures the glass, and that fracture pattern is the frosted look. Forum contributor Loren Baric and the ZapCraft guide both land on the same correction: diode lasers mark coatings rather than truly engraving glass, and true etching requires acid paste. That also answers the adjacent question of whether a laser engraver can engrave glass at all; which laser classes actually engrave glass is its own rabbit hole.
One debunk while we’re here: masking tape usually doesn’t help on glass. The coating does the real work, and extra tape can trap heat or lift unpredictably.
Black tempera paint: the best-performing DIY coating
Black tempera outperformed dish soap, and the reason is one tight causal line: dark pigment absorbs blue-diode energy better, so you get more even frost at lower stress. Dish soap needs more power at every laser tier, marks less evenly, carries higher crack risk when overdriven, and can stay slightly tacky before you engrave.
Why it beats dish soap and the rest
In Kim and Garrett’s multi-coating jar tests, tempera beat Molly dry lube, Sharpie, chalk paint, and acrylic. White tempera was the runner-up, so if that’s what’s already in your craft drawer, you’re still in business.
Tempera brands are not interchangeable
Walmart black tempera coated evenly and accepted a second coat. The Michaels version cost twice as much and flaked off. On the LightBurn forum, Heather posted on April 26, 2024 that Sax Versa Temp black tempera on an xTool D1 Pro 10W, run at 90% power and 50 mm/s with low air assist, left burnt, patchy marks that resisted water, acetone, dish soap, alcohol, overnight soaking, and a Magic Eraser. Forum advice was blunt: switch brands.
Tim Helmuth’s Prang tempera from Dollar Tree succeeded at 4,500 mm/min at 100% power on a 10W trivet. One more check: verify the set includes black. One creator whose set shipped without it mixed yellow, red, and blue into a blue-heavy purple substitute.
What tempera costs
It’s literally craft paint: non-toxic, cheap, everywhere. Three Walmart pouches cost less than one Michaels container, and the cheap one performed better. Prices may vary, but the shape of that math hasn’t changed.
How to apply tempera paint to glass evenly
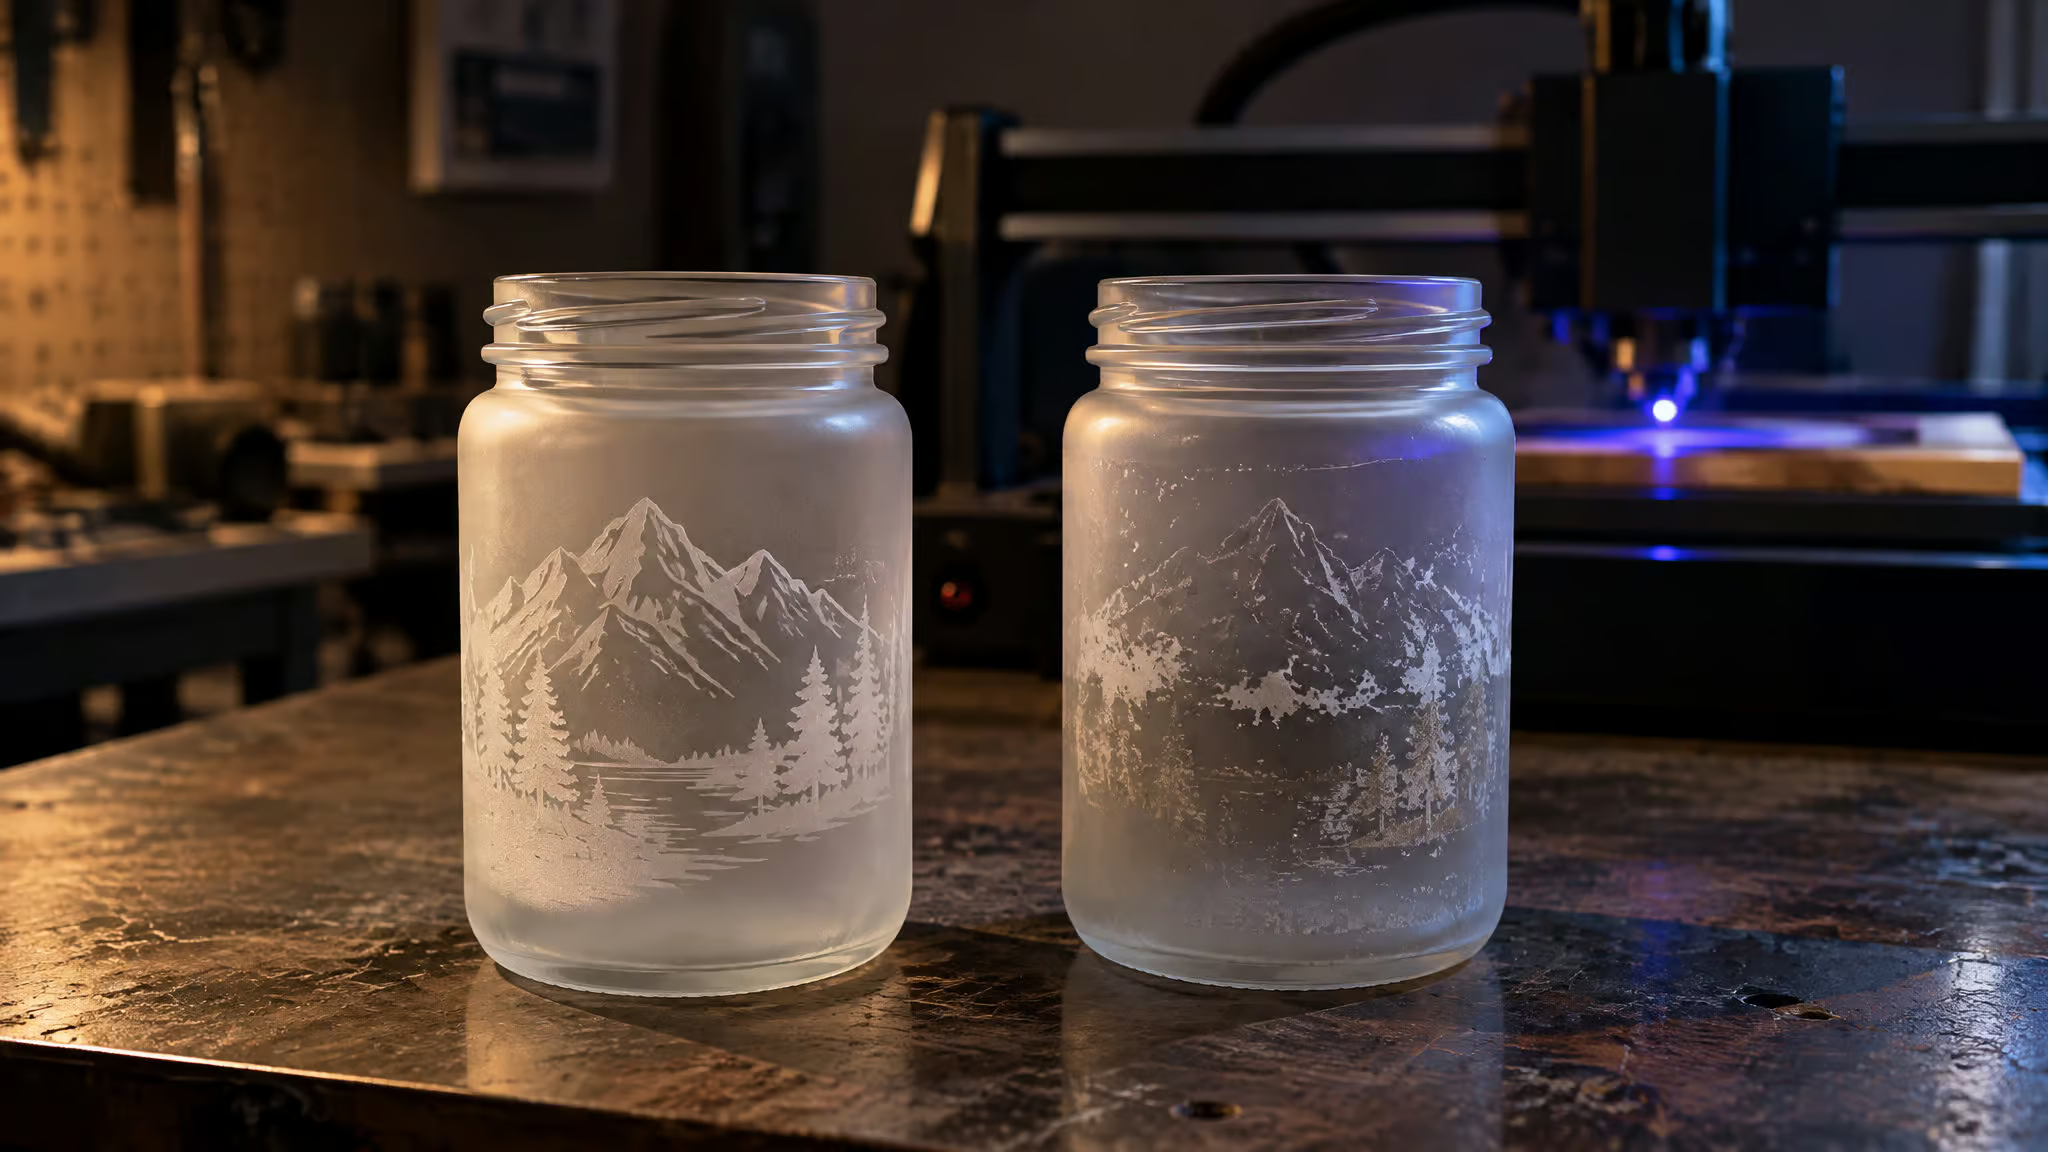
Thin the tempera to milk consistency (or 3 parts water to 1 part paint in a pump bottle for misting), apply two thin even coats, and let each dry fully. That’s the whole workflow, and it exists because most coating failures are application failures. Foam and bristle brushes both leave streaks and thin spots you won’t see until you wash the paint off, when the uneven frost reveals every brush stroke.
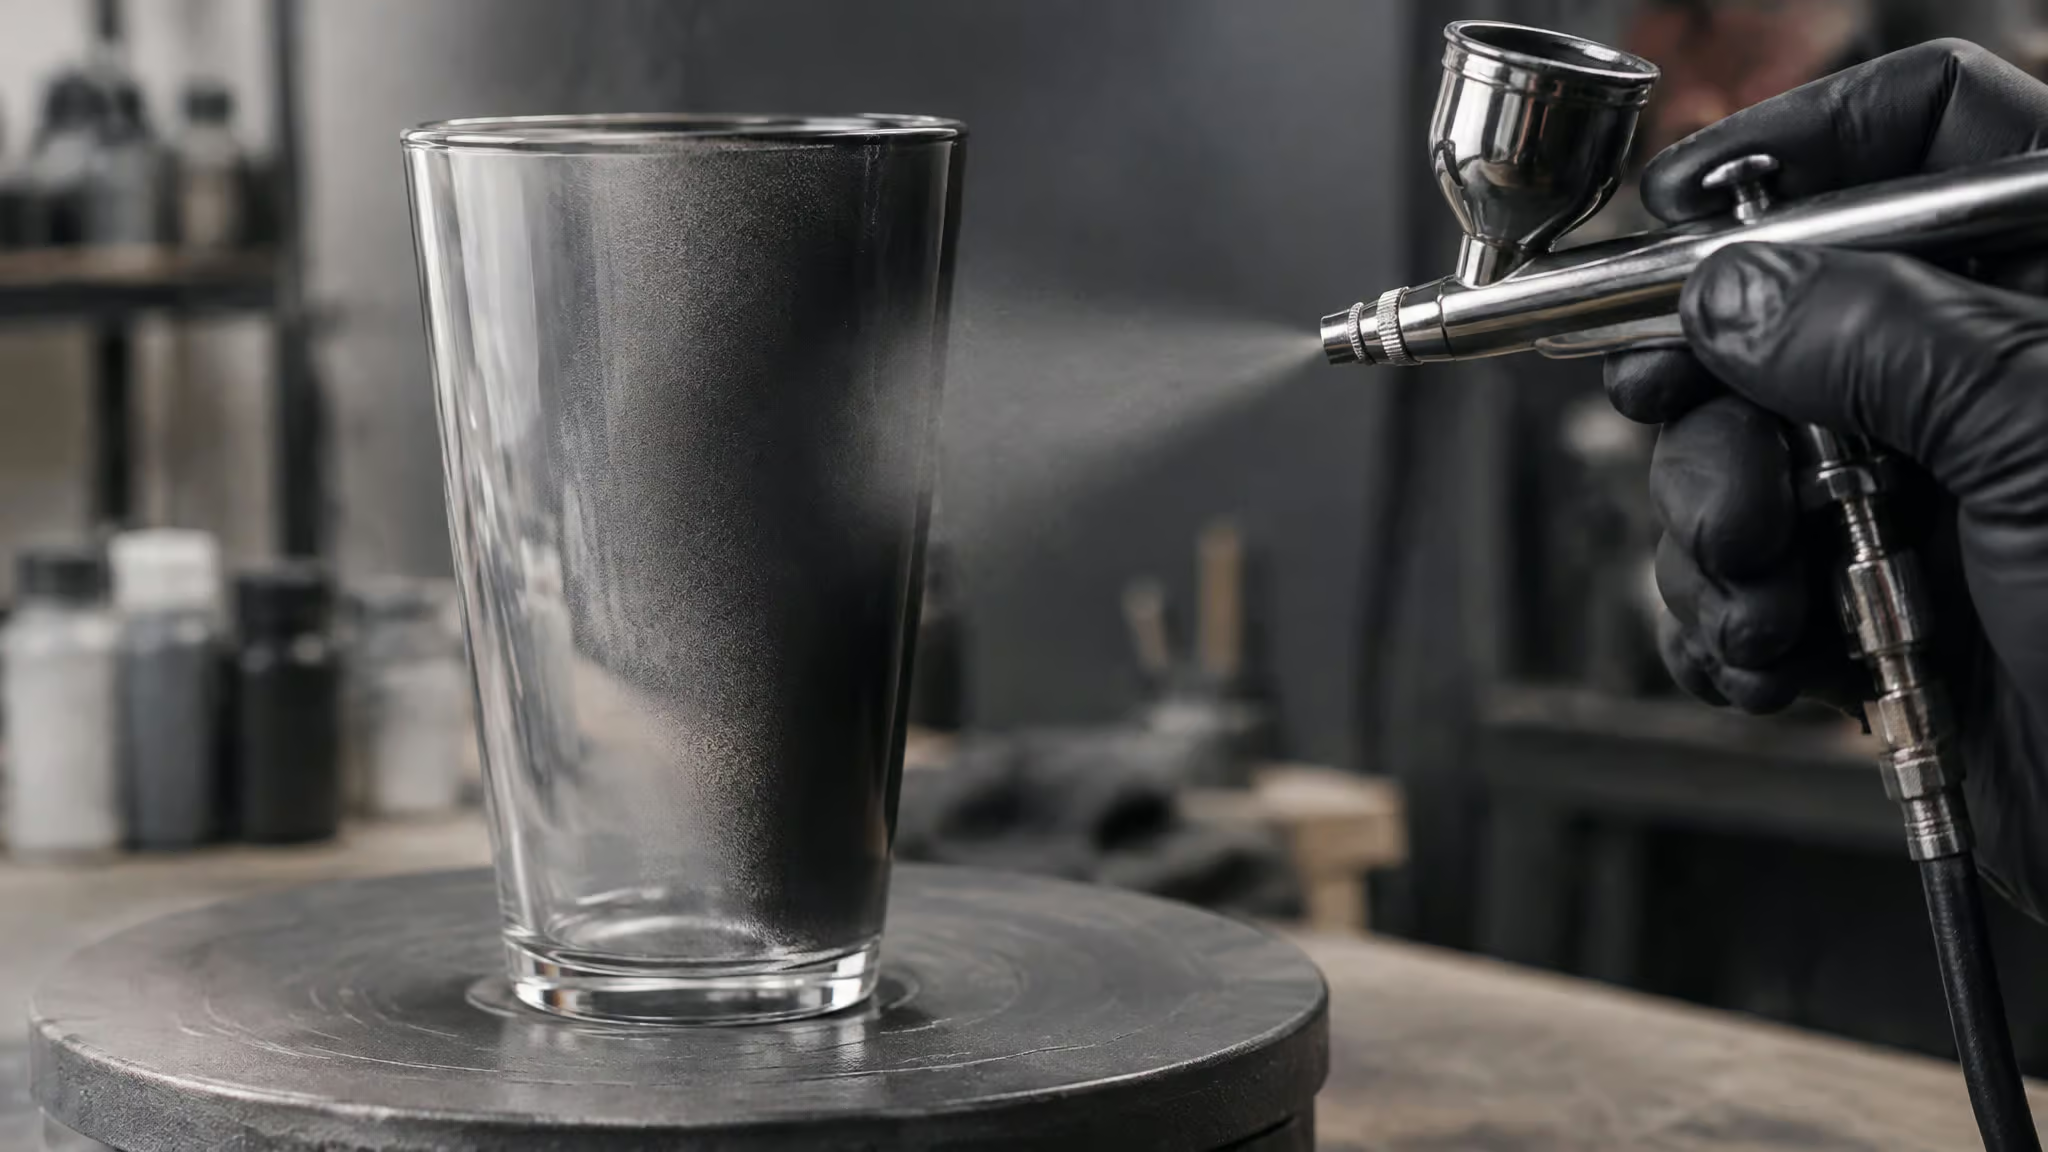
Quick test: Wash a test blank before the full batch — uneven frost exposes streaks and thin spots you can’t see while the paint is wet.
Brush vs airbrush vs pressure sprayer
Severna Builds ran the decisive comparison on an xTool S1 40W with identical settings throughout: airbrushed tempera came out sharper and more consistent than brushed tempera and approached professional marking spray quality. For batches, a $15 Harbor Freight pressure sprayer with 3:1 water-to-paint handled a 36-glass wedding order.
Airbrush and compressor setup
The Fengda BD 183K is the plain-spoken pick: affordable, beginner-suited, three needles included, and the 0.5 mm needle is the one that handles thicker paint. It ran on a Stanley 1.5 HP 6-liter compressor, which pushes 97 dB, so plan on earplugs or closed windows. The compressor checklist: automatic shutoff, moisture trap, oil-free motor, 30-60 PSI. Steady pressure matters more than brand name. Honest math: a compressor bought solely for this may not be worth the upfront cost unless you engrave often.
Prep, thinning, and drying
Clean the glass first with an alcohol wipe or Dawn. Fingerprints caused coating separation and uneven thickness, which then shifts your engrave settings. A heat gun or hair dryer speeds drying, but glass heats fast, so let it cool before handling; one creator skipped the heat entirely and cured overnight to avoid uneven drying.
Laser marking spray vs tempera: is the pro spray worth it
Yes, laser marking spray is worth it when maximum contrast matters, but airbrushed tempera comes close at a fraction of the cost. In Severna Builds’ identical-settings comparison, the pro spray retained slightly more contrast and crispness than airbrushed tempera. That edge is real, and it’s the spray’s remaining advantage. Omtech Laser Marking Spray is the benchmark: pricey, but a can goes a long way, it washes off with water, and Loren Baric recommended it after his glasses came out fine, not dark.
| Coating | Contrast and crispness | Cleanup | Cost | The catch |
|---|---|---|---|---|
| Omtech Laser Marking Spray | Yes (best in the side-by-side) | Warm water | Pricey, but a can goes far | Upfront cost |
| Airbrushed tempera | Partial (close behind pro spray) | Warm water | Cheap craft paint | Needs thinning and two even coats |
| Brushed tempera | Partial (streaks show after wash-off) | Warm water | Cheap | Brush streaks |
| DIY titanium dioxide in 90% alcohol | Partial (optically fine) | N/A (abandoned before cleanup mattered) | Cheap ingredients | Clogged every sprayer Loren Baric tried |
| Rust-Oleum cold galvanizing spray (7585838) | Partial (budget wildcard) | Water and a brillo pad | Budget | Not engineered for lasers |
| Molly dry lube | Partial (darker and duller than tempera) | Alcohol removed it almost entirely | Budget | Fades over time |
DIY titanium dioxide in alcohol
Mixing titanium dioxide into 90% alcohol is the chemistry you half-mean when you say “I could make that myself.” Loren Baric abandoned it not because it failed optically but because no sprayer handled it without clogging. A practical dead-end, fully documented.
Cold galvanizing spray as the budget pick
Rust-Oleum’s cold galvanizing compound is the wildcard: it’s not made for lasers, it washes off with water and a brillo pad, and that delightfully low-tech cleanup is the whole pitch.
Molly dry lube
Molly is consistent and convenient as a budget stand-in, but in Kim and Garrett’s side-by-side it looked darker and duller than tempera, and their tempera glass was judged brighter. A Molly glass engraved in July looked worse by comparison time, and an alcohol treatment removed Molly almost entirely. Usable, but inferior in brightness and longevity.
Marker, chalk paint, and acrylic coatings: quick options with limits
Yes, a dry erase marker or Sharpie works as a coating, with conditions. These are the grab-what’s-nearby options; where they fit in the bigger material picture, the wavelength-by-material compatibility map covers prep briefly.
Dry erase marker
It worked on plastic bottles and ordinary glass but failed on shot glasses and small bottles, which are harder glass and don’t hold enough residual heat. It cleans off with a Magic Eraser and water. Forum user MikeyH etched subtle text on bottles containing sand and water this way.
Sharpie
Its jar-test best landed at 60 power / 100 speed. It’s so dark the laser light doesn’t reflect back, which complicates camera framing. A quirk, not a warning. Cleanup is rubbing alcohol.
Chalk paint
One creator’s favorite to apply: it sprays evenly with a clean matte finish, and its jar test finished at 70 power / 100 speed. It just wasn’t the best performer in Kim and Garrett’s tests. Alcohol cleanup.
Acrylic spray paint
White and black acrylic spray both worked on shot glasses, the jar test landed at 70 power / 100 speed, though it wasn’t the best performer in Kim and Garrett’s tests. Black left residual spots cleaned with no-scratch Scotch-Brite, and tape removal pulled off some acrylic coating during jar inspection. Alcohol cleanup here too.
Laser settings for glass coated with black tempera
For a 10W diode with black tempera, start at 3500 mm/min, 65% power, one pass, fill/image mode, 0.09 mm line interval (about 282 DPI), +1 mm defocus, air assist off. ZapCraft’s bottom-line recipe in the xTool D1 Pro 10W context, and a very practical first pass before adjusting in small steps. Why air assist off? Strong airflow cools the strike zone unevenly, disturbs the coating, dries paint irregularly, and encourages cracking, the opposite of wood/acrylic workflows, where tight focus and air assist are the habits that work. The 1-2 mm defocus spreads energy and reduces thermal shock.
Tight focus and air assist, the two habits that make wood and acrylic work, actively hurt glass. If no mark appears after cleaning, raise power 5-10% before ever returning to perfect focus. That reverse-of-instinct order is the point. (What a bare 10W diode does to uncoated glass, mostly nothing, is its own expectation-setting story.)
| Laser tier | Black tempera | Dish soap | Shared across tiers |
|---|---|---|---|
| 5W | 1800-2800 mm/min at 80-100% | 1500-2200 mm/min at 90-100% | 1 pass, +1 to +2 mm defocus, air assist off |
| 10W | 3000-4500 mm/min at 55-75% | 2500-3500 mm/min at 70-85% | Same |
| 20W | 5000-7000 mm/min at 30-50% | 4000-6000 mm/min at 40-60% | Same |
Every value here is a scrap-test starting point, not a guarantee. Glass composition, tempering, wall thickness, and internal stress change results fast.
Field note: If a cleaned blank shows no mark, bump power 5-10% before touching focus — the wood-and-acrylic instinct to refocus first backfires on glass.
Defocus and air assist: the settings that backfire on glass
Covered above, but worth repeating because it’s the single biggest un-learning: the wood and acrylic playbook is wrong here.
Fill density and software
Run a dense fill at 254-318 DPI (line interval about 0.08-0.10 mm). More even energy distribution beats over-tight lines; going too high on DPI can overheat one spot. In LightBurn, use the Fill layer with a moderate line interval; its docs cover layer settings and material tests. LaserGRBL is the alternative, with its own settings guide.
Test grids and failure diagnosis: stop guessing, start isolating
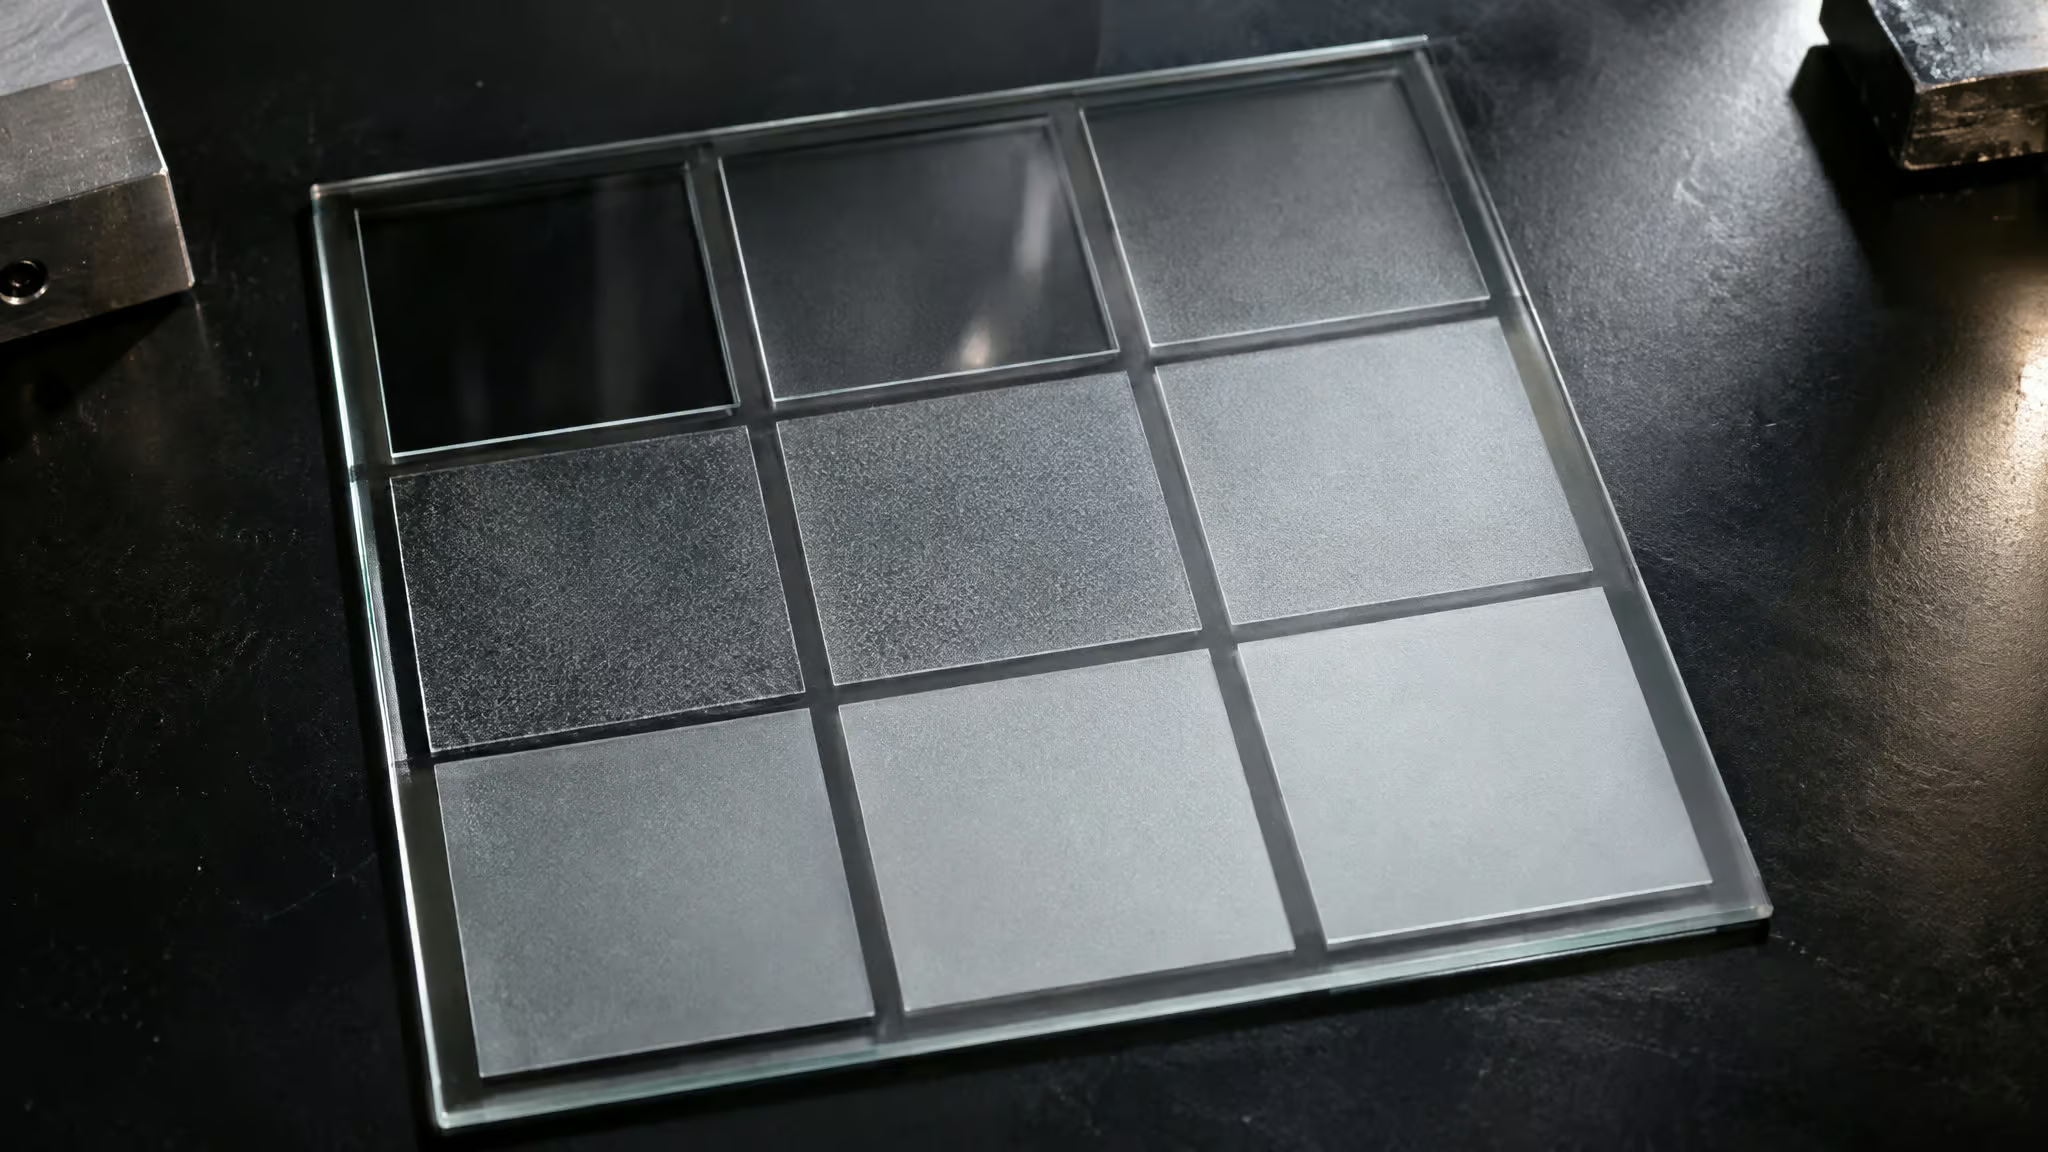
A scorched, patchy result usually points to the coating brand or coat thickness, not the laser, and the fix is a structured test, not a settings guess. Run the same speed/power grid with each coating to isolate the coating variable. ZapCraft’s plan is a 9-box grid at 3000/3750/4500 mm/min crossed with 55/65/75% power. Severna Builds ran power 50-90 against speed 100-300 on the xTool S1 40W with two light coats.
A YouTube creator’s jar test in xTool Creative Space used jars about 5.5 x 5.5 x 6 cm, a 6 mm star motif, a scrap-wood spacer raising the jar about an inch for focus, and plywood under the jars to protect coatings from the honeycomb. That four-coating test landed at marker 60/100, acrylic 70/100, chalk 70/100, and tempera 80/100 (power/speed at 120 LPC), with best results clustered near 100 speed and 70-80 power. Side note: SVG files engrave better than PNG/JPG; one creator sourced a whiskey-label SVG on Creative Fabrica.
What your bad result is telling you
| Symptom | Meaning | Fix |
|---|---|---|
| No mark after cleaning | Power too low for that coating | Raise power 5-10% or lower speed |
| Patchy frost | Uneven coating, unlevel glass, or focus variation | Re-coat evenly, level the bed, recheck focus |
| White chips or star cracks | Too much power or too-tight focus | Defocus 1-2 mm and add speed |
| Hairline crack | Thermal shock | Stop using that blank type |
| Muddy mark that washes away | Coating scorched without affecting the glass | Switch soap for tempera or raise power |
| Good center, bad edges | Bed not level or curved-glass focus change | Level the bed, account for curvature |
One small delight: marks look faint when wet and strengthen as they dry, so inspect under angled light after rinsing and cooling before overcorrecting.
Log everything
Glass type, coating, thickness, dry time, all parameters. Small changes flip glass results from perfect to broken, and future-you will want the record.
Cleaning coating off glass and finishing the mark
Tempera and dish soap wash off with warm water (dish soap clears residue); Sharpie, acrylic, and chalk coatings require rubbing alcohol. That split quietly decides which coating you should pick: choose one that needs alcohol for a big batch and you’ve multiplied your finishing time.
Which coatings wash off with what
The Mr. Clean Magic Eraser is the humble multi-tool: it cleans marker off glass, clears out etching pores, and in one documented case removed underside flashback marks in seconds. No-scratch Scotch-Brite pads handle acrylic residual spots.
Honeycomb-bed flashback
Both outcomes are documented, and severity is case-dependent. One incident left a permanent dark outline matching the honeycomb bed pattern; the mitigation is spacing the glass off the bed or using a rotary. Another incident’s underside marks wiped off with a Magic Eraser in seconds.
Darkening the frost, and the paint-fill question
The documented technique: wipe the frost with black Sharpie, then clean with a Magic Eraser. The darkened mark survived a dishwasher cycle, and it was developed after a client said a set of white-acrylic-frost glasses wasn’t visible enough. Paint-fill is the natural next question for color marks, and honestly: the documented material here covers only the Sharpie-darkening variant. No sourced paint-fill technique, paint types, or durability data exists yet, so I won’t invent one.
Matching the coating to job size, cost, and glass risk
Yes, laser engraving can crack or shatter glass. Tempered, thin, double-wall, decorative, or unknown-composition glass carries the risk, because internal stress can release unpredictably. The field notes back this up: one thin glass cracked mid-session and later broke in hand, and a pink-coated test glass from the wedding-order batch reacted differently than clear and cracked. One safety note, and it’s not a joke: wear eye protection.
Krylon Shortcuts metallic: great marks, slow cleanup
Krylon Shortcuts metallic goes on smooth and leaves a shimmer in the etched engraving. Great for a few glasses, but cleanup was too slow for the 36-glass wedding order. It comes down to order size times cleanup time: water-washable tempera with the cheap pressure sprayer wins at scale, while one-off pieces can absorb slow alcohol cleanup and premium sprays.
Glass selection and shatter risk
Lower-power coatings are also crack prevention. Dish soap’s higher power demand raises thermal stress; tempera marks at lower stress. And the gentle thesis holds: airbrushing gave tempera a second life. Sometimes the answer isn’t a more expensive tool, it’s a different application method.
Rotary setup for engraving coated glassware
Even a perfect coating fails on a wobbling, unlevel, mis-measured rotary setup. Chuck mounting beats rollers on the xTool RA2 Pro because rollers let glass wobble and walk, breaking focal consistency; stepper feet hold stemless glasses from inside. Measure circumference with a soft tape measure (the tested glass measured 11 inches), level the surface with a jig, and widen circular logos 10% on screen, because curved glass engraves them oval. Unidirectional engraving gives cleaner lines at the cost of time; optional. The full cylindrical workflow, including bottle-specific geometry, lives in the glass bottles deep dive.
Frequently Asked Questions
Can a laser engraver engrave on glass?
Yes, but with a caveat: diode lasers don’t truly engrave glass — they heat a surface coating that micro-fractures the glass underneath, producing the frosted mark. True etching requires acid paste. The coating is what makes the mark possible, since clear glass is nearly invisible to diode laser wavelengths.
Is laser marking spray worth it compared to tempera paint for glass engraving?
Yes, when maximum contrast matters — pro spray retained slightly more contrast and crispness than airbrushed tempera in identical-settings comparisons. But airbrushed tempera comes close at a fraction of the cost, so for most batches the cheap craft paint is the smarter spend.
Why did my laser engraved glass come out burnt and patchy with tempera paint?
Patchy, scorched results usually point to the coating brand or coat thickness, not the laser. One documented case — Sax Versa Temp black tempera on an xTool D1 Pro 10W — left burnt marks that resisted water, acetone, alcohol, overnight soaking, and a Magic Eraser; the forum advice was simply to switch brands. Uneven application and unlevel glass are the other common culprits.
What are the downsides of laser etching?
The big one is crack risk: tempered, thin, double-wall, decorative, or unknown-composition glass can crack or shatter because internal stress releases unpredictably — one documented thin glass cracked mid-session and later broke in hand. Results also flip fast with small changes in glass composition, wall thickness, and coating, so every job needs scrap testing and careful logging.
How to get an image ready for laser engraving?
SVG files engrave better than PNG or JPG images, so convert or source vector artwork when you can. Run a dense fill at 254-318 DPI (about 0.08-0.10 mm line interval) in software like LightBurn or LaserGRBL — more even energy distribution beats over-tight lines, and going too high on DPI can overheat one spot.
