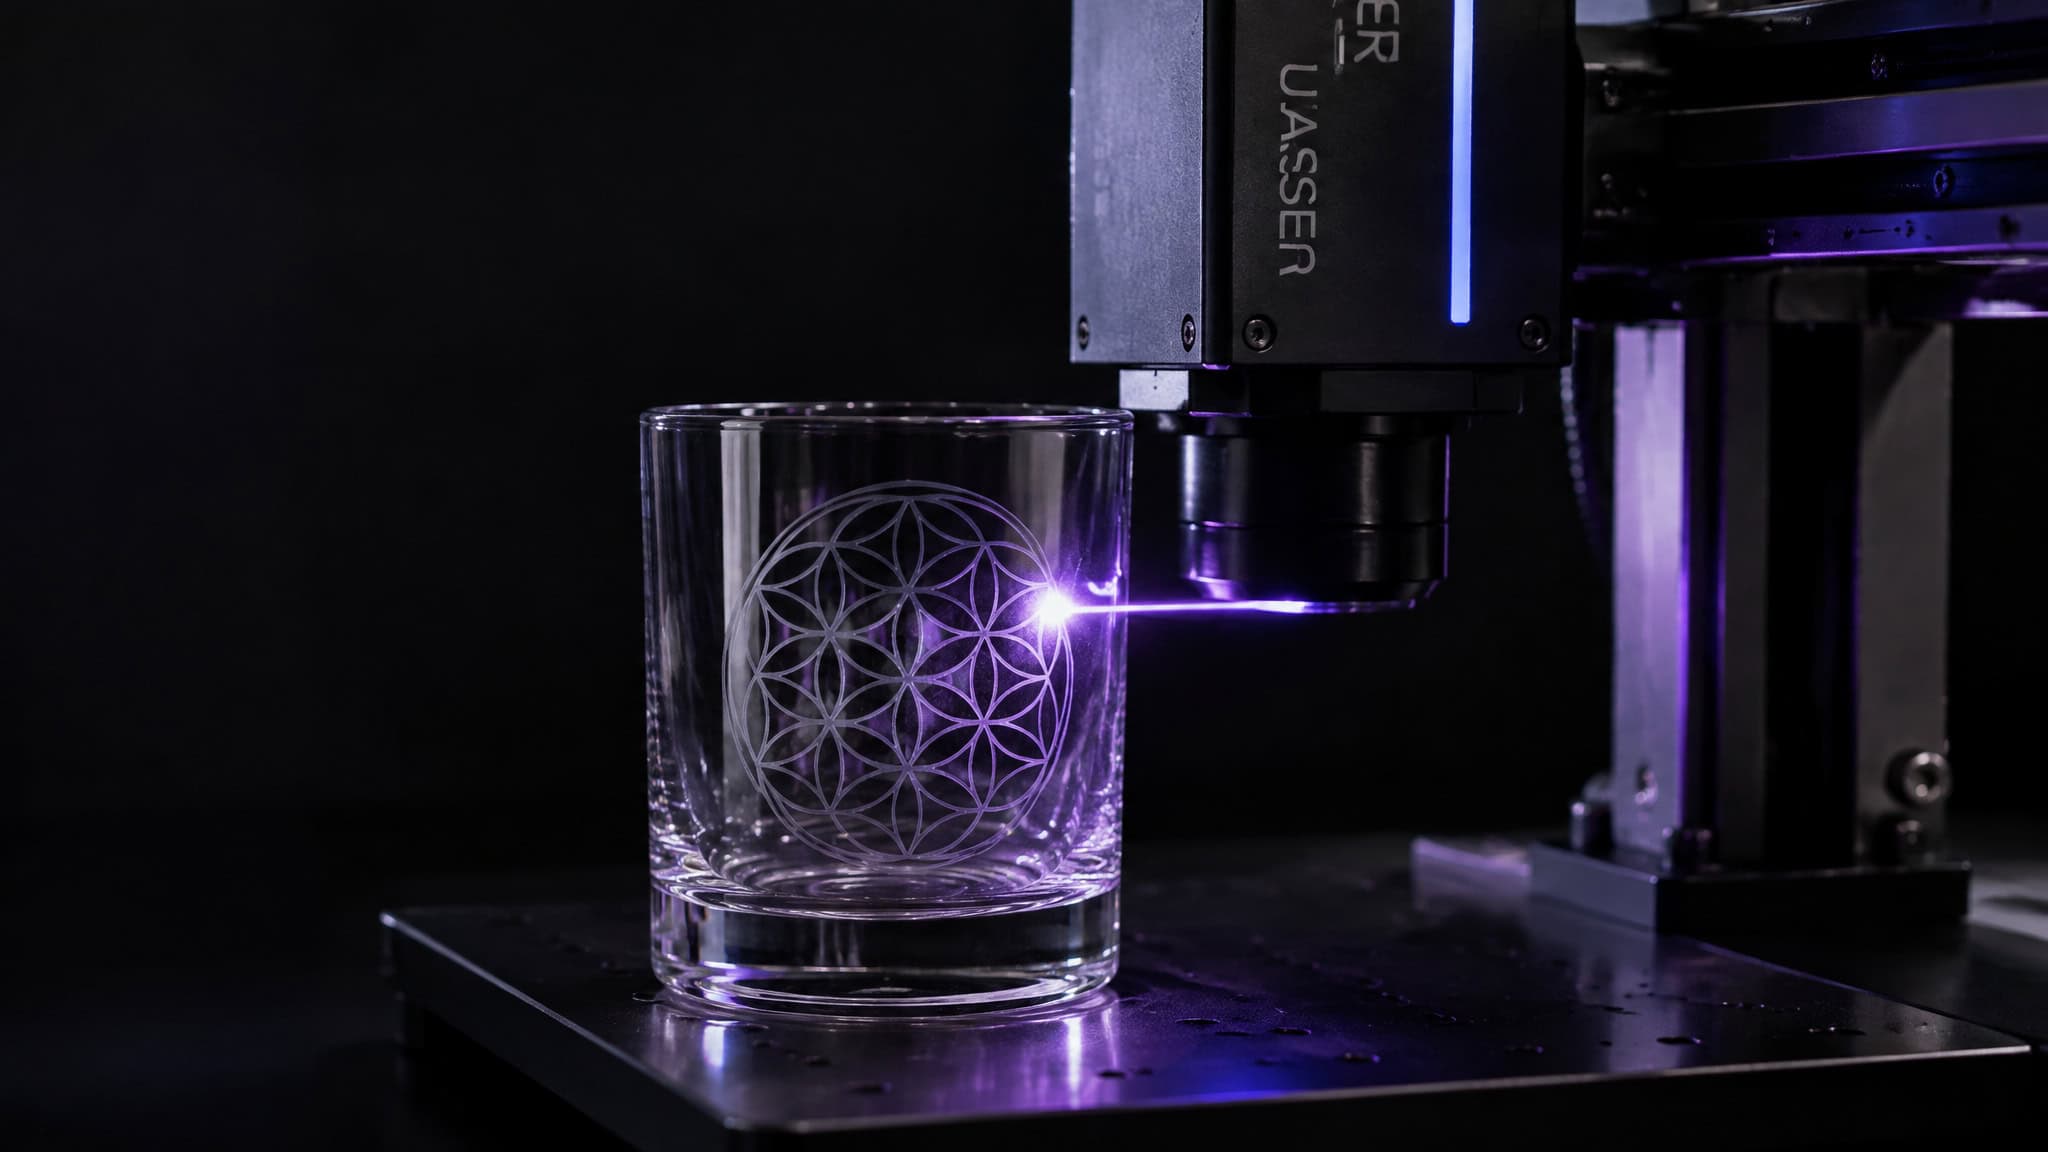
#UV Laser Engraver for Glass: When the No-Prep Premium Pays Off (and When It Doesn’t)
A $4,499 desktop laser that marks glass straight out of the box, versus a cheaper machine plus a ritual: brush tempera paint on every blank, let it dry, engrave, wash it off, and hope the coating was even. I fell down this rabbit hole digging through a couple of months of hands-on testing of the xTool F2 Ultra UV, and honestly, the failure data turned out to be the interesting part. The testing came from a reviewer with about a year of laser experience who turns away thousands of dollars’ worth of laser hardware each week over software quality. One review was unsponsored and self-purchased; a second reviewer received the machine from xTool in exchange for the review and uses affiliate links.
Both situations are disclosed plainly, because the sponsorship mix is part of the evidence. Two additional hands-on demos covered cylindrical drinkware and curved whiskey glasses. The short version: UV marks bare glass, but “cold laser” is partly marketing, visually identical cups can behave oppositely, and whether the premium pays off is a per-job question, not a per-machine one. There’s also one capability that settles every close call, and it’s the thing no other laser type can do: engraving inside crystal.
Key Takeaways
In a same-files, same-sizes test, the IR-laser xTool F2 needed a tempera or chalk paint coating on every glass job, while the F2 Ultra UV ($4,499) engraved bare glass directly, and its results were more consistent across repeats.
Only K9 crystal and soda-lime glass were confirmed to engrave well; two whiskey glasses cracked during a day of settings testing, and identical settings succeeded on one pint glass and failed outright on another cup.
3D inner engraving in K9 crystal is physically impossible on diode, CO2, or IR lasers no matter how much prep you do, and it’s the tiebreaker capability that justifies the UV premium for keepsake work.
Table of Contents
Can a laser engraver engrave glass?
Yes, but results depend entirely on laser type, and reviewers credit UV with the best glass marks of any laser type currently on the market.
Bare glass defeats diode and infrared (IR) beams because the photons pass through or bounce off until a surface coating, tempera paint or chalk paint, gives the beam something to interact with. That’s the whole prep ritual, and there’s a separate piece on what a 10W diode actually does to bare glass if you want the capability ceiling spelled out. In the controlled test, same files, same sizes, the xTool F2 (IR) needed coating on every glass job while the F2 Ultra UV engraved directly, with steadier, more repeatable results. It’s also the only one of the two machines able to engrave inside crystal.
The real difference is workflow economics, not just mark quality: the coating step adds labor, a failure point, and extra cleanup on every job. The coating is a per-job tax, not a one-time setup. (For the broader answer across CO2, UV, and diode-with-prep, there’s a full can you laser engrave glass breakdown.)
Why 355nm UV marks glass without burning it
The 355nm wavelength carries enough photon energy to break chemical bonds directly, rather than heating the surface until it burns or melts. That’s why UV marks glass with no prep and minimal micro-fracturing, and it’s the genuinely neat bit of physics this whole sub-field rests on. This is exactly the kind of marketing-hype cutting that GeekExtreme exists for, so here’s the honest debunk: one reviewer calls “cold laser” partly marketing, because the interaction point still reaches extreme temperatures. The defensible claim is less heat transfer and less scorching than diode or IR, not zero heat. The observable proof is satisfyingly simple: paper cut with no burned edges.
Some wavelength context: budget blue diodes run at 450nm or 405nm, which is why cheap engravers behave completely differently on glass. The 355nm beam is also invisible to the eye, so you can’t watch the dot the way you can with a blue diode. The spot itself is tiny, which concentrates that energy; text as small as one point, about 350 microns, comes out legible. That same tiny spot is why UV glass marking is brutally focus-critical, which is exactly where most jobs go wrong.
Which glass types work, and why identical cups fail
The validated boundary is plain: only K9 crystal and soda-lime glass were confirmed to engrave well, and soda-lime results were mixed, hinging on perfect focus and the rotary tilt angle. Borosilicate, tempered glass, and lead crystal never got tested, so no generalizing from this data.
Field note: Borosilicate, tempered glass, and lead crystal went untested here, so treat any non-K9, non-soda-lime blank as an experiment.
The counterintuitive pattern: it’s not generic fragility. Thinner text and fine graphics concentrate stress and crack glass that larger graphics survive. Two whiskey glasses cracked during a single day of settings testing.
Then the variability finding, the one that matters for anyone running batches: identical settings produced excellent results on one pint glass and total failure on another cup. Thrift-store and supplied samples gave mixed results. The field pattern goes like this: you dial in settings on one blank, run a batch, and watch a blank that looks identical and comes from the same source act in the opposite way. So every new blank is a test blank.
A quick test engrave before committing is cheap insurance for your inventory.
Engraving drinkware with the RA3 rotary chuck
Everything starts with one measurement: the glass perimeter at the exact engraving location, not wherever the tape measure happens to fit. On a tapered pint glass that was 245mm, and measuring at the wrong height quietly ruins the job.
Physical setup: perimeter, cleaning, and leveling
Wipe the glass down with isopropyl alcohol, seat it in the RA3 magnetic bayonet chuck with the claws facing outward, and level tapered glass with the included bubble level. Jot the angle settings down somewhere you’ll find them again, and a self-designed jig keeps positioning centered.
XTool Studio cup settings that produced the 13-minute job
- Text: 80% power, 125 mm/s, 300 lines/cm, 40 frequency
- Images: 751 dot duration, 94% power, 505 DPI, 1 pass, 40 kHz
- Result: a 13 minute 26 second job on clear soda-lime glass
These are tested starting points on this machine, not universal UV presets.
The traps: camera lies, wrong rotation, and lid light leaks
For focus, join the focus dots on 0.1mm A4 paper and subtract the paper’s thickness, which corrected 136.2mm to 136.1mm. Eyeball the chuck grips vertical for the camera reference, switch from flat-surface mode to rotary chuck mode, and trust the green alignment line over the distorted camera preview, because the camera lies on cylindrical glass. A cup rotating backwards or back-to-front means RA2 was selected instead of RA3 manual mode. With the rotary attached, the lid clashes and light leaks, so safety glasses are required. Run extraction or the AP2 air purifier to pull out glass shards, and push framing light power to 10 to actually see framing on transparent material.
Curved glass engraving with topography mapping
The trick is that the software samples the curved surface as a height map, then steps the focal plane down layer by layer. That’s how focus-critical UV marking survives on a surface with no single focal plane.
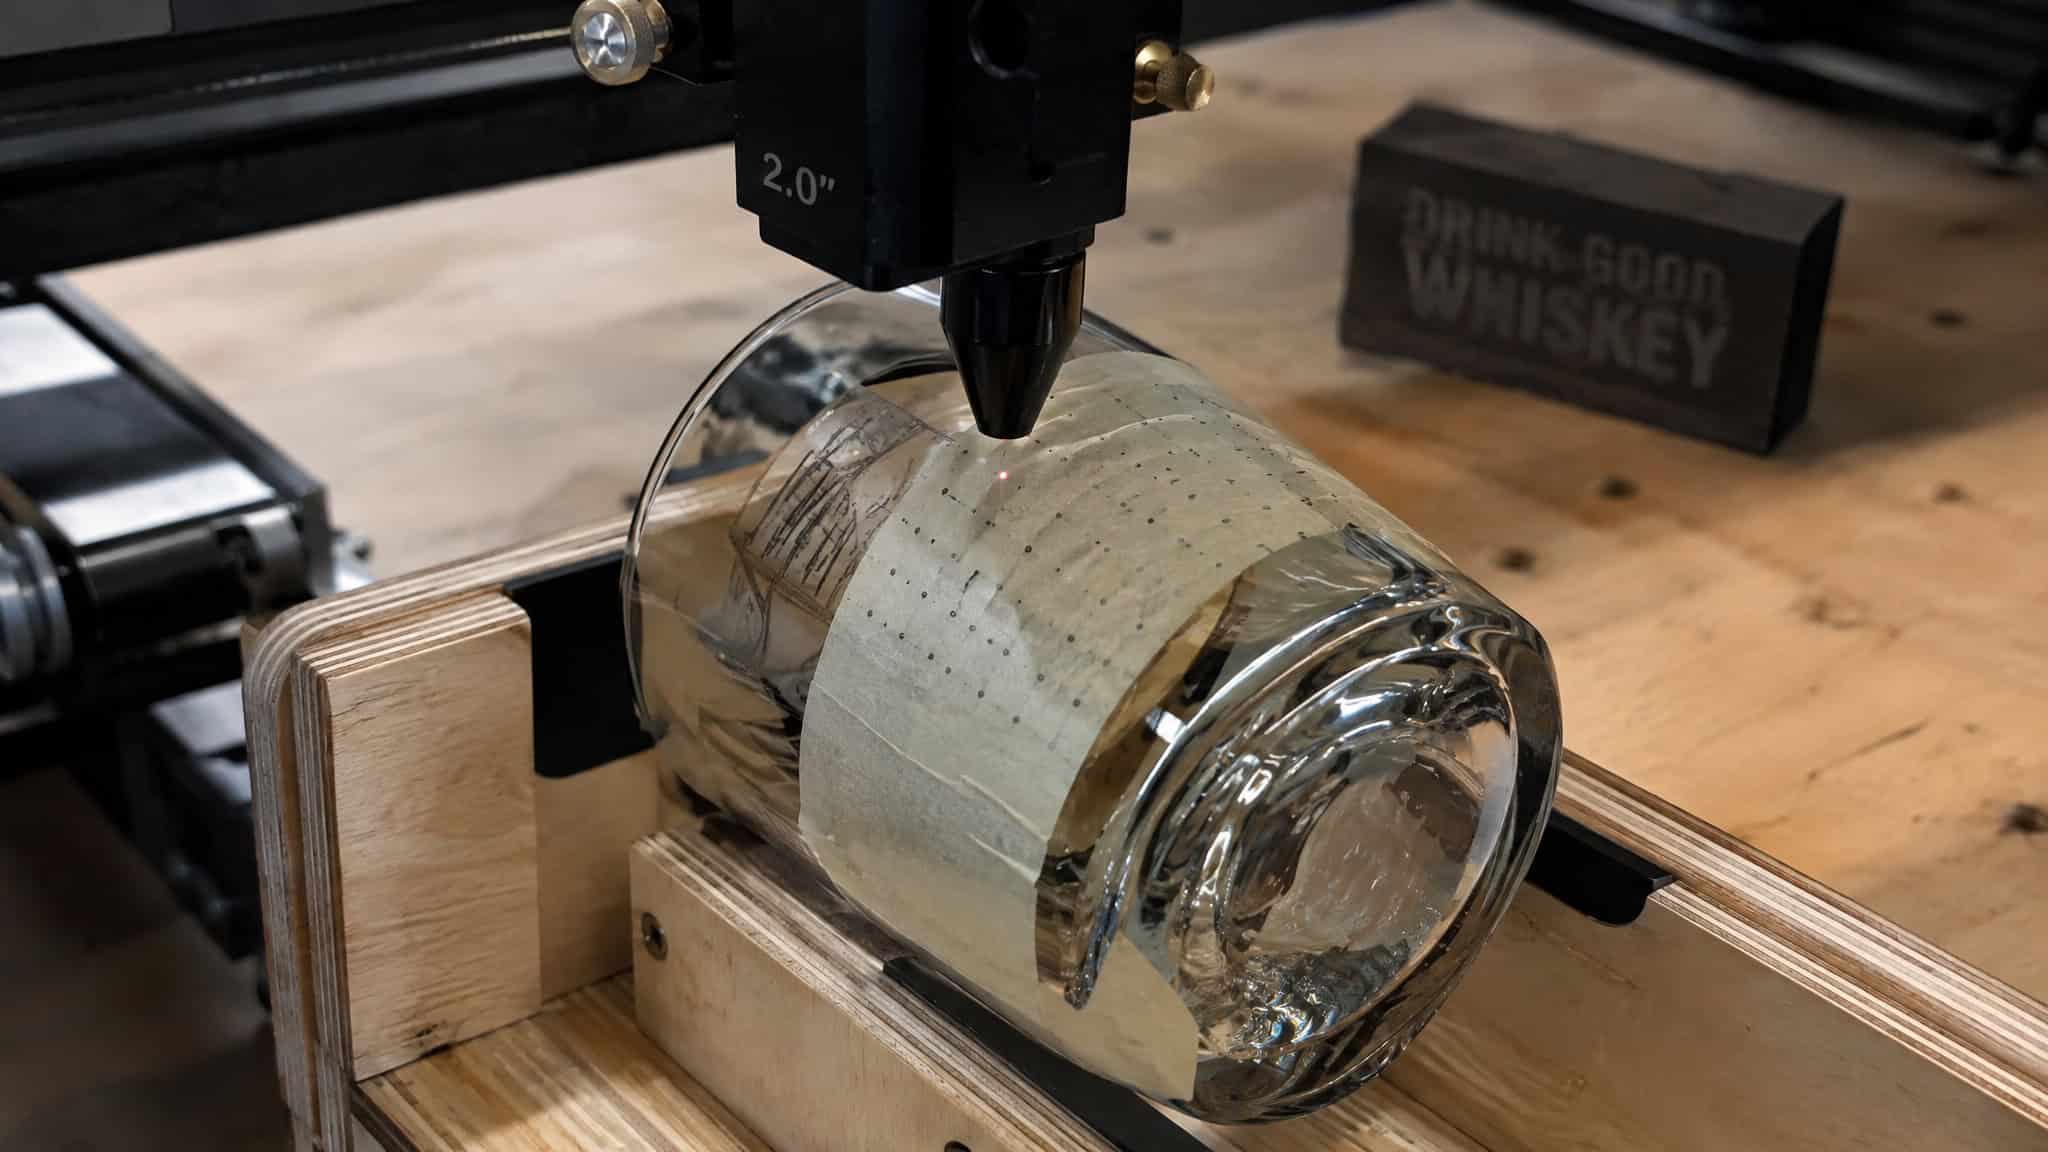
The documented run went like this. First, a jig: four layers of quarter-inch plywood, built for repeatable positioning, with the engraving area set to 54mm and the design was pulled in a couple of millimeters from the edges. Then the one prep step even UV needs here: tape over the glass so the laser can map its topography. Run autofocus, select curve surface engraving, pick a glass preset, then build custom settings.
The measurement grid was 10×10, 100 points across a 54x54mm area, and more points buy more accuracy. The software stacks the measurements into elevation layers and engraves each one moving down, and the finished JDS whiskey glass, with its squared base and rounded bowl, showed no visible layer lines.
The settings: 100% power, 100 speed, 1 pass, 500 LPC, 40 frequency. Those numbers cost a day of testing and two cracked whiskey glasses, and the parameters and the failure data tell one story.
3D inner engraving in K9 crystal
This is the feature that justifies the whole category. The 355nm beam focuses inside the K9 crystal rather than on its surface, creating controlled microfractures that form a point cloud of a 3D model. You feed it an STL file. No diode, CO2, or IR laser can do this at any price or with any amount of prep, and the F2 can’t either. It’s a physically different mechanism, and there’s a deeper dive on how laser engraving inside glass actually works if you want the subsurface physics.
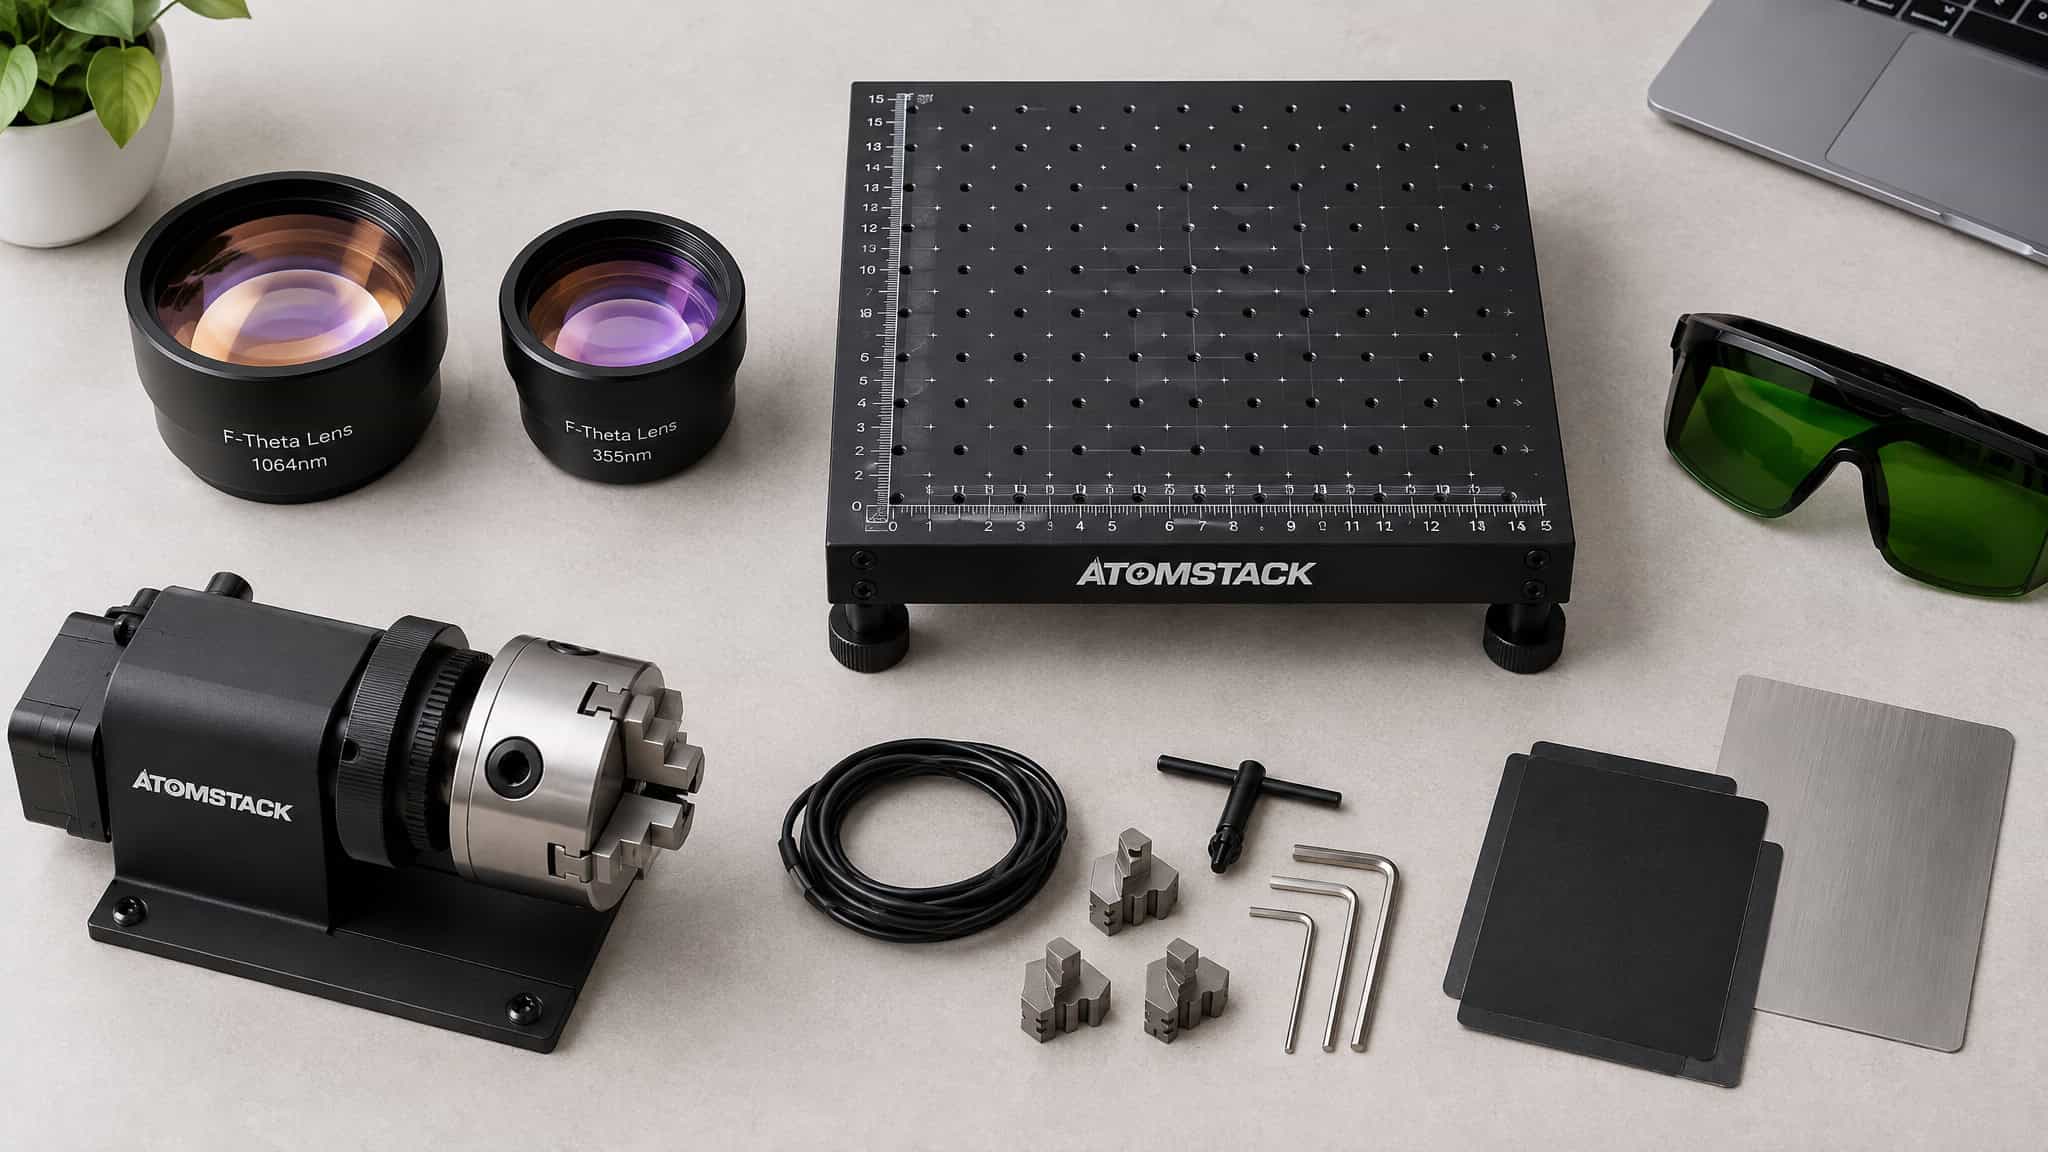
Two accessories make it possible, and both ship in the box: the dedicated inner-engraving lens and the riser stand. Miss that dependency while comparison shopping and you’ll discover it the expensive way. The inner work area is 70x70mm, with a physical limit of 70x70x150mm, so think gift-sized crystal, not fist-sized paperweights.
The riser workflow is the part that worked perfectly every time in testing. The stand has a grid and a side-mounted ruler, and you enter coordinates and distance plus the crystal’s dimensions, which is more than other UV brands’ risers ask of you. A previously built STL file went straight in and produced a perfect result on the first try.
A galaxy model took a few minutes. Dense, high-point-count models take much longer, so price your patience accordingly.
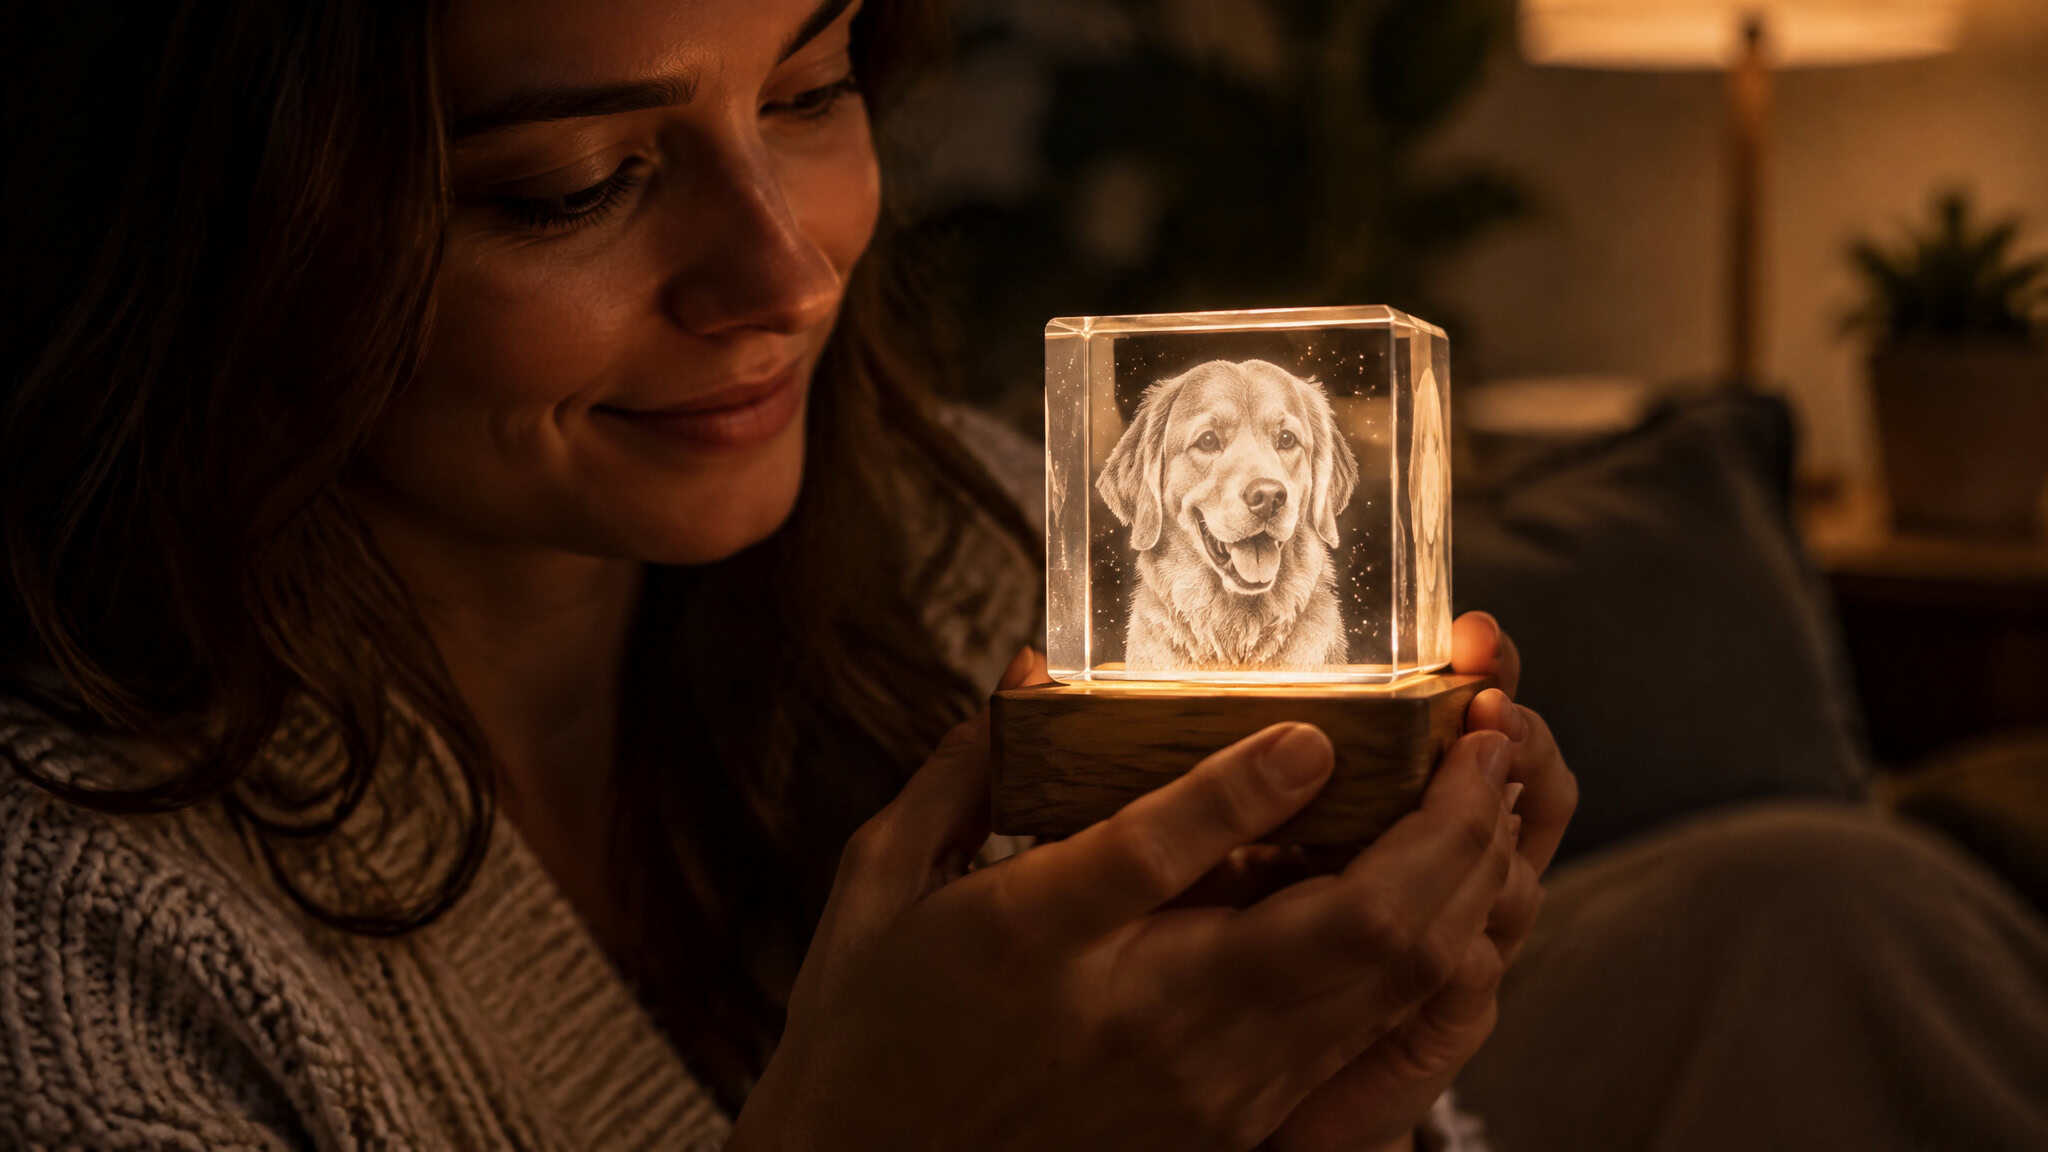
Here’s the contrarian beat worth sitting with: the microfracture mechanism people fear on glass surfaces is deliberately induced and controlled inside the crystal. Same physics, flipped from failure mode into feature. That’s genuinely elegant engineering.
And the human moment, because it’s real: one reviewer engraved a crystal of their father, lost nearly 20 years ago, and keeps it where they can look at it daily. The galaxy piece displays on an LED stand. If you’re weighing this machine against anything cheaper, this is the capability no coating and no prep workflow can replicate.
Making money with engraved crystal and glass
Yes, for the right person, and the evidence starts with one anecdote weighed as one: a crystal photo gift sent to the reviewer’s mother generated about six engraving requests from her friend group. That’s word of mouth doing the marketing, not a business plan.
The real margin lever is blank variability. JDS whiskey glass blanks are economical but inconsistent in quality; find the side that rests flush, then rotate that side up to keep it from wobbling, which is the difference between profit and cracked inventory. Inner crystal engraving is judged the most desirable UV feature for making money, and it’s the one competitors can’t match. Full transparency on the ecosystem: the curved-glass jig file is sold in the reviewer’s Etsy shop, and the blanks come from JDS’s site. All that demand began with one gift; picking blanks is where the money actually gets made or lost.
What to look for in a UV laser engraver for glass
The checklist that matters for glass isn’t wattage. It’s dual lenses (surface plus inner engraving), a riser stand with coordinate-based positioning, rotary compatibility with the correct mode support, and curve-mapping software, plus an acceptance that UV is very sensitive to small focus changes. Any missing item eliminates one of the four glass jobs outright.
One spec-sheet correction: a 5W UV module marks bare metal quickly at shallow depth, so “is 5W enough?” is the wrong question. “Is your job shallow or deep?” is the right one. And the 200x200mm work area is surface-only; inner engraving drops to 70x70mm, with max processing height at 150mm.
The recurring buyer mistake: people buy for material versatility without checking whether their primary material, glass, needs the inner-engraving lens, the rotary, or the curve-mapping workflow, then find out after purchase. Choose based on the four glass jobs themselves, not the spec sheet.
Cost of a UV laser engraving machine for glass
The price anchors, all complete desktop machines: the xTool F2 Ultra UV standalone at $4,499, the F2 Ultra (Single) with 60W MOPA at $4,899, and the ComMarker Omni X discounted to $3,799. Prices may vary.
Cost check: No measured cost-per-hour figures exist for any of these machines, so budget for prep time and failed blanks separately.
The lineup splits neatly into three tiers. The F2 and F1 suit budget first-timers; the Ultra UV costs roughly three to four times as much and delivers roughly three to four times the capability as a fixed workstation, while the F2 stays smaller, lighter, and more portable. On the Omni X, the reviewer’s verdict goes to the F2 Ultra UV on polish and dramatically better software. Since acquiring the UV, they use it for almost everything with no buyer’s remorse, and the F2 remains an excellent beginner machine. One affectionate jab the reviewer has earned: they wish the machine had a simpler name.
There’s an honest gap, though: the sources cover only complete desktop machines in the $3,799 to $4,899 range. DIY builds and UV-module add-ons get no evidence-based guidance here, and no measured CO2-on-glass or cost-per-hour figures exist anywhere.
Inside the xTool F2 Ultra UV: build, controls, and accessories
What ships versus what doesn’t decides which glass jobs work on day one. In the box: a wired control panel, both lenses (surface and inner engraving), the riser stand for inner engraving, fixturing hardware with thumbscrews that mount to a grid of threaded bed holes, and a cutting plate to prevent underside heat. Compatible add-ons sold separately: the RA3 rotary, AP2 air purifier, IF2 inline fan, Auto/Pro Conveyor, foot pedal, and fire safety set.
Build notes, briefly: graphite-infused EPS foam packaging with straps and a steel bracket, orange windows that actually block UV light, and a rose-gold/bronze tinted aluminum finish the reviewer dislikes purely on taste.
Controls: rear ports for power, foot pedal, accessories, security USB, external screen, and an inlet for a fire-safety hose, plus a detachable smoke outlet with a cleanable grill. Side USB-C and USB with built-in Wi-Fi, though the reviewer wanted Ethernet at this price. A reset button and safety-check indicator gate power-up, and the recessed emergency stop is harder to slam than the F1’s. The touchscreen handles USB jobs, last-job reload, framing, and four focus buttons, though the UI feels underutilized.
One focus-relevant caveat: the conveyor tool’s F2 variant needed a replacement clamp, reportedly sent free. Without it, the raised front edge made coasters fade top to bottom from focal difference, a tidy non-glass illustration of how UV punishes any focal mismatch.
Materials beyond glass: where the UV laser excels
Here’s the surprise: this 5W machine engraves bare aluminum, mild steel, and brass quickly, not just coatings, and can sometimes beat a 60W MOPA on speed because shallow, high-contrast marks don’t call for aggressive settings. Gold, silver, and other metals are expected to work, not proven.
The controlled head-to-head, same files, same sizes: on wood the F2 is faster and darker but blotchy with grain showing, while the Ultra UV is cleaner, sharper, and higher-resolution but lighter and slower. On stainless steel, both produced similar professional results with no clear winner. The Ultra UV cuts wood cleanly with little smoke and no charring where the F2 burned and failed one cut-through section, and the tiny dot makes wood photo engravings skip the usual fuzzy look. Plastics are UV’s lane: green PLA marked clean high-contrast white on the Ultra UV while the F2 couldn’t mark it at all; black PLA worked on both, F2 slightly faster, UV slightly cleaner; a polypropylene cup via rotary turned out great; thick EVA foam cut cleanly in about 20 seconds.
Rapid-fire caveats: white ceramic engraves well but marks can be nearly invisible when glaze and body match; real leather is dangerous from tanning chemicals while laser-safe faux leather gives a silvery sheen; white acrylic engraves with high contrast but only CO2 cuts all acrylic colors; slate marks come out so fine they need double or triple lines, a direct cost of that 350-micron dot. The full wavelength-by-material compatibility map covers the wider cross-check.
Speed and depth: the UV trade-offs to accept
UV can’t match a 60W MOPA for metal power or a 40W blue diode for wood cutting; it excels at versatility and fine detail, marks significantly slower than IR and diode machines, and isn’t built for deep engraving. A 40mm brass coin took 256 passes, just shy of 3 hours, and still came out shallow.
The XTool Studio moat, and what it means for glass work
XTool Studio, distinct from the older XTool Creative Space, is the only officially supported software (Windows and macOS, no LightBurn support), and that closed ecosystem is also the only place the curved-glass topography mapping and inner engraving exist. A shop running three Galvo UV lasers found only the F2 Ultra UV could handle odd-shaped curved glass jobs, attributed to the Studio curve workflow.
Verdict: when the UV premium pays off for glass
If your glass work is flat and occasional, the prep path costs pennies: tempera or chalk paint, one extra step, cleanup, done. A cheaper machine serves you fine. If it’s batch drinkware, curved blanks, or crystal keepsakes, the roughly three to four times premium buys eliminated prep, per-job repeatability, and capabilities nothing else has.
| Your glass job | Cheaper laser + paint prep | xTool F2 Ultra UV ($4,499) |
|---|---|---|
| Occasional flat glass | Yes (pennies of tempera per job) | Partial (no prep, but 3-4x the price) |
| Batch drinkware | Partial (coating tax on every cup) | Yes (direct marking, repeatable) |
| Curved blanks | No (only the F2 Ultra UV handled odd-shaped curved glass in testing) | Yes (topography mapping workflow) |
| Crystal keepsakes | No (physically impossible on diode, CO2, or IR) | Yes (inner engraving, lens and riser included) |
The tiebreakers deserve naming, because raw mark quality didn’t decide this. On stainless steel, both machines matched professionally. UV marks slower than diode and IR generally. What the premium buys is steadier results and added capability, not speed. The UV-only tiebreakers are inner crystal engraving and the curved-glass workflow.
And the honest gap: no source provides measured CO2-on-glass results or cost-per-hour figures, so this comparison stands on workflow reasoning: prep time, consistency, and failure rates. You now hold every tested number in this piece, which is enough to run that reasoning yourself.
For glass-centered serious use, the evidence points at the F2 Ultra UV at $4,499, judged better than the $3,799 Omni X on polish and software. For budget beginners, the F2 and F1 remain excellent machines. The reviewer’s usage record since acquiring the UV says the quiet part: it gets used for almost everything, and there’s no buyer’s remorse. The decision rule is per job type, not per machine.
Frequently Asked Questions
Can a laser engraver engrave on glass?
Yes, but results depend entirely on laser type. Diode and IR lasers need a tempera or chalk paint coating on every glass job because bare glass passes or bounces their photons away, while a 355nm UV laser marks bare glass directly with steadier, more repeatable results. UV is credited with the best glass marks of any laser type currently on the market.
What are the key differences between a diode laser and a UV laser?
Budget blue diodes run at 450nm or 405nm and can’t interact with bare glass, so they need a surface coating to work. A 355nm UV laser carries enough photon energy to break chemical bonds directly, marking glass with no prep and less scorching. The trade-offs: UV marks significantly slower than diode and IR machines, isn’t built for deep engraving, and its invisible beam and tiny ~350-micron spot make it brutally focus-critical.
What are the downsides of laser etching?
On glass, the big ones are fragility and variability: fine text and thin graphics concentrate stress and can crack blanks that larger graphics survive, and identical settings can succeed on one cup and fail outright on another that looks the same. UV marking is also slow, focus-critical, and unsuited to deep engraving — a 40mm brass coin took 256 passes, nearly 3 hours, and still came out shallow.
Why did my laser engraved glass crack and how do I prevent it?
It’s usually not generic fragility — thin text and fine graphics concentrate stress and crack glass that larger graphics survive, and soda-lime results hinge on perfect focus and rotary tilt angle. The nastier variable is blank inconsistency: identical settings produced excellent results on one pint glass and total failure on another from the same source. Run a cheap test engrave on every new blank before committing to the batch.
