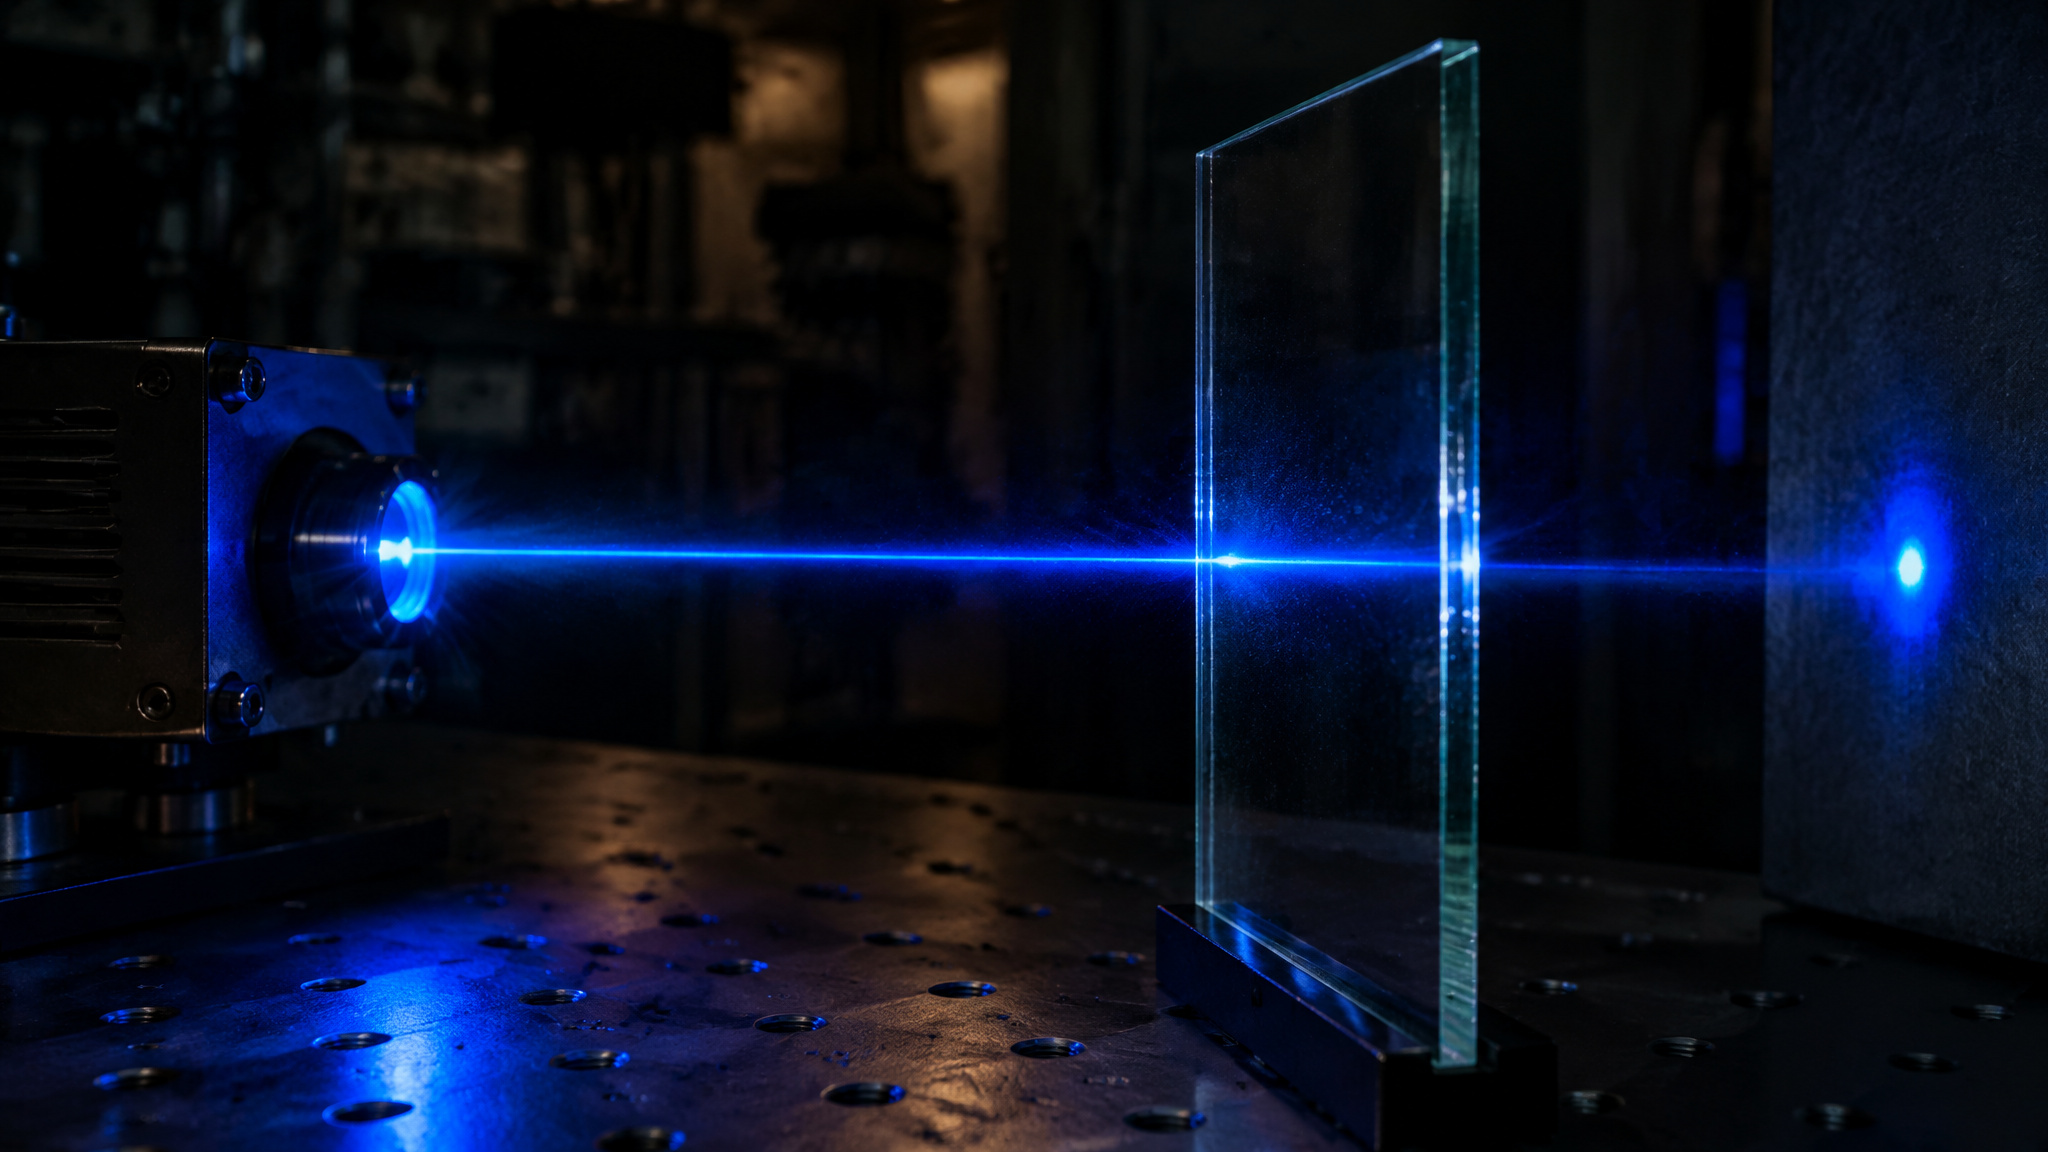
Short answer to the question everyone asks after their first muddy test pane: yes, a 10W laser will etch glass, but never bare, clear glass, and the reason is optics, not power. A visible blue diode beam sails straight through clear glass no matter what you do with the settings, which is why your test came out as nothing, a gray smear, or a cracked vase instead of the clean frosted engravings you keep seeing online. The full picture comes in three tiers: bare glass is physically unmarkable, coated glass works but with a hard quality ceiling, and CO2 or UV machines mark glass directly at a very different price point. Everything below comes from documented practitioner tests with names and machines attached, not from a workaround pitch. Once you see why the beam passes through, the coating method stops sounding like a hack and starts sounding like the only sensible move.
Key Takeaways
A 10W diode laser etches glass only through an absorptive coating like tempera paint; the 445-450nm beam transmits through bare clear glass at any power level, so no setting will ever mark it.
Coated-glass results are capped by physics: frosted white micro-fracture marks only, no shades of gray, no white results from any known coating, and black only via TiO2 fusion or paint fill.
Glass shows the largest setting variation between lasers of the same wattage of any material tested, so copied recipes fail; run a test grid around 800-1,200 mm/min against 60-100% power on your own machine.
Table of Contents
Can you laser engrave glass with a 10W diode?
Yes, you can engrave glass with a 10W diode laser, but only through an absorptive coating, never directly on bare glass. The proof isn’t theoretical: practitioners have pulled clean frosted engravings on four documented 10W machines, including an Ortur LM3, an xTool D1 Pro 10W, a Snapmaker 2.0 A250, and an xTool M2. Every one of those jobs went through a surface coating first. ChalkWatts put the failure mode bluntly on the LightBurn forum: with no surface prep, the beam passes through and leaves literally nothing. As jkwilborn framed it, you can’t lase a clear object with a visible laser, because the beam just goes right through.
That’s not one cranky opinion, either. The xTool M2 review, published August 28, 2026, lists transparent glass poorly absorbs the 445 nm diode wavelength as a machine con. When a separate reviewer independently lands on the same constraint as the forum crowd, that’s real triangulation.
The machines with documented coated-glass results:
| Machine | Practitioner | Result |
|---|---|---|
| Ortur LM3 10W | jkwilborn | Mirror backing removal, glass experiments |
| xTool D1 Pro 10W | ChalkWatts | Frosted engravings through tempera |
| Snapmaker 2.0 A250 10W | gil.a.ramirez | Rotary vase work, coating comparisons |
| xTool M2 10W | Basic Tutorials review | Gouache-coated whiskey glass logo |
Glass is the odd one out in the 10W lineup, and it helps to see why. Wood and acrylic engrave fine on a 10W diode straight away, and the full list of what a 10 watt laser can engrave is long. Glass is the notable exception that demands prep, and that’s an optics problem, not a wattage problem. No power setting will ever fix it, which is exactly why the coating workflow in our diode vs CO2 vs fiber laser wavelength comparison matters more here than raw specs.
Why a diode beam passes straight through clear glass
A 10W blue diode doesn’t mark clear glass because visible-wavelength light transmits through it, and the coatings and engraved surfaces you see online are what stop the beam. The mechanism is honestly kind of elegant: an absorptive coating soaks up the laser energy at the surface, heats the glass underneath hot enough to shatter it into micro-fractures, and only then does the remaining energy pass harmlessly through. What reads as “etching” is actually controlled surface shattering, with tiny fracture points scattering light into that frosted white finish with strong contrast and almost no depth. Glass doesn’t melt or cut here the way wood or metal does. I love that the trick works by breaking the surface on purpose, at a microscopic scale, instead of vaporizing anything.
What a diode glass etch can and can’t look like
Before chasing settings, it helps to know what the finished mark can actually be. A diode etch on coated glass is a frosted white micro-fracture finish, full stop, and everything else, grays, whites, solid blacks, sits outside what the fracture trick can deliver on its own. The sections below split that reality into the hard limits, the workarounds that reach black, and what those constraints mean for your designs.
The hard limits
Engraved glass is two-color by physics. There are no shades, so images need converting to black and white with minimal detail. Canva Pro is one tool people use for that, before they hit the laser software. And there’s no white, ever: as jkwilborn puts it, no known coating produces white results, because a white coating would reflect most of the laser energy right back off.
The frosted fracture is the terminal best case, and every “better results” trick is selling against physics. The Instructables author describes their finished frosted pieces as classy and clean and shares free design files, which is their claim, but the bench record backs the look.
The paths to black
Black is achievable three ways. TiO2 fusion, the mix CharlieAnderson uses for tile etching, bonds the pigment molecularly into the surface, though dkj4linux found it can fuse so hard the laser burns the background instead of the image; treat it as promising, not solved. Paint fill is safer: PeteNelson wiped black fabric ink into the etch, dried it with a hot air gun, and washed the excess off with water. Or keep the paint on for the negative-image look, the Instructables author’s favorite. Baked porcelain colors were suggested for a permanent black background, but the suggester never tried it.
Design consequences
Combining frosted and black in one design works with masking and re-indexing the workpiece in the exact same position; dkj4linux uses a framing square, a plastic square, and a stop block.
What to put on glass before laser engraving
What you put on glass before laser engraving is an absorptive coating, and the cheap answer is the right answer: tempera or acrylic craft paint. The community record contains two documented conflicts with tutorial consensus, and both change what you should buy.
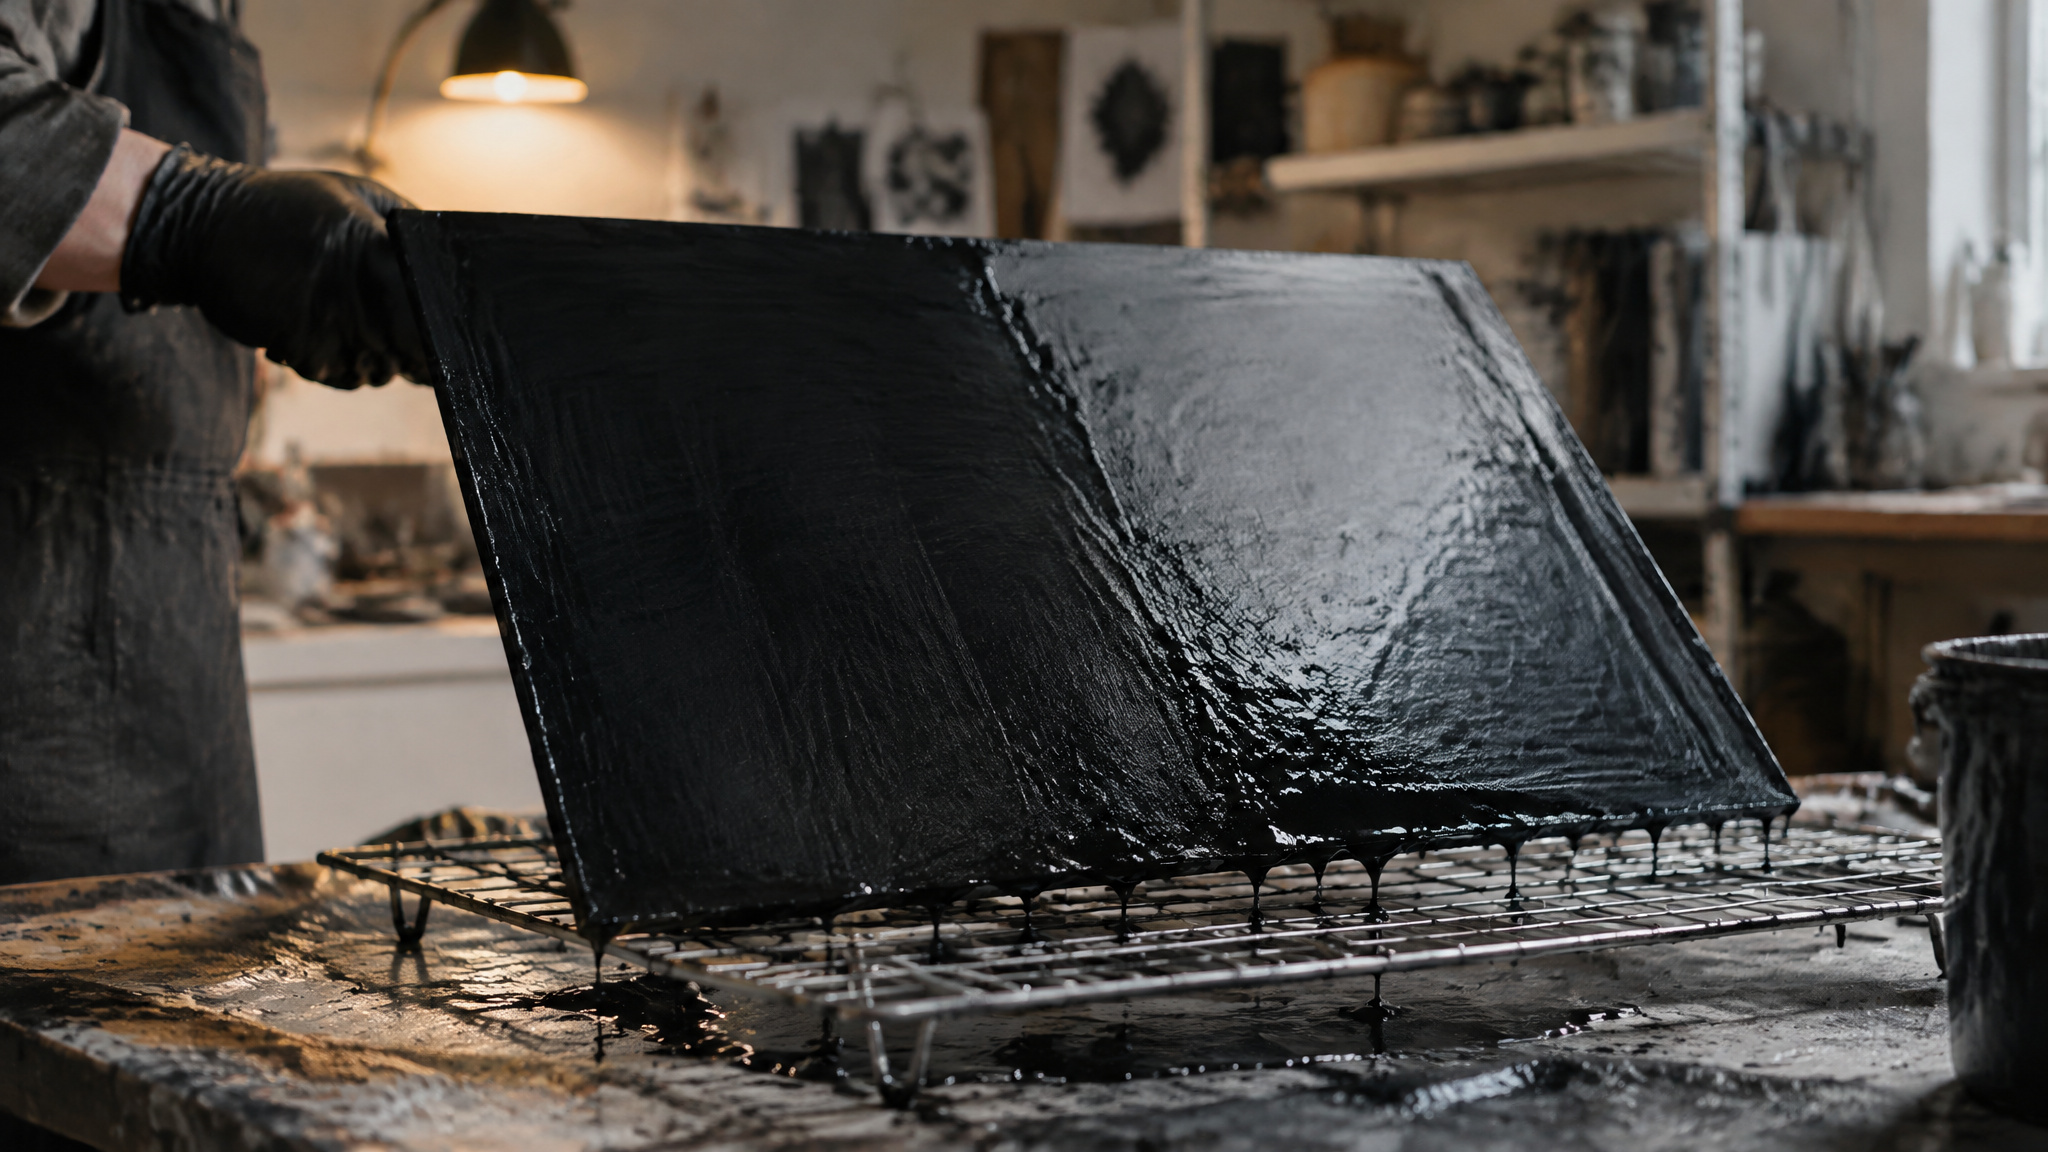
Tempera: the default
Tempera is the community’s default coating, and it’s Dollar Tree or Walmart cheap, the coating ChalkWatts’ clean frosted panes came through. The Instructables method dilutes it 10-20% with water, pours it into a large container, blows away the surface bubbles, then dip-coats: dip, let the excess drip back, dry on a rack. A suction cup, gloves, or washed fingers all work for handling. It washes off with water afterward, though sdj544 notes the coated surface is fragile before you lase, so handle with care.
Brand beats everything
This is the headline finding. ChalkWatts ran a controlled test on his xTool D1 Pro 10W with a control pane, and Sax black tempera produced muddy gray engravings while Prang black, and accidentally Prang white, produced clean frosted white. Brand outweighed color, coating evenness, and application method. The backstory: he ruined most of a glass collection before finding this.
Application method barely mattered; full-strength foam brush, 50/50 dip, one coat or several all gave similar results. Beginners should dip or foam-brush rather than airbrush. One controlled test, clearly attributed, so don’t read it as “only Prang works.”
The dry moly arc
The workshop-grade go-to was CRC Dry Moly Lube, a budget alternative to Enduramark, which makes chemical sense since molybdenum is that product’s key ingredient. The method: spray lightly from 8-12 inches, let it dry in about a minute black-to-grey, and repeat until no light passes through, about 3 coats. That transmission check is a genuinely neat trick. Nitrile gloves against the mess, spray only around the design area. sdj544 found it gave the most even coat and was the easiest to clean, and it got on everything.
Then on January 16, 2024, after Enduramark reported that lasering dry moly releases sulfuric acid, gil.a.ramirez reversed his own recommendation and now points to tempera or acrylic first. If you go the moly route anyway, it must be molybdenum-based or not at all; non-molybdenum dry lubricants must not be used. CRC’s price rose and supply thinned, so sdj544 found an Amazon moly alternative (ASIN B000AYHK9K) and a locally available graphite spray (ASIN B0094IZ3BA) that worked equally well.
Red flag: Lasering dry moly can release sulfuric acid. If you use it anyway, it must be molybdenum-based — never a non-molybdenum dry lubricant.
The rest of the landscape
sdj544 found moly unnecessary for glass outright: dry graphite spray, airbrushed tempera, paint marker, and even a sharpie worked equally well for casual jobs. His seven-coating comparison verdict: nothing vastly superior, blacks slightly more efficient, dry moly easiest to clean. Ceramark is the availability substitute, though it’s pricey, stores long-term upside down, and cleans up with water. Enduramark itself for the highest-quality etch. And gouache earned its spot on a real rotary job: the xTool M2 review engraved a gouache-coated whiskey glass logo in 20:29.
10W diode glass settings: why copied recipes fail
The best settings for a 10W diode on glass are a starting range backed by a test grid, not a recipe. ChalkWatts found glass shows the largest setting variation between lasers of the same wattage of any material he tested, which is why identical published settings produce frosted white on one machine and flaky breakage on another.
Documented starting points
| Source | Power | Speed | Notes |
|---|---|---|---|
| Instructables | 100% | 40 mm/sec | 0.08 mm line interval matched to beam, focus on glass surface |
| ChalkWatts | 100% | 1,000 mm/min | 2.5% overscan, one pass; his line interval is transcribed ambiguously, so no number here |
| Dry moly guide | 70-75% | 1,000 mm/min | Crosshatch fill, iterated after a too-light first pass |
| Greyscale photos | 50% | 1,000 mm/min | 262 dpi; earlier 163 dpi tests, 20% too light but best backlit, 70% overexposed |
PeteNelson’s fabric-ink job adds another data point: 0.1 mm interval, 400 mm/min work speed, 100% power, jog 3000 mm/min.
Run your own grid
The universal move is a material test grid of roughly 800-1,200 mm/min against 60-100% power on your own machine. gil.a.ramirez ran LightBurn’s Material Test, then a narrower fine-tune pass. Software levers worth naming: Hauke reports LightBurn’s Offset Fill gives clearly better glass results, threshold image mode handles two-color logos, and photos need the negative-image checkbox because glass marks white, the opposite of wood, with dot-width correction around 0.048, line interval 0.007, one pass, then contrast, brightness, and gamma tuned after a small test.
How to keep glass from cracking mid-job
The mid-job crack is thermal shock, and the fix is running cooler and slower than instinct suggests.
- Keep power low-to-medium on a first test. Above 70%, gil.a.ramirez’s test pane and a vase cracked from heating and cooling too fast; that’s one practitioner’s tested threshold, not a universal spec, and 100% on thicker glass also failed.
- Air assist low or off. Strong airflow cools the glass too quickly, which is backwards from every other material.
- Masking tape or a damp towel over the surface to distribute heat.
- Slight defocus for a smoother result.
- Frequency and PPI kept low to avoid heat concentration.
- DPI in the 300-600 range; higher DPI adds detail but also heat.
- Higher speeds to avoid heat buildup.
Quick test: If your first pass cracks the pane, drop below 70% power and slow the speed before blaming the glass.
On glass type: soda-lime, which covers most bottles, drinking glasses, and windows, is the beginner’s friend. Borosilicate handles heat well. Crystal is pretty but inconsistent. Coated or painted surfaces mark sharper than bare.
Tempered glass can shatter from internal stresses and isn’t recommended. Protective glasses and gloves, always.
Prep and workholding: how projects die before the laser fires
Wash and dry new store-bought glass before coating: it ships oily from early-stage Glass Disease, or crizzling, where alkali compounds form on unstable glass, and that oil ruined coatings and made vases slip in the chuck. Grip smooth round glass gently; bare chucks risk cracking it, and even silicone vice pads broke pieces when over-tightened. gil.a.ramirez’s Snapmaker 2.0 work, for reference, ran through Snapmaker Luban. One charm: window shops give away cut-off scraps, frosted glass, and mirror stock, enough that CharlieAnderson had to cut his free glass down to fit the laser.
Rotary setup for vases, glasses, and tumblers
The prerequisite is software, not hardware: enable Rotary Setup in your laser software before the first cylindrical run, because gil.a.ramirez’s first vase was lost to exactly that forgotten checkbox. Without it, the machine treats a spinning cylinder like a flat sheet.
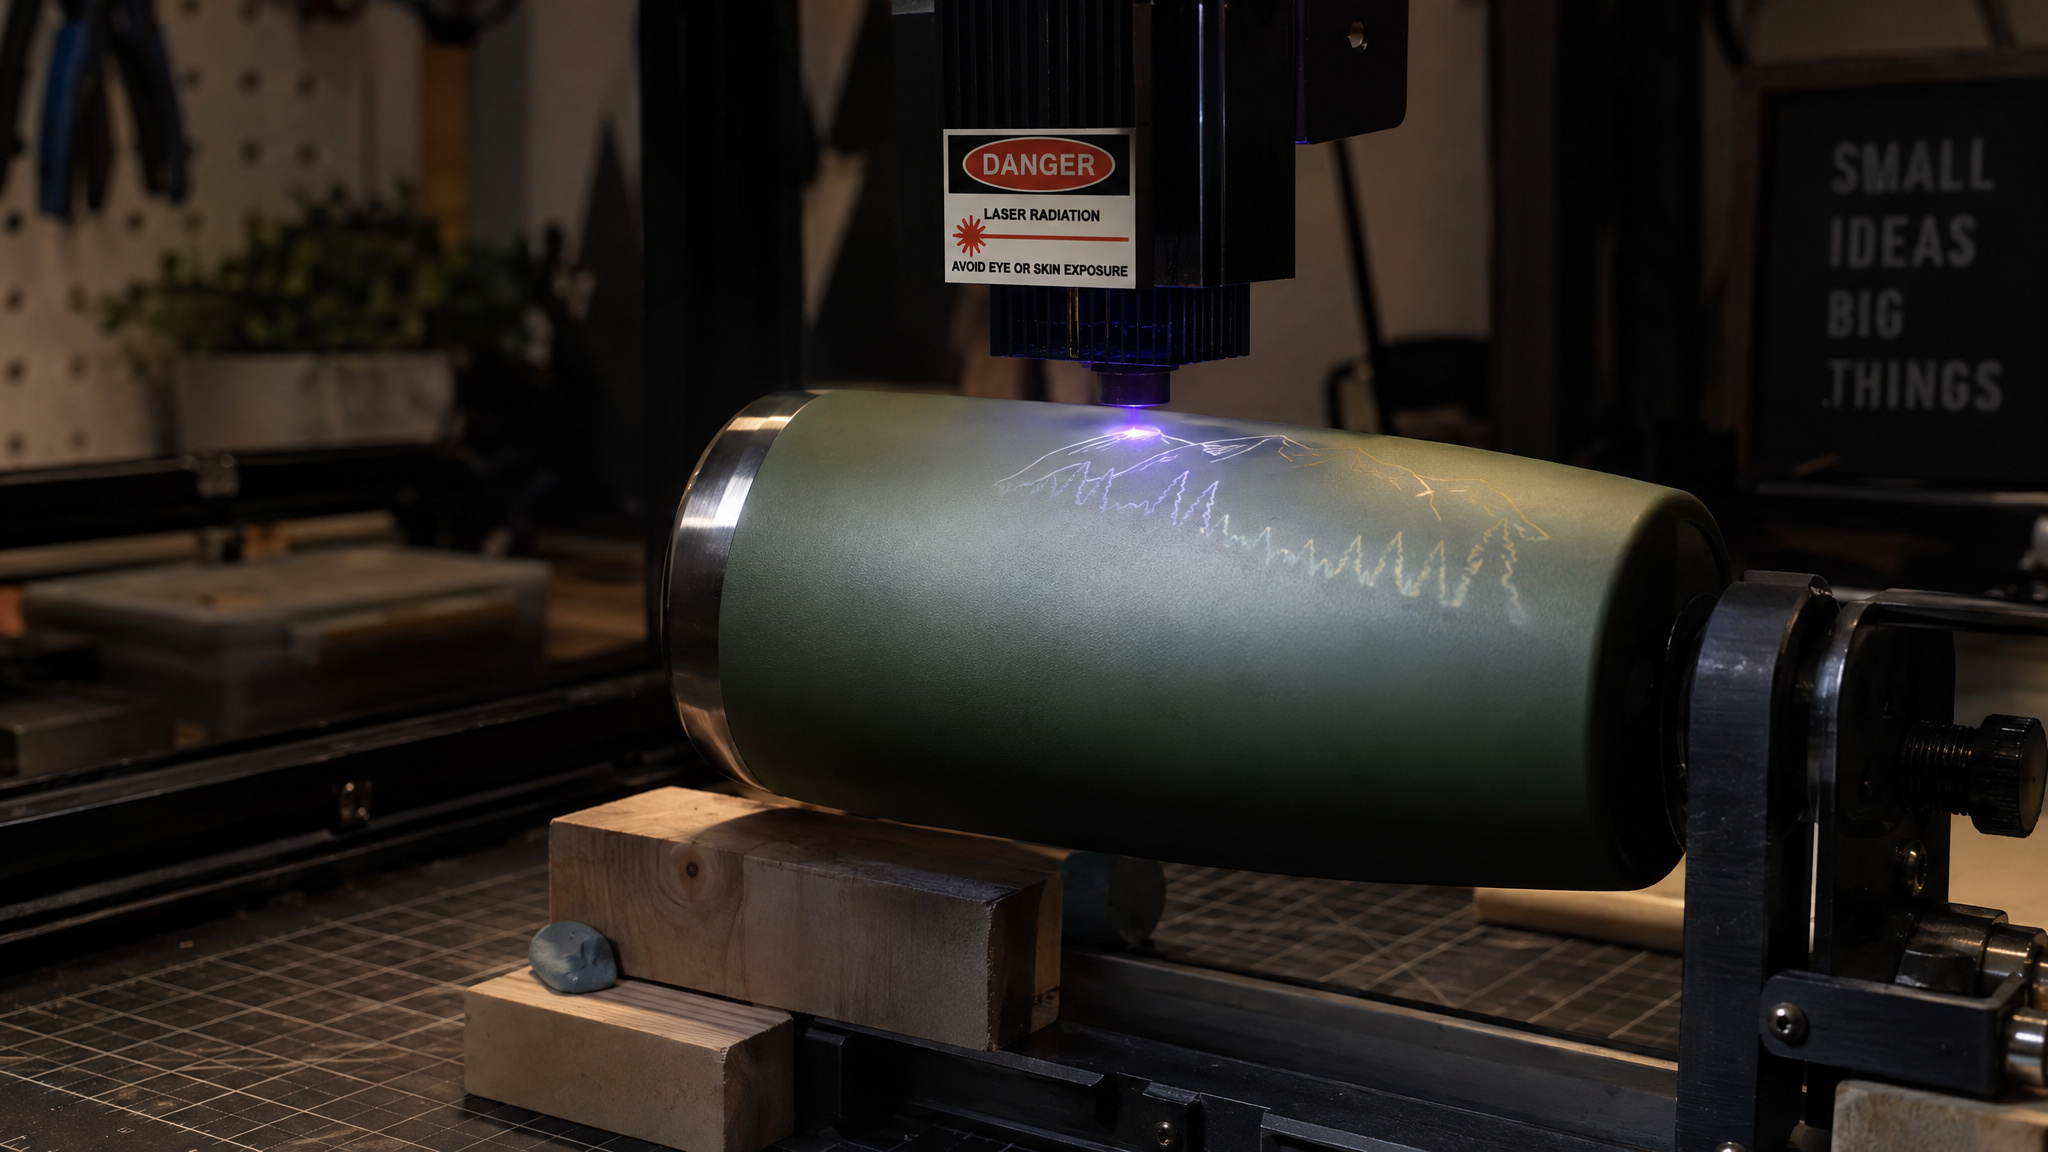
The cylindrical failure class
Flat-glass tutorials never mention what round stock does to you. Dollar-store vases at $1.25 were out-of-round, forcing power up to 75% because the laser lost focus as the surface wandered. Sticky Tack plus wood blocking gripped a thick, smooth vase base; TPU rotary jaw extenders struggled.
The modern proof point
A review run on the xTool M2 with the RA3 Lite rotary engraved a logo on a gouache-coated whiskey glass in 20:29, with QR-code-guided rotary setup in xTool Studio and AI-assisted settings because no material profile existed for the combination. That’s a maker improvising, not the reviewer endorsing a feature. The context: a four-vase rush job on roughly 48 hours’ notice, with cheap blanks used for testing first.
Mirror-backing removal: two advanced diode workflows
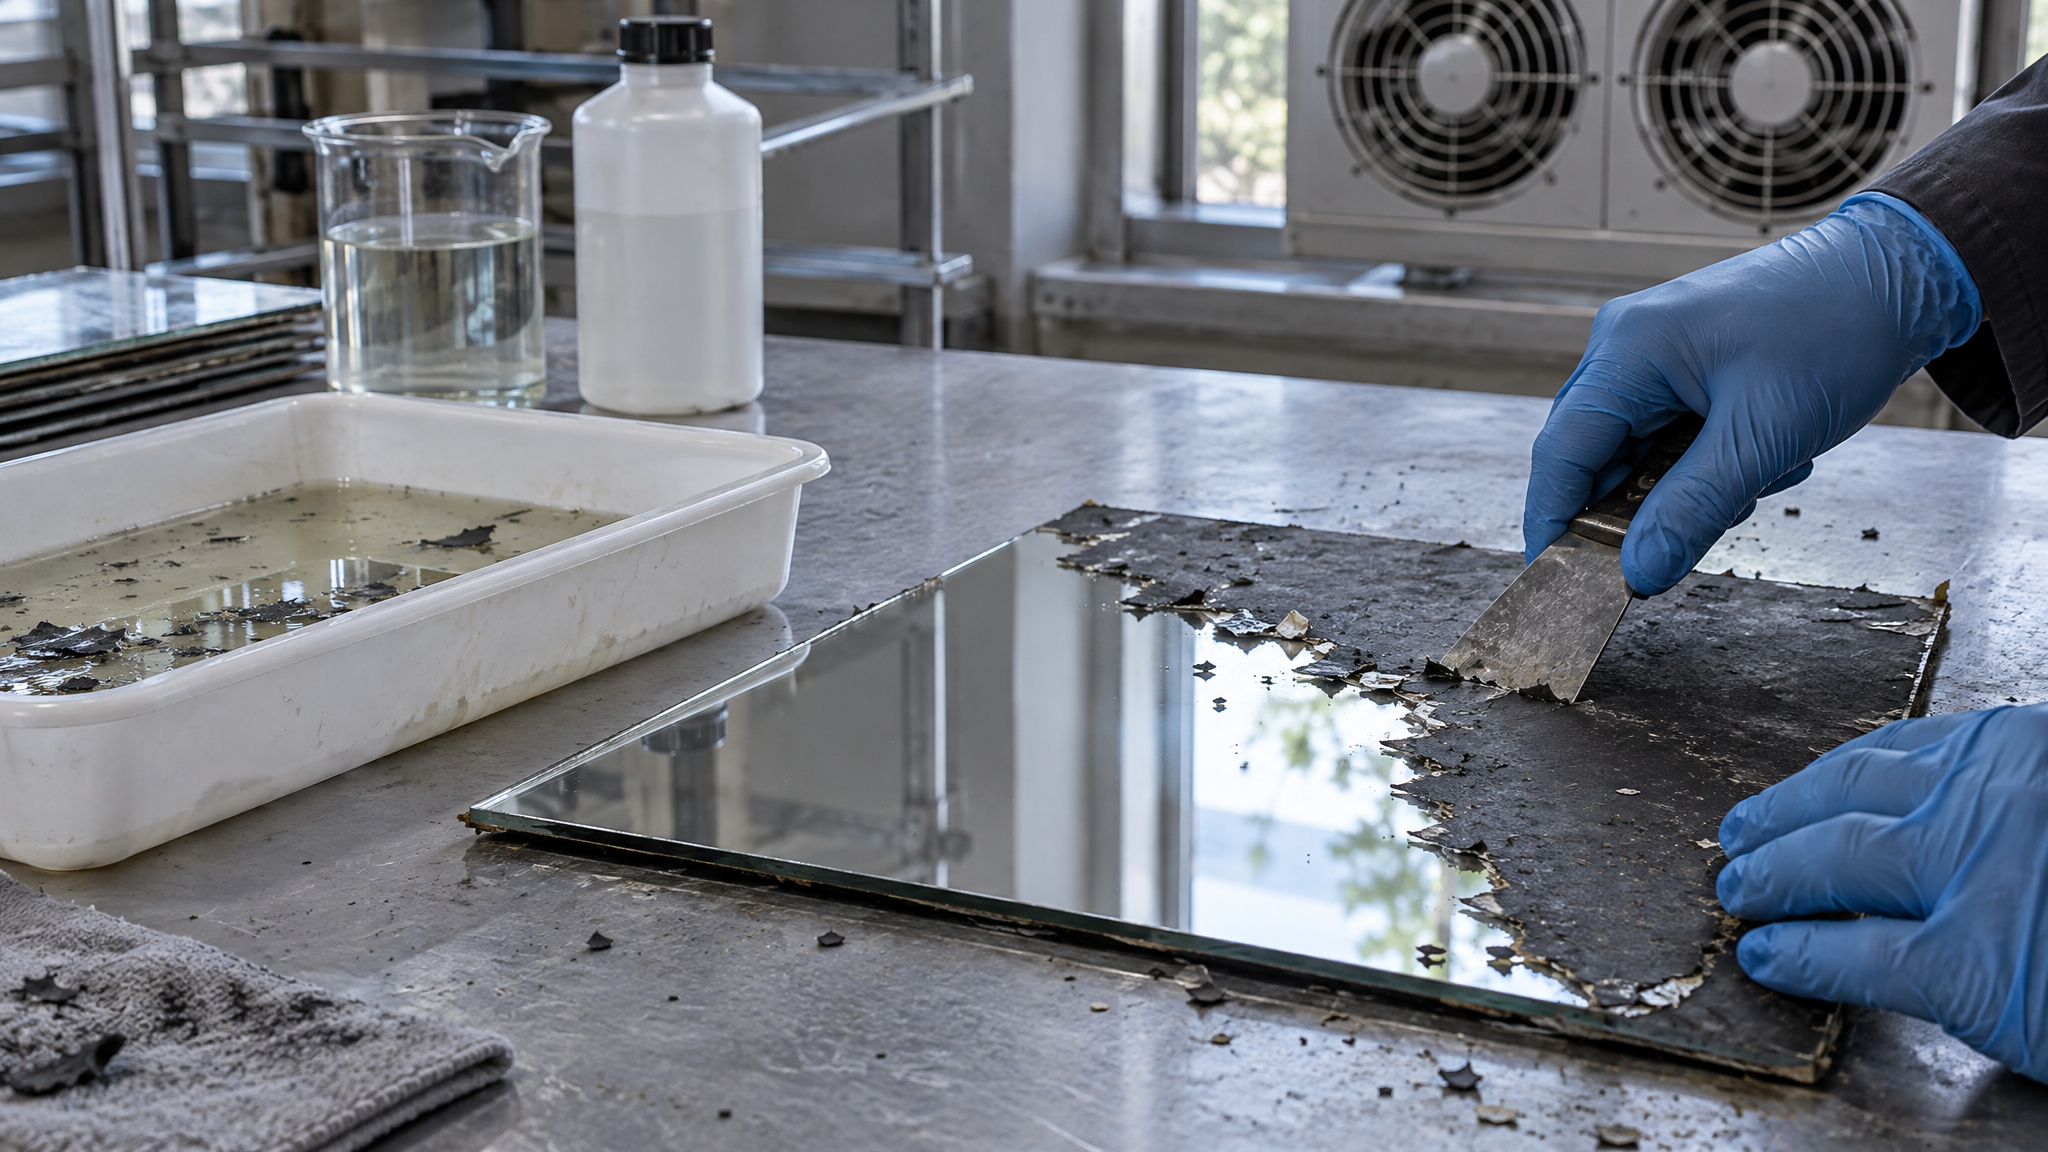
A 10W diode can strip mirror backing for clear-glass designs; it just can’t touch the glass afterward, unlike a CO2 laser. jkwilborn’s two-step burns only the dark-grey backing paint on Lowes 12″×12″ mirror tiles at 254 LPI, 30 mm/s, 20% power, 12 LPM air assist, then dissolves the metal with a 3:1 mix of 10% muriatic pool cleaner and 3% hydrogen peroxide, PCB etching adapted, with full PPE and a thorough rinse. dkj4linux (David Johnson) runs a solvent route that uses shelf-liner contact paper as a mask, a low-power lase that burns masking but not glass, then paint remover on the exposed silvering; the hazard is that most contact paper is vinyl or PVC, which produces toxic fumes under the laser and demands strong cross-flow ventilation.
Diode vs CO2, UV, and IR for glass engraving
CO2 and UV laser wavelengths are actually absorbed by glass, which is why those machines mark glass more directly than a 10W diode. The cleanest single demonstration of the gap is mirror tiles: on a CO2 machine, jkwilborn lases the backing off and engraves the exposed glass directly, painting for contrast, while a diode has no effect on the glass at all at that point.
On IR 1064nm modules, the upgrade question diode owners actually ask: the evidence isn’t there. The M2 review only notes a separate IR module is needed for certain metals and plastics; nothing in the practitioner record documents what 1064nm does to glass, so treat it as unproven rather than assuming it solves anything. The XLaserlab E3 UV pitch, with its cold-light technology and 16K resolution claims, is vendor self-promotion, and it should carry less weight than the practitioner-tested diode workflows above.
Here’s the honest close: the coating workflow gets you a frosted etch on a machine you already own for craft-paint money. Upgrade only when you need direct glass marking, deeper contrast, or production volume. That’s what CO2 or UV actually buys.
Frequently Asked Questions
Can you laser engrave glass with a diode laser?
Yes, but only through an absorptive coating like tempera paint — never directly on bare glass. A visible blue diode beam transmits straight through clear glass at any power level, so without a coating you get nothing, a gray smear, or a cracked piece. Practitioners have pulled clean frosted engravings on documented 10W machines including the Ortur LM3, xTool D1 Pro 10W, Snapmaker 2.0 A250, and xTool M2, all through a surface coating first.
What can a 10 watt laser engrave?
A 10W diode handles wood and acrylic straight away, and the list of compatible materials is long — glass is the notable exception that demands prep. Bare clear glass is physically unmarkable by a visible diode because the beam passes through it; with an absorptive coating, though, a 10W unit delivers clean frosted engravings. The glass limitation is an optics problem, not a wattage problem, so no power setting will ever fix it.
What are the best settings for engraving glass with a 10W diode laser?
Treat any published recipe as a starting point, not an answer: glass shows the largest setting variation between lasers of the same wattage of any material tested, so copied settings fail. Documented starting points cluster around 100% power at 40 mm/sec (Instructables) or 1,000 mm/min with one pass (ChalkWatts), and the universal move is running a test grid of roughly 800–1,200 mm/min against 60–100% power on your own machine. In LightBurn, Offset Fill reportedly gives clearly better glass results, and photos need the negative-image checkbox because glass marks white, the opposite of wood.
Diode laser vs CO2 laser for engraving glass?
A CO2 laser’s wavelength is absorbed by glass, so it marks glass directly with no coating; a diode’s visible beam passes through bare glass and only works through an absorptive coating like tempera. The cleanest demonstration is mirror tiles: on a CO2 machine you can lase the backing off and engrave the exposed glass directly, while a diode has no effect on the glass at that point. The diode’s advantage is that you already own it, and the coating workflow costs craft-paint money.
Is an IR 1064nm module worth it for glass engraving?
The evidence isn’t there yet. The xTool M2 review only notes that a separate IR module is needed for certain metals and plastics, and nothing in the practitioner record documents what 1064nm actually does to glass. Treat it as unproven rather than assuming it solves the bare-glass problem — the tested path for diode owners remains coated glass.
Can a diode laser engrave white or black on glass?
Frosted white micro-fracture is the terminal best case for a diode etch — there are no shades of gray, and no known coating produces a white mark, because a white coating would reflect the laser energy right back off. Black is achievable three ways: TiO2 fusion (promising but can burn the background instead of the image), paint fill with black fabric ink wiped into the etch, or keeping the paint on for a negative-image look. Designs need converting to black and white with minimal detail before engraving.
