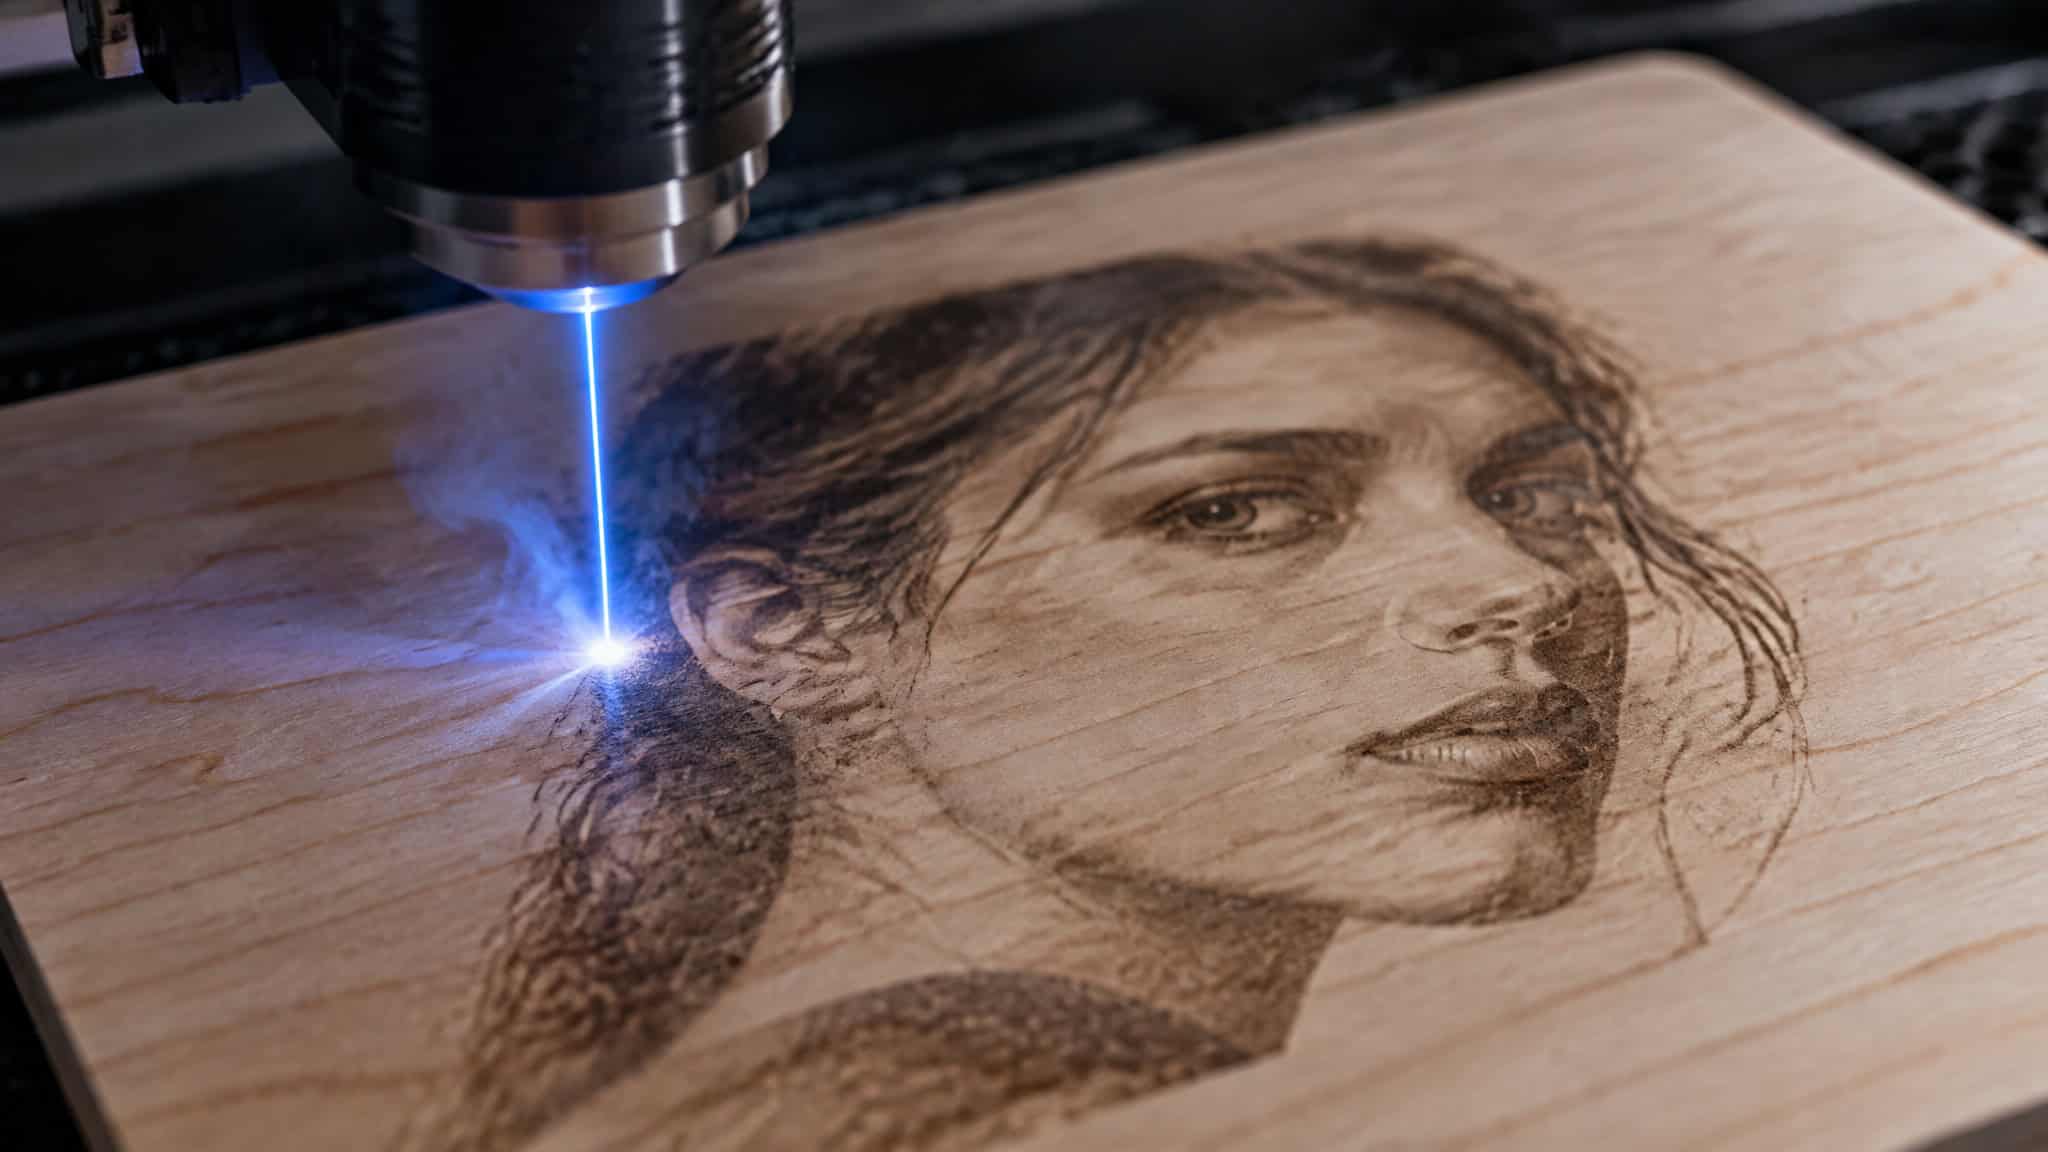
Load a sharp photo of your dog into the laser software, hit start on a wooden box lid, and watch it burn into a muddy, weirdly dark blob that looks like a dog seen through a dirty window. As Craftgineer’s March 13, 2026 guide noted, faulting the laser hardware overlooks the real culprit: grabbing mismatched wood, skipping source-image edits, or picking the wrong dithering mode. Every box design family, from portraits and line art to geometric patterns, text depth passes, and stain-filled inlays, requires its own wood species, prep pipeline, and machine settings.
Key Takeaways
Roughly 80% of photo-engraving quality comes from wood choice, image preparation, and test grids, while only 20% comes from machine settings.
Maple is the gold standard for dithered box lids due to its pale color and tight grain, whereas pine, oak, and dark walnut ruin photo contrast.
Pushing image contrast up 20% to 40%, tuning gamma, and running Jarvis dithering around 254 LPI lets individual laser dots breathe without scorching into solid char.
Table of Contents
Laser engraving design ideas for wooden boxes
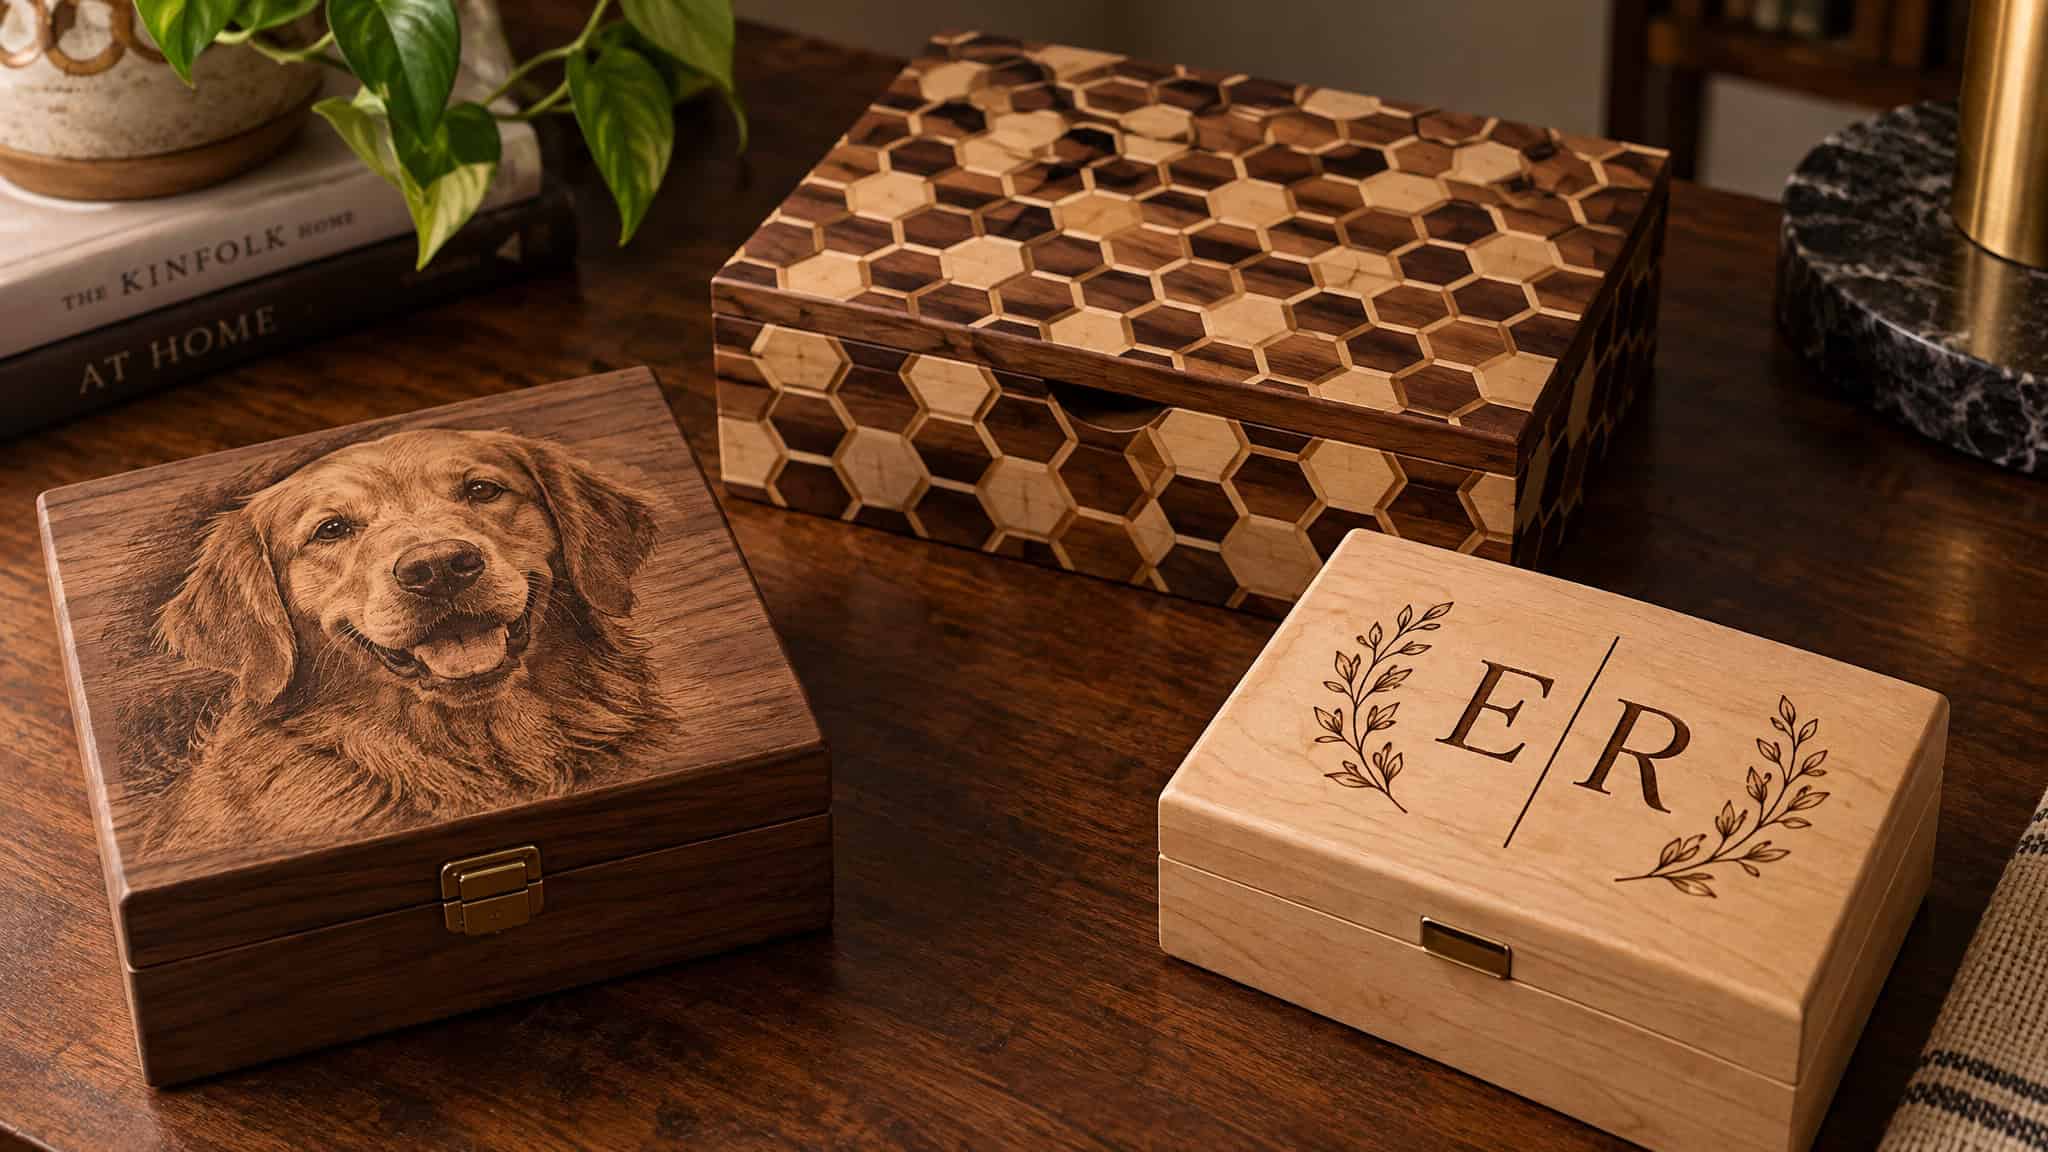
The box designs worth engraving fall into a few families, and each family wants its own artwork style, wood, and laser approach. Grouping box concepts by visual style and function, whether personalized keepsake monograms, geometric honeycomb patterns, or photo-to-vector conversions, dictates how the laser must fire. In one 20W diode laser demonstration on an xTool D1 Pro, engraving two dog portraits required tuning the first file to preserve fine fur alongside dark nose zones prone to washing out, while calibrating the second to hold realism in the dark shadows around the eyes.
- Personalized keepsake and occasion boxes: Names, dates, and monograms carved with vector depth passes for weddings, holidays, or baby gifts.
- Photo portraits and pet lids: Family or pet photos converted into high-DPI grayscale rasters or clean pen-and-ink line art.
- Nature and botanical themes: Organic leaf silhouettes, wildlife scenes, and honeycomb and bee structures.
Continuous-tone portraits and wildlife scenes
Laser-engraved wooden boxes make standout personalized gifts for weddings and memorials when you tailor the file prep to the wood. Continuous-tone portraits demand dithered raster passes on pale, tight-grained hardwood. In the same creator’s test on birch plywood, working from a heavily shadowed deer source image yielded warm brown tones without deep burns once a soft brush swept away the surface residue.
- Isolate memorial portraits by removing busy backgrounds completely so the subject stands out on a keepsake box or plaque.
- Tune dark shadow zones around eyes and noses before burning so details don’t merge.
Geometric patterns and stylized art
Stylized graphics, mandalas, and modern or vintage geometric patterns don’t need photorealistic dot diffusion. They pair cleanly with Ordered halftone grids or shallow raster fills that turn a plain DIY storage box into a decorative piece.
- Run honeycomb grids and repeating geometric tiles across box sides.
- Use halftone dot grids on stylized portraits where a structured, printed texture fits the aesthetic.
Monograms, handwriting, and botanical line art
Typography, floral silhouettes, and cherished family keepsakes run sharpest as vector paths or high-contrast threshold engravings. If you’re turning these custom keepsakes into a side hustle, our breakdown on selling engraved products with a laser covers the business side of custom runs.
- Scan handwritten notes, family recipes, or signatures to raster-engrave inside a wedding or memorial lid.
- Carve monograms and botanical borders with dedicated vector depth passes so the lettering sits below the lid surface.
Maple, cherry, or alder: matching the wood to the design
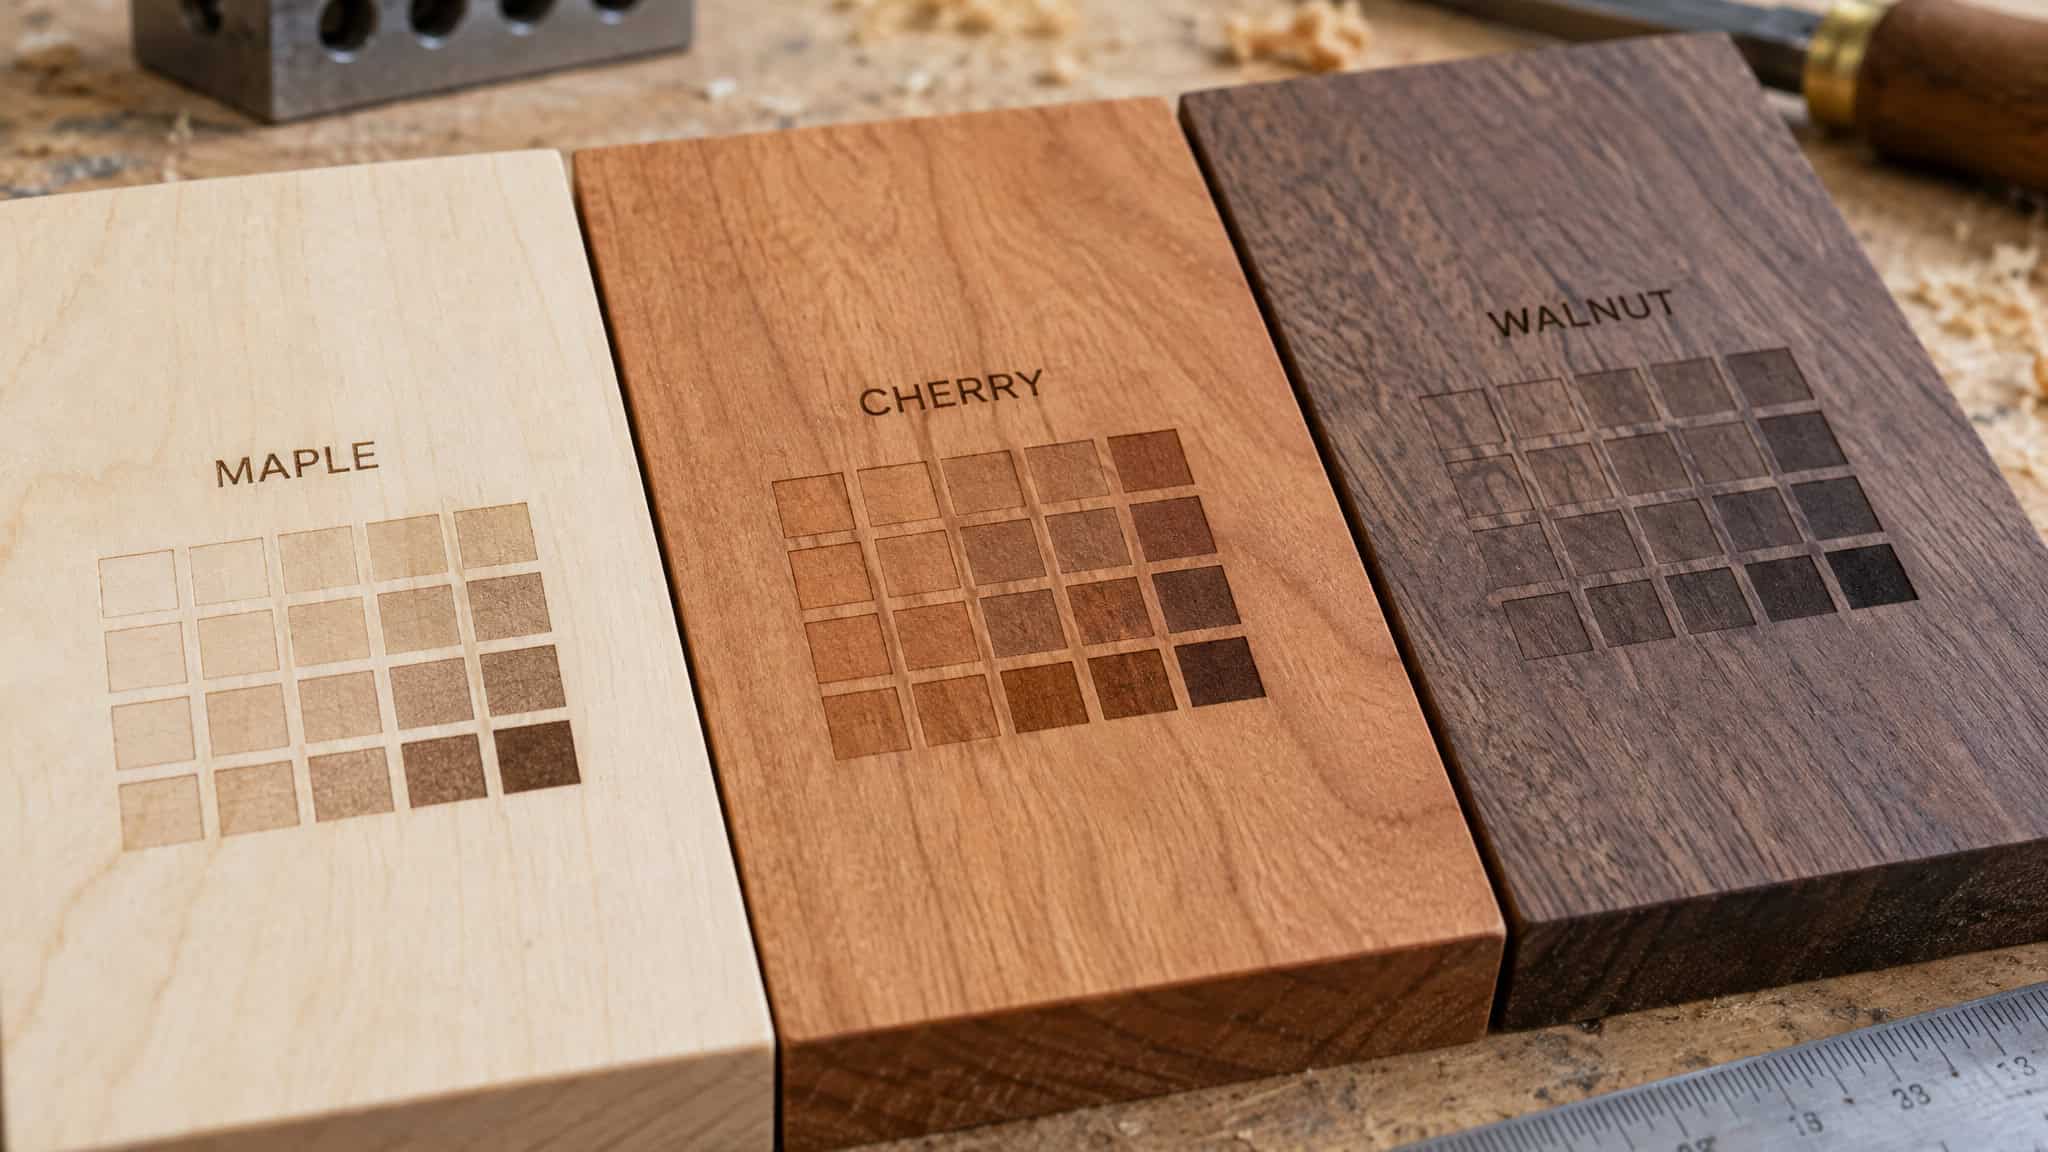
Maple is the best wood for laser engraving photos on boxes because its pale surface, tight consistent grain, and hardness hold fine dithered dots with maximum contrast. Because bare unburned wood serves as the white of your photograph, matching the wood species to your design matters more than any machine tweak, and grabbing random shop scrap guarantees a ruined lid. Higher resin content in the right pale wood actually helps by burning to a deep mark that keeps surface-to-burn contrast balanced, whereas pronounced grain on a darker red alder plaque with a tight finished surface produces a very dark engraving.
- Maple ($$): The best overall choice and gold standard for laser engraving photos on box lids, combining a light color for maximum contrast, tight consistent grain, and the hardness to hold fine detail.
- Cherry ($$): A slightly warmer base tone that gives boxes a vintage feel, paired with tight predictable grain that burns to a rich dark brown.
- Alder ($): A softer, budget-friendly alternative to maple that’s forgiving for beginners, though it holds slightly less detail in fine areas (and a darker red alder plaque with pronounced grain and a tight finished surface produces a very dark engraving).
- Practice & budget backups: Basswood is another affordable option, and Baltic birch plywood works well for practice runs.
- Woods to skip for photos: Avoid pine, oak, and walnut when laser engraving photos, and remember to engrave against the grain.
| Wood Species | Cost Tier | Photo Engraving Verdict | Grain & Tone Characteristics |
|---|---|---|---|
| Maple | $$ | Yes (Best overall choice) | Pale tone, tight consistent grain, hard surface |
| Cherry | $$ | Yes (Warm vintage look) | Warm base tone, tight grain, burns rich dark brown |
| Alder | $ | Yes (Forgiving budget pick) | Softer fibers, slightly less fine detail |
| Basswood | $ | Yes (Affordable sleeper) | Pale color, minimal grain pattern |
| Baltic Birch Plywood | $ | Partial (Practice material) | Cross-grain stability, but yellowish tint and visible grain |
| Pine | $ | No (Uneven tones) | Unpredictable resin pockets and diagonal grain streaks |
| Oak | $$ | No (Texture overpowers dots) | Open, porous grain ruins dither patterns |
| Walnut | $$$ | No (Too dark for photos) | Dark base wood lacks burn contrast |
Top hardwood picks for gift-grade lids
When you want a portrait lid to pop, stick to maple, cherry, or alder. Their tight grain structures stay out of the way of the image, letting the laser’s dot spacing do the heavy lifting. You can explore how sheet thickness and ply cores behave in our wood choice deep-dive for engraved boxes.
Budget and practice woods
Basswood is an affordable, widely available sleeper hit with pale color and minimal grain. Baltic birch plywood is the go-to budget practice material because it comes in large sheets with a light, consistent face veneer and cross-grain construction that prevents warping, though the video creator ranks it as their least favorite photo wood because its pronounced grain and yellowish tint muddy the image.
Woods that ruin photo engravings
Yes, walnut is too dark for laser-engraving photos on a wooden box because burned and unburned areas lack contrast, turning dark photos on dark wood into mud at a steep $$$ price tag. Skip pine for dithered photos too: resin pockets burn unpredictably, prominent grain leaves diagonal streaks, and soft spots burn faster to create uneven blotches (though one video creator finds pine acceptable in their setup). Avoid oak as well, since its open, porous grain overpowers fine dithered dots.
Grain orientation and 220-grit prep
Always position the box panel so the beam scans across the horizontal grain at a right angle, running the wood grain vertically up and down through the picture so grain lines don’t cut across a face. Before the board touches the laser bed, sand the raw surface to 220 grit so raised grain or fuzz doesn’t scramble the dither pattern.
Line art engravings: the design route for difficult woods
Converting a photo into a pen-and-ink style drawing via Photo Converter lets you engrave clean portraits and pet lids on difficult woods like pine and oak where dithered gray tones fail. Instead of relying on fragile dot spacing, line-art conversion renders subjects as crisp black lines on white that forgive imperfect laser settings and let a pet’s or person’s character carry the image. Run Standard mode to burn dark lines onto light woods, or switch to Inverted mode to etch white lines onto dark slate or painted box panels.
Preparing the photo: where engraving quality is decided
Preparing a photo for laser engraving on wood means cropping tight, converting to grayscale, adjusting gamma and contrast, sharpening edges, removing cluttered backgrounds, and resizing to your exact target LPI in LightBurn, ImagR, or Canvas Pro before the laser ever fires. Because dithering compresses tonal range and requires open, unburned wood between independent dots to create lighter shades, an image that appears well-balanced on a backlit phone display must be edited until it looks slightly harsh on your monitor. Stepping through a strict pre-processing pipeline ensures adjacent laser pulses don’t touch or overlap into a scorched smear.
- Crop tight: Frame portraits as face and shoulders so the subject fills the lid rather than leaving a face 50 pixels tall in a full-length shot.
- Convert to grayscale: Strip out color data the laser ignores so you see the exact luminance values the beam will interpret.
- Tune gamma and boost contrast: Shift midtones with gamma correction, then raise contrast 20% to 40% and brightness 5% to 15%.
- Sharpen edges: Apply an Unsharp Mask filter to counteract the slight softening of the burn without creating bright halos.
- Remove busy backgrounds: Drop cluttered backdrops to pure white so they remain clean, unburned wood.
- Resize at target LPI: Lock in final physical width and height at your engraving resolution before exporting so you never resize twice.
Source files, cropping, and grayscale
Laser-engraved photos on wood look muddy or washed out because makers blame machine settings when roughly 80% of engraving quality actually comes from image preparation, wood selection, and test grids, leaving only 20% to the hardware. The laser is just following instructions. Start with the cleanest file possible: a professionally shot raw image beats a compressed JPEG, physical prints should be scanned at high DPI and scaled down later, and low-resolution files benefit from AI photo enhancers before editing.
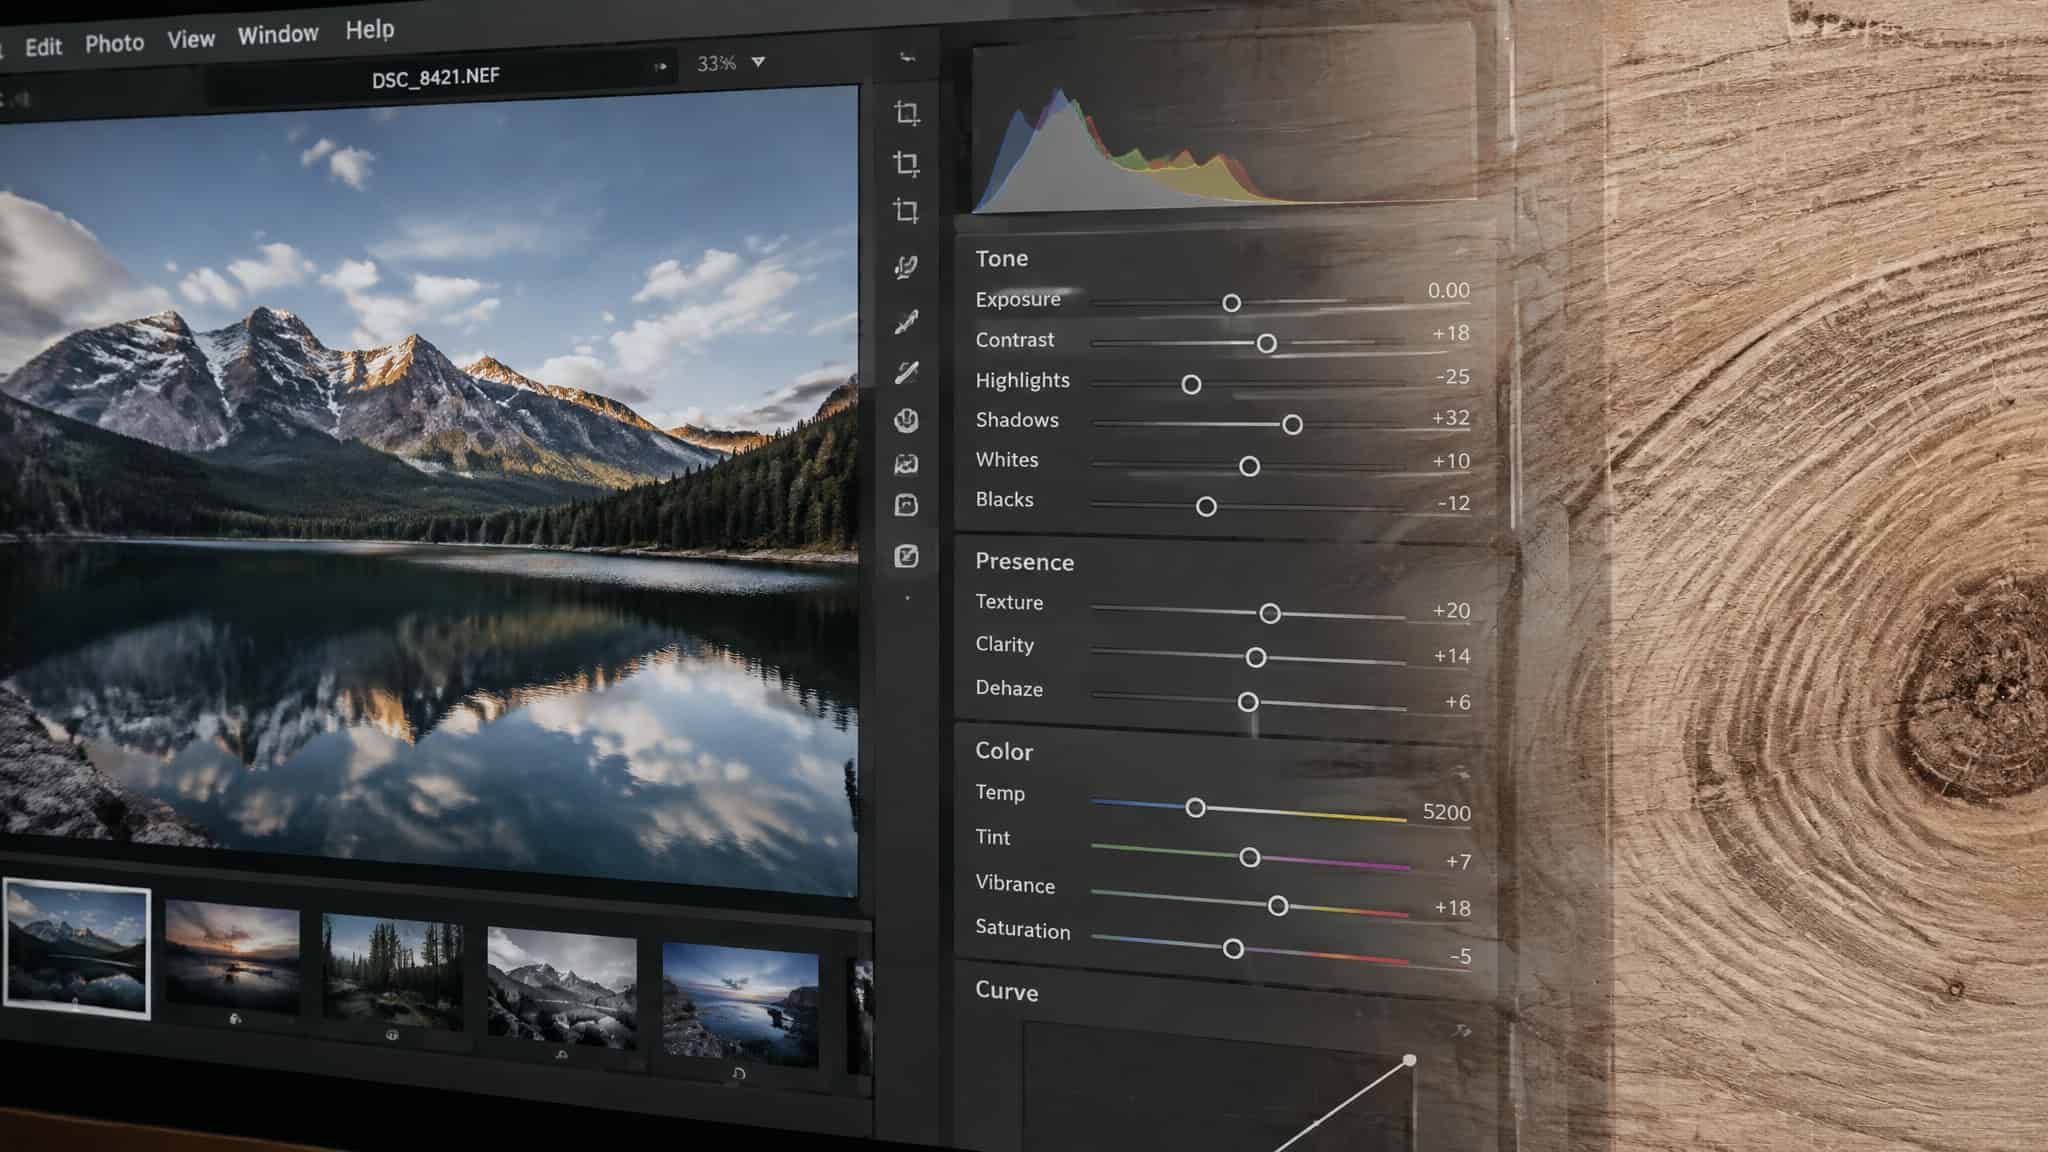
Gamma correction versus contrast sliders
When a test burn looks too dark or washed out, reach for gamma correction first. Increasing gamma lightens the image and decreasing gamma fixes washed-out tones by adjusting tonal separation across light and dark pixels without clipping bright highlights or crushing shadows the way raw contrast and brightness sliders do. Once gamma sits right, push contrast up 20% to 40% and brightness 5% to 15% so blacks go deeper and whites stay bright enough for the dots to breathe.
Background removal for memorial keepsakes
A busy background of trees or living-room clutter burns as gray mush on wood. Stripping the background to pure white leaves crisp unburned wood around the subject, a standard technique on memorial plaques and headstones that makes the portrait the star of the lid. Separating the subject from the background also lets you adjust their tones independently when a photo has extreme light-to-dark swings.
Pixel math and resizing for small lids
Always resize the image to your final box lid dimensions at your target LPI before exporting. A 6-inch-wide engraving at 300 LPI (or 300 PPI) demands an image 1,800 pixels wide. Scaling a 500-pixel web image up to fill a 6-inch lid only produces blurry mush.
Dither patterns: Jarvis, Ordered, and choosing the look
Jarvis is the best default dither pattern for laser-engraving photos on wood when you want smooth, photorealistic, newspaper-like gradients on portraits and pets. Because a laser beam only has two states, on and off, dithering software fakes continuous gray shades by varying dot density: dense dots read as dark shadows and sparse dots read as light highlights from a normal viewing distance, as shown in a side-by-side dither test zooming into the corner of a dithered turtle head engraving against the continuous-tone original.
Error diffusion modes for portraits
In LightBurn, right-clicking an image and opening Adjust Image exposes the full mode list (Jarvis, Threshold, Ordered, Atkinson, Digital, Stucki, Newsprint, Halftone, Sketch, and Grayscale) along with a preview window showing exact dot firing.
- Jarvis: Spreads tonal error across a wide area for gentle transitions, making it the video creator’s go-to for portraits.
- Floyd-Steinberg: Uses a tighter, slightly grainier dot pattern than Jarvis that sharpens fine edges when Jarvis feels too soft.
- Stucki: A close cousin to Jarvis with subtly different error distribution, worth testing on scrap if Jarvis looks too busy.
- Atkinson: Preserves more open white space for a lighter, high-contrast look on simple images, though it sacrifices midtones and produces weaker shading across deep black regions.
Grid and threshold modes for graphics
When photorealism isn’t the goal, grid and binary modes shift the visual style:
- Ordered (halftone): Arranges varying-size dots in a rigid grid that suits stylized portraits, graphic art, and saving 3D-model depth illusions as ordered patterns before running them in grayscale. However, one creator points out that the result looks like a checkered print rather than natural shading, and over-burned spots can chip if sanded.
- Threshold: Converts images to pure black and white with zero gray tones, best reserved for logos, vector-style art, or extracting black dots from an existing dither pattern.
Laser settings for photo engravings on wood
To engrave photos on maple at 254 LPI, start a 10W diode laser at 3,000 to 4,000 mm/min and 40% to 60% power, or run a 20W diode laser at 5,000 to 6,000 mm/min and 25% to 45% power. A 10W diode laser is plenty powerful for detailed wooden box designs because photo clarity relies on finesse, image prep, and a tight beam spot rather than brute wattage. In fact, a massive 150W CO2 laser has a fatter beam than a 60W tube and can scorch fine dithered gradations unless you drop the DPI so adjacent dots don’t burn together.
Resolution, LPI ceilings, and DPI breathing room
Sharp designs on small wooden boxes viewed up close require 300 to 318 LPI (Lines Per Inch), while 254 LPI is the everyday sweet spot and 150 to 200 LPI speeds up large pieces viewed from a distance. Going above 300 to 318 LPI on a diode laser rarely improves visible quality because physical spot size becomes the limiting factor. Because wood is a soft organic material that needs room for lines to breathe, keep your DPI (Dots Per Inch) between 190 and 254 whenever engravings turn out too dark or muddy.
Starting settings and the slow-and-low rule
Follow the “finesse not power” rule: moderate speed and conservative power beat high speed with boosted power every time, and one video creator rarely goes near 100 mm/s for photos because you can never undo an over-burned black char zone. On a 100W CO2 laser with a 2.5-inch lens, the creator engraved a detailed turtle photo at 200 mm/s, 318 DPI, 0% minimum power, and a 180-degree top-down scan in one pass, initially citing 22% power (and noting 20% might have improved leg and head detail) before correcting the settings to 8% and 55%.
The 15-minute photo test grid
Standard vector material test cards fail for raster photos. Before committing a finished box lid, spend 15 to 20 minutes running a test grid using a 1-to-2-inch crop of your actual photo’s focal point or widest dynamic-range area across several speed and power combinations, and re-run it whenever you swap wood species, source files, or settings.
Engraving the box lid: focus, hold-down, and the burn
Laser etching a portrait onto a wood box top means running a grayscale-converted, gamma-tuned, and contrast-boosted (20% to 40%) image through a Jarvis dither pass onto a dead-flat, precisely focused panel with air assist active. Framing the job first verifies exact lid alignment, and locking the board down ensures thin craft wood doesn’t bow mid-burn and ruin the focal distance across fine dots.
Thin box lids love to warp, and photo engraving is far more focus-sensitive than vector cutting. Secure the board with clamps, tape, or hold-down pins, or snap strong neodymium magnets from Home Depot onto the corners against the honeycomb bed; they grip much harder than stock fridge magnets and stop the lid from shifting.
Turn air assist on so hot vaporized wood particles blow clear instead of settling back onto the raw wood, and keep hands off the frame and worktable until the pass finishes. Once the laser stops, let the wood cool for a few minutes, sweep off loose char with a soft brush, and optionally wipe the surface with denatured alcohol. If you’re building the enclosure from scratch, check our complete maker workflow for cutting and engraving a box.
Depth passes, India ink contrast, and finishing the box
Sanding a wooden box to 220 grit before engraving and sealing it afterward with light coats of spray-on satin polyurethane or lacquer protects the piece without stripping away fragile dither dots. Never sand the engraved surface itself once the burn is done; if surrounding box joints need flush-sanding during assembly, mask off the artwork first.
Calibrating vector depth passes
When a box lid combines a dithered portrait with carved lettering, borders, or multi-layer inlay decoration, calibrate your vector depth passes separately from your shallow raster photo pass so the typography sits at a distinct physical depth. Getting the box walls to snap together cleanly before finishing comes down to dialing in kerf and finger joints.
The India ink wash contrast rescue
If a photo or monogram burns too light on pale wood, apply a diluted wash of India ink or dark wood stain over the whole panel, then wipe away the excess from the unengraved wood before it dries. Because the porous burned areas drink up more pigment than the sanded raw wood, the dark wash boosts contrast and creates a rich, inlaid look.
Sealing against UV and handling
Finish the cleaned box with light passes of spray-on satin polyurethane or lacquer, letting each coat dry completely to lock in the tones against UV fading and fingerprints.
ImagR, LightBurn, and the tooling stack by skill level
Yes, you can use free SVG and PDF design files or free box generators for laser-engraved wooden boxes to handle the structural cut layouts and vector borders, as long as any lid portraits still go through a dedicated tonal prep workflow. Inside LightBurn, pairing the Bullseye tool with the selection tool quickly generates an aligned cut line right around your finished engraving.
The one-click prep path: ImagR EasyMode
For fast automated prep, upload your photo to ImagR EasyMode, crop, and enter your exact engraving dimensions and DPI (one workflow pairs 318 DPI with a compound lens on an 80W CO2 laser, and ImagR can run a DPI test alongside your speed/power grid). Pick your material preset (such as alder, birch, or beech), tweak exposure with the stackable lighten button or balancing darken button, inspect the virtual material preview, and download either a grayscale file or a pre-dithered dot file. Whenever you bring a pre-dithered file into LightBurn, switch on the pass-through toggle so LightBurn fires the dots as-is instead of dithering the image a second time.
The full-control path: Canvas Pro and DithX
Makers who want manual control can run their crop, grayscale, and contrast edits in Canvas Pro, a free editor equipped with layers, brushes, shapes, text, and selection tools that exports PNG, JPEG, or WebP files. For specialized dot patterns, load the sized image into DithX, set your width, height, and DPI, apply effects, and run it through its three-stage pipeline (preparation, algorithm calculation, and final application) using its library of 27 to 30 AI-enhanced dithering algorithms.
Frequently Asked Questions
Is walnut too dark for laser engraving photos on a wooden box?
Yes, walnut is too dark for dithered photo engravings despite its high price tag. Because unburned raw wood has to act as the white highlights in your picture, a dark walnut base leaves almost no contrast between the bare surface and the laser burn, turning portraits into dark mud.
What laser settings should I use to engrave photos on wood with a 10W or 20W diode laser?
For a 254 LPI photo on maple, start a 10W diode laser at 3,000 to 4,000 mm/min with 40% to 60% power, or run a 20W diode at 5,000 to 6,000 mm/min with 25% to 45% power. Photo clarity relies on moderate speed and conservative power rather than brute wattage, which only scorches adjacent dots together. Always run a 15-to-20-minute test grid using a 1-to-2-inch crop of your actual photo’s focal point before committing to your final lid.
