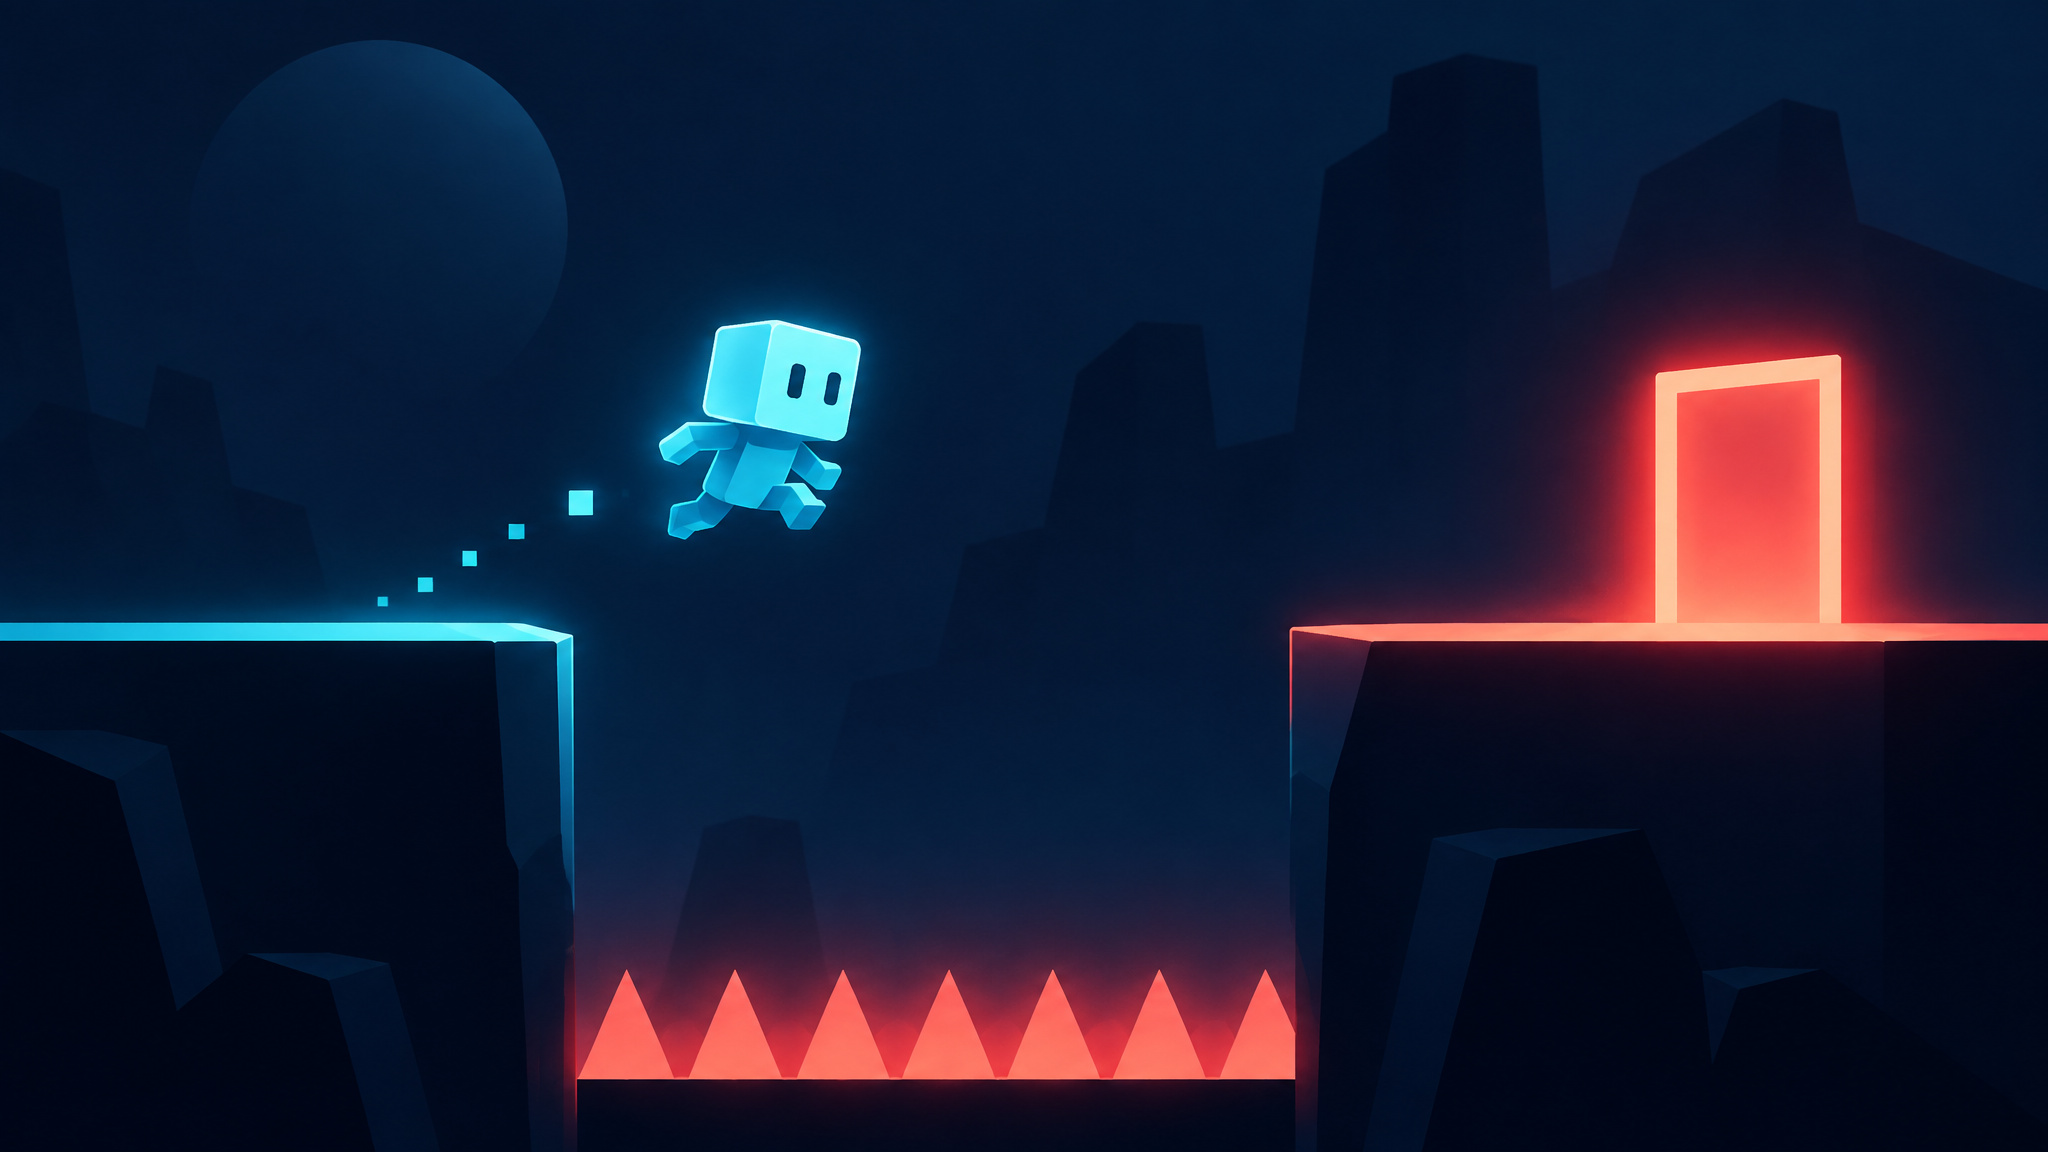
A huge game is easy to picture: sprawling maps, a dozen characters, menus nested inside menus. The hard part is getting even one small slice to play well. A finished, playable loop is a better first game than a shrunken version of a commercial release. You can start without writing code, too; visual tools offer one route, while coding engines give you a different kind of control and practice.
Buildbox’s Make Your Own Game course follows GLTCH, a wall-jumper that grows from a playable skeleton into levels, obstacles, modes, and export preparation. It’s one guided path, not a required recipe: pick a tool that fits your idea, make the core action work, test it, and add only what improves the play. Once the game is clear and consistent, you can prepare a build for a platform. A playable first milestone is worth finishing on its own; it doesn’t prove job readiness or predict commercial success.
Key Takeaways
A first platformer or puzzle game might center on one player action, one challenge, and a clear way to win or retry.
Buildbox’s ten-video course follows GLTCH from a playable skeleton through collision shapes, levels, modes, and export preparation.
Exporting a game for Android, Windows, iOS, Mac, Steam, or Apple TV prepares files for compiling; it doesn’t guarantee marketplace approval.
Table of Contents
Step 1: Scope your first game
A simple 2D platformer or puzzle game is a solid first project: keep the mechanics minimal and focus on a playable loop instead of designing a whole commercial-scale world. “Small” doesn’t mean squeezing every feature into fewer levels. It means making one action understandable, one challenge worth responding to, and one clear end to a run.

Before opening an editor, write down three things: what the player does, what makes that action challenging, and how the player succeeds, fails, or tries again. A character might jump over obstacles, for example; the challenge is judging the timing, and a run ends when the character reaches a goal or takes a hit. Keep the first build focused on that loop.
One estimate puts a first simple playable game made from scratch at 3-6 months, including learning basic programming and an engine and finishing a small project. Treat that as an estimate, not a promise: people’s pace and starting point vary. It’s also not a job-readiness timeline.
Step 2: Choose a no-code or coding workflow
Yes, you can make a game without coding: Buildbox is presented as a no-code option, and GDevelop is a free, open-source game engine and editor. No-code tools remove coding as a prerequisite, not the need to design, test, and make publishing decisions. Choose a workflow based on your game’s scope, how much coding you want to learn, your target platform, available learning support, and current commercial terms.
Buildbox offers a guided no-code course
Heath Close leads Buildbox’s ten-video Make Your Own Game series, which follows the wall-jumper GLTCH. It includes tutorials, art, sound, music, and a Make Your Own Game Handbook for following along. The project grows from a playable base into levels, obstacles, modes, and export preparation. The course overview attaches figures to Q4 2022 and September 2023; those dates and figures are specific to that source and its definitions and caveats. It’s a concrete guided route; Godot, a free, open-source engine that uses GDScript, suits a different goal: learning a coding workflow.
Other visual-first tools offer different ways to extend a project
GameGuru comes with prebuilt characters, weapons, and other assets, with simple scripting and custom modeling available for more control. AppGameKit Studio uses drag-and-drop assets and scene visualization, then lets you extend game logic with AppGameKit Script, a different approach from a game builder course for kids. Its projects can be built, debugged, played, and prepared for destinations including Steam, iOS, Android, and other marketplaces, but marketplace acceptance isn’t guaranteed.
Treat cost as a project-specific question
The available information doesn’t establish a reliable total budget for tools, assets, and publishing. The GameCreators bundle promotion lists a $79.99 promotional price against a stated regular price of $454, an advertised 82% discount; the source warns prices may change. A promotion doesn’t set your project budget. Check current terms for your tool and destination before committing.
Step 3: Match an engine and language to your project
A game engine supplies reusable systems for work such as rendering, input, and physics. The better question isn’t which engine wins in general, but which one fits your game, learning goals, target platform, and terms.
Unity pairs broad deployment options with platform-dependent terms
Unity uses C# and offers tutorials, documentation, community resources, and an Asset Store with models, textures, music, and sound effects. Its listed targets include desktop, mobile, web, consoles, Meta Quest, and Apple Vision Pro. The source describes Unity as free to use, with paid-subscription conditions tied to revenue thresholds or console access; creators retain ownership of their content after canceling a subscription. Closed platforms can require licensing and platform-holder approval, so check current official requirements rather than treating a platform list as permission to publish.
Unreal Engine and Godot make different learning tradeoffs
Unreal Engine is associated with C++ and is noted for graphics, performance, community support, and documentation. Its learning curve is described as steeper than Unity’s for programming beginners, and its terms include royalty-based revenue sharing with Epic Games. Godot is free and open source, with no royalties or subscription fees in the supplied description; its Python-like GDScript is approachable for beginners. Godot has an active, growing community, though it may be less mature and feature-rich than Unity or Unreal, and console support may be scarce.
Python’s straightforward syntax can help with scripting and prototypes, though it’s less common for high-performance games. Lua is used for game logic or AI behavior in frameworks such as CryEngine and LÖVE. For browser games, JavaScript with HTML5 and WebGL can support 2D and 3D projects. These languages aren’t interchangeable with engine-specific languages. Check current official platform and licensing requirements, especially for closed platforms.
Step 4: Build a learning path around practice
Learn programming fundamentals alongside your chosen engine, then turn each new concept into a small playable feature as you learn how to make a computer game. Algebra basics are useful for working with variables, coordinates, movement speed, and damage calculations. Linear algebra, calculus, or physics may matter for 3D graphics programming or custom physics, but they aren’t prerequisites for every first game.
Pick one resource that matches your language or engine, rather than assembling a giant course queue. Codecademy, LearnCpp.com, Programiz, LearnPython.org, Mozilla Developer Network, and freeCodeCamp are among the options in different formats. Twilio Education offers on-demand courses, live events, and hands-on code-along training. Tutorials, documentation, and sample projects are most useful when they help you build something for your prototype.
A game jam gives that prototype a short deadline and can connect you with other developers. The learning guidance described Godot Wild Jam as starting on the second Friday of each month and running for nine days; schedules can change. Let’s Make a Game is a community-supported calendar for current and upcoming jams. Keep your jam project bounded, ask participants for feedback, and revise what you can. Developers, artists, designers, instructors, and fellow students may offer advice or collaboration as you explore how to become a game developer, but those connections aren’t guaranteed.
Step 5: Prototype gameplay and test collision behavior
Choose one core action, build a small scene around it, and test the response before adding levels or decoration as you make a mobile game. For a first game, define what the player does, how the game responds, what makes it challenging, and how the player can succeed, fail, or retry. That loop can be tiny and still teach you the important parts of making play feel intentional.
The GLTCH course demonstrates the sequence in its “Creating the Basics” stage. It introduces Buildbox’s options, settings, features, and editing tools, then uses the creator tool to make a playable skeleton. The scene editor lets the creator customize backgrounds, characters, and menu graphics. That skeleton is a starting point, not a complete game.
Collision shapes and object settings come before level construction for a practical reason: collision boundaries affect when objects touch. If a player seems to miss an obstacle but still takes damage, the collision shape may not match what the image suggests. A near-miss can feel thrilling or unfair depending on how the interaction is tuned; no single setting guarantees fairness.
The editor work is concrete. You can resize a collision shape, add points, or reset an image, then adjust object properties that affect enemy behavior. Those choices change how a level feels, not just how tidy its setup looks. Before building a stack of levels, make sure the basic movement and interactions make sense.
For an early prototype, check:
- Can the player perform the main action and see the game respond?
- Do collision boundaries match the intended hits and near-misses?
- Does enemy behavior create a challenge the player can understand?
- Is there a clear way to succeed, fail, or try again?
Once those basics hold together, build out the idea in small passes: add a level, test it, ask someone else to try it, and revise. Polish and export come later. A compact loop that communicates what’s happening is a better foundation than a large scene full of assets whose interactions are still unclear.
Step 6: Build and test your first levels
Test a level while you’re building it: inspect collision shapes and object settings, play it in debug mode, and revise based on how movement and challenge feel. The GLTCH course’s “Build Your First Levels” lesson explores gravity, time warp, bounce, character gameplay settings, and layering. These settings shape a level; they’re not buttons that guarantee fun.
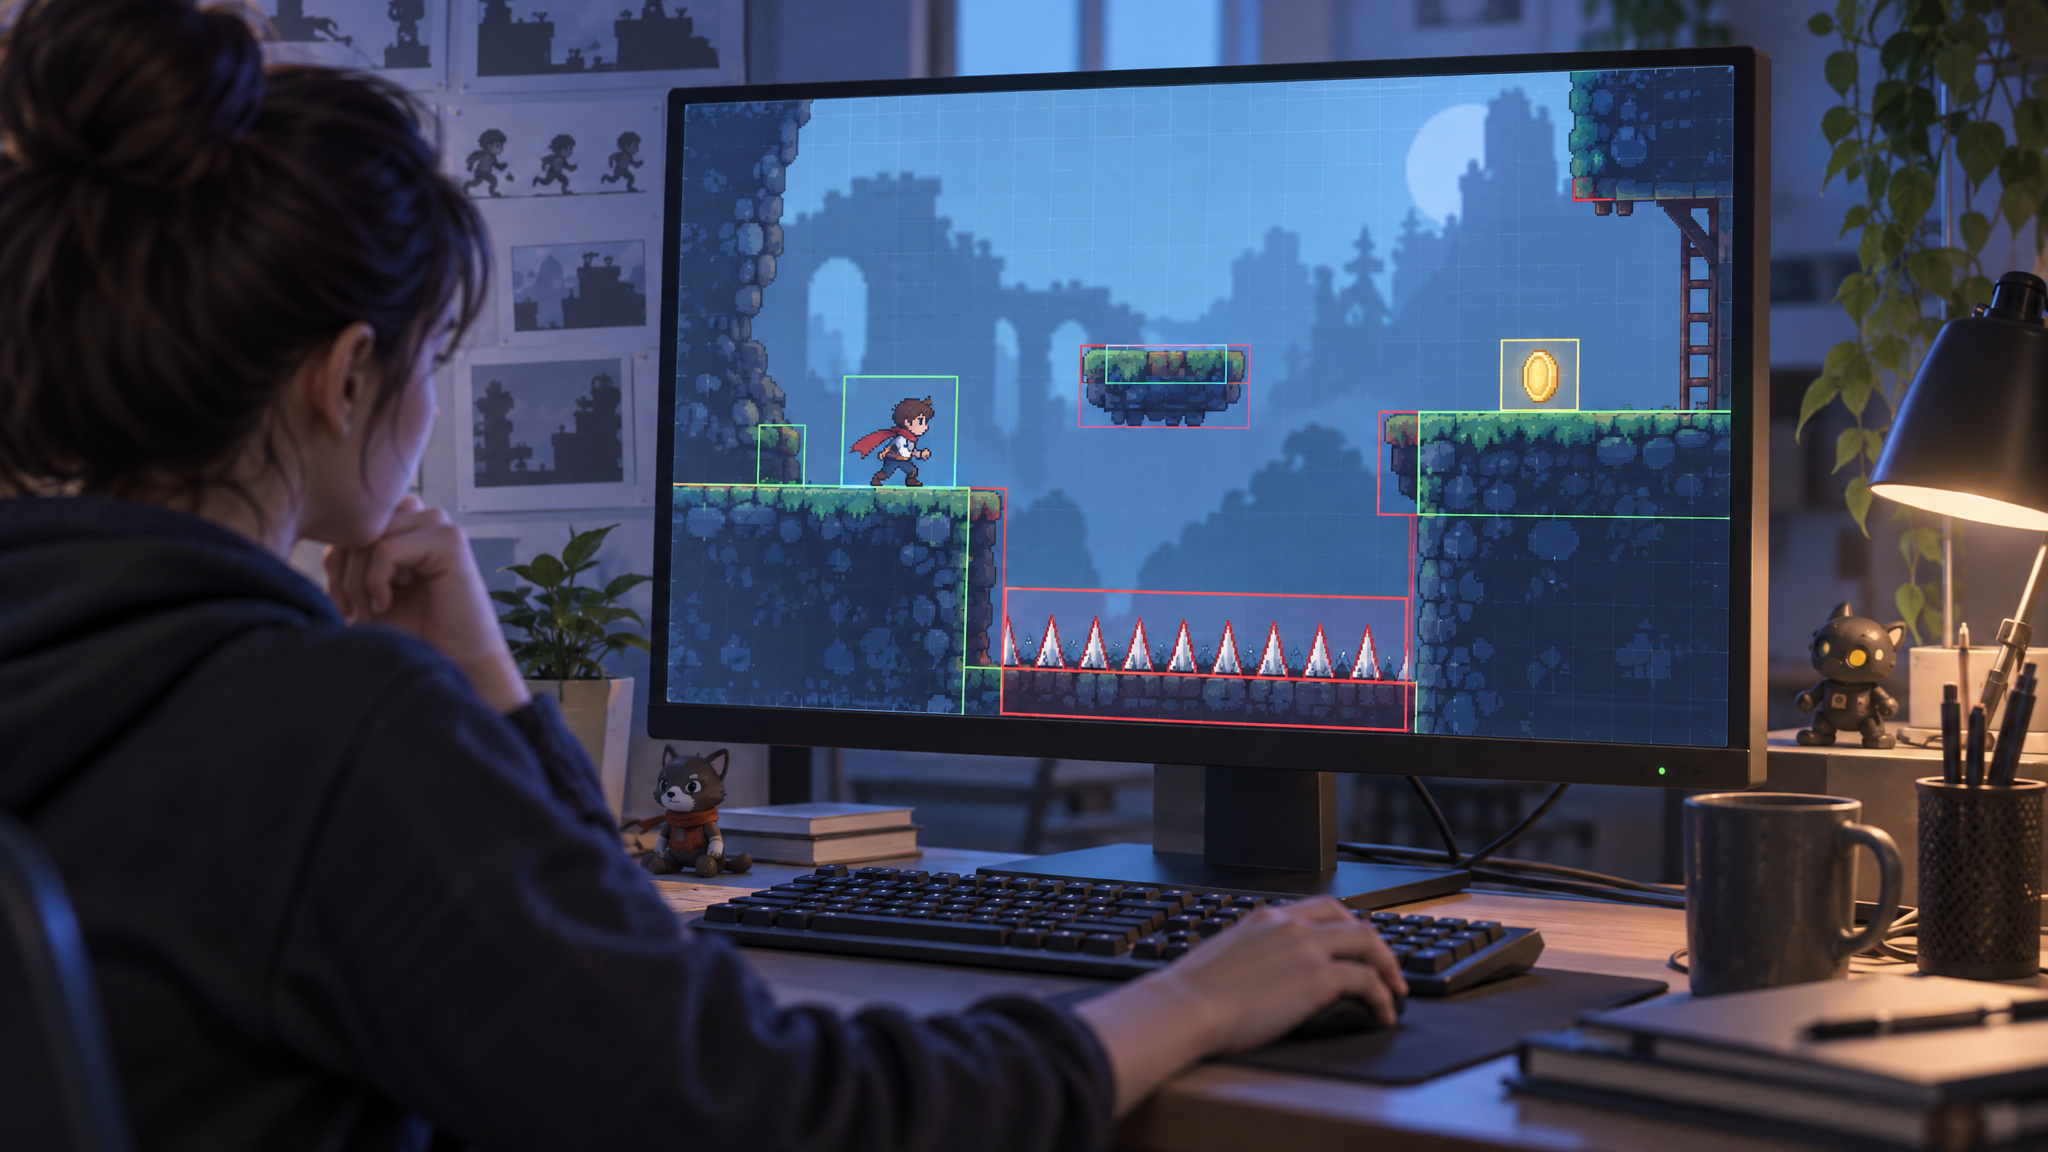
Start with one level you can test. Change one setting at a time, then use debug mode to see what changed before adjusting another. The lesson builds a first level and follows it with a time-lapse of ten additional levels. That shows a construction process, not a required level count or a promise that ten levels come quickly.
After checking the level yourself, invite feedback and revise. Another player may notice a confusing obstacle or an awkward movement response that’s easy to miss when you already know the layout.
Step 7: Add distinctive mechanics and balanced modes
A distinctive mechanic gives the player a different action or changes the feel of a challenge. In GLTCH, the course adds a barrier obstacle and a taking-damage animation, giving the obstacle and its consequence a role beyond looking different. Originality can come from gameplay, character design, or interactions, not only new-looking graphics.
Later, the project adds turbo and hard modes, menu navigation across multiple levels, and start buttons that remain locked. Those features change how players reach and experience the game, but more modes don’t automatically make a stronger game. Understanding how a video game is created can help put those design choices in context. Play the opening challenge and adjust its difficulty based on what you find.
No particular setting guarantees balance. A distinctive mechanic may help a game attract attention, but it doesn’t promise featuring, chart success, or commercial results.
Step 8: Add menus, sound, effects, and optional rewards
Once the core loop works, add levels and obstacles, then use sound, menus, and effects to clarify what the player can do and what just happened. The GLTCH course moves through level design and obstacles into effects, sound, menus, modes, and optional rewards. Each addition should have a job; a shop or unlock system isn’t required to finish a first game.
Use sound and menu feedback to clarify play
The course animates the title and start button, adds loading music, and triggers sound and animation effects. A game-over menu can use defeated sounds or animations to signal the end of a run. Background music establishes atmosphere, while sound effects can cue an action or direction.
Give coins and power-ups a clear purpose
Coins, a coin tracker, invincibility, magnets, action animations, path logic pieces, and light or particle effects appear in the project. A collectible or power-up can serve a player goal; make clear when it has been collected or activated. These features are optional, not essential to every game.
Make shops and unlockable characters optional extensions
GLTCH’s course sets up a coin shop, purchase features, unlock buttons, and character variations made by duplicating characters. A shop makes sense only if its unlocks support the game’s loop. Replay and in-app purchases may be outcomes, but they aren’t guaranteed or required for a complete first game.
Step 9: Test, get feedback, and use AI carefully
Keep testing as part of design: check collisions in debug mode, try the difficulty and menus, get feedback, and revise. AI tools such as Copilot or Claude can help explain an unfamiliar error, but they may not diagnose a bug that keeps returning.
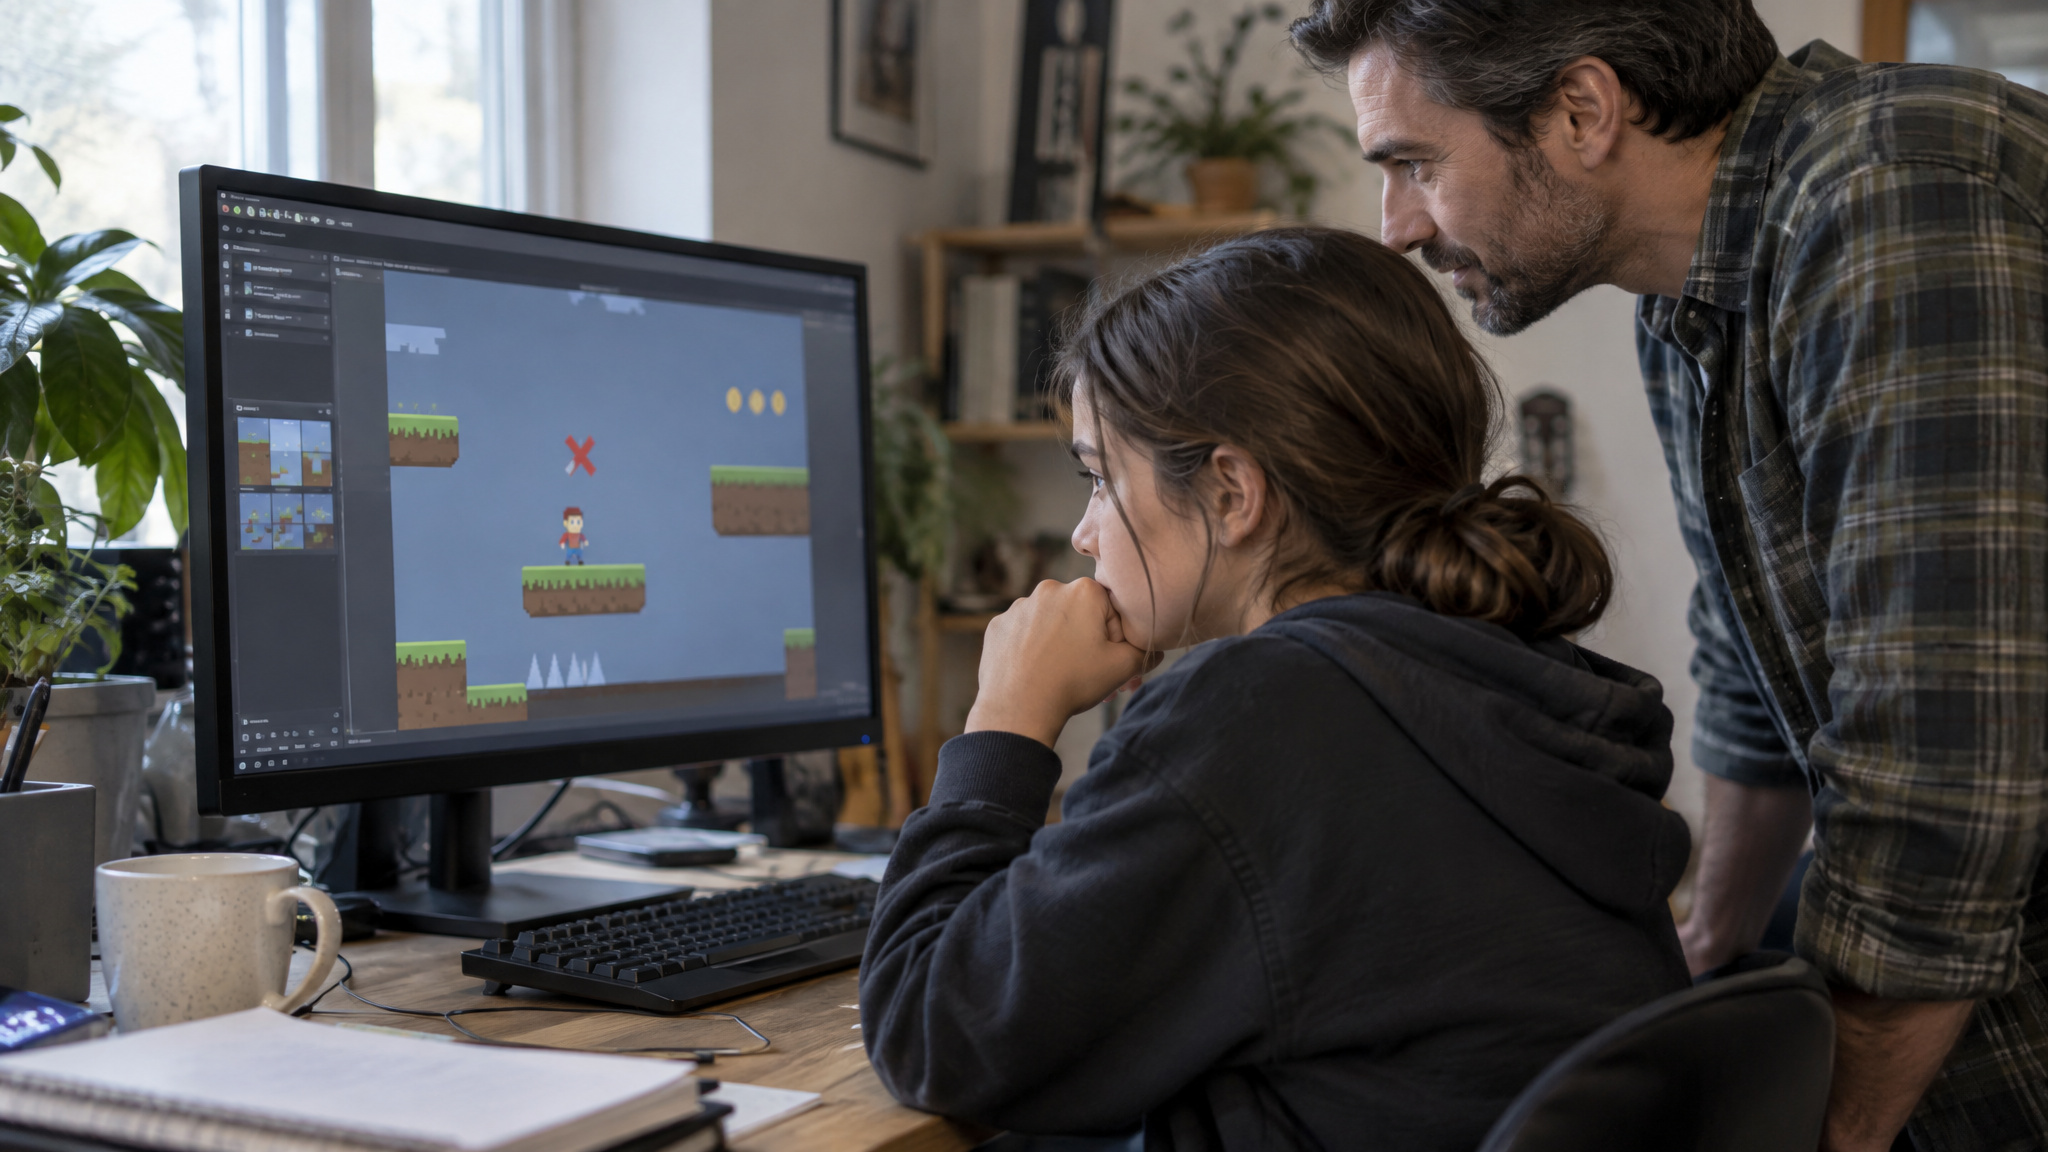
Michele Ragon described her 11-year-old son using Copilot to plan and build a game inspired by Mrs. Frisby and the Rats of NIMH and a civilization-building game he’d seen on Steam. Ragon reported that a workable version took less than eight hours across four days, working one or two hours a day. He asked Copilot to explain unfamiliar terms and error codes, sometimes requesting simpler explanations, and used voice mode when typing was difficult. Repeated errors and crashes remained hard to diagnose; after the crashes persisted, he replaced the rats with smiley faces. That’s one family’s account, not a typical timeline or proof that AI fixed the problem. Ragon also raised concerns about accuracy, inappropriate content, and children encountering games and building tools posted by users.
A different parent separately reported that their child made a game with AI without coding knowledge and later wanted to talk through another game idea. That parent also raised concerns about accuracy and content posted by users, and backed teaching appropriate AI use in schools. For younger learners, adult judgment and supervision still matter.
Step 10: Polish for clarity, not feature count
Polish means making the game clearer and more consistent, not simply adding more features. GLTCH’s late-stage work includes interface cleanup and design choices aimed at a minimal, simple, and sleek feel. The tenth and final video, “Tips Tricks and Hacks,” revisits earlier lessons and covers collision-shape refinements, an exploding-death effect, menu jump, event observer, timers, and making secret worlds unrepeatable. The course discusses publisher readiness as a goal, not a guaranteed outcome.
Step 11: Prepare an export for its target platform
To prepare a game for a target platform, choose the destination, review its current requirements, and prepare a build for compiling; export isn’t the same as publishing or marketplace approval. Buildbox’s export stage includes checking settings and the general tab, completing information required by the chosen marketplace, selecting a target, and preparing files for compiling.
Buildbox lists Android, Windows, iOS, Mac, Steam, and Apple TV as export targets. Choose your target, review the settings and general tab, complete the information required by its marketplace, and prepare the files for compiling. Buildbox also adjusts buttons and interface positions for different device families, but check the interface on the device family you intend to support rather than assuming the adjustment did all the work.
Unity lists deployment options across desktop, iOS, Android, Nintendo Switch, PlayStation, Xbox, Meta Quest, web, and Apple Vision Pro. But platform support isn’t permission to publish everywhere. Developing for closed platforms may require licensing and approval from the platform holder. Unity’s licensing conditions depend on revenue and platform, so check current official terms for the target you plan to use. A destination appearing on an engine’s platform list doesn’t settle its requirements.
A practical export pass looks like this:
- Select one target platform.
- Review that destination’s current requirements.
- Complete the information requested by the chosen marketplace.
- Check buttons and interface layout for the relevant device family.
- Compile and test the prepared build.
This keeps the technical steps separate from the paperwork. The engine can prepare files for a target, but you still need to verify the result and meet the destination’s requirements. Don’t treat an export button as a one-click release.
Step 12: Separate a playable first game from commercial success
A first game is a meaningful milestone when someone can play it; commercial success is a separate, less predictable goal. The 3-6 month estimate applies to making a first simple playable game from scratch, not becoming job-ready. Successful indie development can take 1-2 or more years, including marketing, and most indie developers don’t leave their day jobs. Steam, itch.io, and mobile app stores are possible places to distribute a game or earn income, not guarantees of sales.
Frequently Asked Questions
How can I create my own game?
Choose a small idea, define what the player does and how a run ends, then build a prototype around that loop. Test the movement and collisions before adding levels, menus, sound, or optional features. Exporting prepares a build for a platform but doesn’t guarantee marketplace approval.
How can I create my own game from a simple idea to a playable prototype?
Write down the player’s main action, the challenge, and how the player succeeds, fails, or retries. Build only what’s needed to test that loop, then check whether movement, collisions, and the response to player actions make sense. Add content in small passes after the core interaction works.
How much does it cost to build and publish a simple video game?
The total budget depends on the tools, assets, and publishing destination, so there isn’t a reliable single figure. A tool promotion price doesn’t establish the cost of an entire project. Check current terms for your chosen tool and platform before committing.
How does exporting a game differ from publishing it?
Exporting prepares files for compiling for a selected platform; it doesn’t release the game or guarantee marketplace approval. You still need to check the destination’s current requirements, complete requested marketplace information, and test the build and interface on the target device family.
