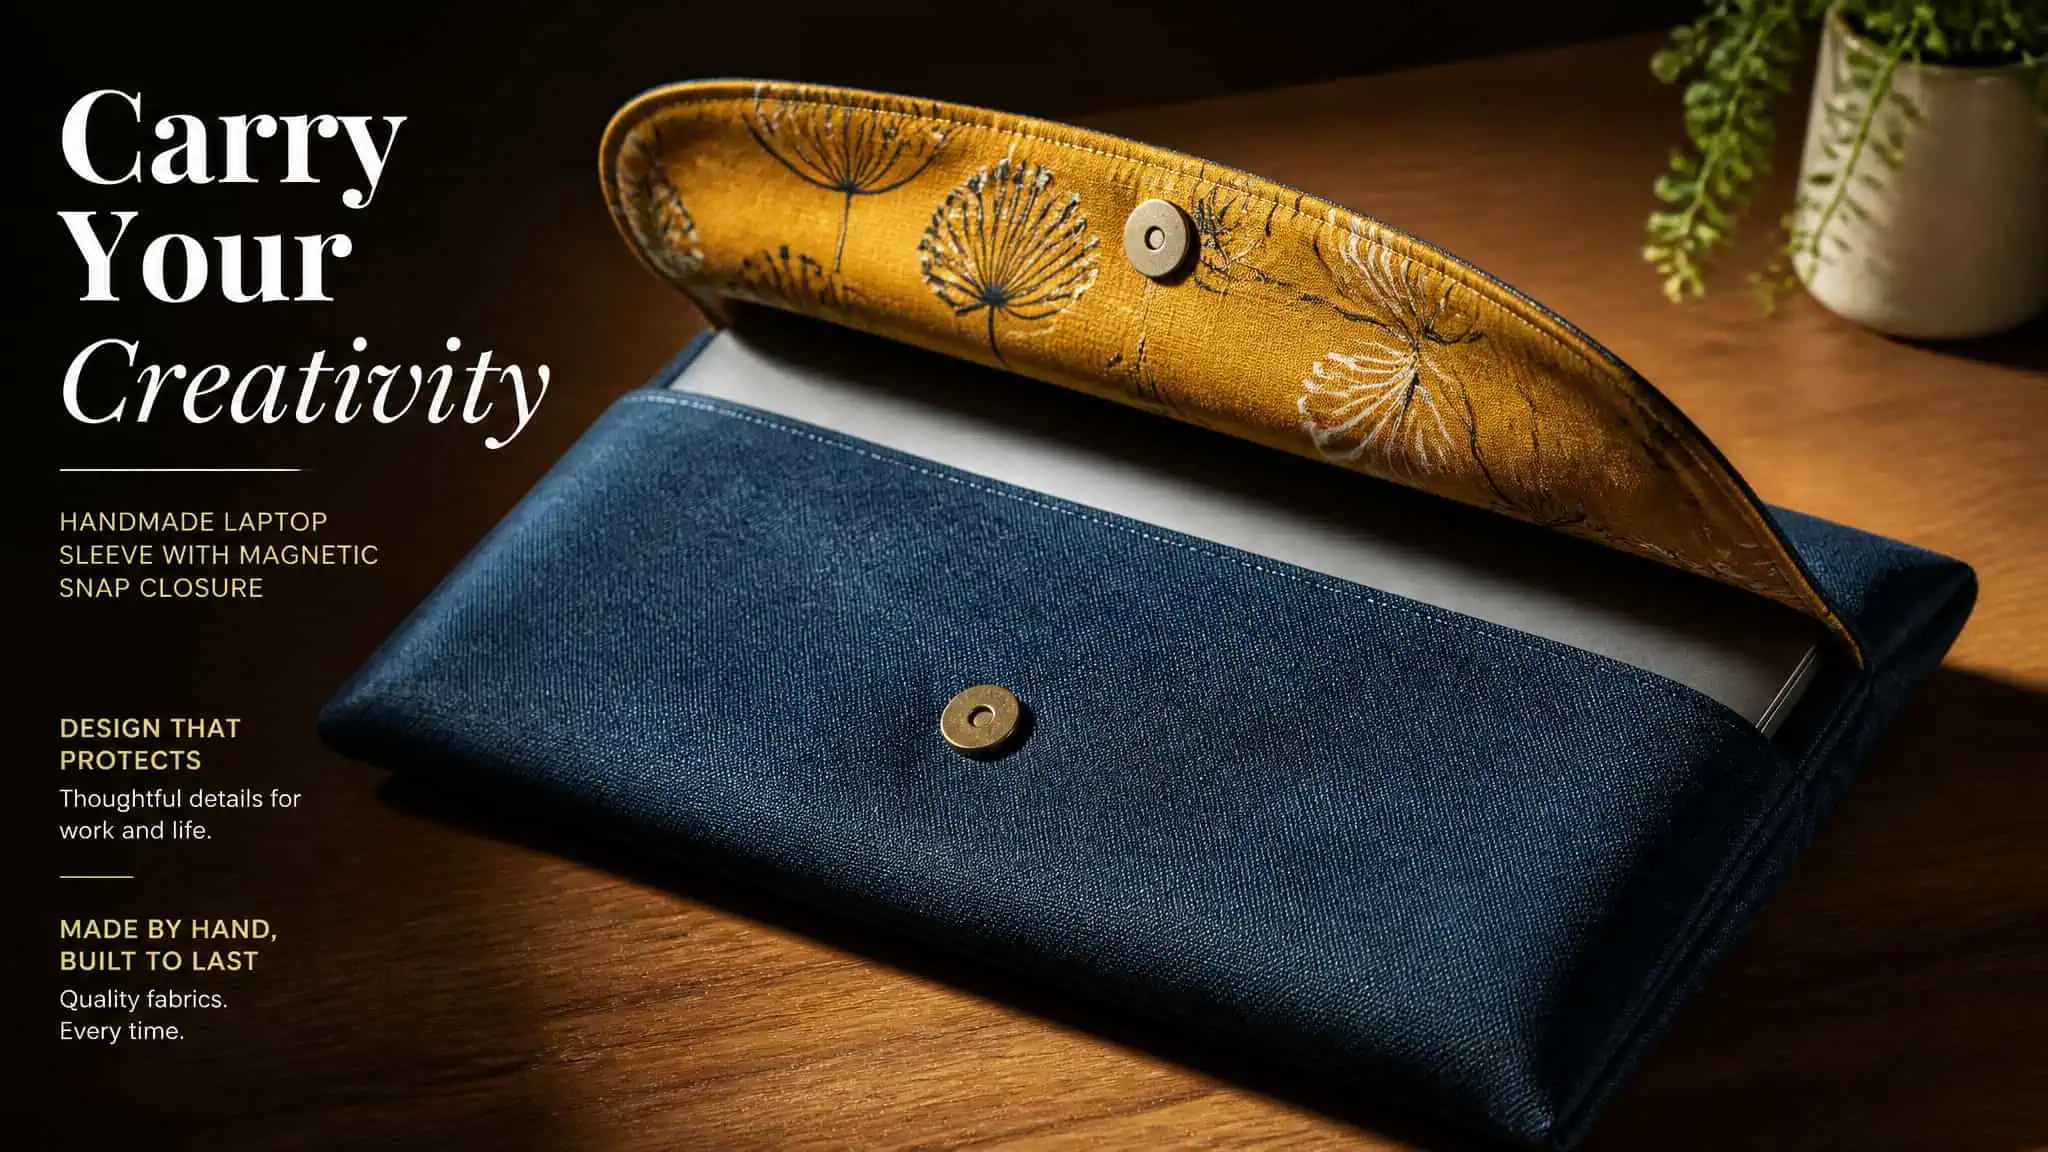
You made a sleeve. The seams are straight and it looks genuinely good. Now comes the part every tutorial glosses over: the flap needs to actually stay shut, and it needs to do that without scratching the thing you’re protecting. That’s where laptop snaps DIY projects live or die, and there are exactly three ways this goes wrong.
The fabric tears out around the snap because the load was too much for a little sew-on set. The hardware scratches the lid because nobody thought about which side the metal faces. Or the flap never reaches the snap at all because it was sized to the screen spec instead of the cased laptop. All three are avoidable, and all three get avoided the same way: decisions before purchases, measurements before holes.
This is a measure-first walkthrough. By the end you’ll have a closed sleeve and a finished photo of it, because I shoot my own listings and I’m going to show you that part too.
Key Takeaways
Measure the laptop closed and inside any sleeve or case it actually travels in; sizing the flap to bare screen dimensions is the classic reason the flap won’t reach the snap.
Standard small purse snaps underperform on laptop flaps, which carry more weight and tension, so the load-appropriate default is a 15mm+ magnetic snap or a heavy-duty prong snap, set through interfacing or doubled fabric.
Dry-fit the flap position and mark snap points with the laptop inserted before punching anything; the hole doesn’t heal, and first-time setters should buy spare snaps because crushing or misaligning a cap is common.
Table of Contents
Measure First: Sizing the Sleeve and Flap
Here’s the core rule, and it comes before you buy a single snap: measure the laptop as it will actually be carried. Closed, and inside any case it rides in. Not the bare screen dimension from the spec page. The named failure here is sizing everything to the screen size and forgetting the case thickness, which means the flap comes up short and the snap points never meet. I’ve watched this exact thing happen to people who did everything else right.
Once you have real thickness, everything else derives from it. Flap overlap depth is just how much fabric folds past the front edge to seat a snap with room to spare. Snap spacing? That one’s from the flap width and where the tension lands. A wider, heavier flap wants snaps set further in from the edges so the load spreads instead of concentrating at the corners.
If you’ve got a thicker machine, measure it yourself rather than hunting for published dimensions. Samsung owners search this exact problem, and I’m deliberately not quoting any brand’s specs here, because a measuring tape against your actual cased laptop beats a spec sheet every time. It’s the same discipline as building a lightbox: measure your typical subject first, then build around it. The object tells you the dimensions. The spec sheet tells you about a slightly different object.
Choosing Your Snap Fastener for a Laptop-Weight Load
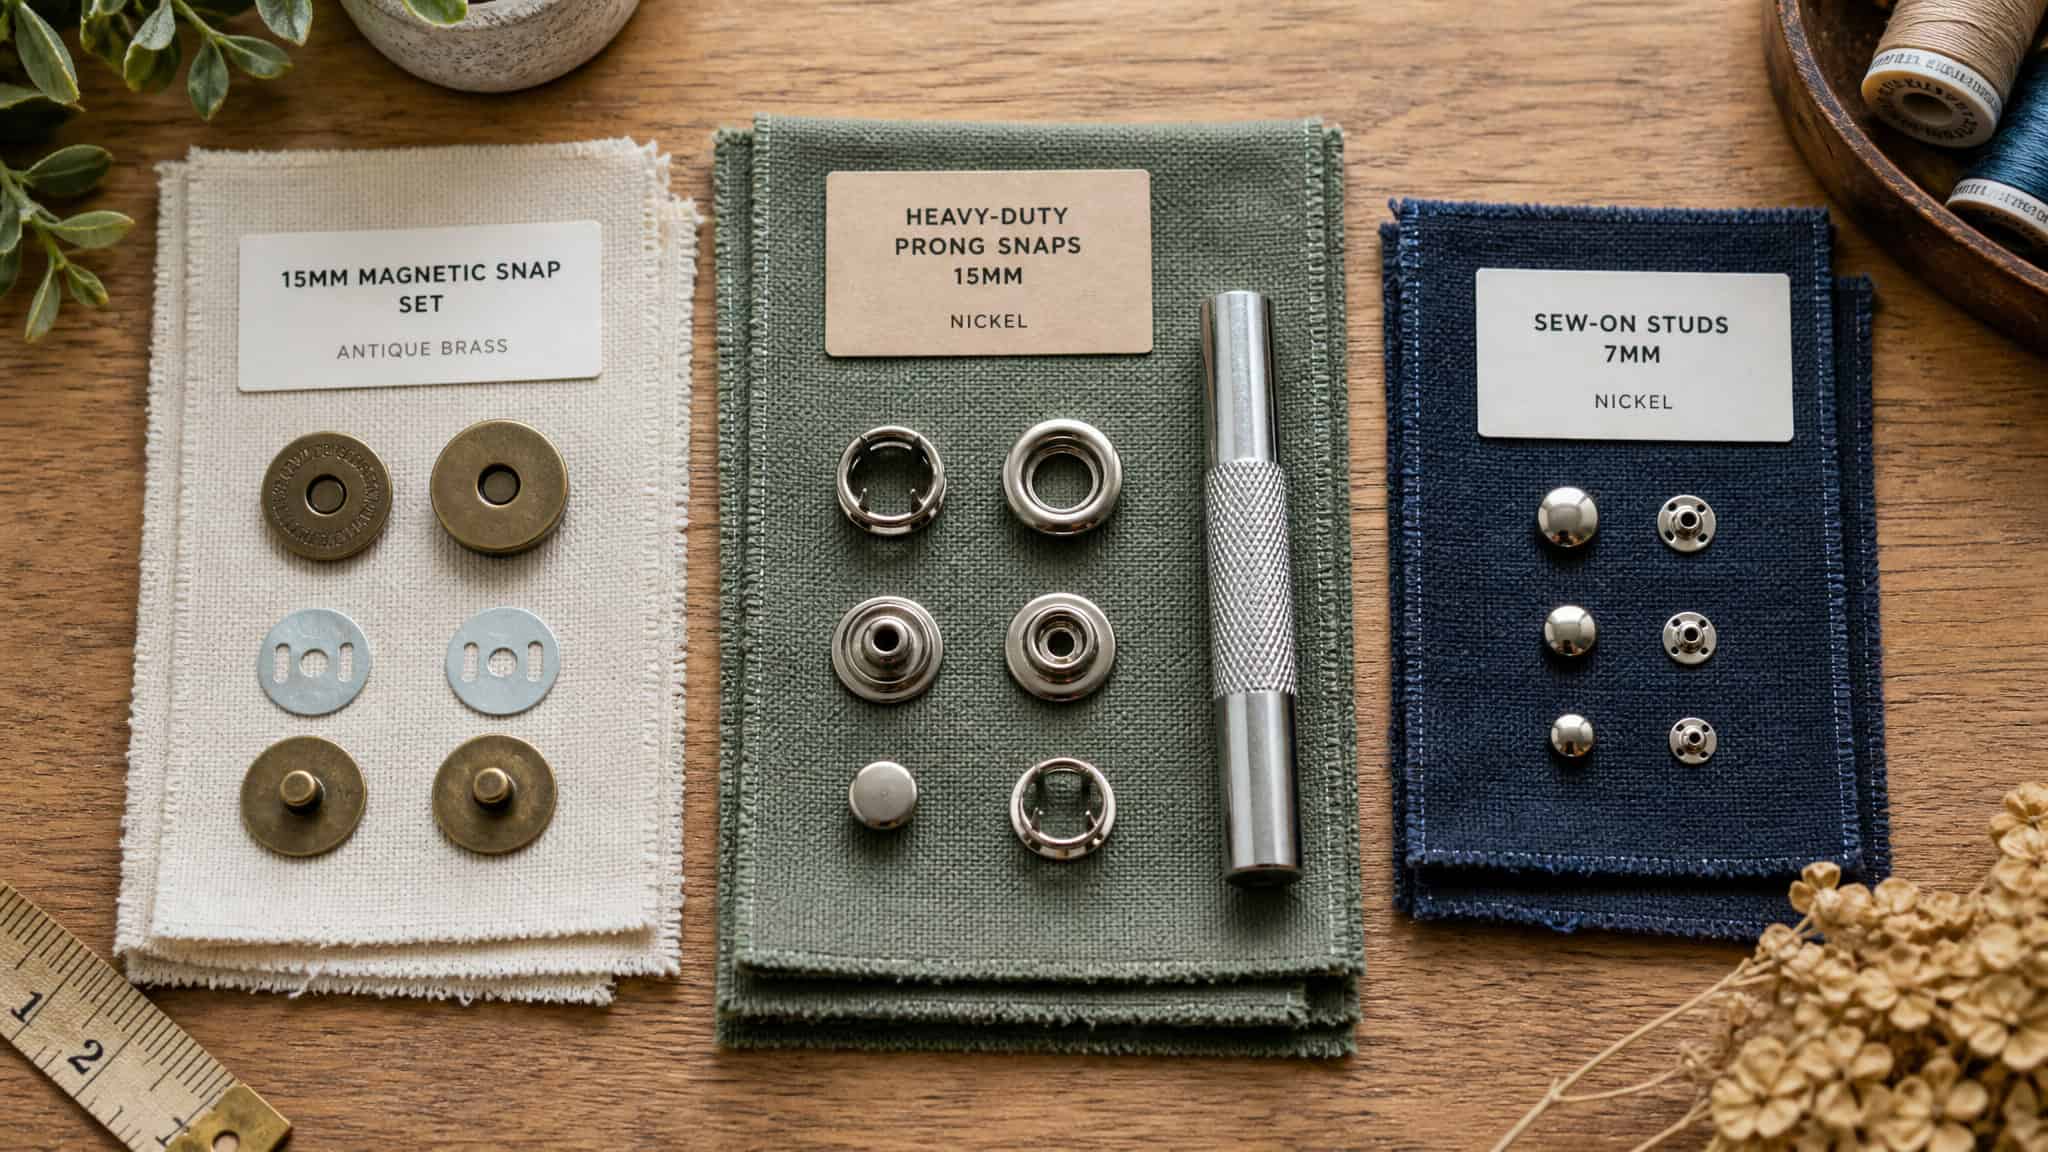
Before you pick a snap, understand the problem you’re solving: a laptop flap carries more weight and tension than a purse flap. That’s the whole reason the standard small sew-on snap set, the kind sold in little cards for handbags, underperforms here. The mechanism is the same, the load is not.
Magnetic snaps
Magnetic snaps are the low-friction option: the flap finds its own seat, one-handed closure, and a 15mm+ magnetic snap is the load-appropriate default for a laptop. The tradeoff is that the magnetic halves still need to be set through reinforcement, and the catch, being magnetic rather than mechanical, is the one you’ll want to test with a real flap before committing.
Heavy-duty metal prong snaps
Heavy-duty prong snaps are the mechanical workhorse. Positive engagement, no magnet to weaken, and they take tension well. They need a setting tool and a bit more force to install, and prongs pushed through fabric concentrate stress in a small area, which is why the reinforcement section later matters so much. This is the pick if you want the closure to feel decisive.
Sew-on studs and no-sew anorak snaps
Sew-on studs are the hand-sewing route: no punch tools, just thread and patience, but they demand strong stitching through doubled fabric and they’re the slowest option. No-sew anorak snaps are the opposite pole, pushed in by hand or with a simple mallet, no sewing machine required, which makes them the friendliest entry point if you don’t sew at all. The tradeoff is less fine control over placement than a prong-and-tool setup.
Whichever way you go, the logic is the same: size the snap to the flap’s tension, not to what looks proportional on the fabric.
What It Costs and Where to Source Snaps Cheaply
Buying a snap-closure laptop sleeve is easier than making one; making one wins on fit and customization, not always on headline price. That’s the honest version of the make-versus-buy question. If you need a sleeve tomorrow, buy. If you need a sleeve that fits your cased laptop exactly, with snaps placed where your flap actually wants them, DIY earns its time cost.
The cost picture depends on what you already own. If you’ve got a punch and mallet or snap pliers in a drawer somewhere, your outlay is basically the snaps themselves, and a few dollars at a craft store covers it. If you’re starting from zero, a full snap kit with setting tools is the add-on tier, and that’s the difference between a parts run and a small equipment purchase. Prices vary, so treat any figure as a snapshot rather than a promise.
One line I’d add to any snap budget: spares. In practice, first-time setters commonly crush or misalign a cap or two while learning the tool. Buying a spare handful is cheap insurance against stalling mid-project with a half-finished flap.
Cost check: Snap hardware alone runs a few dollars; the real budget decision is whether you also need to buy a setting tool kit.
And before you buy anything, scrounge. Thrifted garments are full of usable snaps you can harvest, which is half the fun of a weekend build anyway. No-sew options also mean there’s no skill gate here, seriously, you can do this tonight.
For context on whether this whole DIY instinct pays: I’ve sold hundreds of items on eBay and Etsy out of simple homemade setups, and they worked fine. That’s my own experience talking, not a market claim, but it’s why I don’t flinch at the make-it-myself option.
Installing the Snaps, Step by Step
The signature move of this whole build comes before any hole gets punched: dry-fit the flap position and mark your snap points with the laptop actually inserted. This is the same ritual as assembling a PVC frame dry before cementing it. Test before permanent. It costs you two minutes and saves you a ruined panel.
Mark with the laptop in
Insert the laptop, fold the flap where it naturally wants to sit, and mark the snap points, and no, not those other laptop snaps, through or against it. Check the marks twice before moving on, because the next step is the point of no return. The hole doesn’t heal.
Punch the holes
Punch through the marked points, through whatever reinforcement layer you’ve planned in (more on that below). A scrap of wood behind the fabric makes for a cleaner hole.
Set the cap and socket
Cap and socket first, set that half with your tool of choice. Expect to burn a snap or two here: first-time setters commonly crush or misalign a cap, which is exactly why the budget section told you to buy spares. Honestly, a crushed cap on snap one is almost tradition.
Align the second half
Close the flap over the laptop one more time and align the mating half against where the first half actually landed, not where you predicted it would land. The dry-fit protects you, but the second alignment is where precision pays off.
Test the closure
Snap it shut. Then open and close it a few times with the laptop inside, the kind of snap that looks good in desk setup photos, but more importantly, it should engage positively, sit flat, and put no visible strain on the fabric around it. If it fights you, better to find out now.
Reinforcing the Fabric Around Snaps
Here’s why the interfacing advice exists, not just that it exists. When the flap opens, load concentrates around the snap’s prong and spreads outward into the fabric. A single layer of fabric takes that repeated stress point-blank, and after enough open-close cycles it tears out. The tell is unmistakable once you’ve seen it: a small ring of frayed threads around the female socket. It’s a common failure pattern on DIY closures, and it starts invisible.
The placement rule follows directly from the mechanism. Set every snap through interfacing or doubled fabric, so the stress spreads across a wider patch instead of concentrating at one prong. Raw edges are the worst spot, fabric has almost no integrity to hold there, so keep snaps away from them. If you’ve ever seen a reinforced corner on a board or case, same idea: put material where the force goes. Skip this step and the tear-out ring is just a matter of cycles.
Red flag: A small ring of frayed threads around the female socket means the fabric is tearing out — reinforcement was too thin for the load.
Protecting the Laptop from the Hardware
Treat hardware-to-device contact as a design constraint, not an afterthought. The whole point of the sleeve is protecting the lid, so every metal component placement decision should start from one question: could this touch the machine?
Orient and line everything
The big rule: orient sockets so no metal faces the lid. The female snap half is the one with the recessed receiving cup, and its orientation determines what the inside surface of your flap presents to the laptop. Back the hardware with a lining sandwich, fabric on both sides, so there’s always cloth between the snap and the device, however the flap sits.
Pick friendlier hardware
Plastic-cap snaps are the low-scratch option outright. After that, rounded backs beat sharp-backed ones. Matte, low-sheen finishes also read cleaner against fabric than shiny ones, which matters if the snap backs ever peek through.
Pre-close checklist, ten seconds flat: laptop seated fully inside, no hardware face contacting the lid side of the lining, flap folds without dragging across a snap back. Build the habit and scratch risk stays a design question you already answered.
Beyond Closures: Snap-On Pockets and Decorative Use
Once you’ve got snaps in play, the closure is just the start. The same hardware enables removable snap-on pockets for accessories, snap-attached cable pouches on the sleeve’s face, even snap-mounted stand elements. The key property is removability: everything snaps on, nothing bonds to the device.
That same logic answers the bedazzle-your-laptop urge. If you want decorative flair, rhinestones, panels, patches, whatever, attach them to a snap-on panel that fixes to the sleeve or a snap-mounted cover, never glue anything to the laptop itself. You get the look, and it comes off clean. This is also where the prop and display-laptop crowd fits in: people using fake or dummy laptops for display can dress them up with snap-on covers the same way, no adhesive involved.
And if photography is why you’re dressing the thing up at all, the setups I use for shooting listings fold right into it, as the laptop snaps idea bank of compositions explores in its own right.
Documenting the Finished Sleeve (My Photography Setup)
This is the part I can actually show you, because I shoot my own stuff. For these photos I’m using my Nikon D600 DSLR, but honestly, the hacks work so well that a phone camera gets you perfectly usable results. The gear isn’t the gatekeeper.
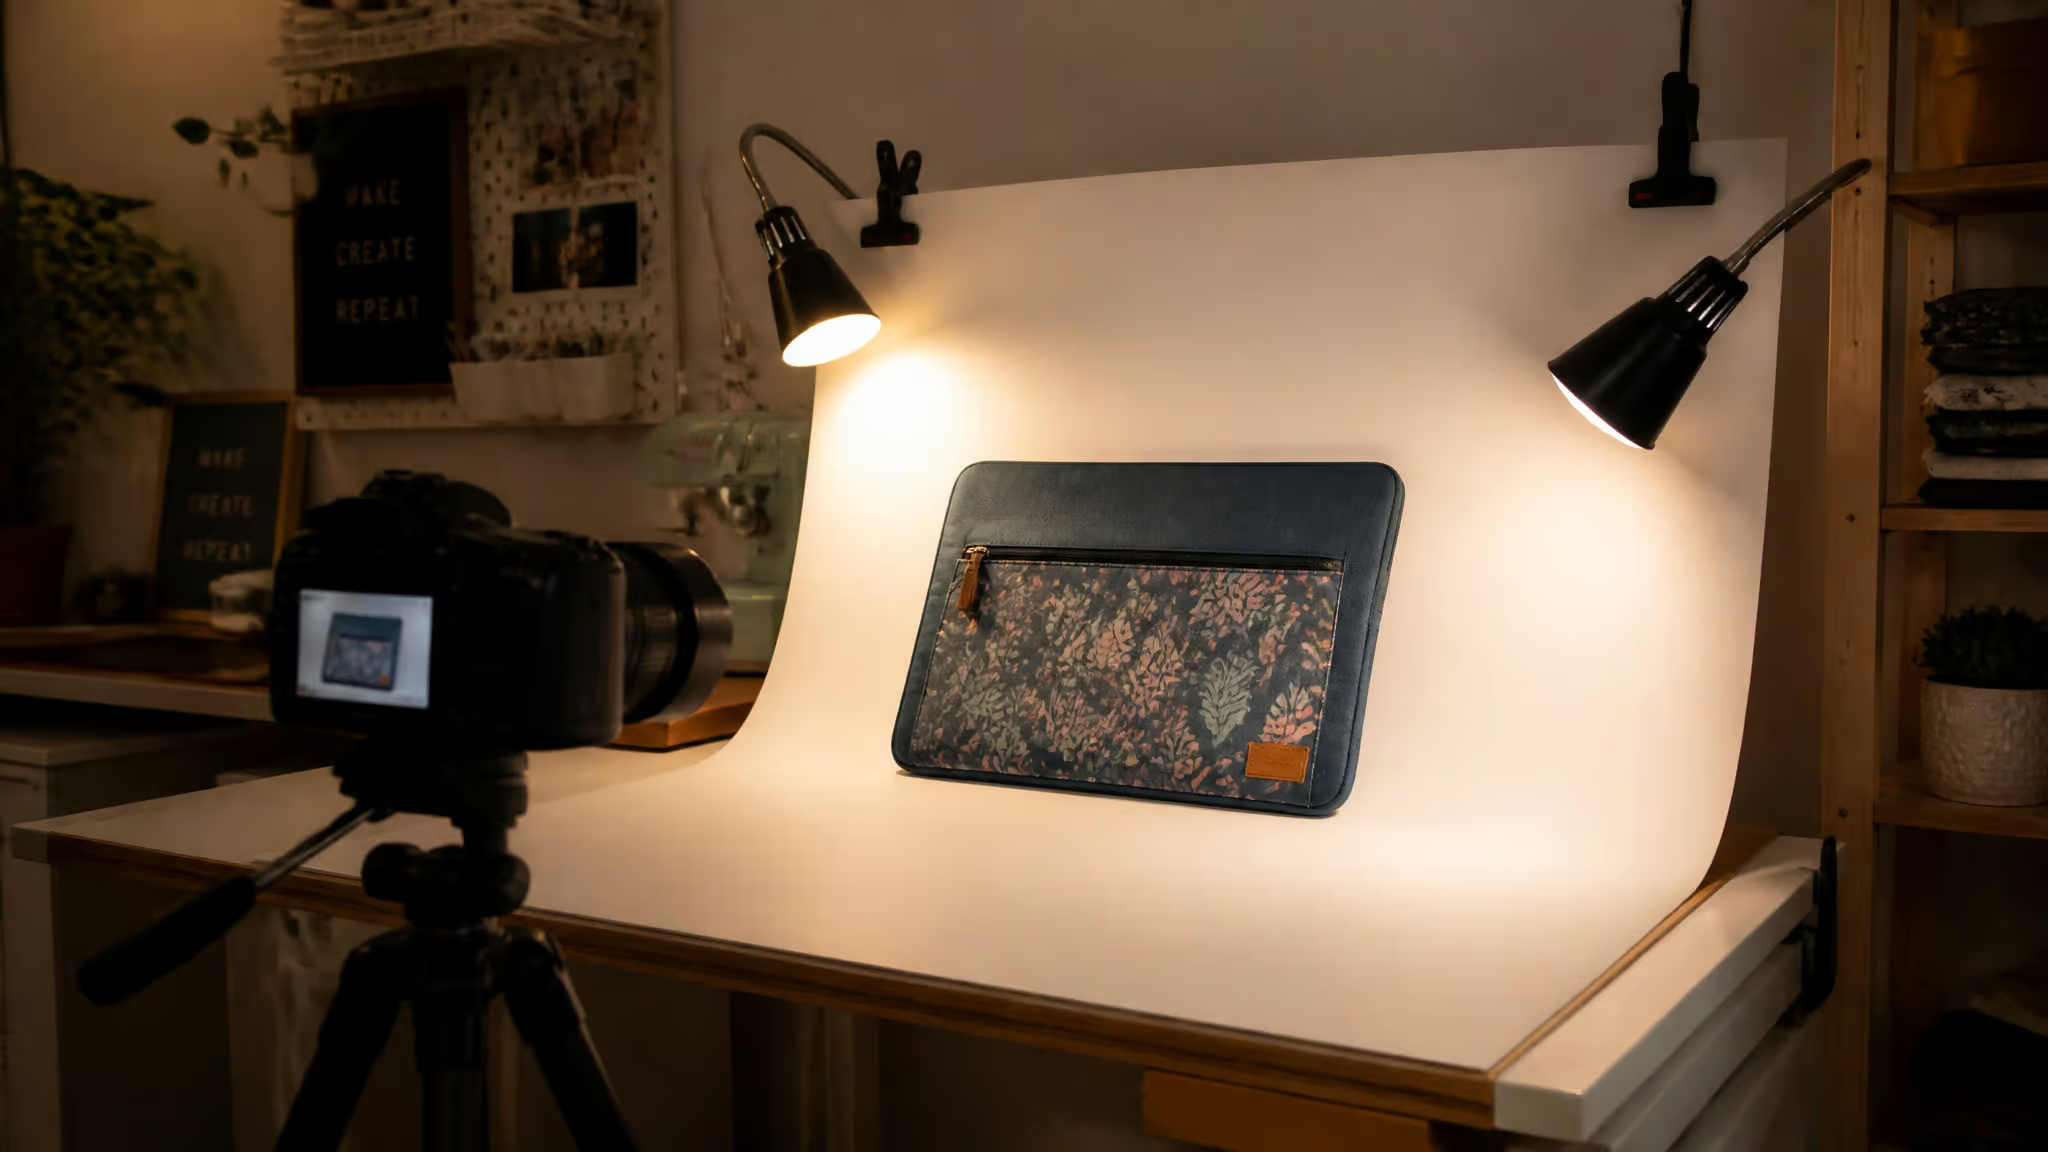
The backdrop is matte self-adhesive vinyl on MDF, and the matte part is doing the work: glossy surfaces throw reflections, every time. Sheet MDF cut to size is the backbone of these backdrops, and here’s the delightful lifehack, most wood sellers cut boards for free, so I’ve had sheets cut to spec at no charge. My cheap light sources are clamp lights, the $7.97 Walmart desk-light kind, and plain white is my proven baseline background.
That last part isn’t theory. I’ve sold hundreds of eBay and Etsy listings shot on plain white alone, and it held up fine before I ever invested in variety. Minimal editing afterward, a crop and a slight color tweak, because the setup does the heavy lifting. If you want to go deeper on shooting the result, my guide to building backdrops for product photos covers the full build.
Caring for Your Snap Closure
Every DIY tutorial ends at “finished,” but handmade gear needs a little upkeep, and it’s the difference between a sleeve that lasts and one that quietly fails. The habit is small: check snap tension periodically, and know the wear signs. A loose sew-on snap starts rocking on its stitches; a worn prong stops gripping with the authority it had on day one.
When the closure loosens, replace the worn snap half, not the whole sleeve. That’s the beauty of this hardware; the failure is component-level. One gotcha worth flagging: magnetic and prong halves aren’t interchangeable mid-life. Upgrading from one to the other means a fresh install, fresh reinforcement and all. And if you’re ever rebuilding anyway, doubling up the reinforcement layers is a cheap upgrade worth doing while you’re in there.
Two minutes of checking now and then protects the whole project. You built it. Keep it nice.
The Two Decisions That Decide Everything
Strip this build down and two choices determine whether it works. Measure the cased laptop, not the bare screen, or the flap never reaches its own snap. Size the snaps to the flap’s tension, not to what looks cute on the fabric, and set them through reinforcement, oriented so metal never faces the lid. Do those, and the rest is just pleasant execution.
Honest verdict, one sentence: DIY wins on fit, buying wins on time, and now you know exactly which one you’re choosing.
Frequently Asked Questions
How to make a snap on a laptop?
For a DIY laptop sleeve, the snap goes in the flap, not the machine itself. Measure the laptop closed and inside any case it travels in, dry-fit the flap with the laptop inserted, and mark the snap points before punching any holes. Set the snaps through interfacing or doubled fabric, oriented so no metal faces the lid.
What size magnetic snap do I need for a laptop sleeve?
A 15mm or larger magnetic snap is the load-appropriate default, because a laptop flap carries more weight and tension than a purse flap. Standard small sew-on purse snaps underperform on laptop closures. The magnetic halves still need to be set through reinforcement like interfacing or doubled fabric.
Why won’t my sleeve flap reach the snap?
Almost always because the flap was sized to the bare screen dimension from the spec page instead of the actual cased laptop. Measure the laptop closed and inside any sleeve or case it travels in, then derive flap overlap and snap spacing from that real thickness. A measuring tape against your actual machine beats a spec sheet every time.
Is it cheaper to make a laptop sleeve or buy one?
Buying is easier, and DIY wins on fit and customization, not always on headline price. Snap hardware alone runs a few dollars if you already own a punch, mallet, or snap pliers; starting from zero means adding a snap kit with setting tools. If you need a sleeve tomorrow, buy — if you need one that fits your cased laptop exactly, DIY earns its time cost.
