
Okay, so here’s the answer in one line each: on Windows, press Windows+Shift+S; on a Mac, press Shift+Command+3. Done. But here’s the thing I fell down this rabbit hole to figure out: those two shortcuts behave in completely different ways. The Mac one saves a file to your desktop.
The Windows one does not save a file. It puts your screenshot in the clipboard and flashes a toast notification, and if you dismiss that notification without acting on it, your screenshot never existed as a file at all. Most guides online get this wrong, and it’s the single most common “my screenshot vanished” complaint I keep seeing.
And one more thesis statement before we dig in: if you’re photographing your laptop screen with your phone, you’re doing the harder, worse version of a one-keystroke task. We’ll get there.
Key Takeaways
Windows+Shift+S copies your snip to the clipboard and shows a toast notification; it does not auto-save a file. The notification is your only route to annotate and save.
Mac shortcuts save files by default: Shift+Command+3 for the full screen, Shift+Command+4 for a region, Shift+Command+4 then Space for a window.
Search kMDItemIsScreenCapture:1 in Finder to instantly surface every screenshot you’ve ever taken on a Mac, and save it as a smart folder.
Table of Contents
Quick answer: every shortcut at a glance
Laptop screenshot shortcuts come in a few flavors. Direct keyboard shortcuts: PrtScn, Alt+PrtScn, and Windows+Shift+S on Windows; Shift+Command+3 and +4 on Mac. Second, the Windows Snipping Tool and Snip & Sketch apps. Third, the macOS Screenshot app, which lives behind Shift+Command+5. Here’s the part most lists skip: which shortcut hands you a file, and which one just fills the clipboard.
| Shortcut | Platform | Capture mode | Destination |
|---|---|---|---|
| Shift+Command+3 | Mac | Full screen | Saves a file to the desktop |
| Shift+Command+4 | Mac | Selected region | Saves a file to the desktop |
| Shift+Command+4, then Space | Mac | Window or menu | Saves a file to the desktop |
| Control-Shift+Command+3 or +4 | Mac | Full screen or region | Clipboard only |
| PrtScn | Windows | Full screen | Clipboard until you paste |
| Alt+PrtScn | Windows | Active window | Clipboard |
| Windows+Shift+S | Windows | Region, window, freeform, full screen | Clipboard plus toast notification |
| Windows+PrtScn | Windows | Full screen | Saves to Pictures > Screenshots |
| Fn + Windows logo key + Space Bar | Windows | Full screen | For keyboards without a PrtScn key |
That PrtScn row is worth a note: it fills the clipboard and nothing else happens. The workflow isn’t complete until you open Paint, hit Ctrl+V, and save the file yourself. If this table answers your question, you can stop here. If you want the weird micro-behaviors and the timer tricks, keep going.
Mac screenshots by capture mode
Mac keyboard shortcuts cover full screen (Shift+Command+3), a selected region (Shift+Command+4), and a single window or menu (Shift+Command+4, then Space). Each mode has a couple of hidden behaviors that are genuinely useful, so let’s break them apart.
Whole screen
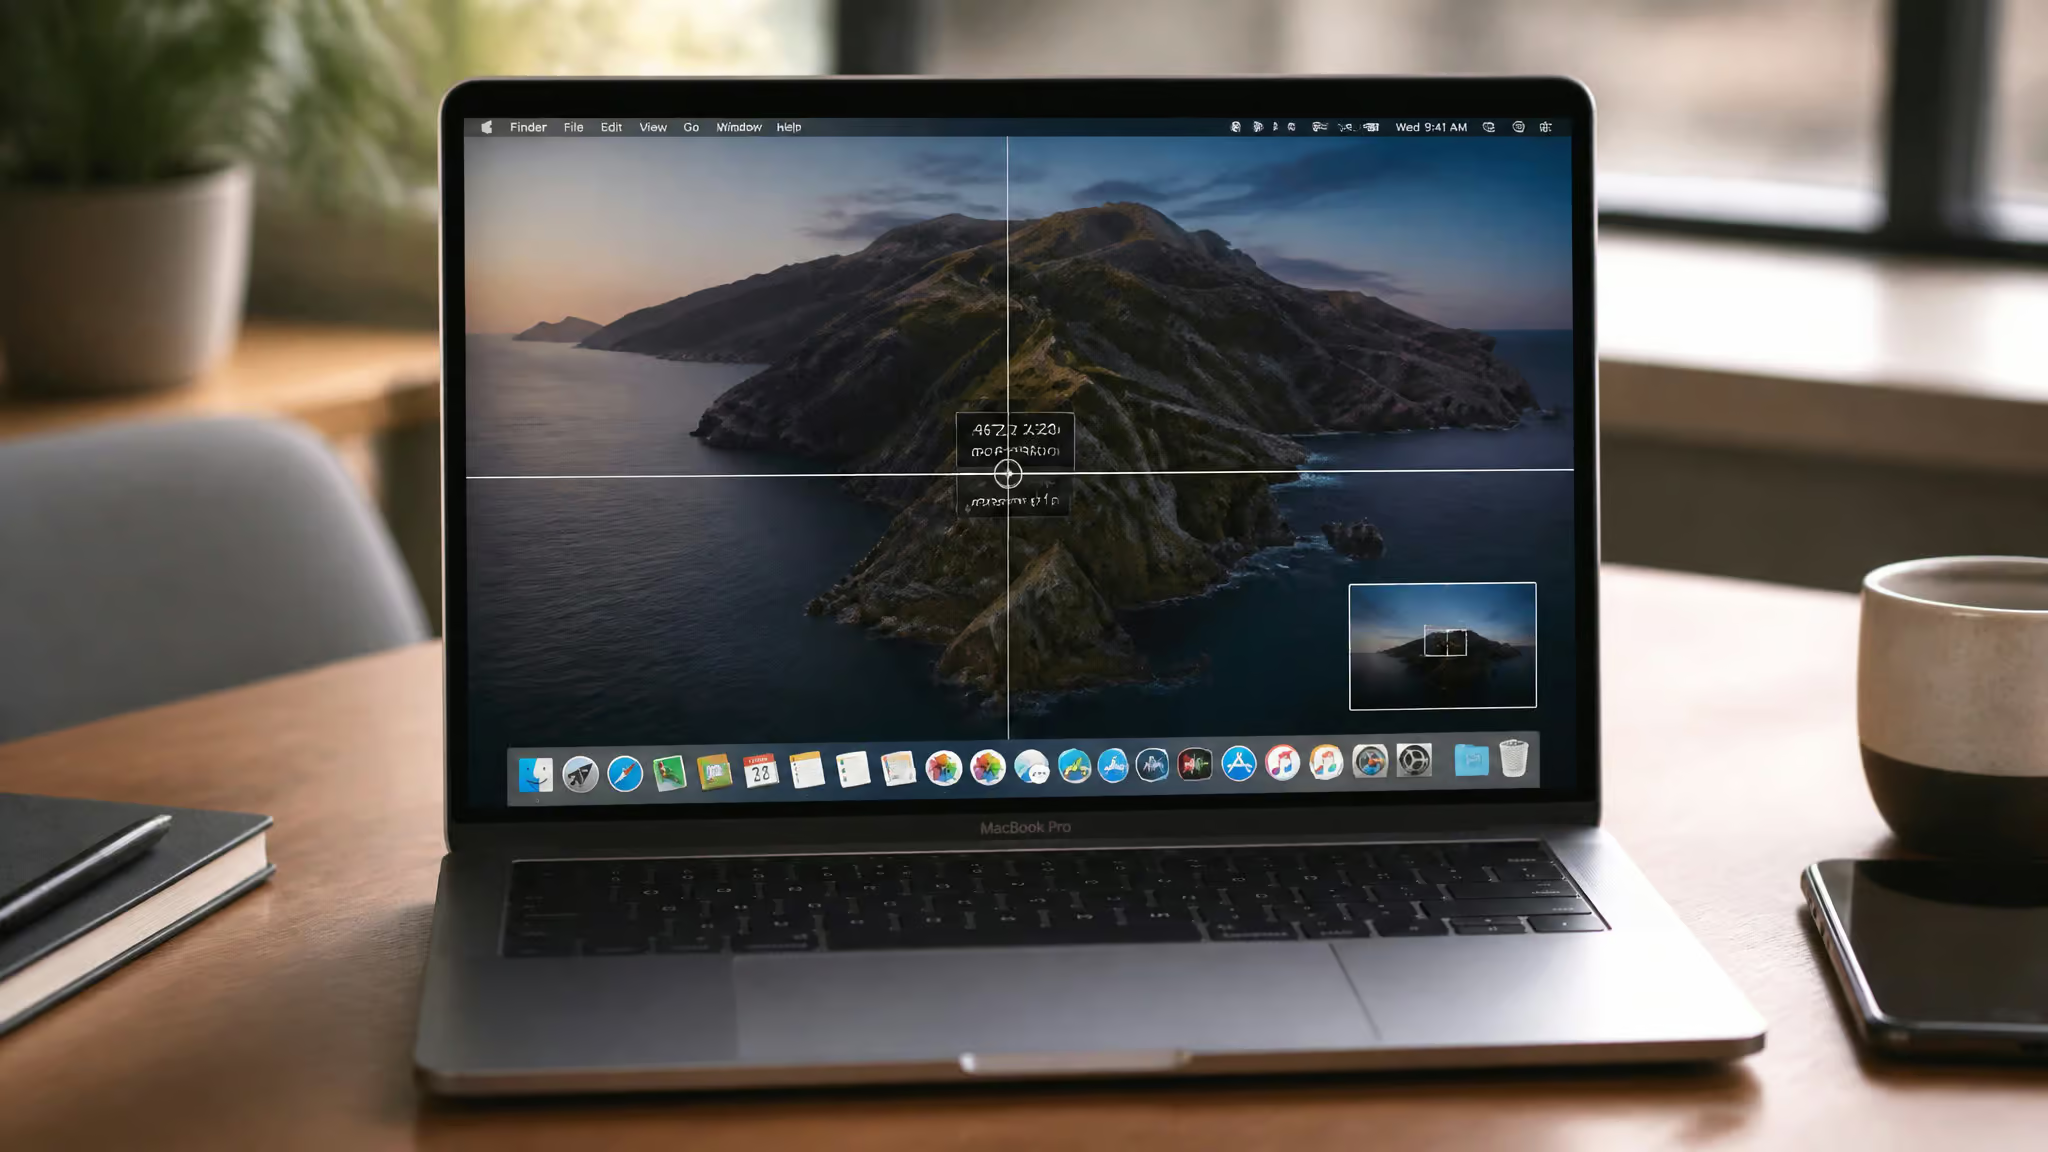
Shift+Command+3 grabs everything on screen. A floating thumbnail may appear in the corner for a few seconds so you can click in and edit; if you ignore it, the shot auto-saves to your desktop. That thumbnail is more capable than it looks: click it to open markup, or drag it straight into another app or a folder before the file even finishes saving.
Selected area
Press Shift+Command+4 and your pointer becomes a crosshair. Drag to select what you want and let go. Now the micro-behaviors nobody bothers to collect in one place:
- While dragging, hold Space to move the whole selection without resizing it. Slightly off target? Don’t restart, just scoot.
- Hit Esc to cancel the whole thing.
- Hover the floating thumbnail afterward to keep it onscreen longer.
That Space trick is small, but once you know it, you’ll use it constantly.
Window or menu
Shift+Command+4, then tap Space. Your crosshair turns into a tiny camera icon, which is honestly delightful, and it highlights whichever window is under the pointer. Click to capture that window exactly. Hold Option while you click if you want the window’s drop shadow excluded. Esc cancels as usual.
One legacy footnote: Shift+Command+6 used to capture the Touch Bar on older MacBook Pros. Apple discontinued Macs with Touch Bars, so this one is only relevant if you’re hanging onto slightly older hardware.
The macOS Screenshot app: timers, destinations, format control
Think of Shift+Command+5 as the configuration layer rather than a duplicate of the keyboard shortcuts. It opens the Screenshot app (available on macOS Mojave 10.14 or later; you can also get there via Spotlight or Applications > Utilities), and the same toolbar includes screen recording for the whole screen or a selected portion. So it’s also your screen-recording launcher. Nice.
The real meat is the Options menu:
- Save to: Desktop, Documents, Clipboard, Mail, Messages, Preview, or a custom folder you pick.
- Timer: 5 or 10 seconds of delay before the capture fires.
- Toggles: show the floating thumbnail, show the mouse pointer.
That timer deserves a shout-out, because it solves a problem that drives people nuts: dropdown menus that close the instant you let go of the mouse. Set a 10-second timer, open the menu, and wait. The screenshot fires on its own while the menu is still down. Tiny wizardry.
And here’s the fresh detail most screenshot articles haven’t caught up to yet: on supported Macs running macOS Tahoe 26, you can choose your capture format. SDR (Most Compatible) saves as PNG, or you can go HDR as HEIF. If you’re capturing HDR content and it’s always looked washed out, that’s why.
Windows screenshots by method
Windows splits screenshot duty across a keyboard key, a couple of app generations, and one shortcut that’s widely misunderstood. Let’s take them in order.
PrtScn and Alt+PrtScn
PrtScn copies your full screen to the clipboard. Alt+PrtScn scopes it to just the active window, which is what you actually want about 80 percent of the time. From there, paste into Paint with Ctrl+V and save. On Windows 10, the PrtScn key also combines with the Windows logo key for variations on this behavior.
Which app depends on which Windows you’re running
Windows 7 had the classic Snipping Tool: open it from the Start menu, click New, snip, save. Windows 10 and 11 moved to Snip & Sketch, now folded into the modern Snipping Tool, and this thing quietly does a lot more than people realize: rectangles, windows, freeform shapes, full screen, and video clips. Yes, video. If you’re collecting every way to handle laptop snaps, this hidden mode is worth finding, buried in plain sight, and most users never do.
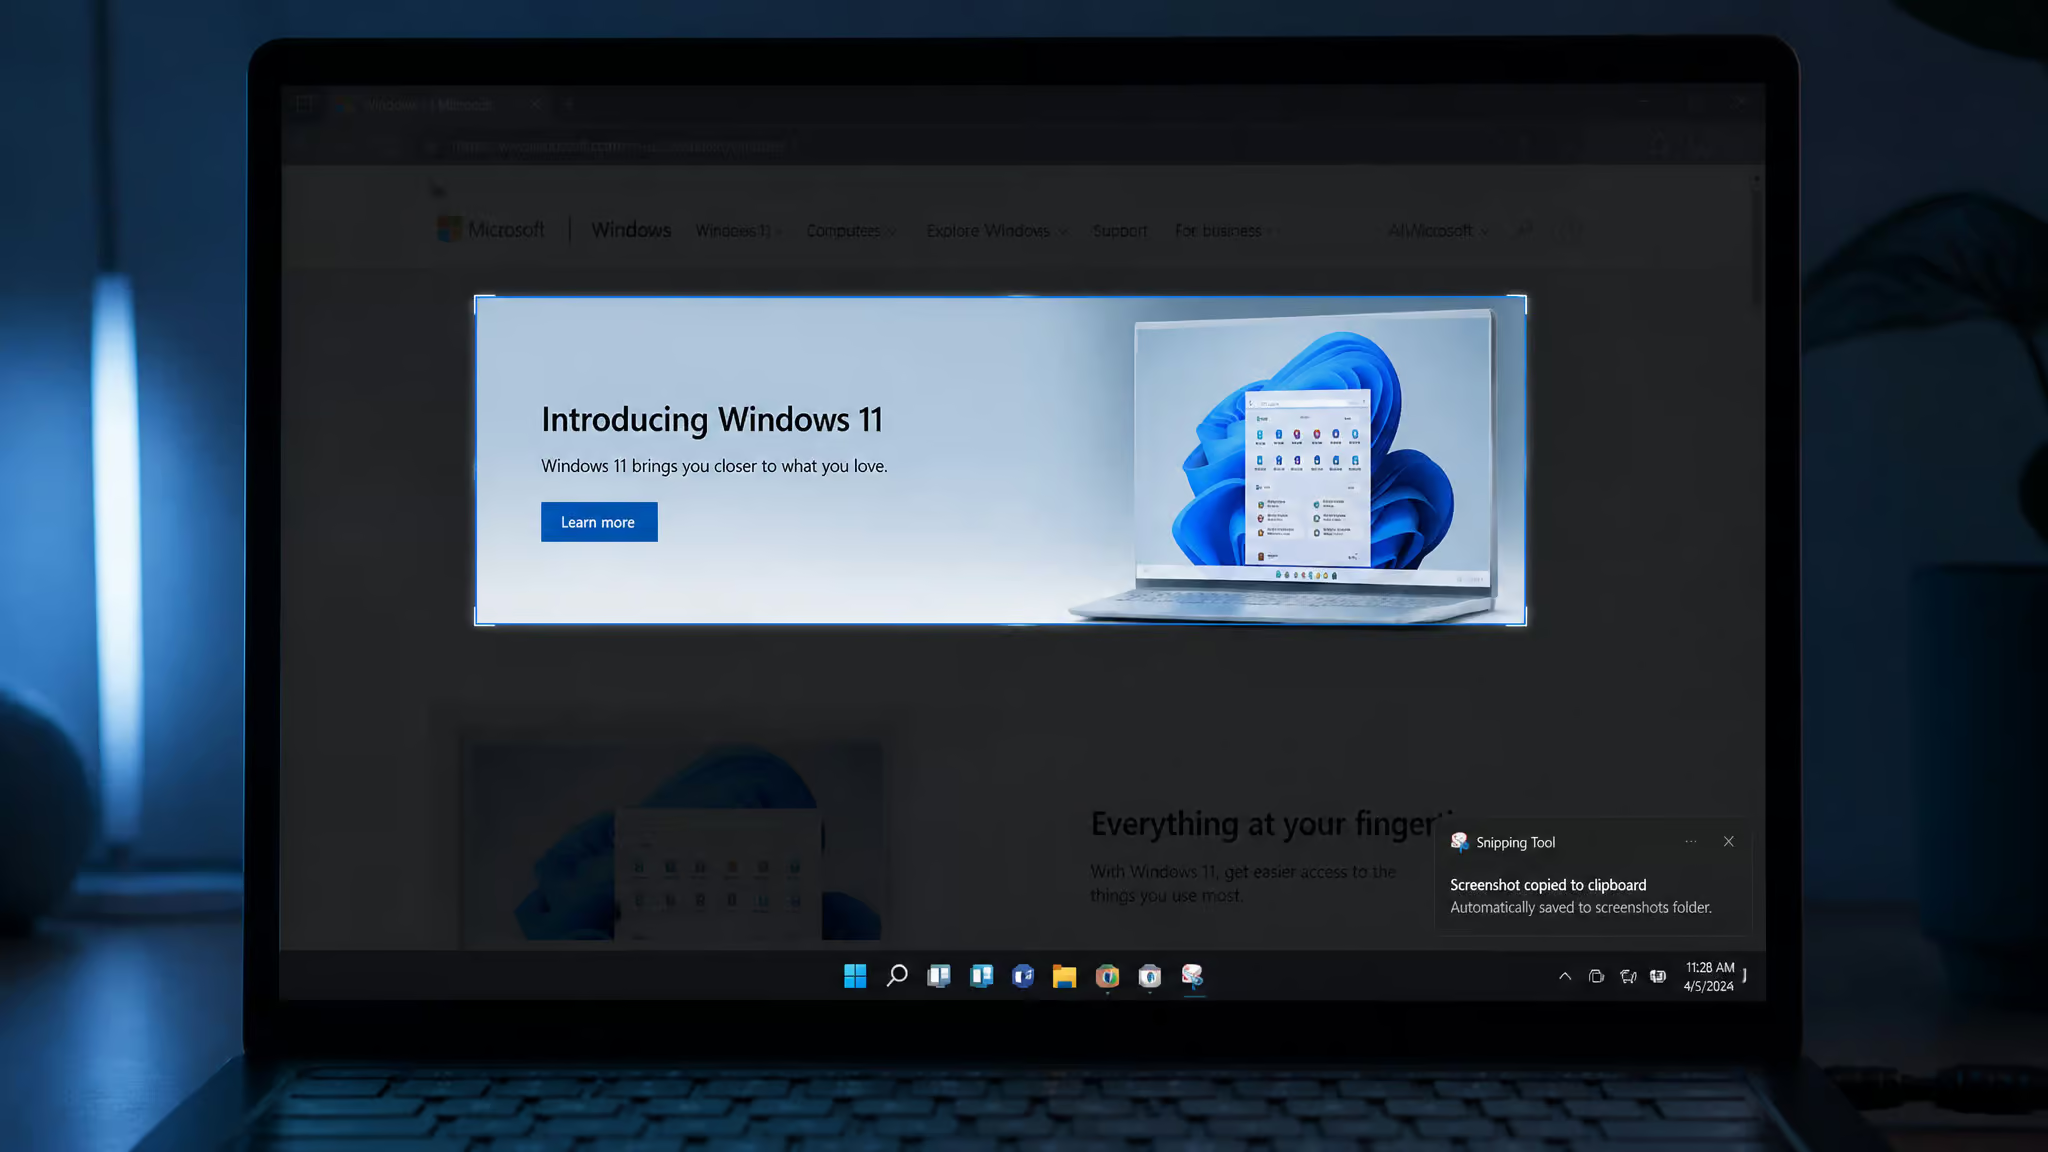
Windows+Shift+S is your main screenshot entrance on Windows 10 or 11: it opens the Snip & Sketch snipping toolbar so you can select an area to capture. The snip goes straight to your clipboard, and the toast notification lets you annotate and save it. Open the full Snipping Tool afterward if you want more markup and saving options.
What Windows+Shift+S actually does
Here’s the correction. Windows+Shift+S dims the screen, lets you snip, copies the result to the clipboard, and shows a toast notification. It does not automatically save a file.
This is one of the most common Windows screenshot complaints out there: someone takes the snip, closes the notification, and then can’t find the file anywhere. The reason is simple. No file was ever created. The capture lived in the clipboard, and the toast notification was the one and only path to annotating and saving it.
Dismiss it, and it’s gone, so it’s worth knowing how to save snaps to your laptop once you do have a capture you want to keep. A lot of articles online repeat the auto-save claim, and Microsoft’s own documented behavior says otherwise. If you take one thing from this whole guide, make it this.
Red flag: Any guide claiming Windows+Shift+S auto-saves a file. Microsoft’s documented behavior says the capture lives in the clipboard until you act on the notification.
No PrtScn key?
Compact laptop keyboards sometimes drop the PrtScn key entirely. The fallback is Fn + Windows logo key + Space Bar. That’s it. No vendor-specific key layouts needed, this combo handles the no-PrtScn situation.
Clipboard or file? Choosing where your screenshot goes
To send a capture straight to the clipboard instead of saving a file, add Control to the Mac shortcuts (Control-Shift-Command-3 or -4, then paste with Command+V), or use Windows+Shift+S on Windows and paste from there. A clipboard capture creates no file until you paste it somewhere and save it. That’s the whole game, but there are two distinct clipboard strategies worth separating:
- One-off: the Control modifier on Mac, or Windows+Shift+S on Windows. This is the grab it, paste it into chat once, move on pattern.
- Persistent: in the Screenshot app on Mac, set Options > Clipboard, and every future screenshot goes to the clipboard by default. If you never want desktop clutter, this is your setting.
There’s also a third Mac route I like: when the floating thumbnail appears, Control-click it and choose Save to Clipboard. Same result, more deliberate.
The paste-anywhere workflow is a common pattern for good reason. Clipboard-first capture is faster when the destination is a chat window or an email body, and it never leaves a trail of files you have to clean up.
Where screenshots save, and how to find every one you’ve taken
Screenshots save to the Mac desktop by default, with filenames following the pattern Screen Shot [date] at [time].png, so something like Screen Shot 2024-09-15 at 10.30.45 AM.png. You can change the save location in the Screenshot app’s Options menu, and if you’ve lost track of them, honestly this next bit is tiny wizardry: type kMDItemIsScreenCapture:1 into Finder’s search bar and it’ll surface every screenshot on the Mac, which you can even save as a smart folder. On Windows, screenshots land in This PC > Pictures > Screenshots, and you can create a custom Screenshots folder in Documents if you’d rather route them elsewhere.
Now for the trick almost nobody knows, and the reason I went down this hole in the first place. Open Finder, and search for:
kMDItemIsScreenCapture:1
That’s a Spotlight metadata query, and it returns every screenshot on your Mac. Every single one, regardless of where it’s hiding. Save that search as a smart folder and retrieval becomes a single click forever after. Honestly kind of elegant, and I can’t believe how few screenshot guides mention it.
Quick test: Type kMDItemIsScreenCapture:1 into Finder’s search bar, confirm your screenshots appear, then save it as a smart folder.
One tie-back to the earlier warning: this only finds files. If your captures went clipboard-only and you dismissed the notification without saving, there’s nothing on disk for any search to find.
Mixed keyboards
The shortcuts still work when your keyboard doesn’t match your machine; the labels just aren’t printed on the keys, which is exactly why people give up and grab their phone. Two mappings cover the common cases, though I’ll flag upfront that this comes from a single source, so treat it as a starting point rather than gospel:
- Mac keyboard on a Windows PC: Fn+Shift+F11 for full screen, Option+Fn+Shift+F11 for the active window.
- Windows keyboard on a Mac: Windows+Shift+3 saves a .PNG to the desktop. Right-click the file to rename it.
Mixed setups are a frequent stumbling block I keep running into, and honestly the fix is mostly knowing the mapping exists. The shortcuts don’t break, they just go unlabeled.
When screenshots fail, and why the phone photo isn’t the answer
Before we get to the phone-photo problem, it helps to know why a shortcut sometimes seems to do nothing at all. Most “failed” screenshots aren’t failures of the keyboard, they’re blocked apps, destination confusion, or a keyboard mismatch, all of which have specific fixes. And when none of those apply, the temptation is to grab your phone, which is the one move that makes things worse.
Why a window won’t capture
Some apps simply block screenshots of their windows. The Apple TV app is the clearest example. If you press the shortcut over one of those windows and get nothing, that’s the app refusing, not your keyboard failing. I’d love to give you a Windows-side list of blocked apps too, but the sources here only document the Apple TV app, so that’s the boundary. Beyond blocked apps, the other “it didn’t work” cases usually trace back to destination confusion or keyboard mismatch, both covered above.
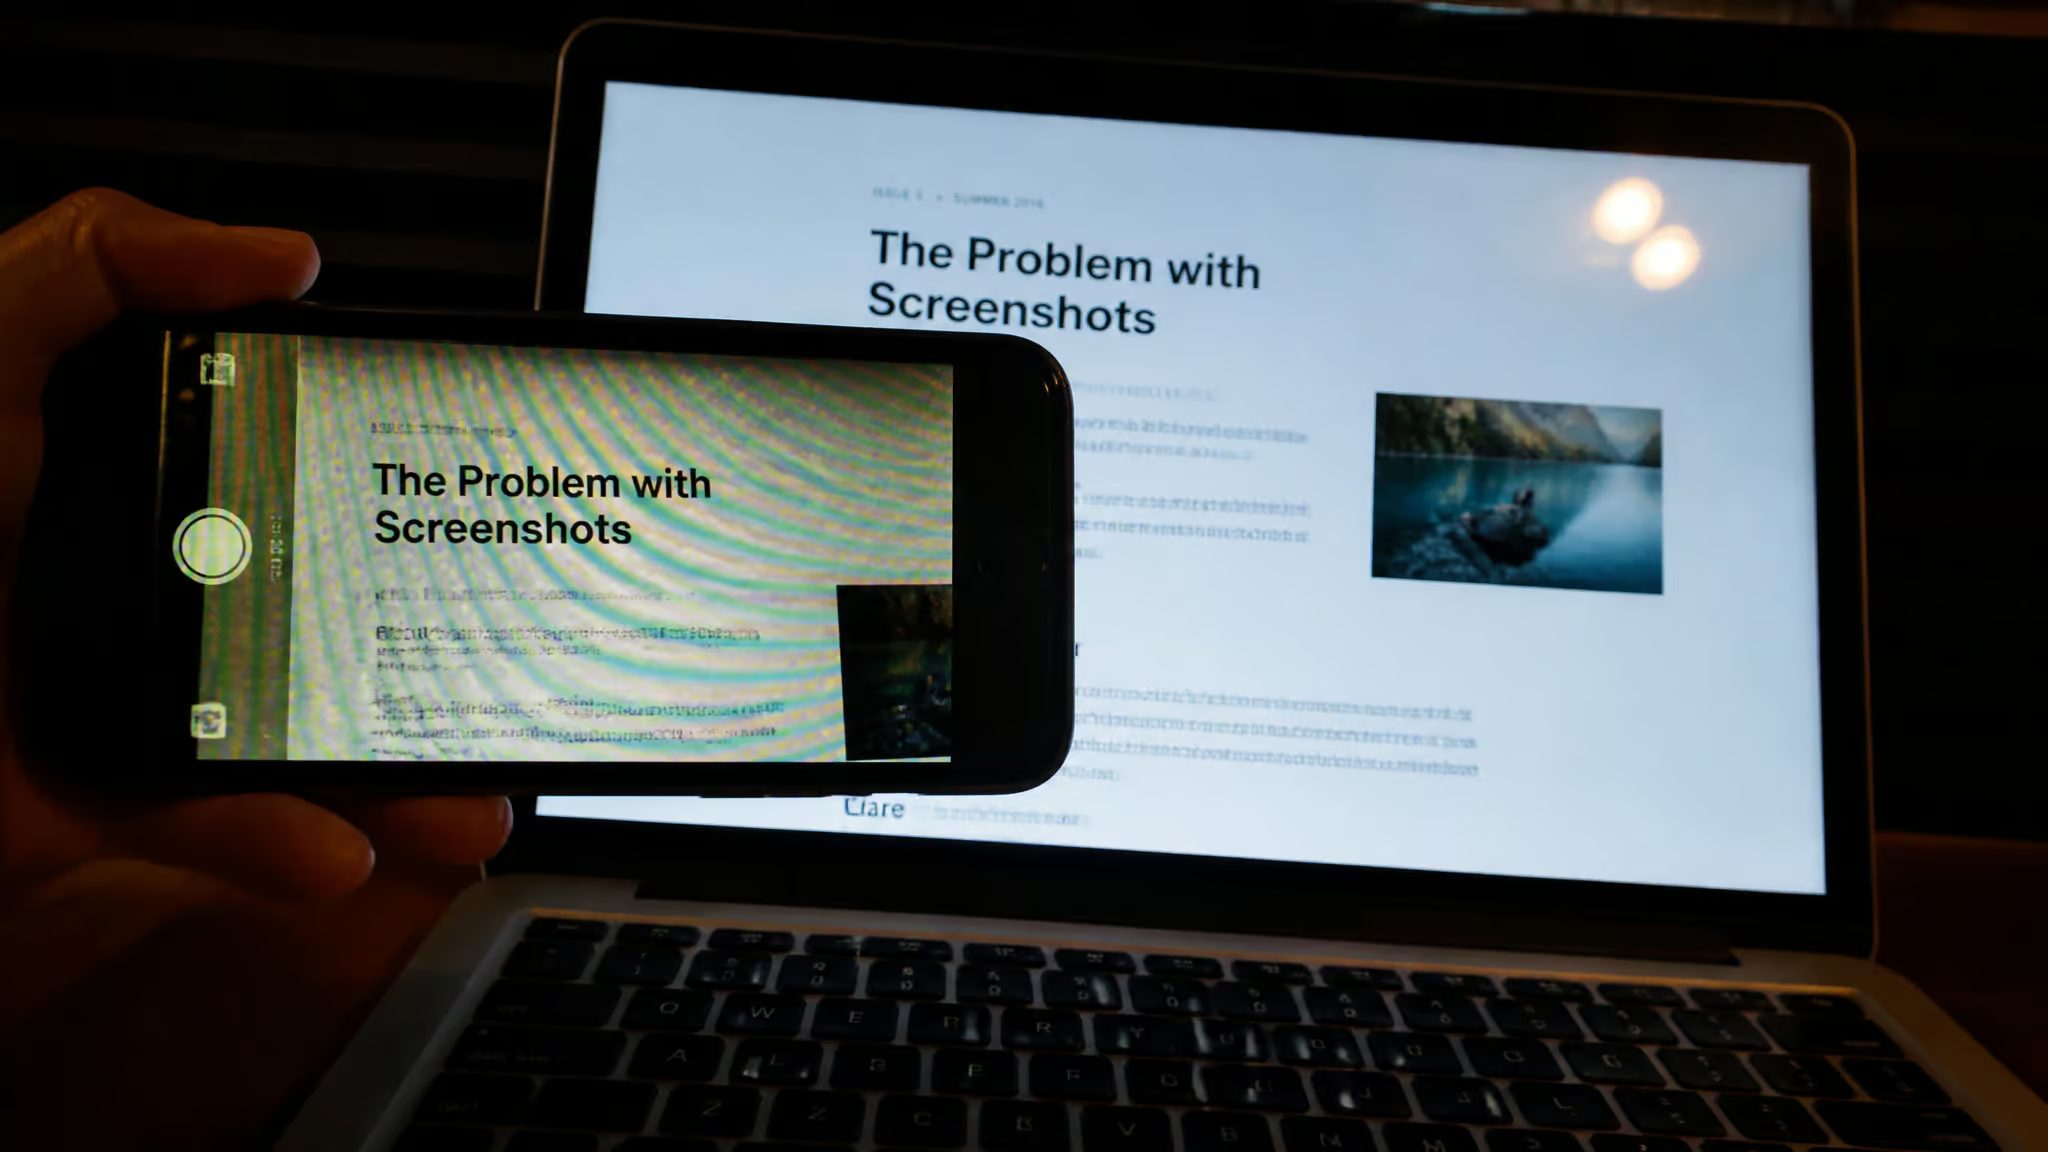
Stop photographing your screen with a phone
This one deserves its own headline. Taking a photo of your monitor with your phone is the harder, worse version of a one-keystroke task. You get glare, moiré bands crawling across the pixels, perspective distortion from the camera angle, and then you crop it and it still looks like a photo of a screen. The built-in capture is one press and hands you a crisp, pixel-perfect native PNG.
And yes, this actually happens. Scroll any tech-adjacent feed long enough and you’ll find someone posting a phone photo of their laptop screen when a native screenshot would’ve taken one press, part of a broader laptop-snap aesthetic that visual-culture writers have picked apart, setups and lighting included. It’s a recurring pattern, not a one-off, and it’s the anti-pattern this whole guide exists to kill.
Which capture method for which job
The right method depends on four variables: what you’re capturing (full screen, a window, or a region), where it needs to go (clipboard or file), whether timing matters, and whether you need to annotate. Map your situation and the choice makes itself:
- Paste into chat: clipboard-first. Windows+Shift+S, or Control-Shift-Command-3/4 on Mac.
- Records and receipts: file-first. Shift+Command+3/4 on Mac, or Windows+PrtScn on Windows.
- Dropdowns and tooltips: the Screenshot app’s 5- or 10-second timer, so the menu stays open while the capture fires.
- Annotate before sending: Snip & Sketch on Windows, or the Mac thumbnail markup workflow.
- A still isn’t enough: the modern Snipping Tool’s video mode.
One honest limit on the built-in toolkit: if you need to capture a full scrolling page as a PDF, phones actually win that round, which we’ll get to in a second. And third-party tools like Greenshot, ShareX, and CleanShot-style apps exist, but they’re outside this guide since we’re sticking to what’s already on your machine.
Phone and tablet capture: the companion toolkit
When the content lives on your phone, your phone’s capture tools are the better tool, not a lesser duplicate. iPhone: press the Lock (Sleep/Wake) button and Volume Up together. iPad: the top button plus either volume button. Both save to Photos.
The differentiator, and the mode laptops genuinely don’t have, is Full Page capture. Take a screenshot, tap the preview, tap Full Page, and save the whole scrolling page to Photos or Files as a PDF. A long article or a full receipt, captured in one gesture.
Android is similar territory: Power and Volume Down together, or hold Power for two seconds and pick Screenshot. Some devices offer a “Capture more” option to grab content beyond what’s currently on the display.
Shift+Command+3 on a Mac, Windows+Shift+S on Windows, that covers most laptop screenshot situations. But before you trust any shortcut, know whether it saves a file or just fills the clipboard. That’s the distinction behind the vanished-screenshot complaints from earlier, and it’s the one worth remembering.
Frequently Asked Questions
How do I take a screenshot using my keyboard?
On Windows, press Windows+Shift+S to snip a region, window, or full screen; on a Mac, press Shift+Command+3 for the whole screen or Shift+Command+4 for a selected area. The critical difference: Mac shortcuts save a file to your desktop by default, while Windows+Shift+S only copies to the clipboard and shows a toast notification you must act on to save.
What are the three ways to take a screenshot?
The three main routes are direct keyboard shortcuts (PrtScn, Alt+PrtScn, Windows+Shift+S on Windows; Shift+Command+3 and +4 on Mac), the dedicated capture apps (Snipping Tool on Windows, the Screenshot app via Shift+Command+5 on Mac), and clipboard-first capture where you paste the result into another app. Which route you pick depends on whether you need a file, a clipboard paste, annotations, or a timed capture.
What are the keyboard shortcuts to take a screenshot on a Windows laptop?
The main ones are Windows+Shift+S (region, window, freeform, or full screen to clipboard with a toast notification), PrtScn (full screen to clipboard), Alt+PrtScn (active window to clipboard), and Windows+PrtScn (full screen saved to Pictures > Screenshots). If your keyboard lacks a PrtScn key, use Fn + Windows logo key + Space Bar.
How do I take a screenshot on a Mac laptop with keyboard shortcuts?
Shift+Command+3 captures the full screen, Shift+Command+4 captures a selected region, and Shift+Command+4 followed by Space turns the crosshair into a camera icon for capturing a single window. All three save a file to your desktop by default; add Control to any of them to send the capture to the clipboard instead.
Why did my Windows screenshot disappear after I took it?
Because no file was ever created. Windows+Shift+S copies the snip to the clipboard and shows a toast notification, and that notification is the only path to annotating and saving the capture. If you dismiss it without acting, the screenshot exists nowhere on disk — despite many guides claiming the shortcut auto-saves.
How do I screenshot a dropdown menu that closes when I let go of the mouse?
Use the timer in the macOS Screenshot app (Shift+Command+5): set a 5- or 10-second delay, open the dropdown menu, and wait — the capture fires on its own while the menu is still down. The same Options menu also lets you route saves to a specific folder, Mail, Messages, or the clipboard.
