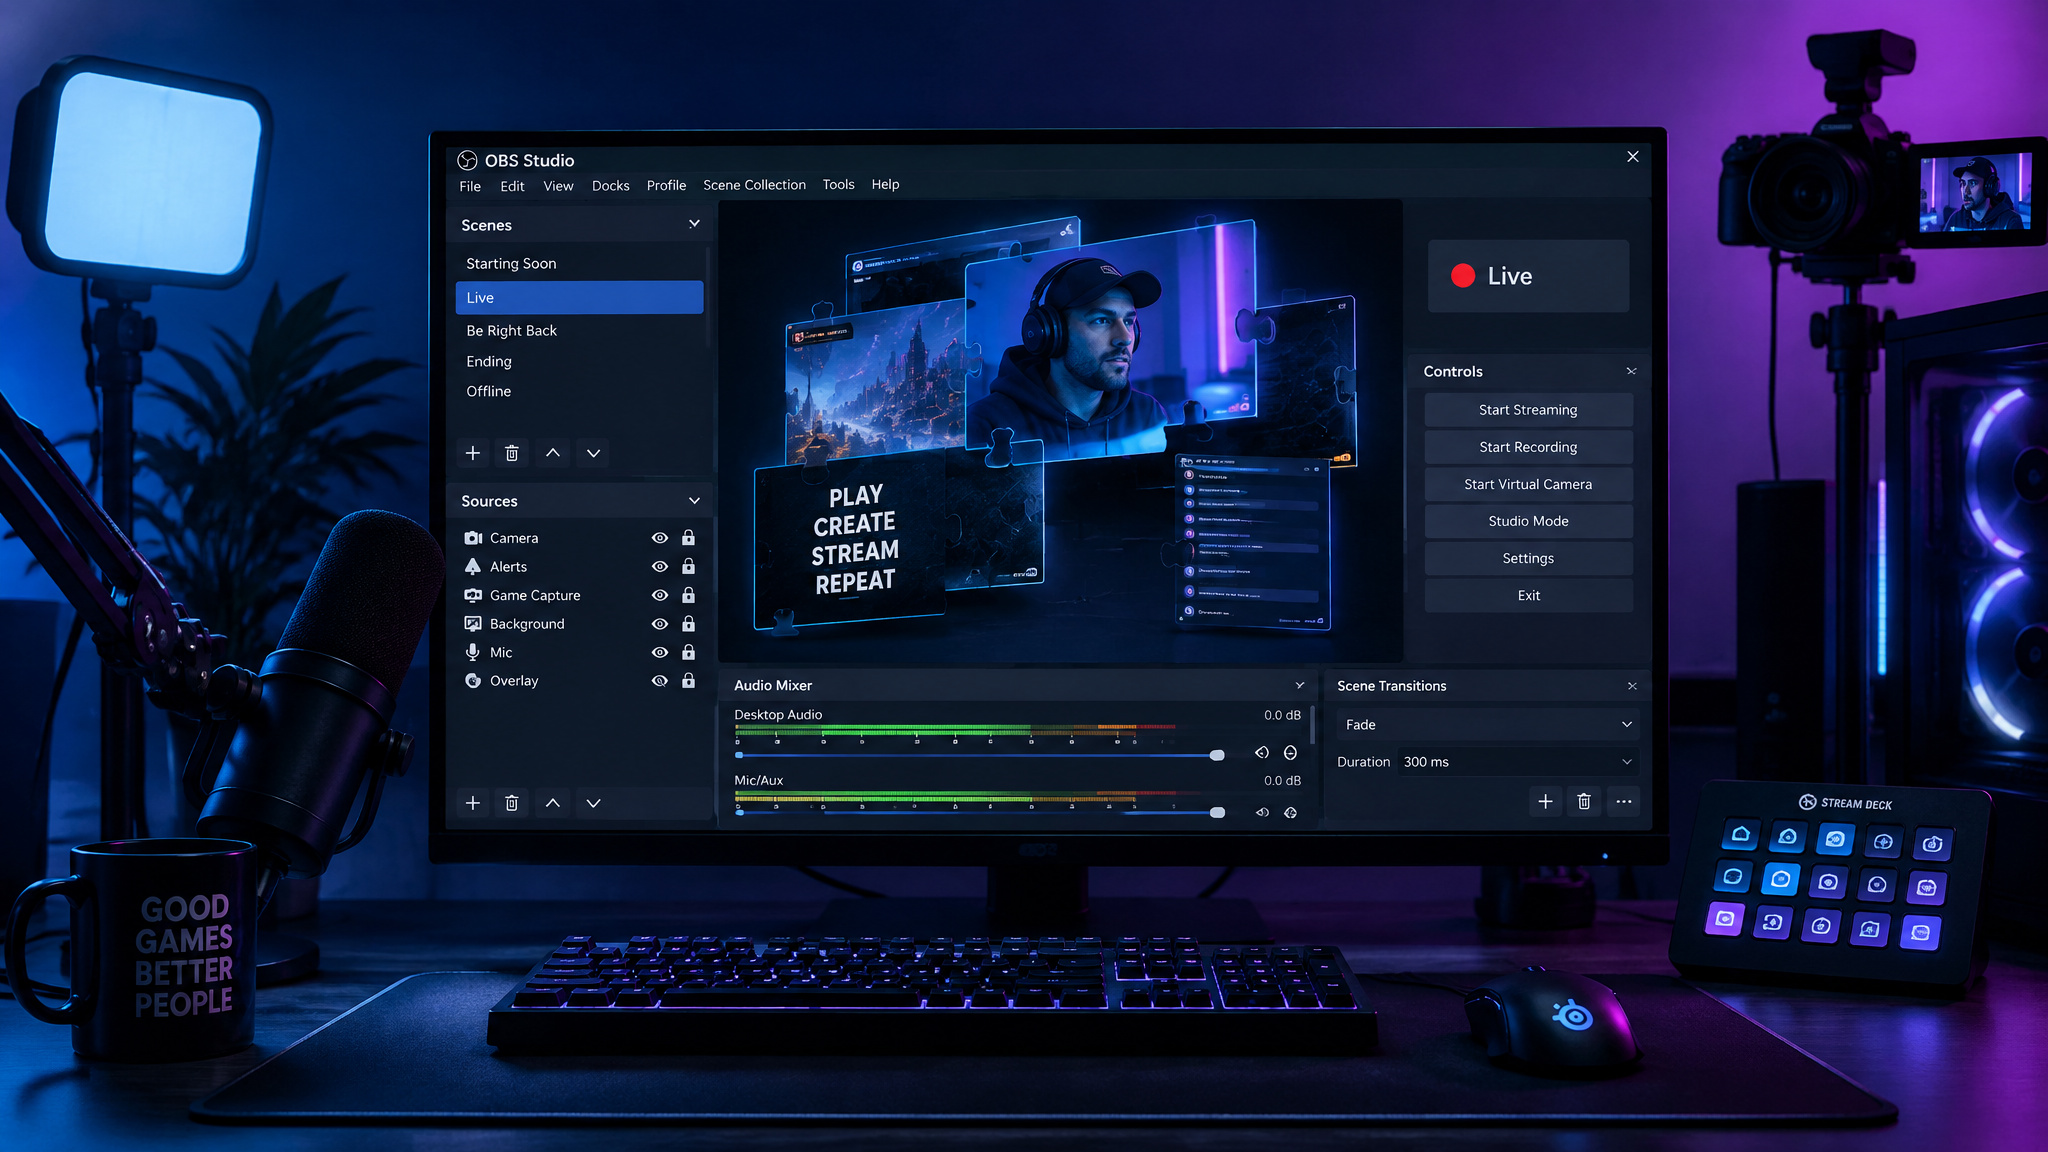
I spent an evening recently clicking through stream-design tools, and every single landing page promised an AI-powered stream package. Not one of them would tell me what file I’d be holding at the end. That’s the part the marketing keeps quiet: AI makes pieces, not a package. Every tool I traced hands you exactly one of three things: a file to import, a browser-source URL, or a toggle inside its own studio.
None of them hands you a finished stream. So this guide to how to build a stream package with AI video is an OBS assembly walkthrough, because the assembly is the part you still do yourself. The build stacks up in this order: overlay art, backgrounds, the OBS import, alerts, camera and audio cleanup, captions and moderation, clipping, and an optional 24/7 loop. That’s the same export-mechanics audit we run at GeekExtreme on every “AI-powered” tool, and streaming turned out to be one of the cleanest examples yet, because the ad sells a finished package and the artifact is a single file, URL, or toggle.
Key Takeaways
Every AI streaming tool produces one artifact: a file to import (Deep-Image AI overlay art at roughly 4 cents per image), a browser-source URL (StreamElements alerts, free), or an in-studio toggle (StreamYard AI backgrounds). None ships a finished package, so the real build happens in OBS.
The free path works: OWN3D Pro’s free scene collection imports into OBS as a JSON file plus a stinger transition (set the transition point to 1,000), StreamElements covers alerts at zero cost, and Twitch AutoMod plus YouTube’s built-in captions beat most paid add-ons.
Opus Clip bills 1 credit per uploaded minute, so a six-hour stream costs the same whether the AI finds 3 clips or 30. Keep one tool per job and re-check the shortlist yearly.
Table of Contents
What AI can and can’t build in a stream package
AI in streaming does four narrow jobs: turning speech into text, screening chat, picking moments out of recordings, and cleaning up your camera and mic. Add one bonus trick, broadcasting pre-recorded video around the clock, and that’s the entire capability list. Everything else is repackaging or vaporware. Even the video generators fit that mold, according to PixelDojo, Grok Imagine turns a text prompt or an image into a short clip with sound, running 1 to 15 seconds at 480p or 720p.
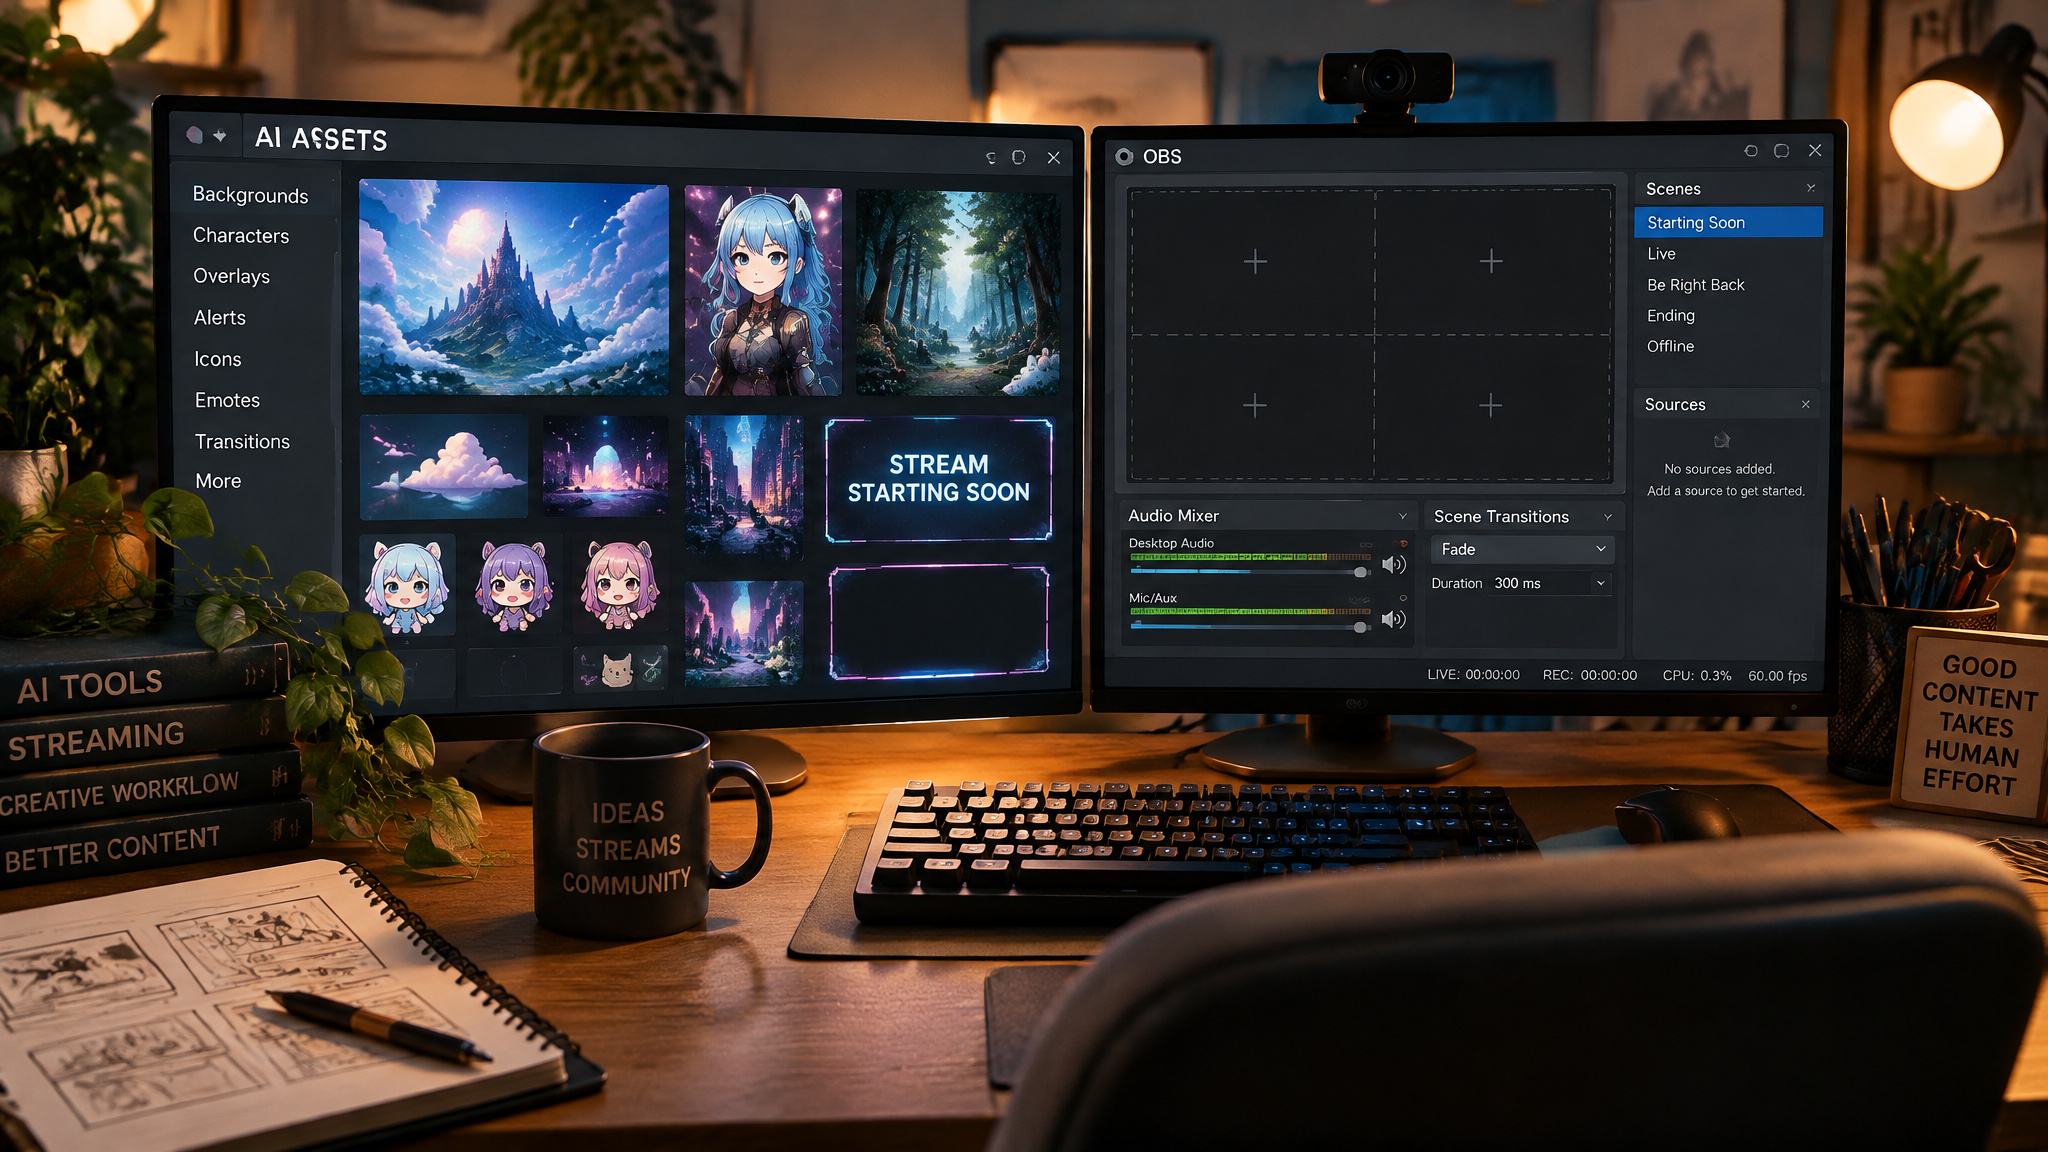
The boundary is blunt: AI doesn’t decide what your stream is about, pick a format for it, or fix a show nobody watches. What it removes is repetitive work, captioning, camera cleanup, clipping, which is not the same thing as growth. And no, a text model can’t make your overlay. ChatGPT-class tools can draft prompts and specs, but image-generation tools make the actual overlay assets, and those still need manual import and layout in OBS.
| Model | Observed price (Oct 5, 2026) | Why it stands out |
|---|---|---|
| Deep-Image AI | $9.00 | Deep-Image AI: Converts text descriptions into custom overlay designs; image-to-image transformation via edge detection (‘Just edges’ mode); inpainting brush removes elements with |
| StreamYard AI backgrounds | Not published | Try AI background generation from the Assets tab to quickly spin up a few options.(StreamYard Help Center) Step 2: Dial in a “default” tutorial backdrop – Pick one AI-generated or |
| OWN3D Pro free package setup | Not published | In OWN3D dashboard My Scenes, click add graphic, go to overlays, select package webcam overlay, resize via corner drag, hit save top right or changes won’t persist |
| StreamElements | $19 | StreamElements stands out for live streamers with its entirely free model, providing access to overlay templates, widgets, and cloud storage. |
| Opus Clip | Not published | Gling for talking-head recordings, Eklipse for gameplay, Opus Clip for anything long and mixed. |
So here’s the map. Each package layer gets built by an AI tool, a platform-native feature, or you, in OBS. The platform-native captions and moderation are free, and most of the add-ons sold as AI are Whisper-based caption overlays or rule-engine chat bots.
Generate overlay art with AI: Deep-Image AI, Kittl, and Canva
Deep-Image AI, Canva Magic Studio, and Kittl are the three overlay tools worth comparing, a narrower exercise than ranking the best AI presentation makers, but decided by the same practical criteria: export path and cost, not image quality. The workflow they all share: you can build a custom overlay without design experience by describing what you want to a text-to-image tool, refining it with inpainting, and importing the file yourself. The AI generates. You assemble.
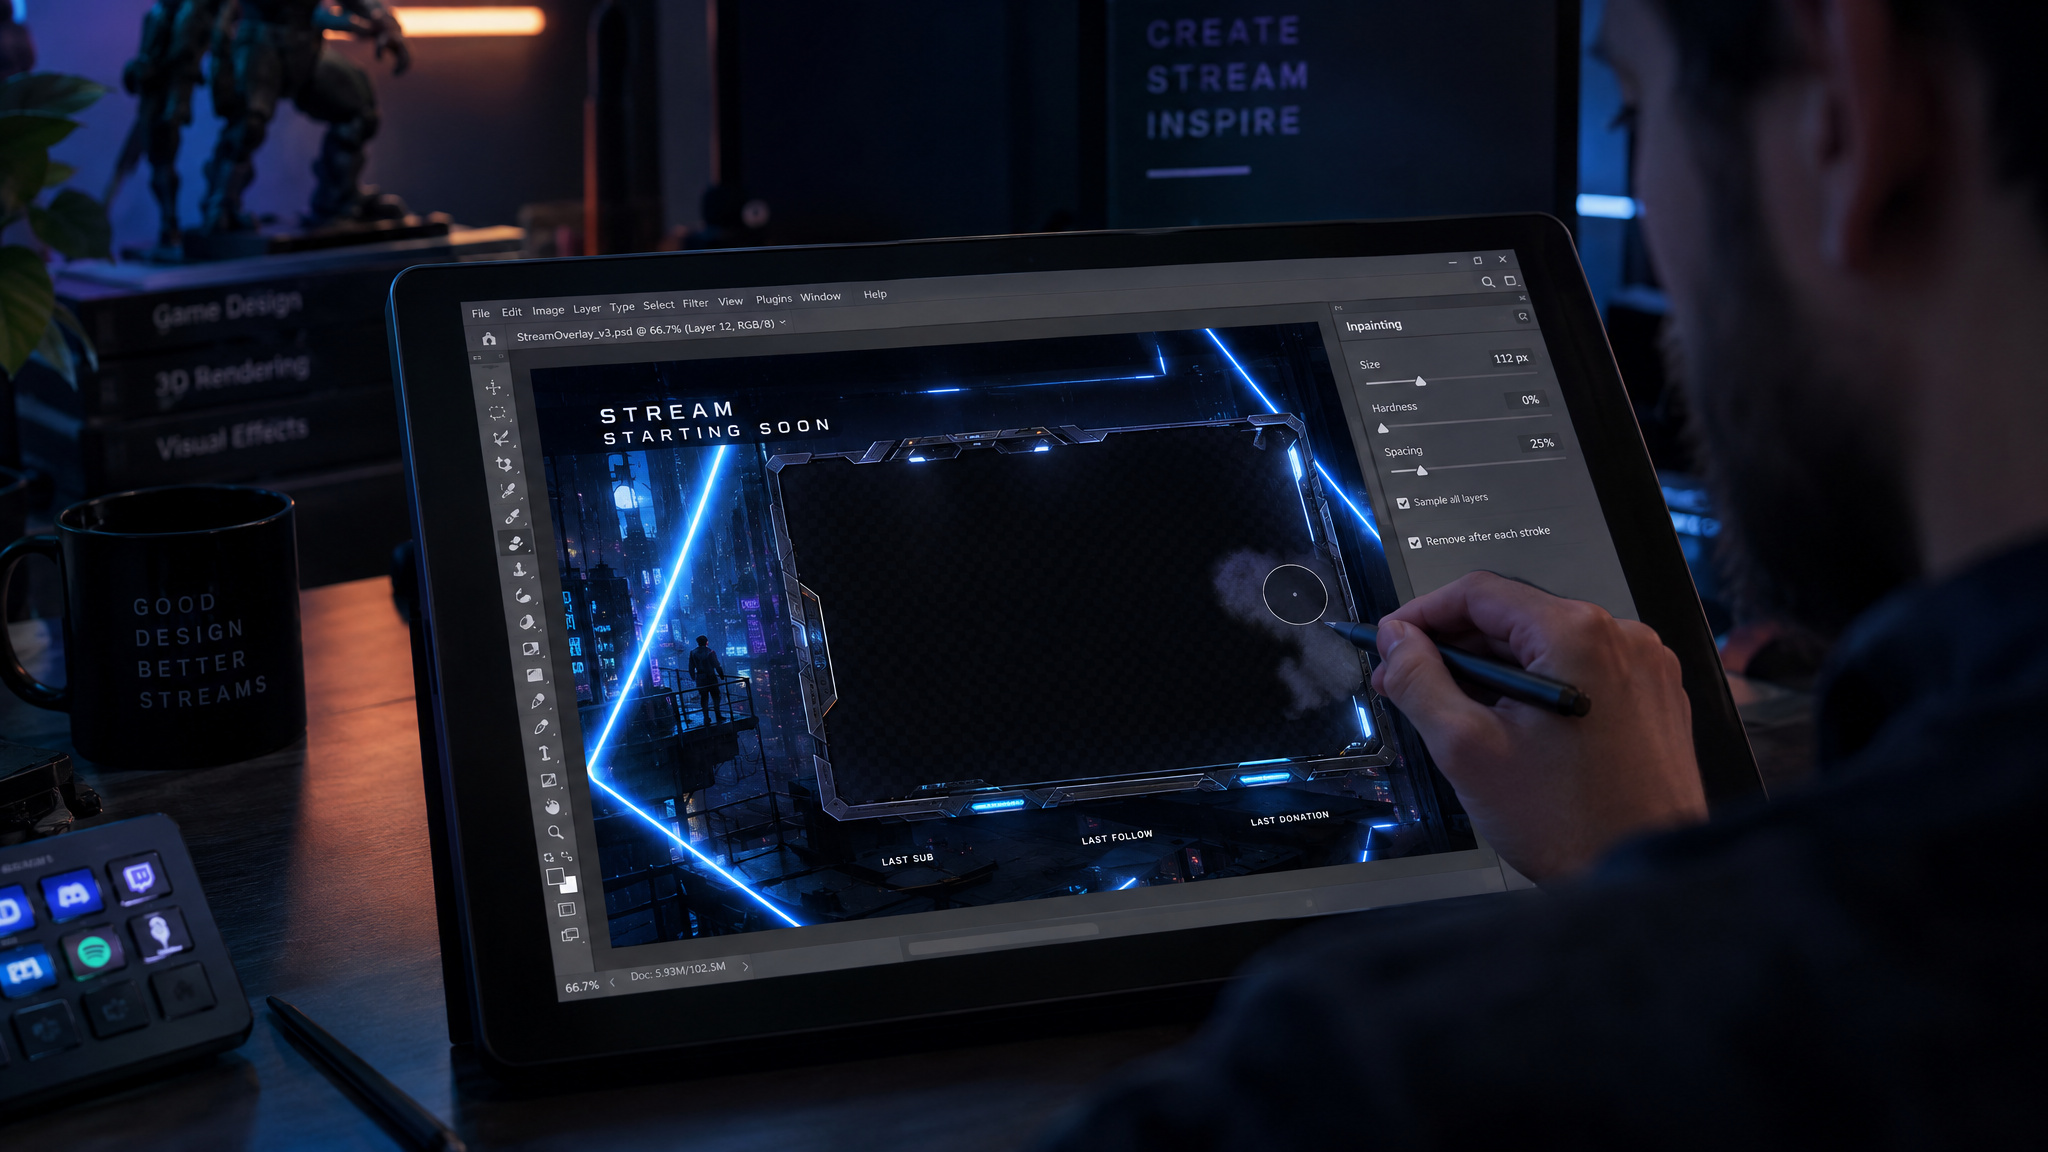
Deep-Image AI turns text prompts into overlay designs, and the example prompts that worked are specific: smoke with laser beams under futuristic blue neon lighting for a cyberpunk look, “Jurassic Park, dinosaurs” for prehistoric. The clever mode is “just edges,” which does image-to-image via edge detection. Upload a layout template marking where your camera feed, screen share, and chat sections go, and the AI reimagines the art while preserving the structure. Edge detection buys you layout fidelity, which is exactly the thing generic image generators destroy.
An inpainting brush erases elements with prompts like “clean background” or “remove text.” Pricing: roughly 4 cents per image, 5 free one-time credits with watermarked output, and a Bronze plan of 100 credits at $9/month ($7.50 annual). Paid plans upscale to 15,000 × 15,000 pixels, and batch uploads run through Google Drive, AWS, Dropbox, or OneDrive. The catch: you’ll import the overlays into your streaming software yourself.
Canva Magic Studio is the generalist, and the feature set tracks with what Canva’s own Newsroom publishes about its AI releases. Drag-and-drop editing, 2M+ templates, 4.5M+ stock assets. The AI costs credits per feature: Generate a Design is 0 credits, a Dream Lab image is 20 monthly credits, Magic Media text-to-video is 5. Pro runs $12.99/month or $119.99 annually.
Honest catches: the AI creative features are limited, and Canva isn’t tailored for streaming overlays. It’s best for thumbnails, intro and outro clips, and batch asset packs like chapter cards and lower-thirds.
Kittl specializes in vector-based overlay templates that import into OBS Studio, Streamlabs, and XSplit, and vectors stay crisp at any size. No disclosed pricing, so I won’t guess.
The pragmatic workflow is one tool for foundational designs and another for specialized elements.
| Tool | Cost | Output artifact | Imports into OBS/Streamlabs/XSplit? |
|---|---|---|---|
| Deep-Image AI | ~4 cents/image; Bronze: 100 credits at $9/month ($7.50 annual) | Raster overlay art from text prompts | No (manual import required) |
| Canva Magic Studio | Pro: $12.99/month or $119.99/year | Design files, clips, batch asset packs | Partial (export, then import yourself) |
| Kittl | No disclosed pricing | Vector overlay templates | Yes (OBS Studio, Streamlabs, XSplit) |
Generate backgrounds in place with StreamYard
StreamYard skips the export-import loop entirely: it generates AI backgrounds from a text description inside the studio itself. Type a description such as “soft blue accents on a minimal dark gradient” or “a light, classroom-style background with a whiteboard,” preview the result, and it saves into your Assets. The guide I pulled this from was last updated January 24, 2026, and its recommendation is the right default for tutorials: start with the built-in Studio backgrounds plus AI generation before reaching for anything else.
The distinction that trips people up is virtual versus Studio background, and the StreamYard Help Center is the reference that spells out both modes. The virtual background is per-camera, runs in-browser, blurs or replaces your real room without a green screen, allows up to 30 uploaded images, is desktop-only, and suits full-screen on-camera use. The Studio background is scene-wide, takes static images or looping muted MP4/GIF files, hosts the AI generation, and suits picture-in-picture and consistent branding. The pattern most people land on: Studio background for the brand, virtual blur on the camera.
The catches: uploaded video backgrounds are limited to 200 MB / about 1 minute on most paid plans and 300 MB / about 2 minutes on the highest tier, they apply studio-wide rather than per-camera, and virtual backgrounds don’t work on mobile or tablets.
The workflow is three steps. Start in the StreamYard studio’s Backgrounds section, with AI generation in the Assets tab. Set a default backdrop with your logo and frame overlay and save it as the go-to scene. Add Canva only when you hit real limitations, like detailed product mockups or complex illustrated scenes.
A Canva-only workflow costs friction, not money: generate, export, open a separate app, import, test, iterate, every time. The mental model that resolves it: StreamYard handles live environment control, Canva handles asset creation. Clear teaching and good audio beat any background.
Quick test: Preview an AI-generated background in the Assets tab before saving it as your default scene — a backdrop that looks good in isolation can fight your overlay frame.
Assemble the package in OBS: the free OWN3D Pro install path
You make a Twitch overlay for OBS by picking a pre-built design like OWN3D Pro’s free package, customizing its webcam overlay in the web editor, and importing the whole thing as a JSON scene collection file plus a transition file. The customization step is real editing, not just downloading: in the OWN3D dashboard’s My Scenes, you click add graphic, go to overlays, select the package’s webcam overlay, resize it via corner drag, and hit save in the top right or your changes won’t persist. The two failure points, unsaved web-editor changes and a stale browser-source cache (fixable by double-clicking the foreground browser source, scrolling down, and hitting refresh cache of current page), are what separate “I downloaded an overlay” from “my stream shows the overlay.” A JSON scene collection file is OBS’s native way to install a whole pre-built scene set in one go, which is why this path costs nothing but attention.
OWN3D Pro offers three free designs with socials for three platforms. The tutorial I worked from picked the red Pure series design with Instagram and TikTok socials; treat that as an example of the choice, not a recommendation. At download you get a JSON scene collection file plus a transition file, and the download page shows a numeric transition point. Write it down. That detail bites later.
The scenes arrive pre-built, and the completeness is the value: an animated starting-soon screen, an ending scene, a BRB screen, overlay one (gameplay plus webcam), and a talking scene (webcam plus display capture). From there it’s source wiring:
- Webcam: plus button, video capture device, add existing, select the webcam you added. Four clicks, done.
- Game capture: set it to capture any full-screen application (the dual-monitor move) or capture a specific window. The tidy option has a maintenance cost, because the specific window must be re-pointed every time you switch games. The tutorial’s example was re-pointing it at Hollow Knight. In the talking scene, add game capture as existing and drag it between the foreground and background layers for the overlay look. It’s a satisfying little bit of OBS layer-sandwich wizardry.
- Stinger transition: added via scene transitions, browse for the downloaded video file, and set the transition point to 1,000, which pairs with the number you wrote down at download.
The two ways the import breaks
A common failure pattern when importing template packages: changes made in the OWN3D web editor don’t persist unless you hit save in the top right. If OBS still shows the old overlay after saving, double-click the foreground browser source, scroll down, and hit “refresh cache of current page.” The fix is the cache refresh, not reinstalling the package.
The tutorial I worked from sells the professional look as free, and it slots in sponsored-style hardware placements along the way, so read those as ads, not endorsements. No source covers end-to-end testing of the finished package in a private broadcast, so testing advice here stays generic. Run a private test stream and look at everything before going live.
Add alerts and dynamic overlays with StreamElements
StreamElements is the reactive half of your package, and it’s free: alerts that fire on donations, chat, and new followers, delivered into OBS via a browser-source URL. That delivery mechanism is exactly why it costs nothing.
First, the layer boundary, because it prevents wrong purchases. Static AI-generated art and live-reactive overlays are two different package layers, and no AI image tool can produce the reactive half. StreamElements builds overlays that respond to donations, chat interactions, and new followers, with an Activity Feed showing live follower, subscriber, and donation updates. This is the stream-feels-alive part, the bit where a donation makes the screen erupt, and it’s fun to wire up.
The editor requires no coding skills, with editable templates for donation notifications, chat boxes, and alerts, plus CSS customization if you want to touch it. StreamElements exports overlays as browser-source URLs rather than files, which is what makes them update in real time across platforms without separate designs per service. Hook it into OBS Studio via the URL or the free SE.Live plugin; it’s also compatible with XSplit and Streamlabs OBS. And there’s no premium tier lurking behind any of it, sponsorships foot the bill.
The cost story is unusual: core features, including overlays, alerts, chatbot tools, SE.Tips tipping, templates, widgets, and cloud storage, are free, funded by sponsorships. SE.Live also undercuts multistreaming services that typically charge $19-27/month. The tradeoff: you accept browser-source delivery instead of file exports, and that’s the deal.
On the StreamElements versus Streamlabs question, the decisive difference is that StreamElements is free with browser-source export and real-time multi-platform sync, while Streamlabs is an alternative OBS distribution the overlays remain compatible with. The same checklist works for both: free core, browser-source delivery, and multi-platform sync on one side; a full streaming suite distribution on the other. No source covers building Twitch panels with AI, so panels stay out of this build.
Clean up camera and audio: NVIDIA Broadcast vs the free OBS plugin
The decision tree is short: if you have an RTX 2060 or better on Windows, NVIDIA Broadcast is your cleanup layer. Everyone else gets the free open-source OBS background removal plugin for segmentation only, plus physical fixes. And the physical fixes sometimes win anyway. The GPU decides before the features do.
NVIDIA Broadcast removes, blurs, or replaces the background with no green screen required, relights your face, and keeps the subject centered, and strips keyboard noise and room echo. The audio half is the part that saves streams. It runs as a virtual camera and microphone that OBS, Streamlabs, and video calls pick up, no extra setup, and that virtual-device plumbing is the elegant part. Catches in the same breath: Windows only, RTX 2060 minimum.
The fallback: the open-source OBS background removal plugin covers the segmentation part on Windows, macOS, and Linux. Without an RTX card, a microphone arm and a blanket hung behind the camera still beat any filter.
The source tutorial also features the Insta360 Link 2 (gimbal tracking) and Link 2C (AI auto-framing), both 4K at 30fps or 1080p at 60fps with a 1/2-inch sensor, plus the Rode PodMic USB, which can route from computer to phone for recording shorts. These read as sponsored-style placements within that tutorial, not independent endorsements.
Captions and chat moderation: the free platform-native layer
The strongest AI in your chat is the one you didn’t install: YouTube’s and Twitch’s built-in captions and moderation are free, and most add-ons sold as AI are Whisper-based caption overlays or rule-engine chat bots.
Captions: YouTube live streams get automatic captions free, and the constraints are plain. English only. Normal latency only, meaning ultra-low and low latency modes, including most mobile broadcasts, get none. It’s a per-stream toggle, not per-channel, the kind of gotcha you hit once and never forget.
The rollout reached channels above 1,000 subscribers first. Enable path: go live, choose Stream, turn on closed captions, pick automatic captions as the source, set English. Live captions vanish when the broadcast ends, and YouTube generates a fresh set for the recording that can differ from what viewers saw. No published accuracy figure exists for either. The recorded track is the one that stays searchable, which is the practical payoff. Beyond English, captions arrive either embedded in the video signal or delivered over HTTP by overlay services running speech-to-text, most often Whisper, whose original release transcribes files rather than live audio, which is why the streaming versions are community forks or newer real-time models.
Moderation: Twitch AutoMod withholds risky messages until a moderator approves or denies, sorted into categories and tuned by level, and it never bans anyone by itself. The human stays in the loop, and that’s the sane design. YouTube’s hold-for-review does the same at Basic or Strict thresholds, with a blocked-words list (blunt but useful) and restrictions on who can type. Both free.
The bot reality: Nightbot, StreamElements Chatbot, Fossabot, and Moobot are rule engines. They filter links, caps, symbols, and blocked terms by rules, not models. Fast, predictable, blind to intent. No mainstream free bot ships conversational AI in 2026, so “AI-powered” bot marketing is a claim to test on your own chat, not a feature to buy. Purpose-built context-aware moderation bots exist mainly on Twitch and Kick.
Turn recordings into clips: Opus Clip, Eklipse, and Gling
Clipping is where AI saves the most hours, because picking the loud minute out of a quiet hour is pattern recognition rather than judgment. Pick the tool that matches your content type, and budget by source minutes fed in, not clips produced. Gling is for talking-head recordings, and it works as an editor, not a clipper: silences, filler words, and bad gets get stripped out via a text-based editor, and editing by editing the transcript is the delightful part. Free tier processes 1 hour of media per month with a watermarked export; paid plans start at $20/month.
Eklipse is built for gaming streams, reads VODs from Twitch, Kick, YouTube, and Facebook, detects gameplay events, reactions, and audience spikes (the pattern recognition is cool), and exports vertical clips up to 1440p. Free account, but AI clip generation sits on paid plans. Opus Clip is the long-mixed-content pick: feed it any long recording and it adds captions, reframes to 9:16, and scores each clip on likely performance. Treat the score as a hint, not a verdict. It bills 1 credit per minute of uploaded video, with 60 free credits per month (watermarked) or $15/month for 150.
A six-hour stream costs the same whether the AI finds three clips or thirty, so budget by source minutes, not output.
| Tool | Best for | Free tier | Paid |
|---|---|---|---|
| Gling | Talking-head recordings (edits rather than clips) | Yes (1 hour of media/month, watermarked) | From $20/month |
| Eklipse | Gameplay streams | Partial (free account; AI clip generation is paid) | Paid plans; clips up to 1440p |
| Opus Clip | Long mixed content | Yes (60 credits/month, watermarked) | $15/month for 150 credits |
Keep the channel live 24/7 with pre-recorded video
Gyre streams pre-recorded video as a 24/7 live broadcast on YouTube, Twitch, and Kick, running from its own servers through the same RTMP pipeline a camera would use. It’s a 7-day trial at gyre.pro, paid after. The workflow inverts: all AI work happens before airtime, so caption and clean the files in advance, and clipped Opus Clip or Eklipse output becomes the loop’s fuel. Unattended hours demand stricter chat filters than a live session, because nobody is moderating at 4 a.m.
Where creator AI is heading: the broadcast-grade tier
The capabilities today’s creator tools lack already exist as NIM microservices in broadcast pipelines, so the current limits are a lag, not a ceiling. The venue for seeing this tier up close is IBC 2026, running September 11-14 in Amsterdam, with more than 44,000 attendees from 170+ countries, 1,300+ exhibitions across 14+ halls and outdoor spaces, and over 600 speakers. NVIDIA expanded its AI for Media collection at IBC 2026 (September 11-14, Amsterdam): Video Frame Generation (2x/4x frame rates; Ross Video’s Rio Replay uses it for 6x slow-motion, with 8x interpolation in development), Video Super Resolution with 10-bit support, and TrueHDR up to roughly 2,000 nits, combinable in one pipeline, plus Studio Voice microphone profiles and LipSync/Active Speaker Detection powering NDI’s real-time translation and dubbing. On verification, the Synthetic Video Detector (99.3% accuracy on text-to-video, 97.7% on image-to-video, announced at SIGGRAPH) is being integrated by Dalet, TwelveLabs, and Wowza.
Partner integrations show where the broadcast-grade tier is heading: Machina Sports is integrating Sports Intelligence Playbooks with its sports-native data, evaluation, and agent infrastructure. And if you want to see the media pipeline side in person, NVIDIA demos Holoscan for Media at IBC in the EBU Stand 10. D21.
Budget the stack, avoid drift, and know what AI won’t fix
A complete working stack costs zero at the platform layers and at most one paid subscription per job. The free layers cover moderation, captions, alerts, and the OBS package; the paid tier runs roughly $9-20/month per tool depending on which jobs you have. Pricing in this category changes fast, and free tiers are the first thing cut.
| Layer | Tool | Cost |
|---|---|---|
| Moderation | Twitch AutoMod, YouTube hold-for-review | Free |
| Captions | YouTube automatic live captions | Free |
| Alerts and overlays | StreamElements core | Free |
| OBS package | OWN3D Pro free designs | Free |
| Webcam cleanup | OBS background removal plugin | Free |
| Clipping | Opus Clip | $15/month (150 credits) |
| Talking-head editing | Gling | From $20/month |
| Design assets | Canva Pro | $12.99/month |
| Overlay art | Deep-Image AI Bronze | $9/month |
| 24/7 broadcasting | Gyre | Paid after 7-day trial |
The maintenance rules: keep one tool per job. Running two clipping services and two bots produces settings that drift apart within a month, and nobody remembers which tool made which decision. Re-check the tool shortlist once a year, and test a clipping tool on one full session before paying for it.
AI removes repetitive work: the captioning, the camera cleanup, the clipping. It doesn’t decide what the stream is about, choose a format, or fix a show nobody watches. Hours saved are not viewers gained.
Frequently Asked Questions
How to create a custom stream overlay?
Describe what you want to a text-to-image tool like Deep-Image AI, refine it with inpainting, and import the file into OBS yourself. A clever trick is image-to-image via edge detection: upload a layout template marking where your camera, screen share, and chat go, and the AI reimagines the art while preserving the structure. No design experience required.
How to build a stream package with AI video free
The free path works: OWN3D Pro’s free scene collection imports into OBS as a JSON file plus a stinger transition, StreamElements covers alerts and reactive overlays at zero cost, and Twitch AutoMod plus YouTube’s built-in captions beat most paid add-ons. The free OBS background removal plugin handles webcam segmentation. Zero dollars covers moderation, captions, alerts, and the OBS package.
