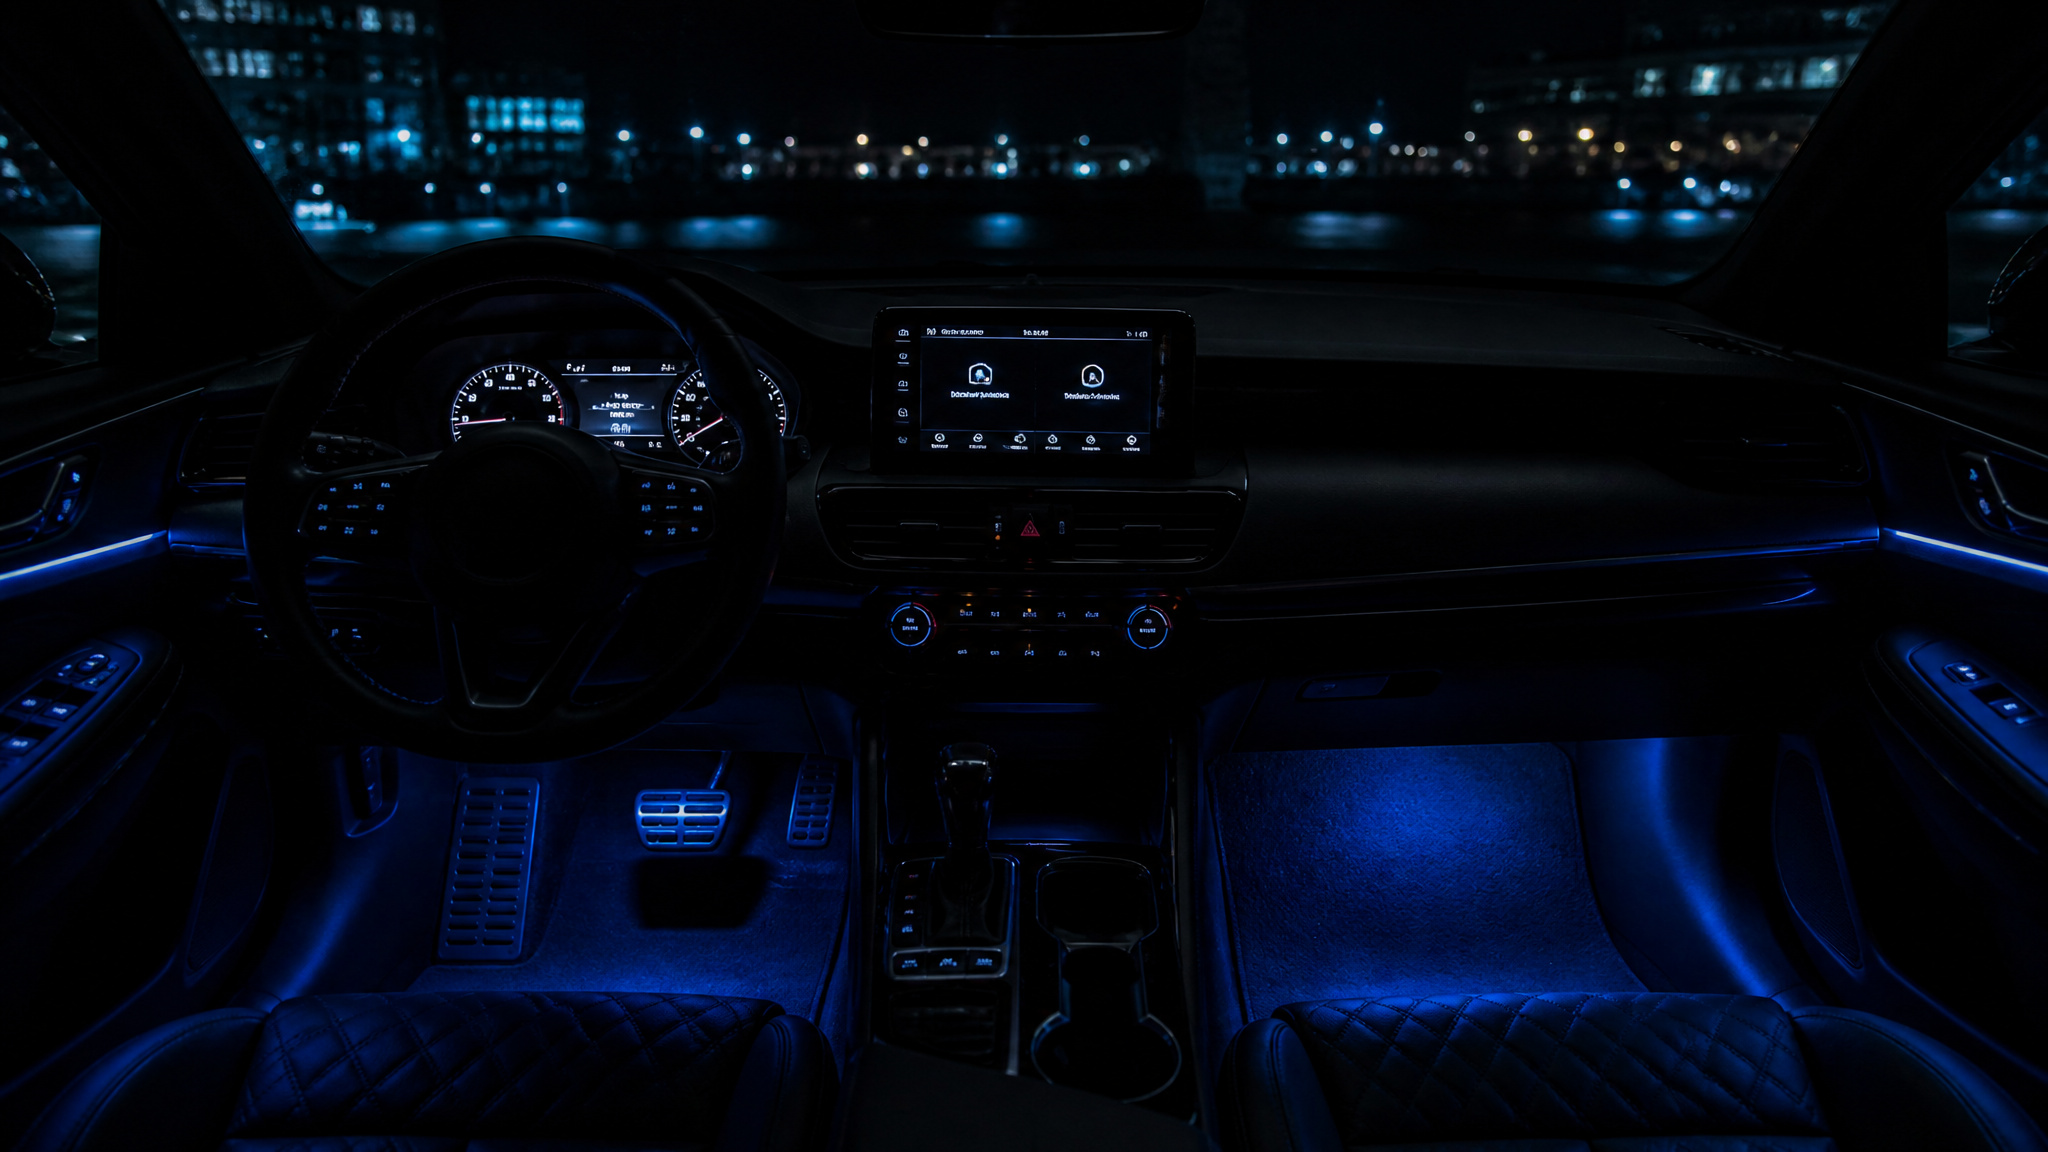
There’s a gap between what looks amazing in a forum post and what makes your daily driver better. I’ve spent countless late nights scrolling through build threads and comment sections, watching people either nail a $20 fix that transforms the driving experience or confidently bolt on something that’ll hurt them in a crash. That gap is what this guide is about.
Some interior mods are excellent — LED footwell lighting, vinyl wraps, sound deadening that follows the data. Others are dangerously counterproductive on the street: unpadded roll cages, 4-point harnesses, race seats with wings so high you can’t see cross-traffic. The spectrum runs from $10 LEDs to $300+ ESP32 builds — knowing which side of the line each mod falls on is the whole game.
I’m going to walk through the projects that deliver improvement, the ones to avoid (with the physics of why), model-specific fixes you won’t find in a product catalog, clever tech integration for classic cars, and the installation mistakes that destroy perfectly good parts. Let’s start with the easy wins.
Key Takeaways
Sound deadening has concrete thresholds: 25% sheetmetal coverage for a noticeable effect, 60% to remove 95% of targeted noise, with diminishing returns past that – don’t waste time or money going beyond 60%.
For 2005+ Toyota Tacoma owners, swapping in Scion xB headrests ($19.99 on eBay) resolved chronic lower back pain that set in after a couple of hours of driving – cheaper and more effective than $99.99 seat risers.
Track-focused mods (unpadded roll cages, 4-point harnesses, race seats with high wings) are dangerous on the street: they can cause broken bones, sternum fractures, and massive blind spots that stock parts are specifically designed to prevent.
Table of Contents
Beginner-Friendly Weekend Projects
Let’s start with the mods that cost under $100, take an afternoon, and won’t make you hate yourself later.
Interior LED Lighting Kit
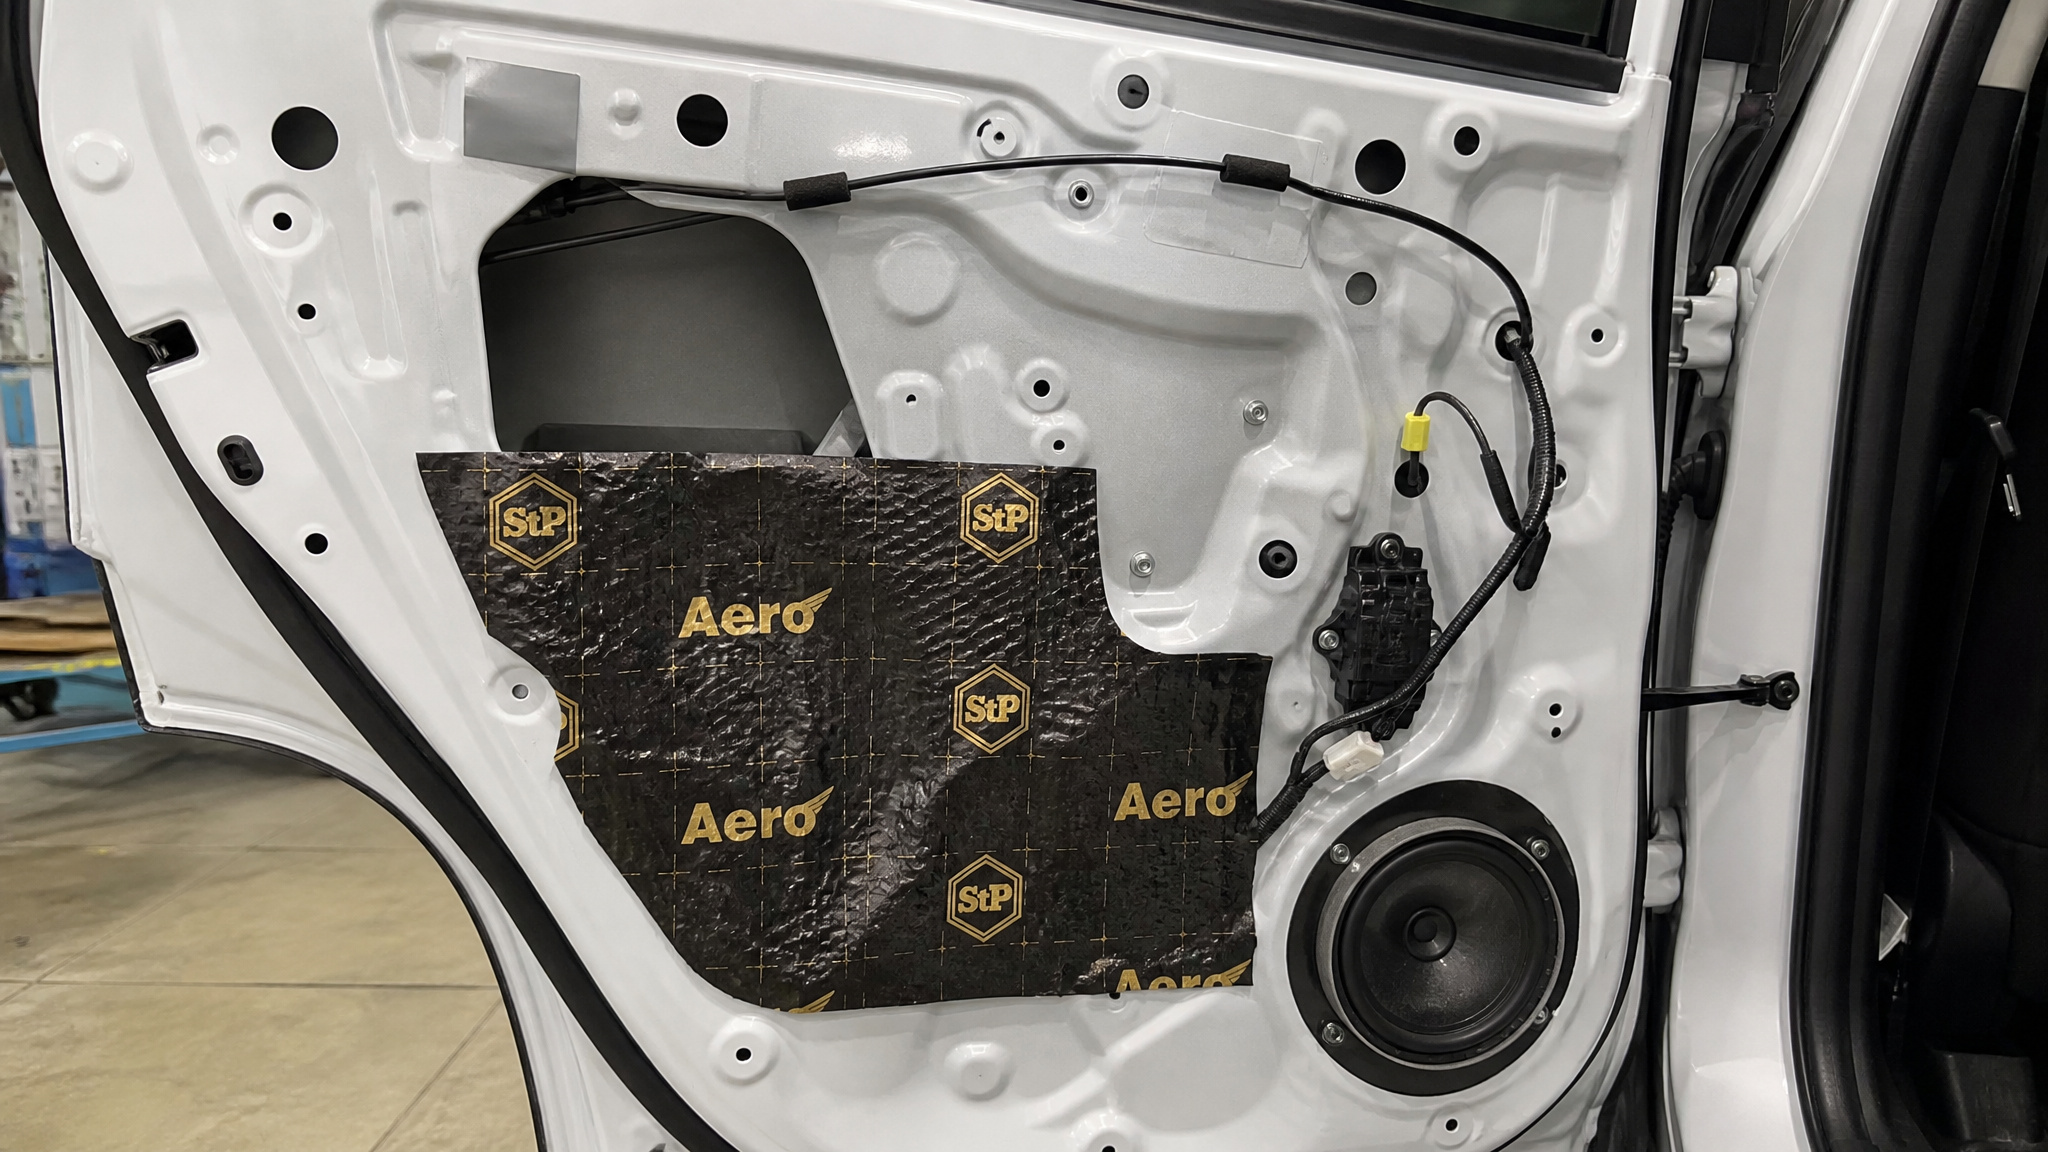
This is the $15 mod that makes your car feel $500 newer. LED strip kits are universal, affordable ($10–50), and come in many colors. Safe locations are footwells, under the steering wheel, and under the glove box. The critical rule: never put strips where they create glare or obstruct your view.
University of Michigan research found that even a standard map light can reduce driver visibility by up to 10%. That’s a concrete reason to keep LEDs low and indirect.
Vinyl Wrap
A $20 roll of vinyl and a $15 heat gun can transform any interior trim piece. The killer feature: you have a 24-hour repositioning window, so if you mess up the alignment, just peel it off and try again. You’ll need the heat gun and an Exacto knife, but the learning curve is shallow. Bonus: when you remove the wrap later, the factory paint underneath is still pristine.
Aftermarket Audio (Head Unit, Speakers, Amp)
This is one of the most impactful mods for daily driving. Even a $50 set of speakers is often an upgrade over factory paper cones, and today’s cheap head units come with Bluetooth built in — no more aux cords or FM transmitters. Use factory-wiring harness adapters to avoid cutting into the car’s wiring, and keep the process reversible.
Steering Wheel Upgrade
Cost runs $100 to thousands depending on materials and electronics. Special tools like a steering wheel puller are borrowable from chain auto parts stores, so don’t buy one. Confirm airbag compatibility before buying anything. A non-functional airbag is worse than no airbag at all.
Starter Button
A momentary button costs about $15; full keyless entry functionality runs closer to $500. Marty and Moog over at Mighty Car Mods have a great YouTube tutorial on installation. Keep the original key cylinder functional as a backup — you don’t want to be stranded if the button fails.
Re-Upholster and Trim
You can refresh plastic trim pieces by cleaning, sanding, taping off, and spray painting. Carpet kits are available pre-cut by model or as raw material. Even dropping seats at a shop counts as DIY if you did the research and found the shop. The definition is generous because the outcome matters more than the method.
Shifter Knob Upgrade
A $30 weighted knob changes the feel; an $80 short shift kit changes the driving character. Options include skulls, pistol grips, beer taps, or simple black leather — pick your personality. The vintage Mustang with a Hurst shifter is the classic example. Note that some models need a reverse lockout adapter, so check compatibility before ordering.
Comfort & Noise-Reduction Upgrades
The cabin is where you spend every minute of driving, and small changes here compound into a better experience.
Sound Deadening
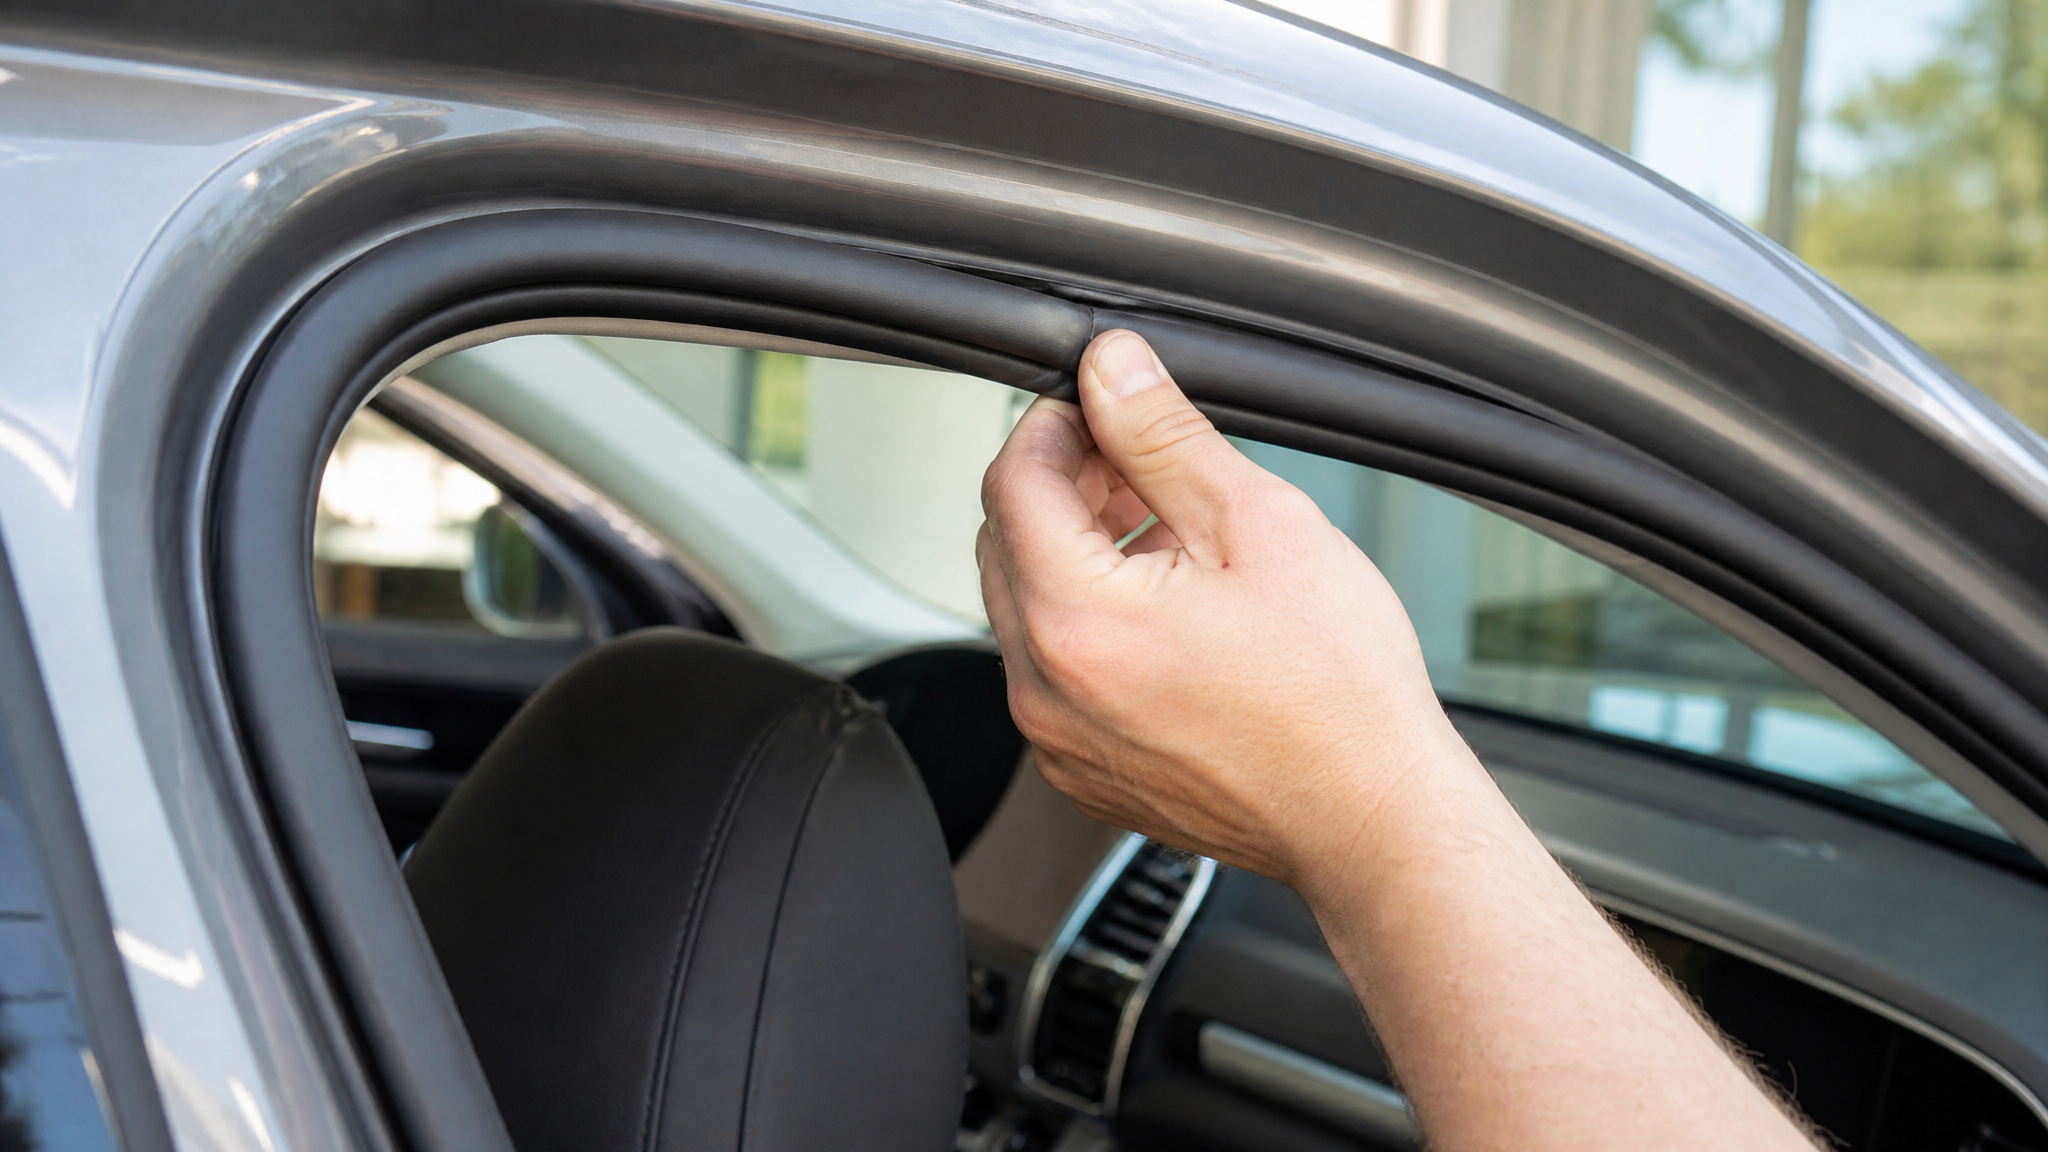
The specific numbers from Hagerty’s Kyle Smith article change everything. You don’t need to cover every square inch of sheetmetal. The thresholds are precise: 25% coverage for a noticeable effect, 60% coverage to remove 95% of targeted noise, and diminishing returns beyond that. Don’t exceed 60% — you’re just adding weight and expense.
Product choice matters. Stick-on options like Dynamat and Kilmat are easy to install but have limits. Lizard Skin spray-on products claim greater temperature and sound reduction than any stick-on product (from a user comment on Hagerty — not a lab test, but worth considering). Apply to the floor, interior sides, roof, trunk, and inner fender panels.
Survey your car for drain holes before applying anything. Covering drain holes traps water and causes rust, which defeats the whole point.
Field note: 25% coverage delivers noticeable results; 60% kills 95% of targeted noise. Anything beyond that is wasted weight and money.
Weatherstripping Replacement
New weatherstripping improves door closure feel, window seals, trunk weathertightness, and cuts rattles. A 1980 Corvette kit lasted almost 15 years, so this is a set-it-and-forget-it fix. Suppliers: Steele Rubber Products for domestic cars, ReOriginals for Italian and French imports. A 1962 Rambler American and a 1997 Jaguar XK8 both benefit — the improvement is universal.
Steering Wheel Reupholstery vs. Replacement
I’ve seen a Ram truck owner spend $300 on a Redline Goods rewrap that took about three hours. The result was cheaper than a quality aftermarket wheel, and it retained factory airbag compatibility — a big deal for safety and resale. Special tools are borrowable if you go the replacement route, but rewrapping keeps the original structure.
All-Weather Floor Mats (Weather Tech)
These are more expensive than basic rubber mats, but they last longer and protect carpet condition for resale. Cleaning is dead simple: spray with tire cleaner, hose off, dry. That’s it.
Tire and Wheel Comfort Upgrades
Switching from 18-inch wheels with rubber-band tires to 16-inch wheels with taller sidewalls improves ride quality, cuts road noise, and reduces flat risk. It’s quieter and more comfortable, though you lose some ultimate handling precision. Dedicated snow tires on separate wheels make the swap a 10-minute garage job. The RSX-S with Blizzaks on stock rims and Pilot Super Sports on aftermarket wheels is a perfect real-world example.
Mods to Avoid: Safety & Practicality Risks
These mods look appealing in photos and feel like race car cred, but on the street they’re dangerous. The mechanisms are specific, not vague warnings.
Unpadded Roll Bars and Roll Cages
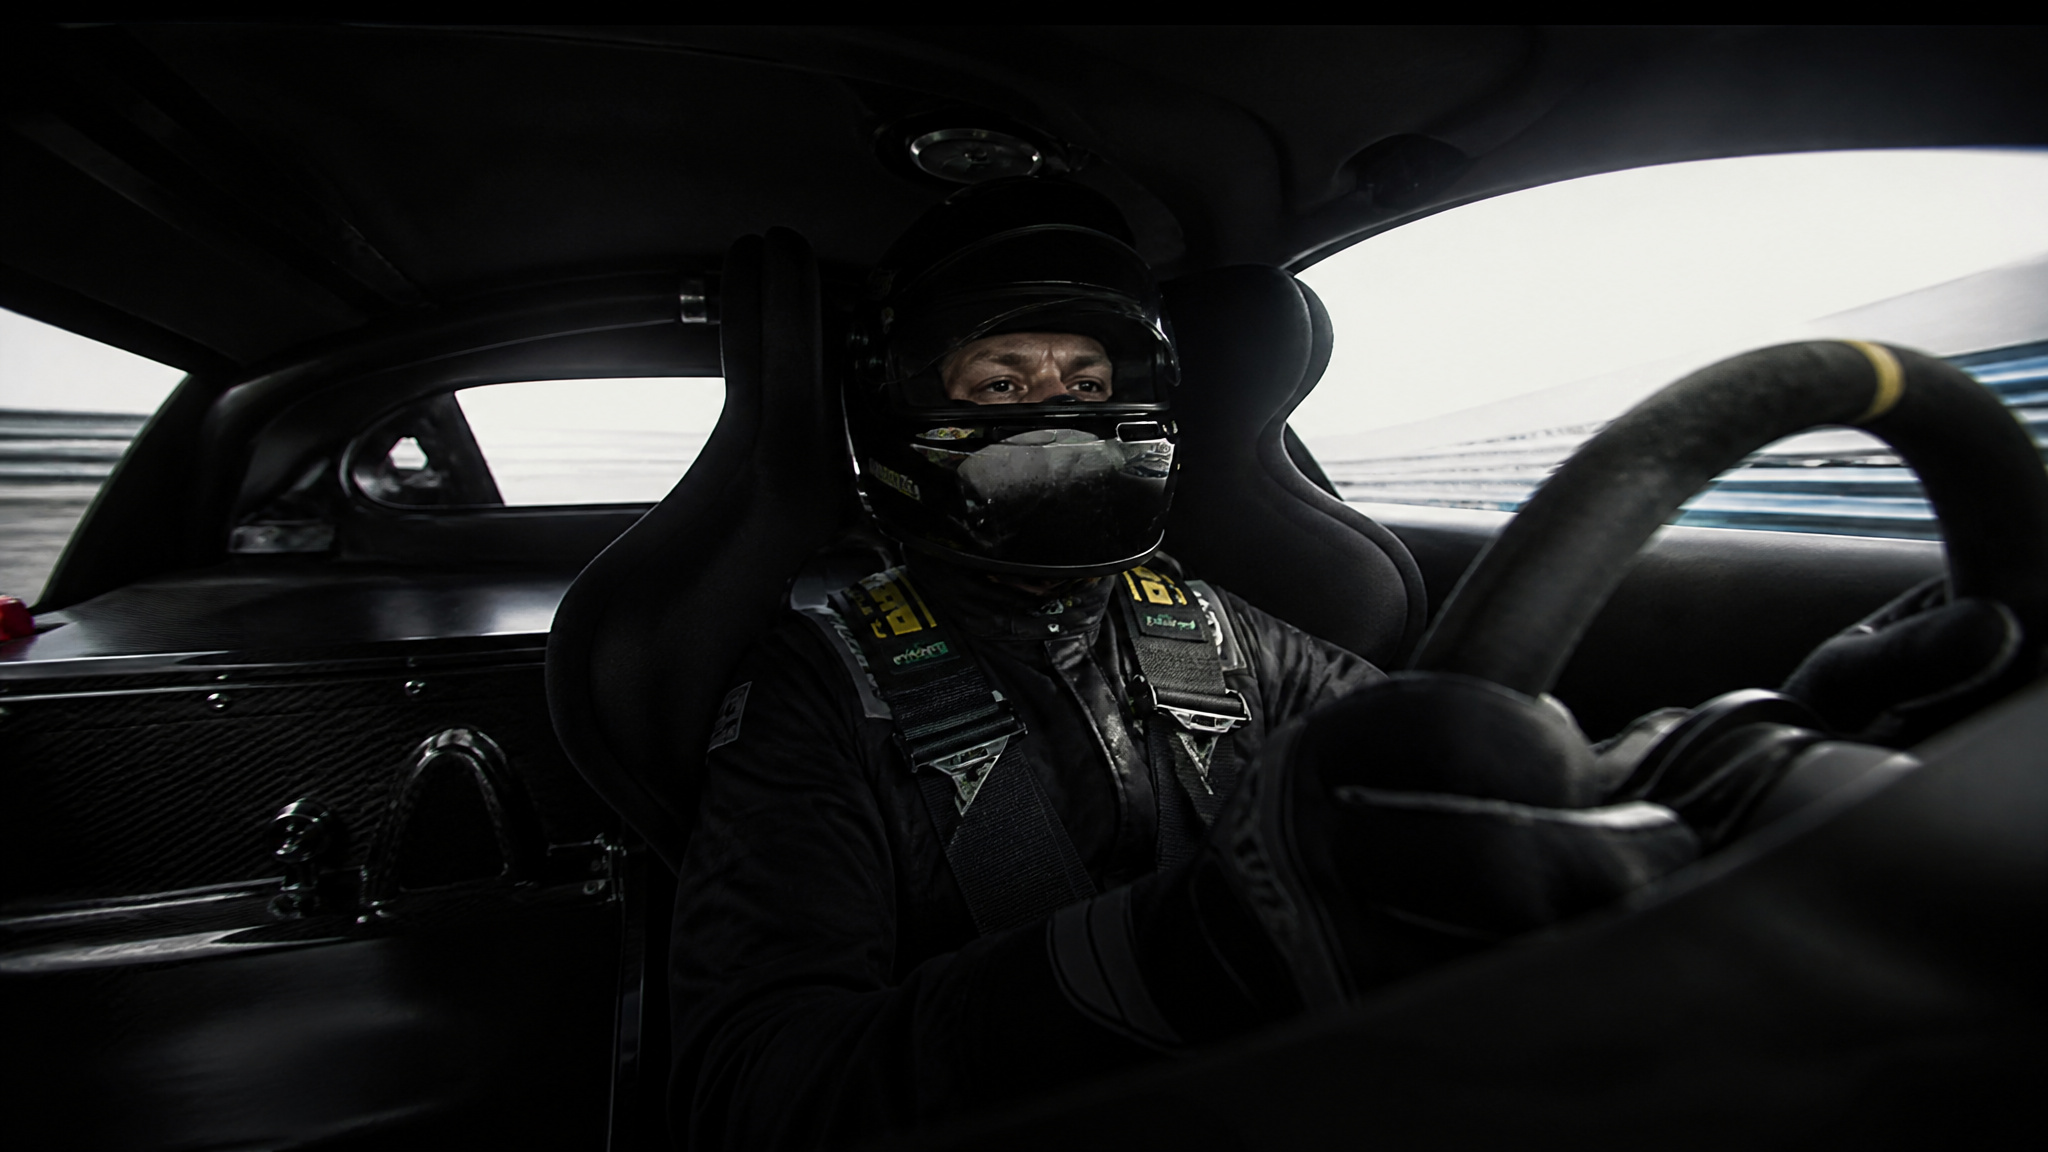
On the street, with a 3-point seatbelt and no helmet, you’re flailing inside a jungle gym during an earthquake. Solid steel tubing near your skull and limbs turns a survivable crash into a broken-bones-and-head-injury situation. These belong on track cars with full harnesses and helmets — never in a daily driver.
4-Point Harnesses
They restrict movement so much that checking cross-traffic becomes nearly impossible. But harness belts don’t have the give of a 3-point belt. In a crash, a loose 4-point harness can cause a broken sternum — an injury the stock belt would have prevented. They’re designed for use with a HANS device on track, not for street driving.
Full Race Seats
High side wings reduce lateral visibility to about 90 degrees on either side, making blind spot checks almost impossible. They’re also a pain to get in and out of — race seats aren’t designed for frequent entry and exit. On the street, this is a safety downgrade.
Stick-On Carbon Fiber Panels
These add weight without performance benefit. The car is lighter without them. If you want the look, fine, but don’t pretend it’s a performance mod.
Multiple LCD Screens
A single screen for navigation or audio is useful. Five or more screens — in headrests, center stack, gauge cluster, sun visors, and rear seats, block climate controls and create visual distractions. One is helpful; a dozen is a hazard.
DIY Interior Paint
Bright blue or lime green interior paint might look fun for a weekend, but it lowers resale value. The source comparison — “bumper cars at a state fair”, is accurate. Vinyl wraps achieve a similar effect without the permanent damage.
Model-Specific Fixes & Upgrades
This knowledge comes from digging through forum comment threads and community discussions.
Toyota Tacoma Headrest Swap (Scion xB)
The seating position in any 2005+ Tacoma causes lower back pain after a couple of hours. The fix isn’t expensive seat risers or aftermarket seats — it’s $19.99 plus shipping for Scion xB headrests on eBay. The swap resolved the pain. The $99.99 seat risers that some people try are less effective and more expensive.
80s Mercedes Monovalve Rebuild vs. Replacement
The Monovalve is a notorious HVAC failure point on these cars. You have two options: a $14 rebuild kit that’s a temporary fix, or a $280 aftermarket drop-in replacement that works better and more reliably than the factory unit. The user who documented this chose the $280 option for a permanent solution — the rebuild kit is for delaying the inevitable.
Gas Pedal Spacers for Heel-Toe Downshifting
I’ve installed these on five cars over the years: NC Miata, ND Miata, BRZ, Focus ST, and Fiesta ST. The spacers cost $30–60 and take under an hour to install. They make heel-toe downshifting easier, especially in cars where the stock pedal placement is awkward.
Replacing Aging Sensors (O2, TOS)
Older cars with worn oxygen sensors or transmission output speed sensors lose performance gradually. Replacing them can feel like a tune-up. An 1985 Pontiac owner reported improvement after swapping sensors — and at $50–100 each, it’s often more effective than bolt-on mods for cars in this era. For example, a faulty O2 sensor can cause poor fuel economy and rough idle, while a failing TOS sensor can lead to erratic shifting or speedometer issues.
Tech Integration for Classic & Vintage Cars
Two approaches exist, both proven in the community.
Retro-Sound Head Units
Retro Manufacturing’s Retro-Sound line is the cleanest solution for classic two-shaft openings. They fit the original hole, no dash modification needed, and they pack Bluetooth, SiriusXM, and USB connectivity behind a vintage-looking face. It’s modern tech in a period-correct shell.
Hidden Bluetooth Speakers and Modern Radios Behind Stock Grilles
A rechargeable Bluetooth speaker placed in the glove box works well. A 1960 Karmann Ghia and a Turbo Corvair both used this setup — at volume 8 on the speaker, it’s sufficient at highway speeds. No dash modification, no permanent changes. As one Jalopnik QOTD commenter put it, this approach offers a modern audio solution without sacrificing the vintage aesthetic.
The other approach: hide a modern radio behind the stock grille or under a seat. A 1969 Firebird build had an in-dash stereo, subwoofer under one seat, amplifier under the other, and two 6×9 speakers in boxes on the back seat — no cutting, everything hidden.
OEM+ CarPlay Retrofit (MIB1 to MIB2)
For modern VWs, converting a 2015 Golf Sportwagen TDI from MIB1 to MIB2 with CarPlay is a well-documented swap. Community member Chimuel provided the full parts list. The only visible connector was under the armrest — factory look, modern functionality.
Advanced & Aspirational Builds
This is the ceiling of what’s possible when you mix code, a microcontroller, and creative thinking.
Garage Tinkering’s Nissan 350Z
The build is a video-game-style menu system for the interior. An ESP32 development board runs the show, with a hidden screen in the sunglasses holder. Input comes over Bluetooth from a PlayStation controller. The output: real-time customization of the gauge cluster layout and LED lighting colors.
Every mod in the car has its own ESP32 board, all communicating over a secure private network. The project is still evolving — the screen may relocate to the center console, and the inspiration came from Need for Speed video game menus.
If you plan to bring a build like this to a show, handle the boring logistics early too, including registration, insurance requirements, and any car passes the organizer requires for vehicle access.
This isn’t a recommendation for most drivers. If you’ve wanted to reconfigure your gauges with a game controller mid-drive, this is the proof that it’s possible.
The OEM+ Approach: Smart Upgrades
OEM+ is the overlooked middle ground between stock and full aftermarket. Sajeev Mehta defined it neatly: using factory parts built for the model but not installed on that particular car at the factory.
What Is OEM+ and Why It Matters
The advantages are clear: factory fit, service manual support, and resale compatibility.
Real-World OEM+ Examples
The classic example: using a three-speed shifter on a four-speed transmission in a Chevrolet Corvair. It gave a short-throw feel with factory parts.
Another one: adding OEM cruise control to a manual Kia. The manufacturer pre-wired all trims identically, so it was a matter of installing switches in the steering wheel and a ribbon cable — no wire cutting, no aftermarket modules.
The Tacoma headrest swap from earlier is also OEM+ — it’s using a factory part from another model in the same platform.
Common Installation Mistakes & How to Avoid Them
Most DIY failures aren’t bad parts — they’re avoidable procedure errors.
Polyurethane Bushing Preload Destruction
A user’s friend upgraded suspension bushings, greased them with standard grease instead of poly-specific grease, and tightened them while the car was on jackstands with the suspension unloaded. When the car was lowered to the ground, the bushings twisted under the preload and were destroyed almost immediately. Correct process: use poly-specific grease, and tighten the bolts with the suspension at ride height (car on the ground on ramps or level surface).
Sound Deadening Coverage and Drain Holes
The coverage thresholds again: 25% for noticeable, 60% for 95%, diminishing returns past that. But the pre-install step: survey your car for drain holes before applying anything. Covering them traps moisture and leads to rust that kills the point of the mod.
Wiring Mistakes in LED and Audio Installs
Shorts, battery drain, and fire risks are real. Use a multimeter to check for parasitic draw — a 0.05 amp drain can kill a battery overnight. Proper fuse selection and wire gauge aren’t optional.
Over-Tightening Trim Fasteners
Cracked plastic panels from over-enthusiastic tightening is a common mistake I see in forum threads. Hand-tighten only, feel for the increase in resistance, and know the difference between “tight” and “stripped.”
Conclusion: The Spectrum from Safe to Aspirational
The best mods — LED footwell lighting, sound deadening at the right coverage threshold, model-specific headrest swaps, OEM+ factory upgrades, sit on the improvement side. The dangerous ones, unpadded cages, 4-point harnesses, race seats on the street, stick-on carbon fiber that adds weight — sit on the compromise side.
Start with low-cost projects. Explore OEM+ as your skills grow.
Frequently Asked Questions
What are some cool interior mods I can do to my car?
LED footwell lighting, vinyl wraps for trim pieces, and a weighted shifter knob are all under $100 and take an afternoon. Sound deadening at 60% coverage removes 95% of targeted noise, and swapping in OEM+ parts from other models in the same platform gives factory fit without aftermarket headaches.
What are the easiest DIY car modifications?
The easiest are LED strip kits for footwells ($10–50), vinyl wrapping interior trim with a $20 roll and a heat gun, and swapping the shifter knob for a weighted one. All three are reversible, take under two hours, and require no special skills beyond basic hand tools.
How to mod the interior of a car?
Start with reversible projects: LED lighting in footwells, vinyl wrap on plastic trim, and a Bluetooth head unit using factory-wiring adapters. For comfort, apply sound deadening to 25–60% of sheetmetal coverage, and check for model-specific fixes like Scion xB headrests in a Toyota Tacoma that fix chronic back pain for $20.
Why are 4-point harnesses dangerous on the street?
They restrict movement so much that checking cross-traffic becomes nearly impossible, and in a crash a loose 4-point harness can cause a broken sternum because the belts lack the give of a 3-point belt. They’re designed for track use with a HANS device and helmet, not for daily driving.
How much sound deadening do I actually need?
25% sheetmetal coverage gives a noticeable effect, and 60% coverage removes 95% of targeted noise. Anything beyond 60% is wasted weight and money due to diminishing returns. Before applying anything, survey your car for drain holes — covering them traps moisture and causes rust.
