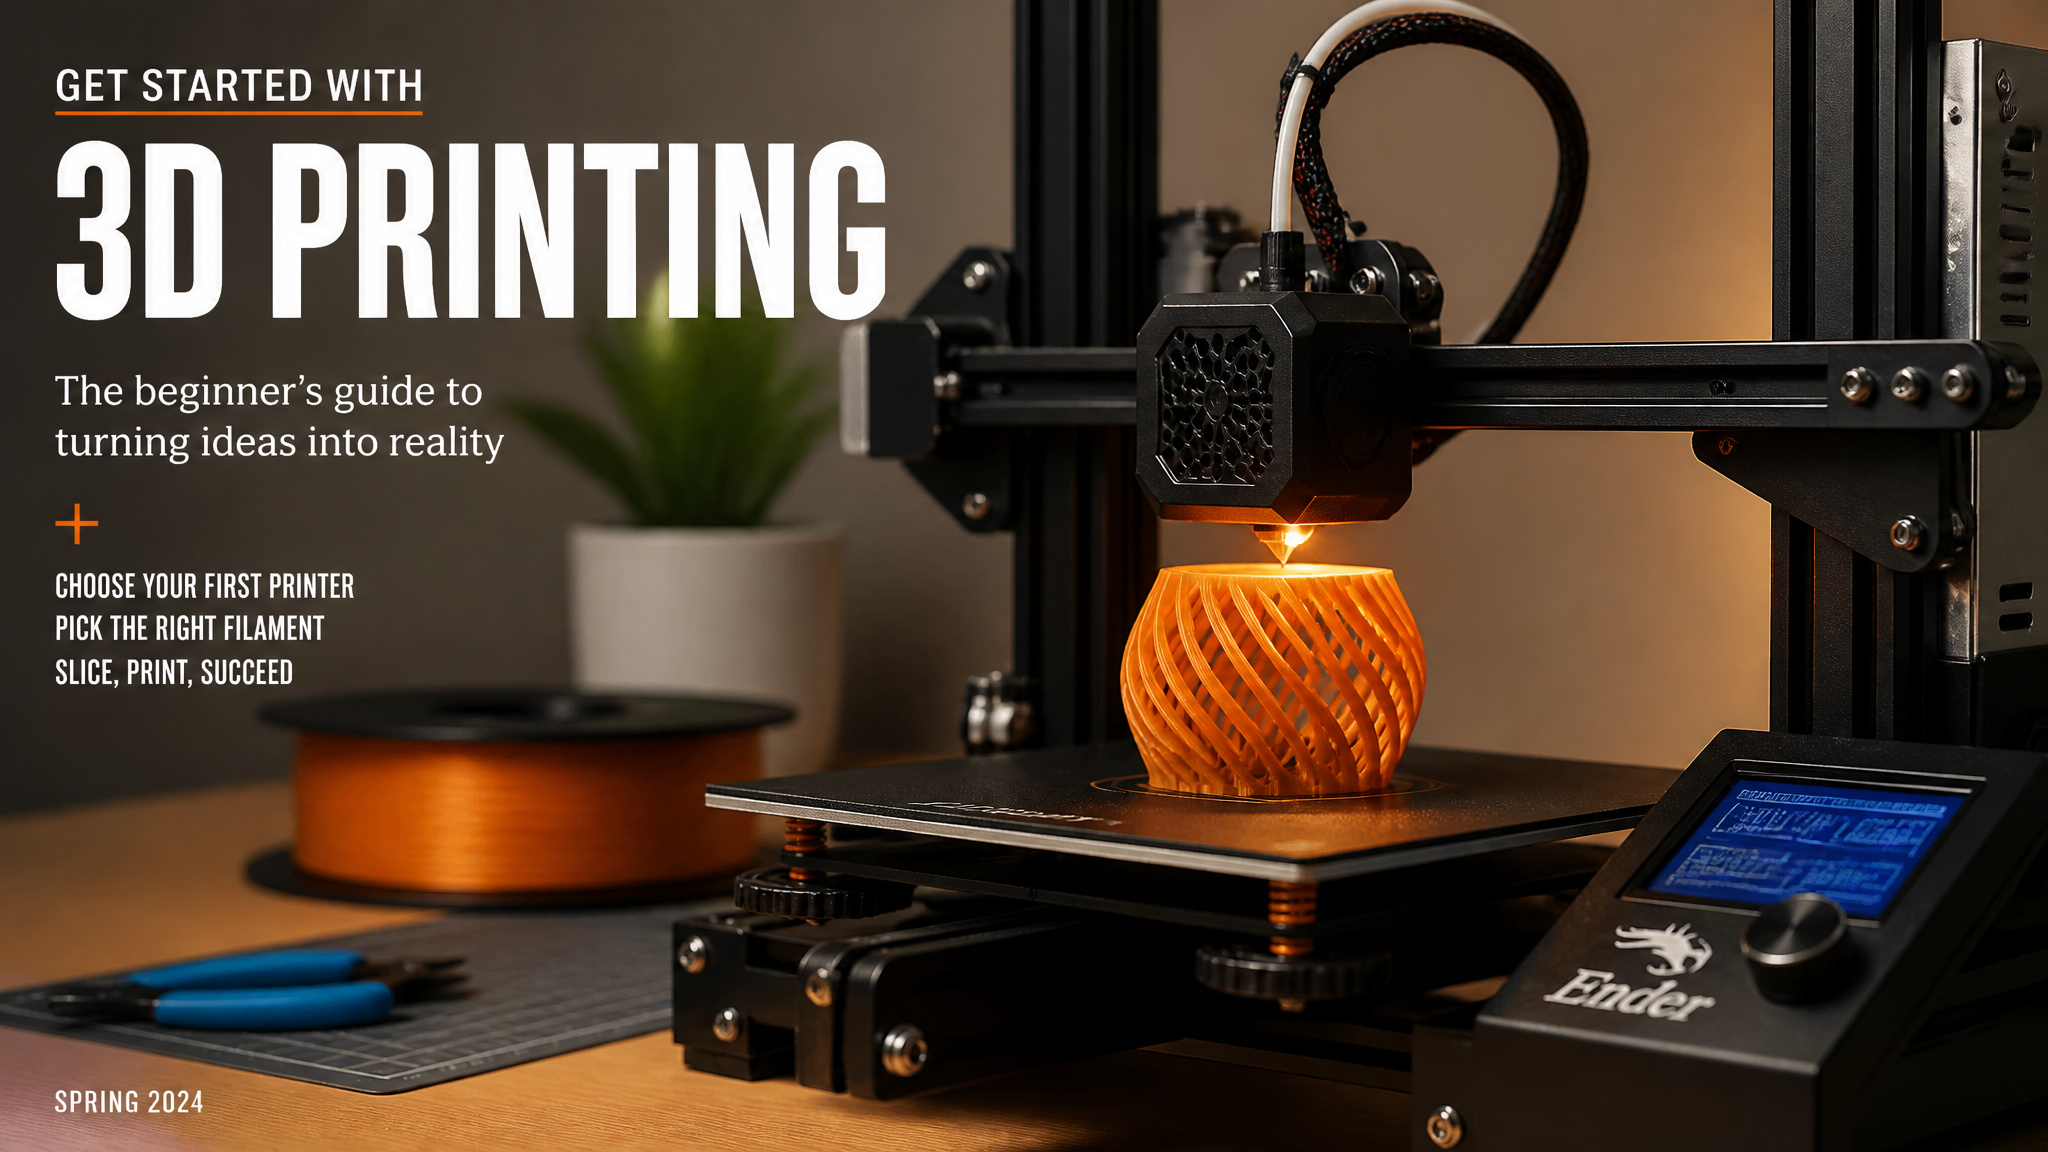
My first 3D print was a Baby Yoda cookie cutter. Not in some tinkerer’s basement workshop, either. It was at a kids’ maker space run by the Magic House children’s museum in St. Louis, which is a long way of saying you can try this hobby before you own a single piece of hardware. But most people start at home, and here’s the good news: it’s cheaper and easier than you probably think.
The whole hobby boils down to four things: access to a printer (buy or borrow, makerspace counts), a spool of filament, a free slicer program, and a free model to print. Half of that costs nothing.
Here’s the roadmap: pick a printer, set up a workspace, grab a small tool kit, choose your filament, and print something. Let’s go.
Key Takeaways
For beginners, the two default picks are the Creality Ender 3 (~$200, 220 x 220 x 250mm build volume, manual bed leveling) and the Bambu Lab A1 Mini Combo ($239, or $389 with the 4-color system, ~7-inch flexible plate, top-tier auto bed leveling), both recommended after Tom’s Hardware tested dozens of printers.
You’ll spend $200, $500 on an entry-level printer, $15-25 per kilogram of PLA, a few dollars a month on electricity, and $50, $100 a year on maintenance. Small prints cost cents in material.
Start with PLA at 190-220°C, print starter projects that take 30 minutes to two hours (calibration cubes, phone stands), and don’t touch non-PLA materials until you’ve landed 10-15 successful basic prints.
Table of Contents
Choose your first 3D printer: budget vs convenience
For beginners, the answer is almost always an FDM printer, and under $300 you have two great options: the Creality Ender 3 at around $200, or the Bambu Lab A1 Mini Combo at $239 ($389 if you want the 4-color system). Neither is objectively best. The question is how much fiddling you enjoy.
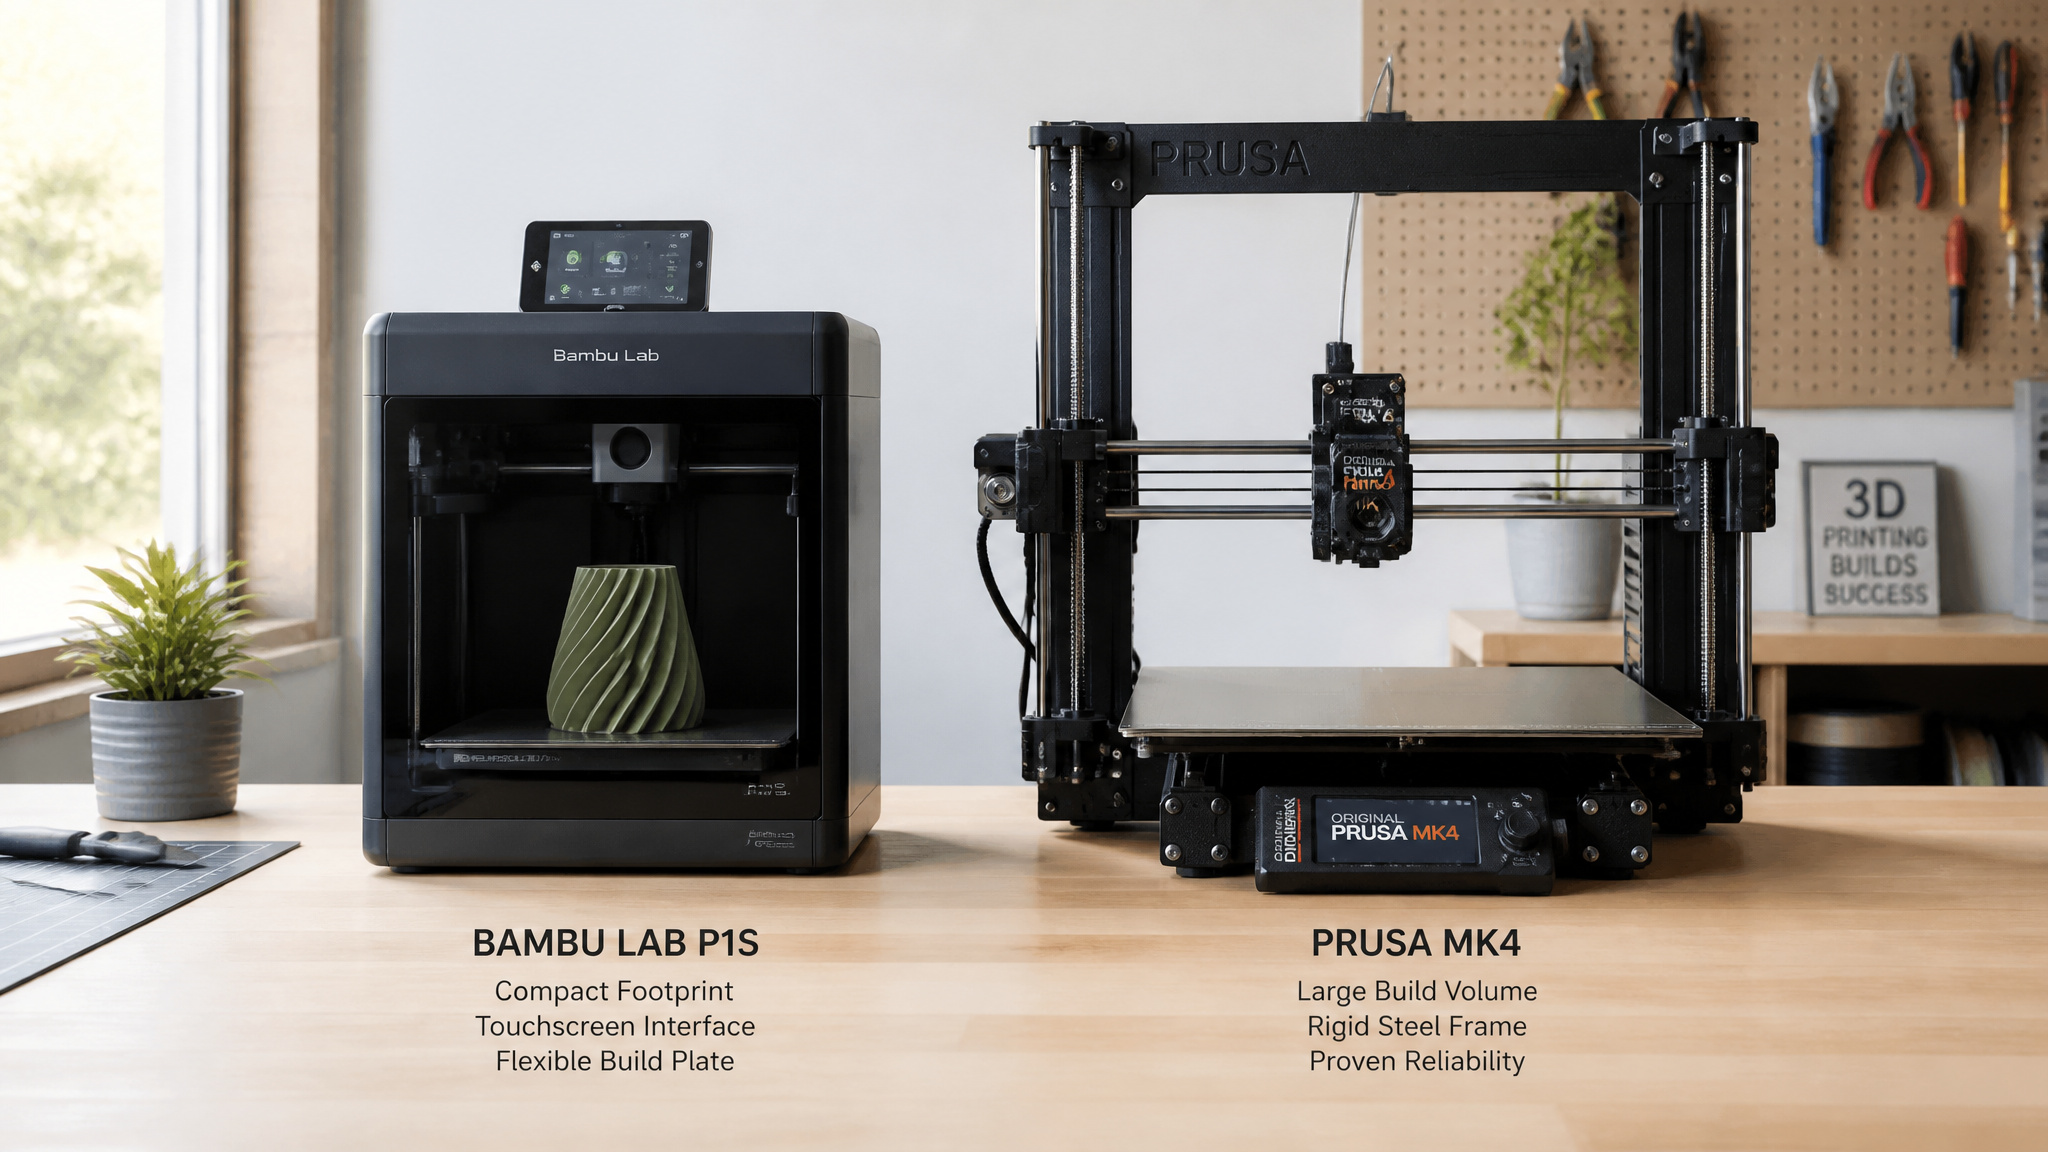
Quick translation: FDM stands for fused deposition modeling, which is a fancy name for a machine that melts plastic filament and lays it down layer by layer, like a precise hot glue gun with a grudge against gravity. It’s affordable, reliable, and the low-drama way to learn. That’s not the compromise pick, that’s the smart pick.
Now the tradeoff, which is basically the spine of this whole decision:
- Creality Ender 3 (~$200): The classic starter. 220 x 220 x 250mm build volume, which fits most things a beginner wants to make. The catch: manual bed leveling. You’ll do it, you’ll redo it, and eventually you’ll have opinions about it. What you buy is price and hands-on learning. If you’re the kind of person who wants to understand the machine, this is the one.
- Bambu Lab A1 Mini Combo ($239, or $389 with the 4-color system): The “I don’t want to fiddle” option. It’s a favorite after testing dozens of printers for Tom’s Hardware, and the headline feature is top-tier auto bed leveling, which removes the single most painful beginner chore from existence. The ~7-inch flexible build plate is fine for most prints you’ll actually want, and popping a finished print off a flexing plate is tiny-wizardry levels of satisfying every single time. The $150 delta over the Ender is the price of multi-color convenience and a shorter frustration curve.
The broader Bambu Lab family (X1, P1, A1 series) adds auto bed leveling and multi-color printing at higher cost, with the same trade: more money, less setup fiddling. And if you want a middle path, the Anycubic i3 Mega is a solid alternative. It comes partly assembled, so you lose less of a weekend to instructions, and it has a touchscreen, which makes the whole thing feel modern rather than lab equipment, and either way, you’ll want to stock up on 3D printing supplies before that first spool runs dry.
A pattern worth knowing before you buy: first-timers tend to either overspend on features before they know what matters, or underspend and then spend weeks fighting manual leveling. Avoid both by checking four things:
- Build volume: bigger isn’t better while you’re learning. Resist the “just in case” urge.
- Filament: stick with PLA to start. Trust me on this one.
- Assembly: pre-assembled saves time but costs more. You’re buying back hours.
- Popularity: popular models mean more forum threads, fixes, and mods when things go sideways. Your future self says thanks.
Entry-level printers run $200, $500 and are about microwave-sized, so nobody needs to clear out the garage.
Set up a safe 3D printing workspace
The whole point of workspace setup is that each rule protects something: your prints, your time, or your sanity.
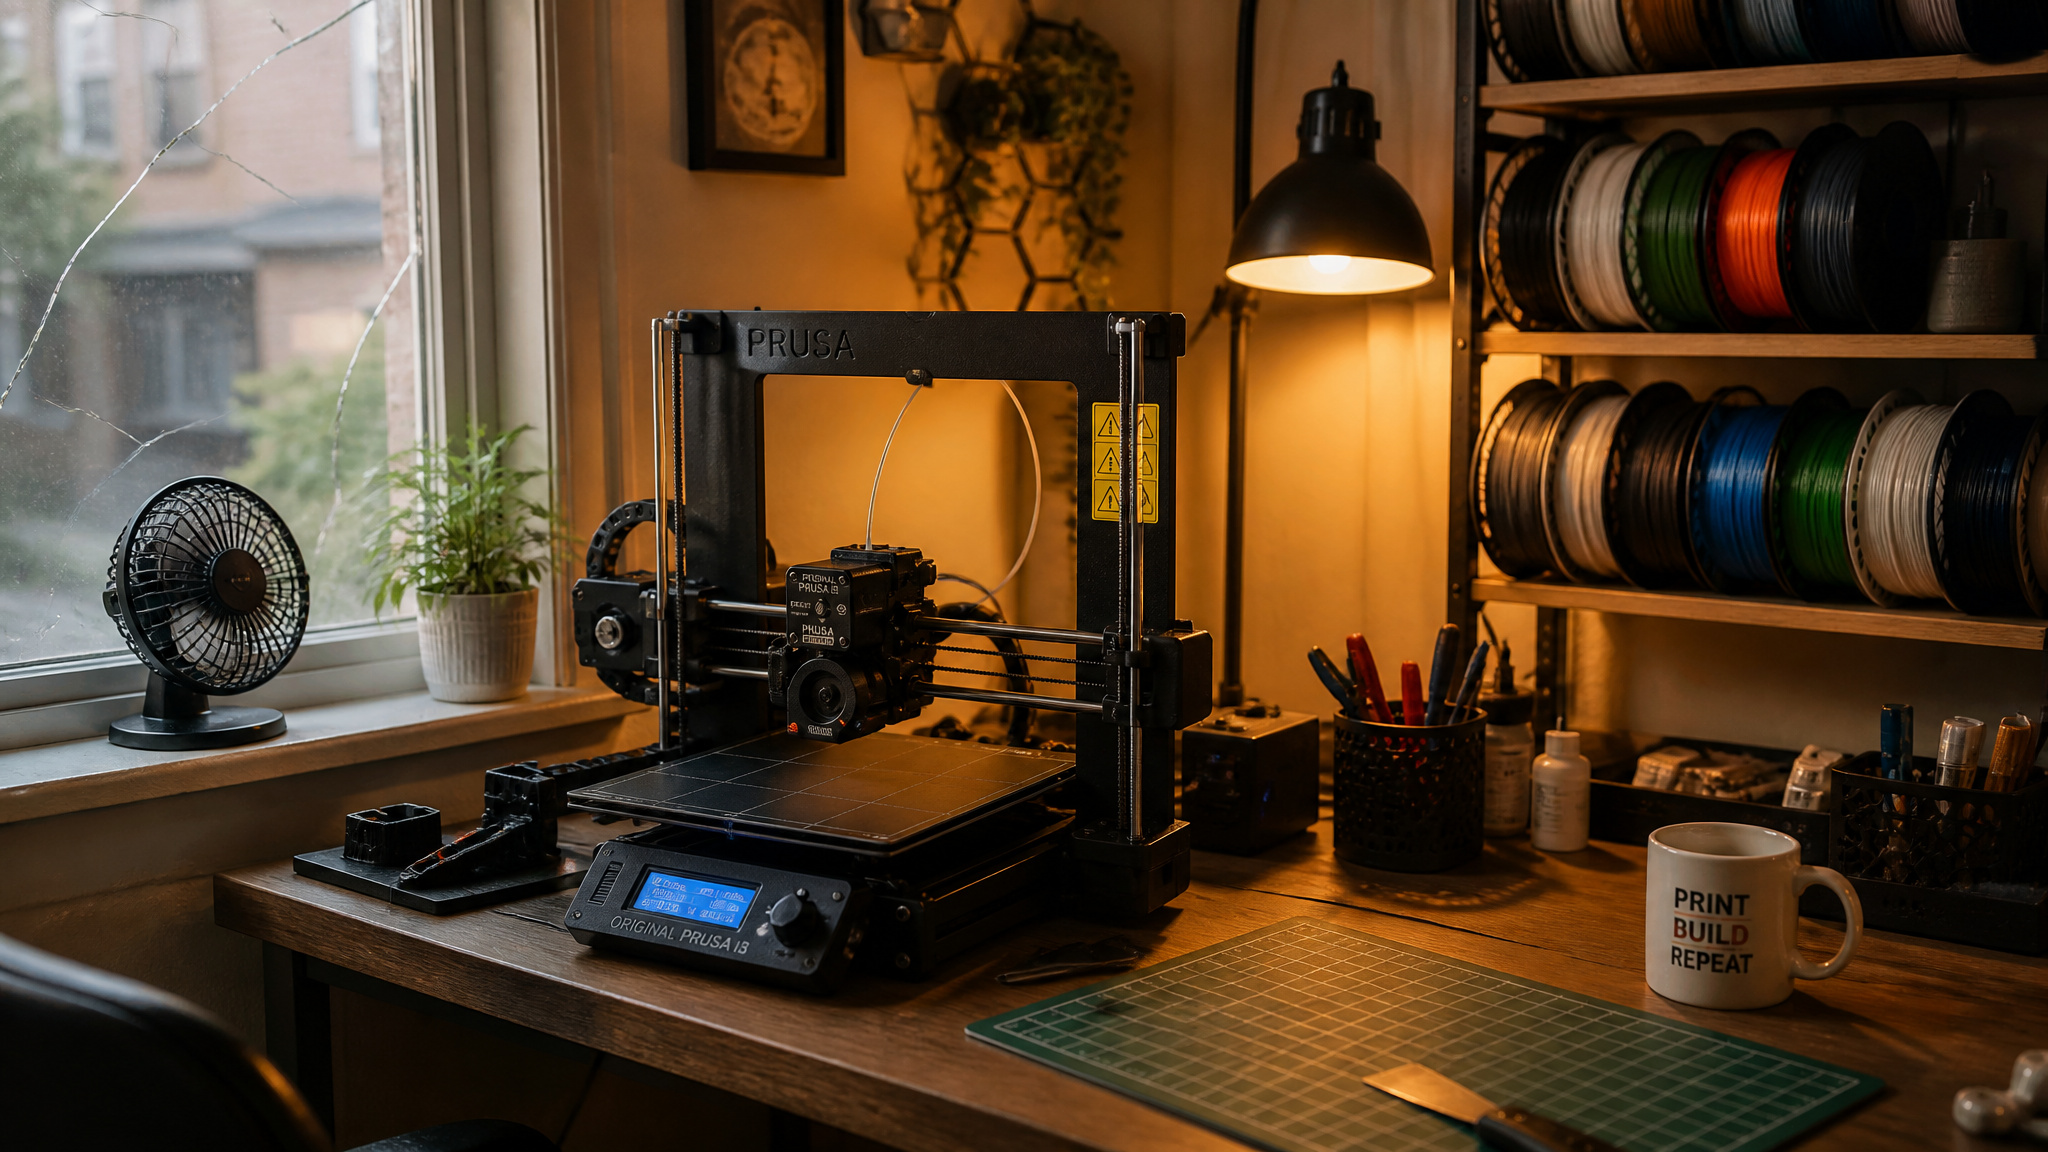
Start with a stable, level surface of at least 2 x 2 feet. If the printer wobbles, your prints don’t stick to the bed, and you’ll spend an evening diagnosing a “filament problem” that’s actually a desk problem, and once the desk is sorted, 3D printing office organization is a good way to keep it that way. Keep the room between 65 and 75°F. Your printer likes the same temperatures you do. Keep it away from direct sunlight and drafts, because temperature swings cause print defects, and this is the kind of thing you learn the cheap way or the expensive way.
Ventilation matters because melted plastic smells. A window or a fan handles it. To be straight with you: these are practical ventilation and fire-precaution rules, not lab-measured fume thresholds. The hard numbers on emissions aren’t something I can honestly give you, so treat this as sensible guidance rather than a safety certification.
The good news is that PLA, your starter material, produces minimal fumes. ABS, which you’ll meet later, needs real airflow. And if resin printing enters your life someday, that’s a different family entirely, with IPA cleaning and UV curing in the workflow.
Round it out with good lighting so you can actually see layer issues, an outlet close by (skip the extension-cord situation before it happens), a spot to stash filament and tools, and a fire extinguisher. If noise is a concern, a spare bedroom or the garage works fine.
Gather your day-one tools and maintenance plan
Buy these once, thank yourself forever:
- Deburring tool: cheap, weirdly satisfying, and the fastest way to clean up print edges.
- Precision file set: cheap insurance against tolerances not being perfect.
- Isopropyl alcohol and microfiber cloths: the boring habit that prevents most bed-adhesion heartbreak. Wipe the bed before every print. This is the one to actually be consistent about.
- Purple glue sticks: the classic bed adhesion trick. Old-school, and it still works.
- Nozzle cleaning kit: you’ll be glad you own this the first time a print goes wrong mid-spool.
- Hex screwdriver set and needle-nose pliers: assembly and support removal.
The maintenance habit is almost embarrassing in its simplicity: dab silicone grease on the rods and bearings every few months. Two minutes, bike-chain energy. Budget $50, $100 a year for nozzles, belts, and bed surfaces.
And one machine-specific delight: if you get a Bambu Lab printer, print a “poop bucket” the moment it’s set up. Yes, that’s the real hobby terminology, and no, I’m not going to apologize for it. It catches the stray filament the printer purges during color swaps. It’s deeply funny and necessary.
Pick your filament: start with PLA, then progress
PLA, short for Polylactic Acid, is the beginner filament, full stop. It prints smoothly at 190-220°C, sticks to a cool build plate, needs no enclosure, smells minimal, comes in a frankly ridiculous number of colors, and costs $15-25 per kilogram. That’s the whole sales pitch, and it sells itself.
When PLA feels comfortable, the natural next step is PETG (Polyethylene Terephthalate Glycol), your second filament. It’s stronger and slightly flexible, which matters for parts that take stress, and it resists moisture and chemicals, which is why it’s the pick for functional prototypes, storage bins, and things that live outdoors. It runs hotter at 220-250°C and it’s more of a fiddle, but it’s still beginner-friendly.
ABS, or Acrylonitrile Butadiene Styrene, is hard mode. It warps, it emits odor, it needs better airflow, and it prints at 230-260°C, which is harder on beginner setups. It’s a real material with real tradeoffs, not a villain. Save it for after you’ve mastered the basics. It’ll still be there.
Resin (SLA/DLP) is a different tech family with different rules. It’s the pick when you need fine detail for miniatures or jewelry, and the detail exceeds what any FDM printer can lay down layer by layer. But the sticker price lies: standard resin runs $30-50 per liter, and the workflow adds IPA cleaning and UV curing, plus gloves and alcohol. That extra workflow is the real cost of that detail.
Specialty filaments like wood-fill and metallic run $35-50/kg. Later. When basics are boring.
On the budget side, Inland filament, MicroCenter’s house-brand PLA, runs around $20 a spool, and it’s also on Amazon. Generic brands can print just as well as name brands, which means more filament for the same budget. Buy in bulk only on deals, stick to basic colors before the glow-in-the-dark stuff, and remember that filament ages, so the “I’ll definitely use all ten colors” urge deserves some skepticism.
Storing filament so it doesn’t go bad
PLA absorbs moisture, and damp PLA prints with bubbles and weak layers. PETG is thirstier still, producing stringy prints. Store filament in airtight containers with silica gel packs and you’ll get 12+ months of shelf life. Resin is different: keep it somewhere dark at room temperature, where it stays good for six to twelve months, and shake before use. Handle it like paint, not like filament.
Here’s the trap this saves you from: damp filament’s stringy walls and weak layers get blamed on slicer profiles constantly. The tell is that the symptoms vanish after drying the filament or swapping the spool. A typical setup with a neglected spool looks exactly like a misconfigured printer, and people burn hours tuning the wrong thing.
Quick test: If stringy walls and weak layers vanish after drying the spool, it was moisture — not your slicer profile.
From design to print: the file chain explained
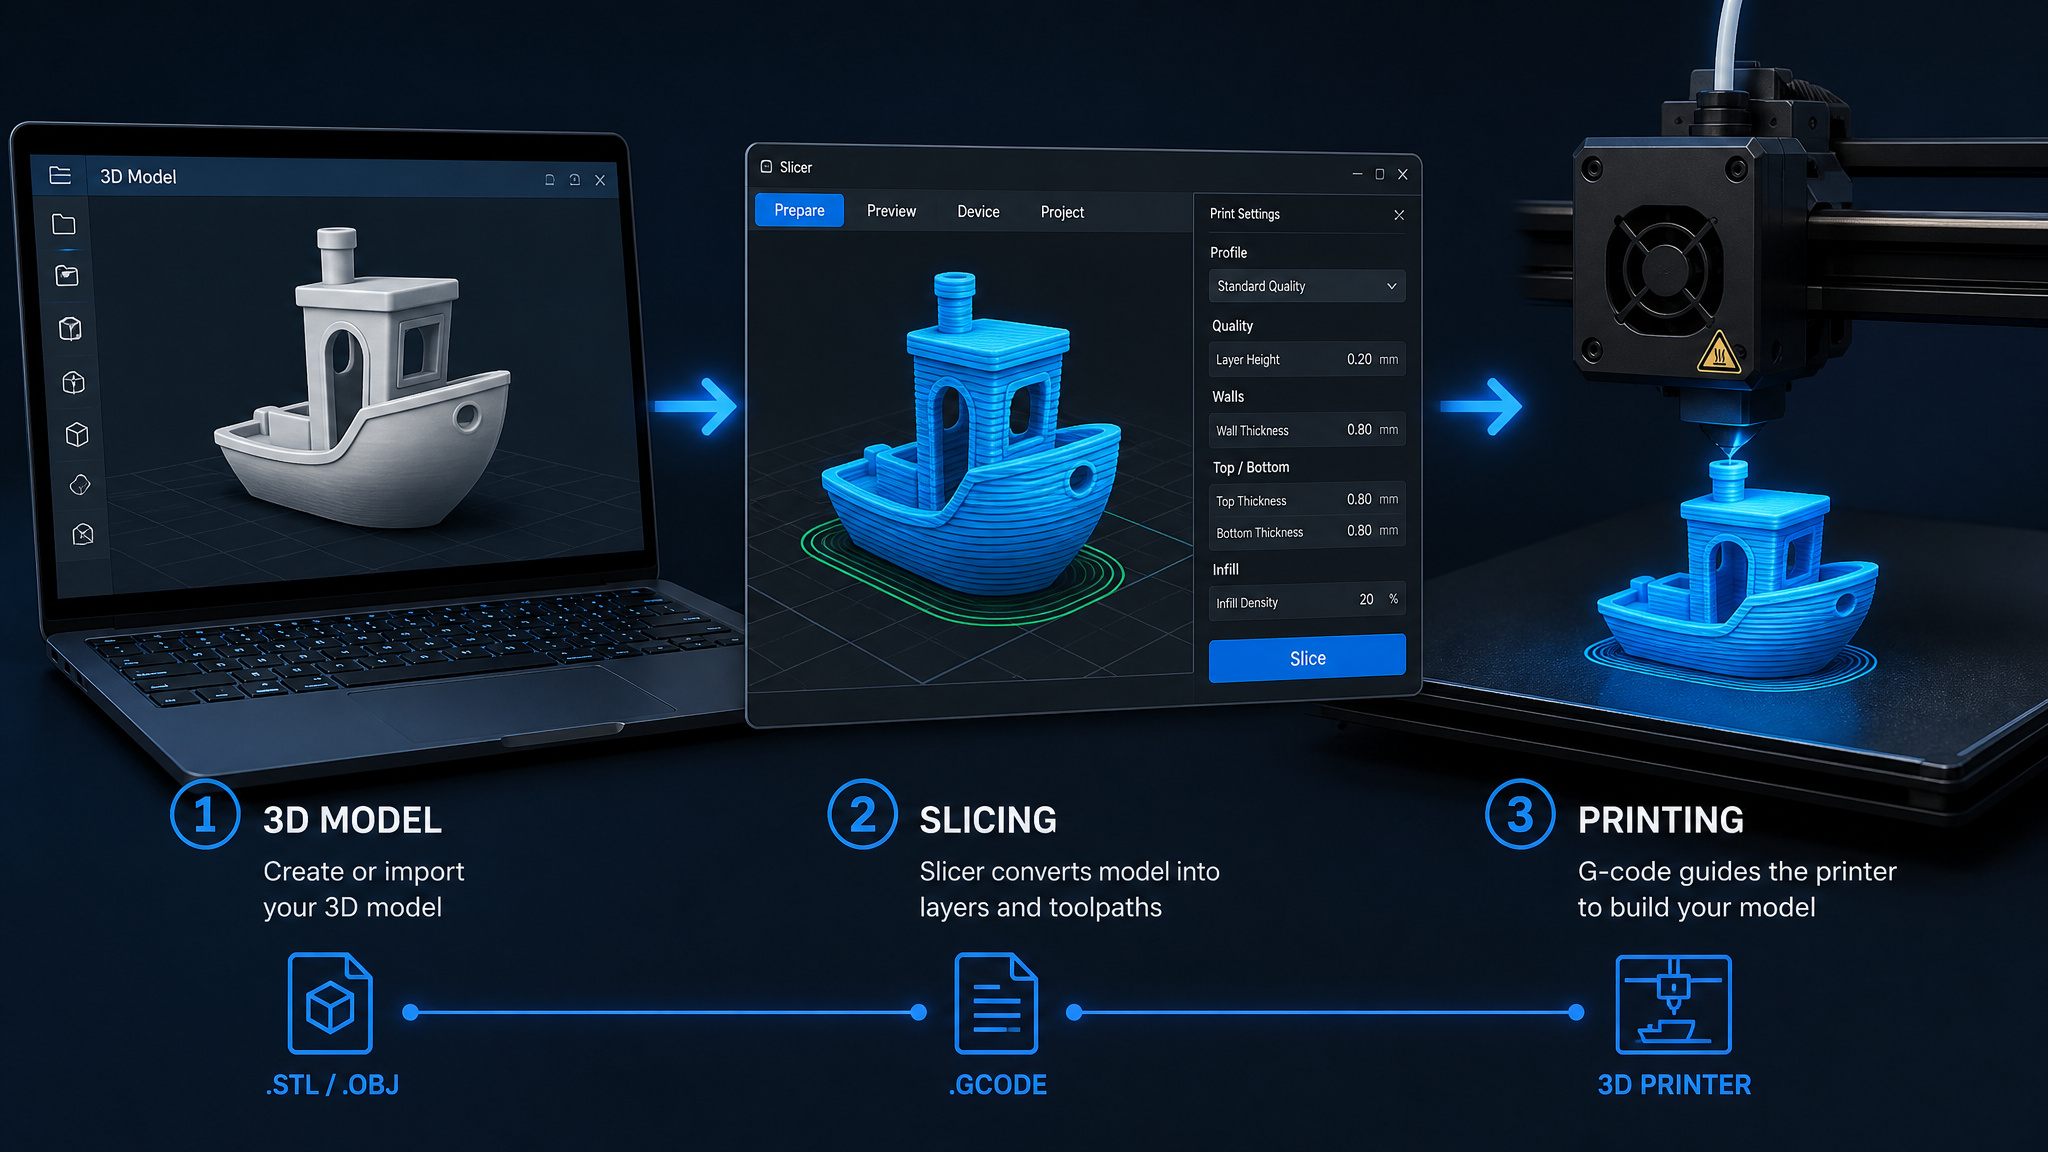
The whole pipeline is six steps: create or find a design, get it as an STL file, choose your material, choose your parameters (size, placement on the virtual bed), slice it into G-code, and print, which takes anywhere from minutes to hours. Then optional painting or sanding. Let’s unpack the parts that confuse everyone.
Finding and making models. Both paths are equally valid. You can design in CAD (computer-aided design), or you can download a free model, and there’s no shame in downloading; free model sites are everywhere and finding good free files is half the fun. Thangs.com is worth a look: it’s newer with a rapidly growing library, and its killer feature is a search engine that sifts files from many other sharing sites, so one search covers a lot of ground instead of you checking five sites. One download-time check worth building into your habits: overhangs steeper than 45 degrees will need supports, and thin walls, non-manifold geometry, or sloppy tolerances can sink even a model that looks great on screen.
If you’re wondering about printing something from a photo, the honest answer is that photogrammetry tools are outside what I can verify here, and if your goal is practical makes like 3D printed garden supplies, repositories cover most beginner needs anyway. Most designs, for what it’s worth, are just combined and modified basic shapes. Blocks and booleans, not wizardry.
The software ladder. TinkerCAD first. It’s browser-based, low friction, and the “hello world” of 3D design. When you want functional parts, step up to Fusion 360. FreeCAD is the open-source lane, good. Blender is the artistic one, for organic sculpted shapes, a different muscle entirely.
Slicing, or the compiler moment. Here’s the part nobody explains well: your printer doesn’t speak STL, it speaks G-code. The slicer translates. And G-code embeds printer-specific data like build surface size, speed, and temperature, which is exactly why you don’t share G-code between printers.
Sharing it would be like sharing someone else’s compiled binary. That’s why models are shared as STL files instead.
The slicer cuts your model into thin layers, typically 0.2mm, which means a typical print is hundreds of slices. UltiMaker Cura is free, open source, and its defaults are fine for beginners. For a sense of how standard it is: 9 of the 10 printers in one review roundup shipped with Cura or download instructions for it. The click-path is four steps: load the file, tick support and adhesion, slice, save to SD card. Done.
File formats. STL is the .jpg of 3D models, the universal default. OBJ carries textures and color. 3MF is the modern format with advanced print settings. That’s all you need to know for now.
Printability. One rule above all: overhangs steeper than 45 degrees need supports. Internalize that and you’ve avoided the single most common beginner failure. Beyond that, avoid thin walls, non-manifold geometry (mesh errors that confuse the slicer), floating elements, and wrong tolerances.
And spend two minutes sketching size, wall thickness, assembly, and orientation before you model anything. Two minutes of planning beats hours of reprinting. Everyone prints a corrupted STL or forgets a support eventually. It’s a rite of passage, not a verdict on you.
Your first prints, and when you’re ready for more
A calibration cube is the classic opener, and from there the usual first projects are phone stands, cable organizers, keychains, small planters, and wall hooks. All free models, all sliced in Cura, and each one is secretly a lesson. Keep these early prints in the 30-minute to two-hour range, with speeds around 40-60mm/s and layer heights of 0.1-0.2mm, those settings usually work well, and short runs teach bed adhesion and temperature tuning without eating your whole evening:
- Calibration cubes teach bed leveling and dimensional accuracy.
- Phone stands teach adhesion.
- Cable organizers, keychains, planters, wall hooks teach finishing.
Keep these between 30 minutes and two hours. The point is nobody’s first print should be an overnight epic that fails at hour ten.
On the dials that matter: run 40-60mm/s speed, because slower is more reliable while you’re learning, and 0.1-0.2mm layer height, where finer is prettier and thicker is faster. The other dials you’ll see in the slicer UI are infill, supports, nozzle temp, and bed adhesion. Recognize them, don’t obsess over them yet.
And watch your first prints, all of them. This isn’t just caution, it’s entertaining the first few times. That hypnotic little nozzle dance is where the obsession starts.
Here’s your readiness threshold: after 10-15 successful basic prints, move on to multi-part assemblies, supports, infill tuning, post-processing like sanding and painting, and non-PLA materials. Tweak existing models before designing from scratch. Remixing is legitimate. And the moment the hobby clicks is the first functional part that snaps together and actually works.
For long prints, the 6-12+ hour kind: start them overnight, keep the workspace ventilated during the run, and use remote monitoring from your phone if your setup allows it. Waking up to a finished print is one of the best feelings this hobby offers.
Fix print failures: a symptom-to-adjustment table
Most failures map to a single numeric adjustment.
| Symptom | Fix |
|---|---|
| Stringing | Lower nozzle temp 5-10°C or increase travel speed |
| Weak layers | Raise temp 5-10°C |
| Rough surface | Drop speed to 40-50mm/s |
| Warping | Heated bed + brim or raft |
| Poor bed adhesion | IPA-clean before every print, paper-level each corner, adjust Z-offset |
The bed-adhesion routine is worth building into muscle memory: clean with isopropyl alcohol before every print, level using a piece of paper corner by corner, and adjust the Z-offset. It fixes most failures.
One habit worth adopting immediately: record your working settings per filament. Labels lie a little, and your notes save future-you from re-tuning everything. Yes, this is the hobby’s spreadsheet moment. Embrace it.
And the fresh angle that’ll save you the most grief: many “printer problems” are actually filament or design problems. Damp filament and unsupported overhangs get blamed on the machine constantly. Diagnose the file and the material before you blame the printer.
What the hobby actually costs
The entry-level printer runs $200, $500, it’s microwave-sized, and the total infrastructure ask is a stable surface, a standard outlet, and basic ventilation. Less setup than a gaming PC. After that, a 1kg spool of PLA at $15-25 handles dozens of prints. Small prints cost cents in material; larger projects run $10, $20. Electricity is a few dollars monthly, so you can retire the power-bill fear right now.
Maintenance is $50, $100 a year for nozzles, belts, and bed surfaces. Prices vary, so treat these as ranges, not guarantees, but the shape of the bill is honest: the sticker price of the printer is most of what you’ll ever spend.
Legality and selling printed items
Yes, you can sell prints of original or public-domain designs, provided you handle business registration, licensing terms, and taxes. That’s the whole condition.
The hard limits, stated plainly: printing firearms or gun parts without licenses is illegal in most places. Lockpicks are illegal to print in some states. Counterfeit currency and weapon accessories violate laws. And medical devices and safety-critical parts carry liability risk, which is my way of saying don’t print your brake pedal.
Companies do actively pursue unauthorized sellers of copyrighted and trademarked designs, so the line is design ownership plus local compliance. This isn’t legal advice, just the honest map of where the edges are.
Where the skill leads: smart home hardware to printed houses
Once you’re past phone stands, the home-lab rabbit hole opens up. NFC tags work through a few thin layers of plastic, which means you can print housings for them, like a cassette-tape-shaped audio trigger or a Wi-Fi guest sign. On MakerWorld, the ESP Smart Home Case project offers pre-designed cases for Espressif controllers used with Home Assistant. Deskbuddy is an ESP32-plus-display desk dashboard you can build yourself.
You can wall-mount an old Kindle Fire as a command center with printed cable routing, print arcade-button panels, or print flush-mount housings for presence sensors. Custom enclosures are the difference between a circuit board sitting on a shelf and something that looks like a finished product.
Zooming out: healthcare, engineering, and fashion all use 3D printing, and “additive manufacturing” is just the industry word for the same thing, so don’t let the jargon throw you. Shoe company Camper cut its modeling and design time from about 1.5 months to several days by printing in-house. Per the Wohlers Report 2025, the global additive manufacturing industry is around $21.9 billion. And on the far end of the scale, Trident Homes laid concrete for Kansas’s first 3D-printed house in Topeka starting Feb. 24, printed the walls in 12 days, and finished in under a month.
Wall costs came in around $170 per square foot versus $225 or more for traditional builds, according to founder Chris Stemler, with a goal of 90-day houses and a first move-in ready by June. You’re not going to print a house. But it’s proof the same layer-by-layer idea scales, down to 3D printing miniatures for your next D&D or tabletop RPG night, and it’s genuinely cool.
Closer to home, the reasons people stick with the hobby are all over the map: getting kids excited about STEM, cosplay props and costumes, miniatures for the tabletop crowd, and the quiet everyday winner, practical household items, decorative pieces, and personalized gifts.
The first-print moment
That’s the whole on-ramp. Pick the printer that matches your fiddling tolerance, set up a stable spot, buy a spool of PLA, and print something small. The skill stacks from there, one 30-minute print at a time.
And when that first print finishes, whether it’s a calibration cube or a certain cookie cutter, take it off the bed and turn it over in your hands. You made that, out of melted plastic, from a file, with a machine you understand. That’s the moment the hobby gets you. It got me at a kids’ museum in St. Louis, and I’ve never really recovered.
Frequently Asked Questions
Which filament should a beginner use — PLA, PETG, or ABS?
Start with PLA, full stop: it prints smoothly at 190–220°C, sticks to a cool build plate, needs no enclosure, smells minimal, and costs $15–25/kg. PETG is the natural second filament — stronger and more moisture-resistant, but it runs hotter at 220–250°C. ABS is hard mode: it warps, emits odor, and needs better airflow, so save it until you’ve mastered the basics.
Why do my 3D prints have stringing and weak layers?
Stringing usually means the nozzle is too hot — lower the temperature 5–10°C or increase travel speed. Weak layers point the other way: raise the temp 5–10°C. But check one thing first: damp filament produces the same stringy walls and weak layers, and if the symptoms vanish after drying the spool, it was moisture, not your slicer profile.
