
I was at a pub in the UK a while back, having a drink, when a stranger walked up unprompted. He was a gamer, he told me, someone who spent hours staring at screens, specifically on online casino sites, and he had strong opinions about my posture. I was mid-sip, mildly startled.
He wasn’t wrong. I was slouched, head craned forward like I was trying to read a tiny menu from across the room. His advice, something about sitting up straighter, was well-meaning but surface-level. He was seeing the symptom, not the system.
Fixing gamer neck, or forward head posture (FHP) if you want the clinical name, isn’t about willpower. It’s about physics, and the fix is a combo of targeted strength work and smart ergonomics.
Key Takeaways
The 10-to-14-pound human head effectively weighs nearly 49 pounds at a 45-degree forward tilt, turning FHP into a dangerous load-bearing problem.
Stretching an aching neck can worsen tech neck because the back-of-neck muscles are already overstretched; strengthening is the recommended route.
Raising your monitor so the top of the screen is at eye level is the most impactful change, alongside a consistent stretching routine.
Table of Contents
What Gamer Neck Actually Is (and Why the 49-Pound Stat Matters)
That forward-head position is what medical professionals call forward head posture, or FHP, often nicknamed “nerd neck.” It’s the technical name for something simpler: your head tilting forward and your chin jutting out, so your neck slants and your head sits in front of your shoulders instead of stacked on top of them. In neutral posture, your ears should align with your shoulders. Think of it as the classic “I’ve been gaming too long” pose, and it’s one of the most common posture misalignments doctors see. It’s not unique to gamers; it’s a widespread modern problem.
Here’s the part that makes this more than a vanity issue. Your head weighs 10 to 14 pounds in a neutral position, but that weight isn’t static. A 2014 study showed that as you tilt your head forward, the effective load on your spine multiplies in a hurry. At 15 degrees, you’re dealing with about 27 pounds.
At 30 degrees, it’s around 40. At 45 degrees, the kind of angle you use when reading a phone on your lap, the effective weight jumps to roughly 49 pounds. That’s the equivalent of carrying a small child on your neck, all day.
That load forces the muscles in your neck, upper back, and shoulders to work overtime, and it changes them structurally over time, creating length and strength imbalances. The muscles in the back of your neck get overstretched and weak, while the muscles in the front get tight and shortened. It’s a physical change, not just a posture habit.
How You Got Here: The Causes That Are Quietly Loading Your Neck
The most common driver is our favorite hobby: sustained overuse of phones, tablets, and laptops. That’s the big one. Laptops are particularly evil because the screen and keyboard are a single unit. You can’t raise the screen without also raising your hands into a weird position, so you compromise and hunch down instead.
But screens aren’t the only ingredient. The real enemy is any activity that keeps your head forward of your shoulders. Driving with a forward lean does it. Sewing will do it. Carrying a heavy backpack or purse on one shoulder, slouching on the couch, sleeping with your head propped up on two pillows, reading in bed, all of these are ways to slide your head forward for extended stretches.
Muscular imbalance plays a major role, too. If your upper back and shoulder stabilizers are weak while your chest muscles are tight and shortened, they’ll pull your shoulders and head forward. That’s why younger gamers are especially prone, they log so many screen hours that the problem develops early. Your body isn’t being lazy.
It’s positioning your eyes so it can see the screen. The head-forward position is a persistent adaptation, not a conscious choice.
Why Stretching Alone Won’t Fix Gamer Neck (The Counterintuitive Part)
When your neck hurts, the instinctive reaction is to stretch it. For FHP, that can be a trap.
The logic is simple. The muscles in the back of your neck are already overstretched and weakened from holding your head forward all day. If you stretch them further, you’re elongating tissue that’s already too long. The muscles in the front of your neck, meanwhile, are shortened and tight. The problem is an imbalance, and you don’t fix that by pulling on one side of the equation more.
Patrick Suarez, a physical therapist in Albany, New York, puts it bluntly: “What’s really going on is that you’re overstretching the muscles in the back of your neck that link to your shoulder blades and upper back. So, what we need to do is actually tighten them back up.” In other words, stretching may make tech neck worse; strengthening is the way to go.
A 2017 study compared kinesio tape with exercise for FHP and found that tape was helpful, but exercise was more effective. Tape might help, but it’s not a replacement for strengthening. The fix isn’t to stretch the tight front but to strengthen the loose back of your neck and upper back.
The Gamer Neck Fix: A Step-by-Step Exercise Routine
Okay, so check this out. The fix is a mix of strengthening and stretching, and the beauty is that you can do most of this in your chair or on the floor. The routine aims to correct the muscle imbalance by targeting everything: the neck, shoulders, mid-back, and hips.
Here’s a practical set of movements. Aim to work through these a couple of times a day, maybe two to three times, and don’t be afraid to modify. Beyond the immediate discomfort, untreated gamer neck can lead to reduced respiratory function and increased mortality risk, as noted in a 2019 review. It can also impair balance and proprioception, so addressing it early is crucial.
| Exercise | What it targets | Sets / Reps | Equipment |
|---|---|---|---|
| Chin tuck (basic) | Deep neck flexors | hold 10 seconds, repeat 10 times | None |
| Chin tuck (against wall) | Deep neck flexors | hold a few seconds, repeat | Wall |
| Forward neck stretch | Upper back/neck extensors | 20-second hold, 3 times | None |
| Neck side-tilt | Neck side flexors | 10-second holds, 2 | None |
| Shoulder rolls | Upper shoulders | 10 forward, 10 backward | None |
| Isometric neck holds | Neck stabilizers | 10-second holds, 10 times | Hand or band |
| Dynamic neck movements | Range of motion | 10 times each direction | None |
| Rows (basic, single-arm, high-to-low) | Upper back, shoulder | 10 reps, hold 1-2 sec | Band or dumbbells |
| Pull-ups | Upper back | As many as comfortable | Pull-up bar |
| Wall angels | Thoracic spine, chest | 10 reps | Wall |
| Thoracic spine wall rotation | Mid-back mobility | 10 reps per side | Wall |
| Prone I-Y-T | Upper back | 10 reps each | Stability ball |
| Yoga forward fold | Full back | Hold 1 minute | None |
Chin Tucks: The Foundation
The foundational movement is the chin tuck. Think of it as the retraction version of “put your head back.”
- Sitting or standing: Keep your back straight, then gently pull your chin straight back toward your chest, like you’re trying to make a double chin. Hold for 10 seconds, then release. Do 10 reps.
- Against the wall: Stand flat against the wall with your shoulders, head, and back touching it. Tuck your chin in and hold for a few seconds. Bonus: from that same wall position, raise both arms up against the wall with palms out and move them up and down 10 times.
- Lying down: Lie flat on your back with a small towel roll beneath your neck. Draw your chin toward your chest, return to the starting position, and repeat. This is a great version to do before you roll out of bed.
The Forward Neck Stretch
When you feel that distinct tightness in the back of your neck, this is a good counter-move.
With two fingers, lightly fold your chin in. Place the other hand on top of your head and gently pull your head forward toward your chest until you feel a stretch across the back of your neck. Hold for 20 seconds, then relax. Repeat three times.
Neck Side-Tilt
This targets the side-of-neck muscles.
Gently tilt your head to one side, moving your ear toward your shoulder. Hold for 10 seconds, then switch sides. You can also do a quicker 5-second version per side.
Shoulder Rolls
A classic for a reason.
Slowly roll your shoulders forward, then backward, 10 times each direction. It gets the whole upper body moving.
Isometric Neck Holds
This is about building neck strength without moving. Keep your head neutral and push against the resistance from your hand or a resistance band, much like the focused, static tension you might apply when reviewing the best UK online casino websites for a controlled session. Hold for 10 seconds, then repeat 10 times.
Dynamic Neck Movements
Move your head through its full range of motion: forward, backward, side-to-side, and in slow rotations. Repeat 10 times in each direction. It’s a good warm-up for your neck.
Upper-Back Strengthening (Rows)
This is the key ingredient of the whole operation. The goal is to wake up the muscles that pull your shoulders back.
First, the basic row. Pull a resistance band or dumbbells toward your chest while keeping your elbows near your sides. Hold for 10 seconds, repeat 10 times. For the single-arm row, anchor a band at chest height, pull it back, squeeze your shoulder blades, and hold for 1-2 seconds.
For the high-to-low row, anchor the band above your head and pull it down toward your ribs. Hold for 1-2 seconds.
Pull-ups
Hang from a pull-up bar and raise yourself until your chin clears the bar. Lower yourself slowly. The right prescription is “as many as you can manage.”
Wall Angels
Like snow angels, but for posture. Stand tall against the wall, with your low back, shoulders, and the back of your head all touching it. Then bring your arms into “cactus” position, elbows level with shoulders, bent 90 degrees, forearms against the wall. Slide your hands up the wall as far as comfortable, then back down. Slow and controlled.
Thoracic Spine Wall Rotation
This is about getting your mid-back moving. Kneel on the floor, half-kneeling with one knee bent at 90 degrees. Place your fingertips behind your ears. Rotate your torso until both elbows touch the wall beside you.
Pause, then rotate the other way. Unwind. This is a mobility drill for your spine.
Prone I-Y-T on a Stability Ball
Lie facedown on a stability ball with your legs extended, toes on the floor, and arms hanging down. Engage your core and squeeze your glutes. Then raise your arms in three positions: diagonally (Y), out to the sides (T), and then behind you (I). Squeeze your shoulder blades at the top of each movement. It’s the full upper-back workout.
A Yoga Forward Fold
Stand with your feet hip-width apart. Bend forward slowly, letting your hands fall toward the floor. Keep your chin tucked and your head and neck relaxed. If it’s comfortable, make slow circles with your head.
Hold the position for at least a minute, then roll your spine up slowly. Focus on slow, controlled breathing.
Ergonomic Fixes: Raise Your Screen, Not Your Neck
Exercises fix the physical imbalance, but you can’t build strength during an 8-hour gaming session without addressing the environment. The goal is to set up your space so your body in good shape is the default, not the exception, and fixing gamer’s wrist might include a visit to the doc, wearing a support band, or doing special moves that make your wrist stronger.
The Monitor Height Rule
This is the highest-impact fix, and it’s where most people get it wrong.
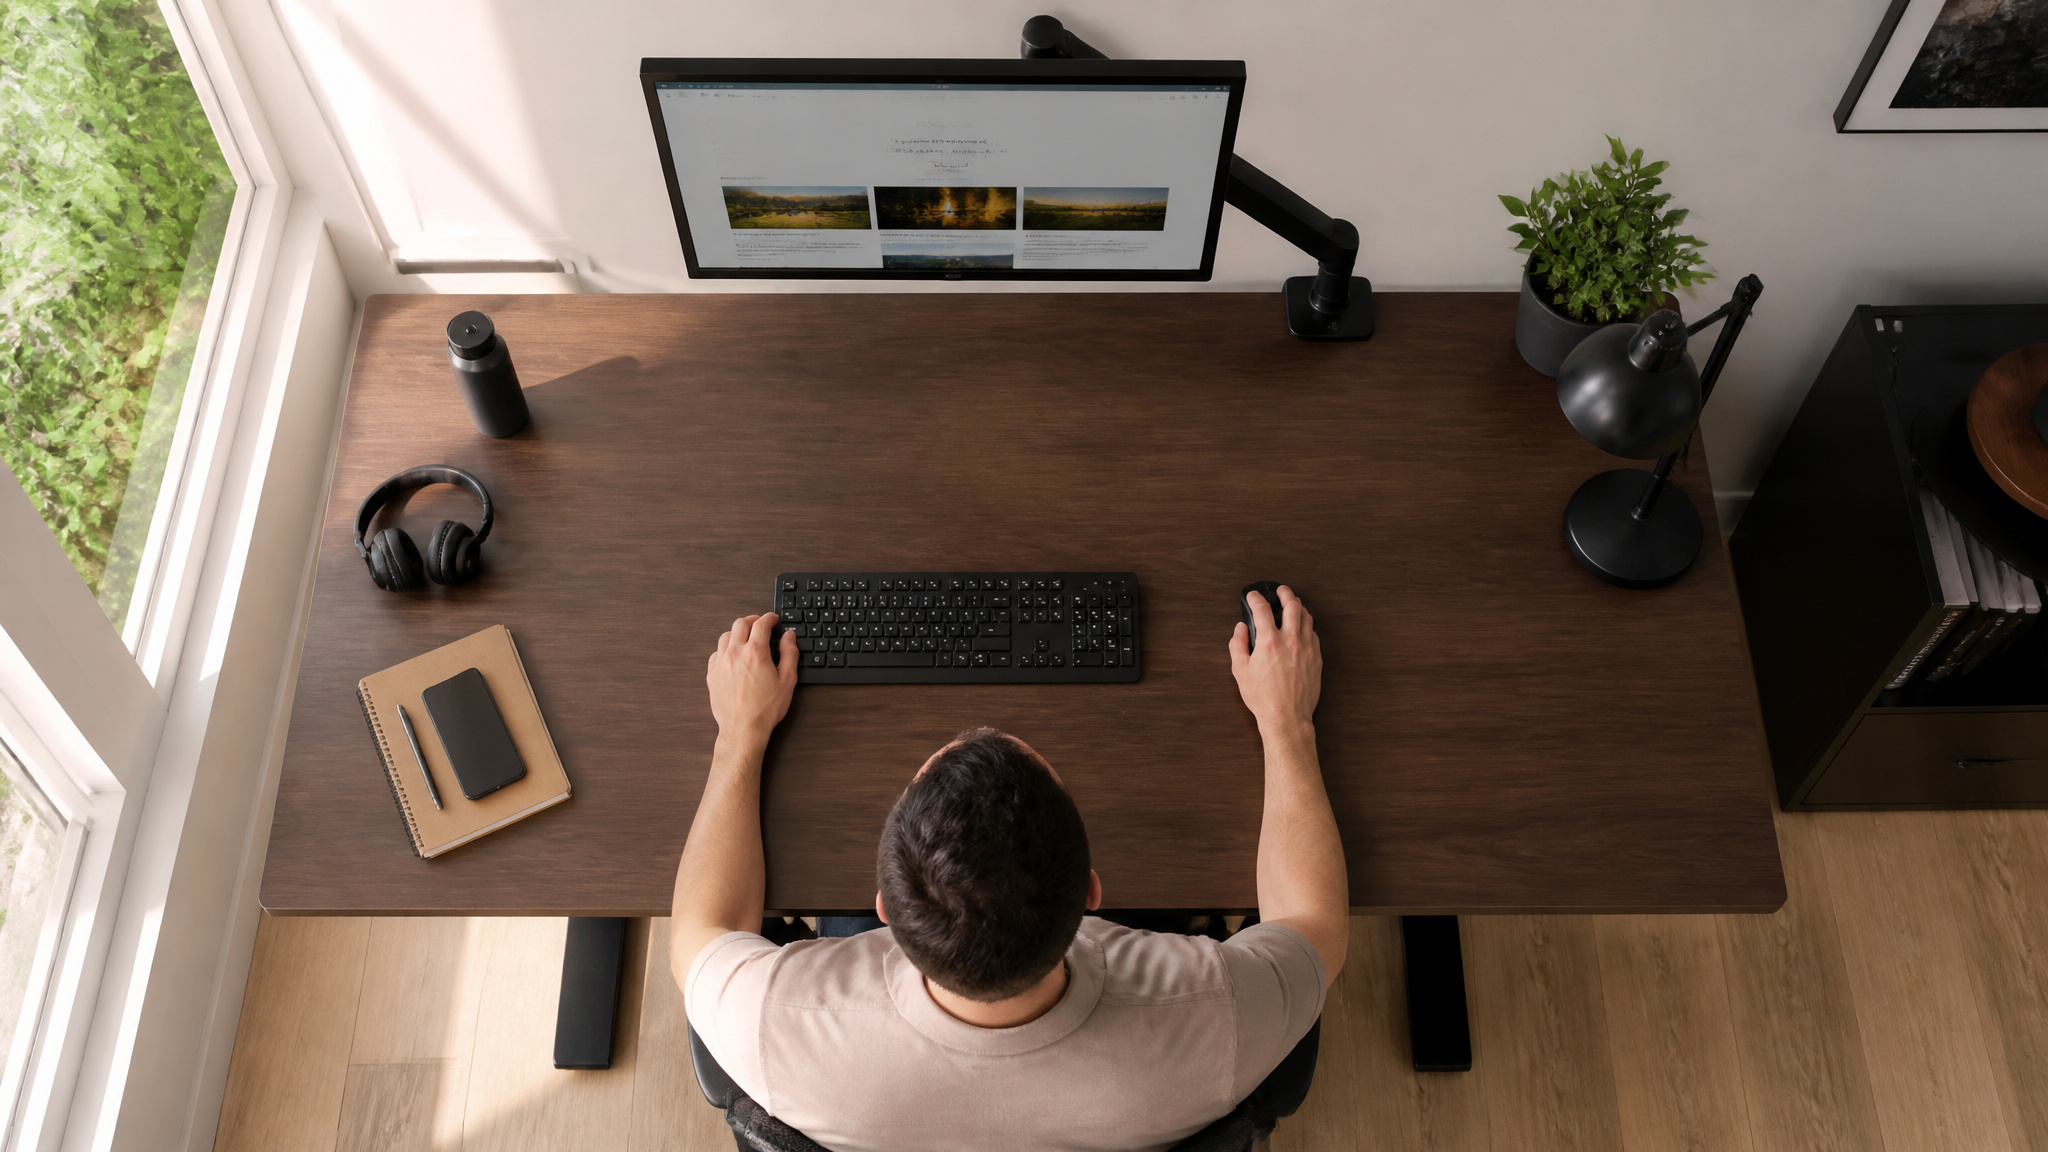
The previous advice was to put your eyeline 2 to 3 inches below the top of the monitor. That was based on older monitors with massive bezels. According to ergonomist Lisa Zakhari at Memorial Sloan Kettering Cancer Center, the modern standard is that the top of the screen should be at eye level, so you keep your head neutral when looking at the monitor.
If you wear bifocals or progressives, you might need to place the monitor slightly lower, so you don’t tilt your head back. The screen should also be about an arm’s length away, roughly 20 to 28 inches from your face.
The Rest of the Setup
Position your screen directly in front of you, not off to the side. Avoid craning your neck toward it. Adjust your chair height so your feet are flat and your elbows form a 90-degree angle. Sit back in your chair so your lower back has proper support. Use a chair that supports your back.
When you’re gaming, don’t be a slouch. The 1-2-3 rule: Look, breathe, stretch. Look straight, take a full breath, and then stretch your neck from side to side.
Break Cadence
Instead of trying to maintain perfect posture for eight hours, make it better. Use your environment to interrupt the pattern. Get up and move around every 20-30 minutes. Take a short break from the screen, stand up straight, and stretch. Set a timer if you have to.
When you’re on your phone, hold it up. You shouldn’t be tilting your head forward to read. Keep your neck neutral.
The Car Seat Tip (From Suarez)
You’ll be surprised. When you’re driving, sit all the way back with your shoulders back and your head on the headrest. Only then adjust your mirrors to that position. According to Suarez, “Instead of adjusting your mirrors back, adjust your position back.” Don’t undo your good work just to see the road.
Other Contributors
The pillow you sleep on matters more than you think. Choose a firm pillow that supports the front curve of your neck. Avoid two or more pillows, or anything too high or too stiff, because they’ll push your head forward even while you sleep. If you carry a heavy backpack, pick one that’s proportionate to your body size.
Organize your load so heavy items are closest to the center of your back. Avoid carrying it over one shoulder. Be careful.
The wall test is a quick calibration. Stand against a wall so your head, shoulders, hips, and feet make contact. Move your arms up and down the wall 10 times. If you feel the correct position, that’s neutral. That’s what your spine is supposed to feel like.
Gear That Makes Good Posture Easy (Monitor Arms and Stands)
So you’ve done the exercises, and now your monitor is still sitting at the wrong height. A lot of manufacturers aren’t doing you any favors with the short factory stands. Here’s where the geeks get in gear. The right tool is about flexibility and giving you a bigger envelope of adjustability.
But First: Are You Looking for an Arm or a Stand?
A monitor arm gives you maximum flexibility. It lets you position your monitor exactly where you want it, in all three dimensions. You can tilt, pan, swivel, and most importantly, raise and lower it. The good ones free up a lot of desk space and look a lot smarter.
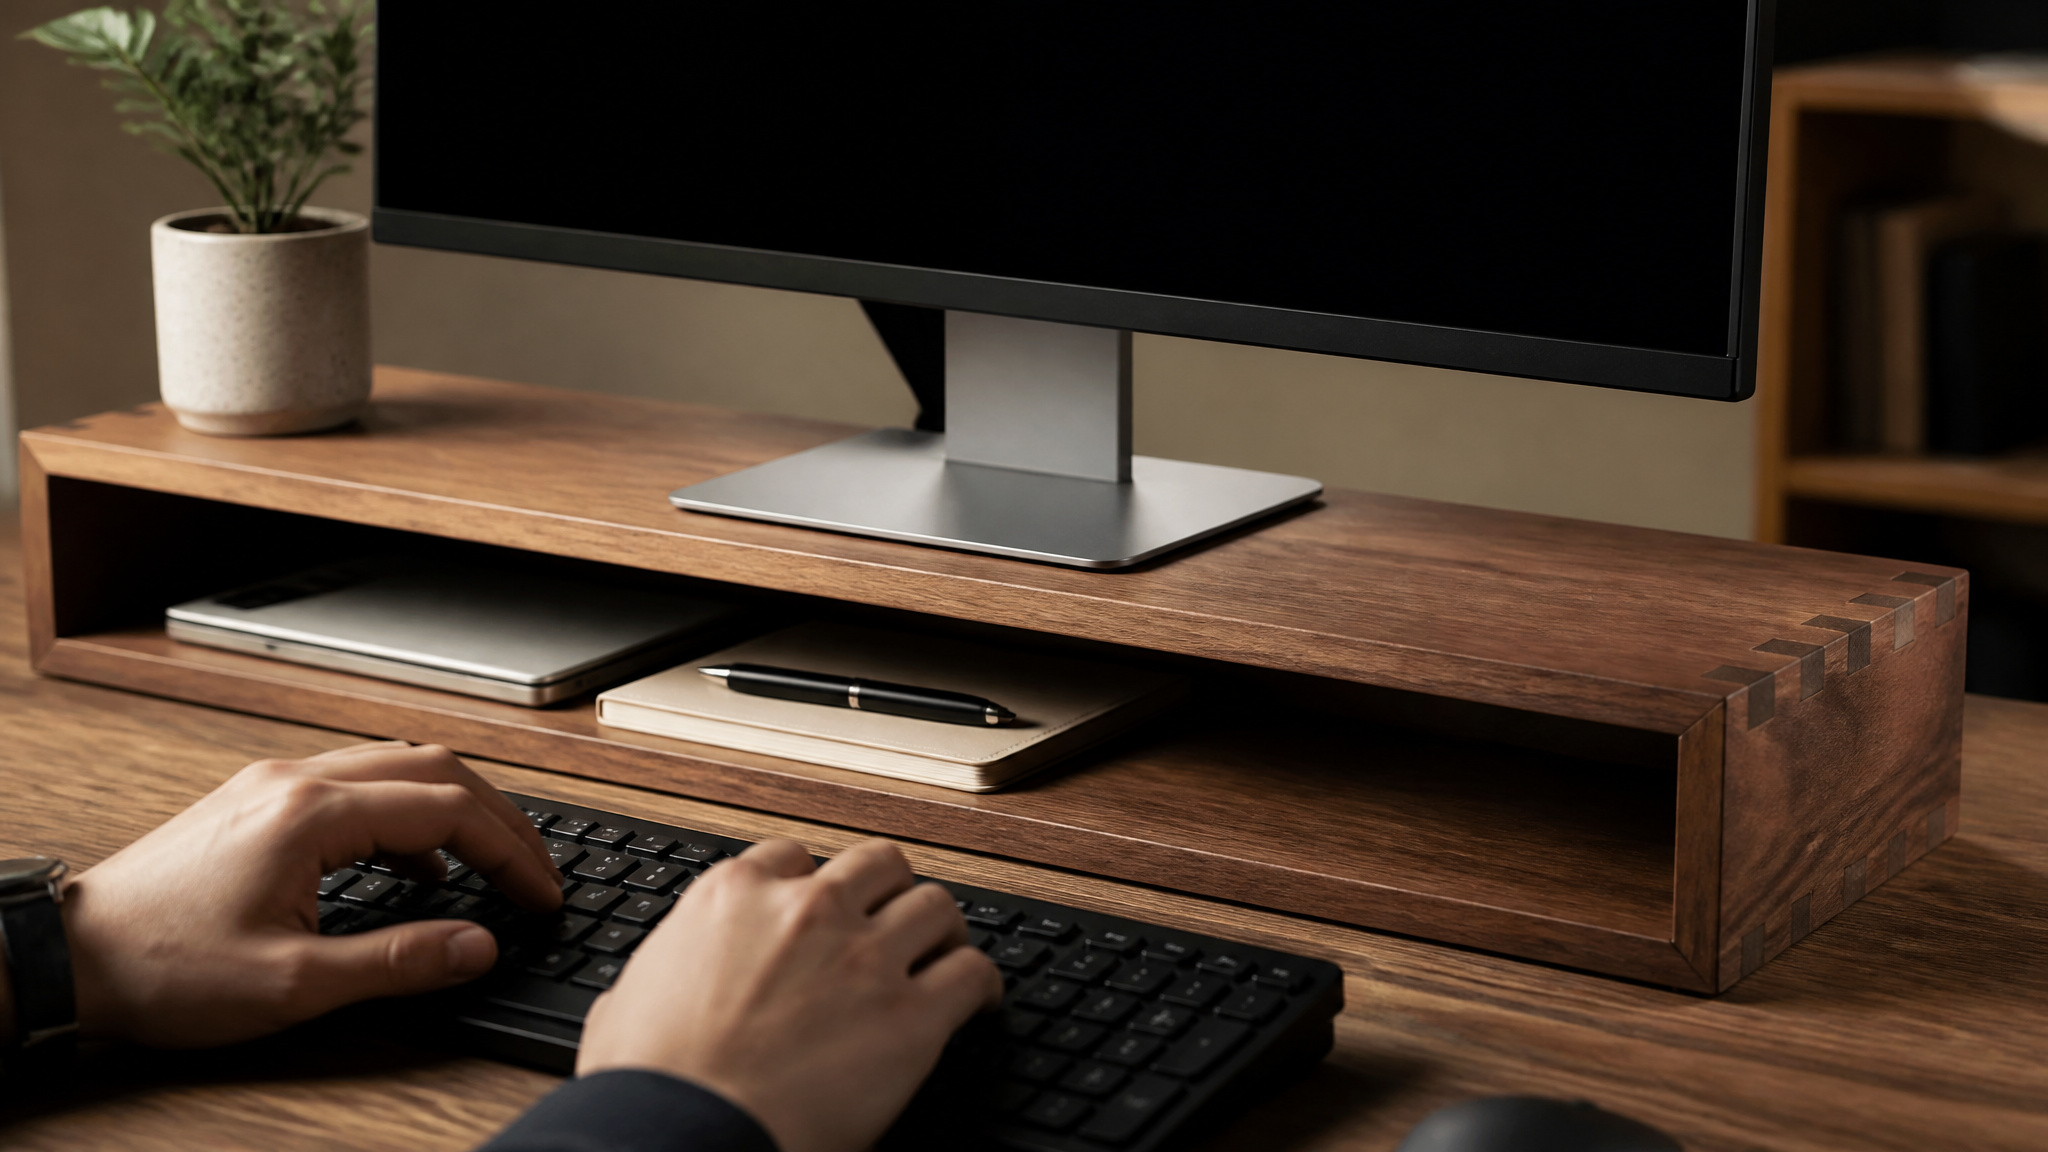
A monitor stand or shelf is the simpler option, cheaper, less flexible, but the setup is just a pressed-frame. The better stands are just as strong.
The Top Picks (The Research)
Here’s a roundup of the best. We spent hours pouring over specs. A lot of this data comes from Wirecutter’s excellent testing, and here’s the TL;DR.
Herman Miller Jarvis Single Monitor Arm
The king of the hill is the most adjustable and durable. Here’s the shortlist:
- Specs: Supports up to 32 inches and about 20 pounds.
- Why: Wide range of motion, solid build quality, and simple to set up.
- Bonus: 10-year warranty.
- Criticism: The setup is tricky to do with one person, it can get a little wobbly with large monitors extended fully, and the cable management clips feel cheap.
Ergotron LX Pro Desk Monitor Arm
This is a top pick for the heavy hitters.
- Specs: Supports up to 34 inches and 22 lbs. Max height is 18.3 inches from the tabletop, and 25.6 inches from the mount.
- Bonus: 10-year warranty. It’s nearly identical to the Amazon Basics arm, but with a much longer warranty.
- Criticism: The tension is recessed and a bit snug to adjust.
*Note on the “Tall Pole” Version: The Tall Pole version reaches 25.6 inches. This is necessary for taller users.
Mount-It Single Monitor Desk Mount
The budget pick and the value pick.
- Specs: Supports up to 32 inches and 17.8 lbs.
- Range: Maximum height of 20.3 inches, reach 19.8 inches.
- Bonus: 10-year warranty.
- Criticism: It feels a bit sticky. It’s more sensitive to desk movements, and the most susceptible to wobble.
Amazon Basics Adjustable Computer Monitor Riser Desk Stand
The top stand pick. Simple, functional.
- Specs: Supports up to 22 lbs.
- Dimensions: 16.1 inches long, 11 inches deep.
- Height: Three positions (2.87 / 4.25 / 4.9 inches).
- Build: ABS plastic.
- Fix: Rubberized legs help prevent slipping.
Grovemade Desk Shelf
The upgrade pick. This thing is a piece of furniture.
- Specs: Supports up to 50 lbs.
- Dimensions: Available in four sizes, from 18.5 to 58 inches long. 9 inches deep and 4.5 inches tall.
- Build: Handcrafted from solid hardwood or plywood. Nine different top materials.
- Price: The premium option, around $220.
- Criticism: The base cork legs may not fit perfectly, but customer service is responsive. We did need to order a replacement for ours, but it was painless.
What to Look For in a Monitor Arm
So, how do you decide? These criteria are proven.
- Monitor weight and size: It must support your screen’s actual physical dimensions.
- Range of motion: A wide range of motion is important, especially vertical movement for sit-stand desks.
- Stability: The whole point is precision. It should stay firm but be easy to reposition.
- Warranty: Look for a long warranty (10+ years), plus good customer support.
- Desk-mounted: Desk-mounted arms are preferred because they’re easier to assemble and don’t require drilling holes.
- VESA: Ensure your monitor has VESA mount compatibility (the universal standard).
Dual-Monitor Setups Work Better
Two single arms are a better way to do it. Two single arms will cost about $50 more than a dual arm, but the benefit is impressive. You get more precise positioning of each monitor. Dual arms are also less effective if your desk is against a wall, because you won’t have space to move the second screen.
Height Limitation Caveat
One thing, fellow short people. If you stand at a floor desk and you’re on the shorter side, like 5-foot-2 standing next to a 29-inch desk, you’ll still find that fully extended monitor arms put the screen below eyeline. In that case, a standing desk converter is a better option for you.
When to Seek Actual Professional Help
Some self-care goes a long way, but sometimes you need more. That’s not a failure. It’s a sign you’re treating the problem seriously.
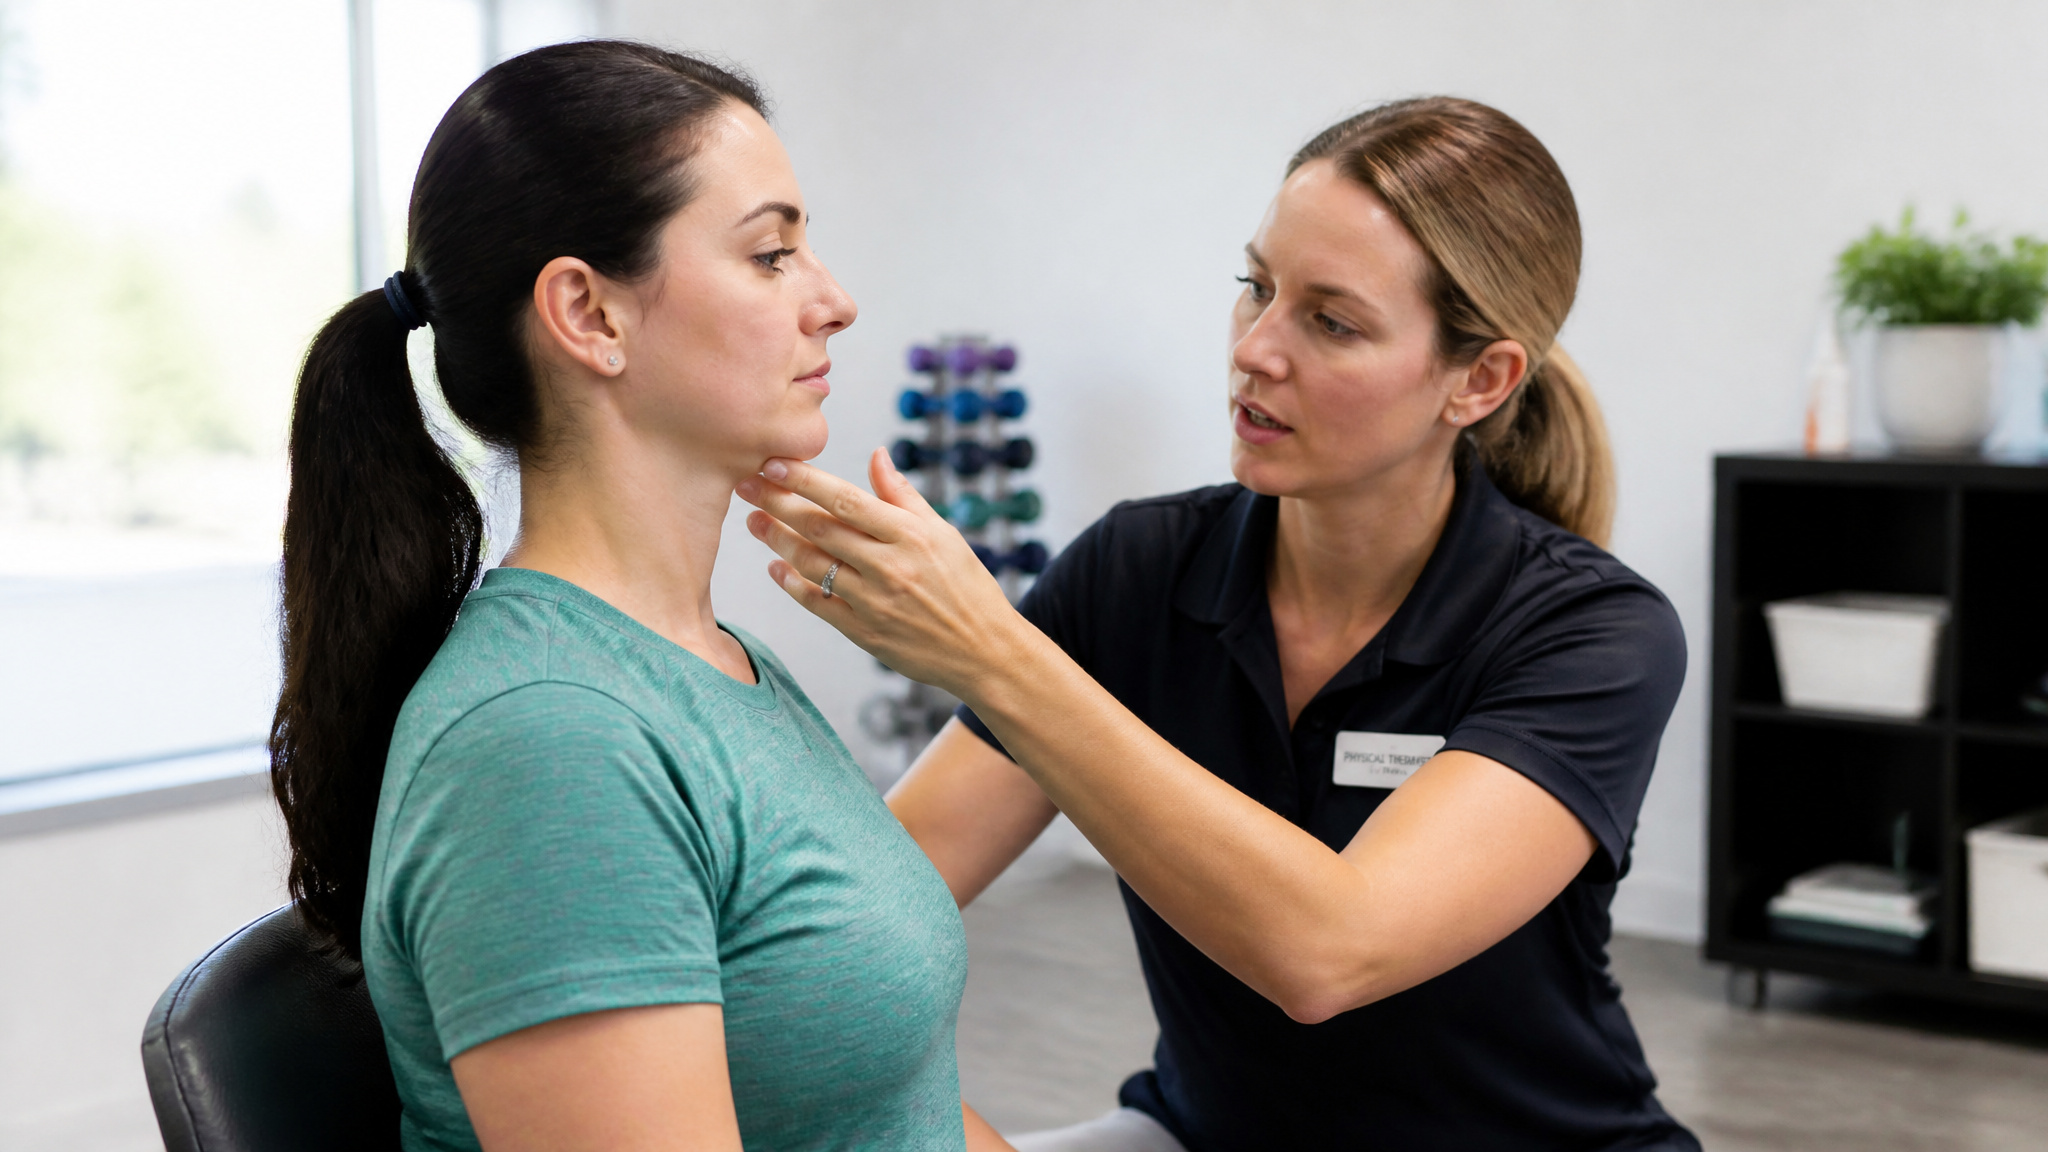
- Physical Therapy: This is the gold standard. A physical therapist combines the stretching and strength building we just discussed into a professional guided plan.
- Virtual Physical Therapy: This is a useful option for esports players. You can do it from home, and a therapist can look at your setup and give you real-time adjustments. For example, Agile Virtual Physical Therapy has more than 400 licensed clinicians across 45 states and offers free virtual screenings.
- Medication: A doctor may prescribe muscle relaxers or pain medication and refer you to physical or occupational therapy.
- Chiropractic: Chiropractors can provide relief through manual therapy and suggested exercises.
The more serious red flags: chronic pain, numbness or tingling in your arms or hands, disc issues, or a situation where your symptoms aren’t resolving under self-care.
The good news is, FHP is a common and treatable issue. Surgery isn’t on the table unless there’s an underlying structural abnormality like kyphosis.
The pub stranger wasn’t wrong. He couldn’t give you the whole system. The fix for gamer neck isn’t one magic stretch or a better chair. It’s a package deal: targeted strengthening to pull your head back, the ergonomic setup to take the load off, and the real-time awareness to break the bad habit.
The 49-pound load isn’t something you have to live with. It’s a problem you can fix, piece by piece, like a well-managed build order.
Frequently Asked Questions
What causes gamer neck?
Gamer neck, or forward head posture, is caused by sustained forward head positioning while using screens, especially laptops and phones. The muscles in the back of your neck become overstretched and weak, while the front chest muscles tighten, pulling your head forward. It’s not just gaming—any activity that keeps your head ahead of your shoulders, like driving or reading in bed, contributes.
Is it too late to fix neck hump?
No, it’s not too late to fix a neck hump, even if you’ve had it for years. Forward head posture is a common and treatable condition. With consistent strengthening exercises like chin tucks and rows, plus ergonomic adjustments, you can gradually retrain your muscles and improve your posture. For severe cases, physical therapy can provide a personalized plan.
Can a tech neck be corrected?
Yes, tech neck can be corrected with a combination of targeted exercises and ergonomic changes. The key is to strengthen the weakened muscles in the back of your neck and upper back, not just stretch the tight ones. Raising your monitor to eye level and taking frequent breaks are also essential. It takes time and consistency, but improvement is achievable.
Why does stretching alone make tech neck worse?
Stretching alone can make tech neck worse because the muscles in the back of your neck are already overstretched and weak. Stretching them further only elongates already weakened tissue, while the tight front chest muscles remain unaddressed. The fix requires strengthening the back muscles to pull your head back into alignment, not just stretching the front.
