Finding the perfect gift for your favorite gamer can feel impossible, especially when you want something unique and personal. DIY gifts for gamers have become super popular because they show real thought and effort, plus they won’t break your budget.
This guide will walk you through six amazing custom setup pieces and character creations that any video game lover will treasure. Get ready to craft something epic.
Key Takeaways
DIY gaming gifts show personal thought and effort while staying budget-friendly, making them more meaningful than store-bought alternatives.
Custom controller stands use wood, 3D printing, or acrylic materials with LaserPecker engravers for personalized designs and organization.
RGB headset stands with WS2812b LEDs offer 20 static lighting options and can include wireless charging capabilities.
3D-printed cable organizers from Thingiverse use PLA or PETG filament to create themed designs matching favorite games.
2025 trends include smart tech integration, eco-friendly materials, and augmented reality templates for DIY gaming projects.
Table of Contents
DIY Gifts to Enhance a Gamer’s Setup

Every gamer deserves a setup that reflects their passion for video games, and creating custom accessories shows you truly understand their world. These DIY projects transform ordinary gaming spaces into personalized command centers that rival anything you’d find on Etsy.
How can I make custom controller stands with personalized designs?

Custom controller stands let you show off your gaming style while keeping controllers organized. You can create stands that match your setup perfectly and add your personal touch.
- Choose safe materials like wood, 3D printing filament, or acrylic that won’t damage electronics or scratch controller surfaces.
- Design the base with your gamer tag, nickname, or handle using wood burning tools, vinyl decals, or paint markers for personalization.
- Cut wood pieces at 45-degree angles to create a simple triangular stand that holds controllers at the perfect viewing angle.
- Use a LaserPecker compact engraver to etch custom designs, logos, or text directly onto wooden or acrylic stands.
- Print 3D stands using PLA filament in colors that match your gaming setup, adding slots for charging cables if needed.
- Browse online communities like Reddit or Discord for free templates and design inspiration from other creators.
- Sand all edges smooth to prevent scratches on expensive controllers, then apply clear protective coating for durability.
- Add LED strip lighting underneath clear acrylic stands to create cool RGB effects that match your gaming aesthetic.
- Create multiple stands for different controller types, labeling each with the specific console or video games they support.
- Share your finished designs on Etsy or gaming forums to connect with other makers and inspire new projects.
What are some ideas for DIY headset stands with RGB lighting?

Controller stands establish the foundation for your gaming setup, while headset stands enhance your workspace with visual appeal. RGB lighting transforms a simple headset holder into an eye-catching centerpiece that complements any gaming rig.
- Construct an Addressable RGB Custom Headphone Stand using WS2812b LEDs (Neopixels) for dynamic color displays. The wooden base supports acrylic pieces while USB power sources maintain operation.
- Program your WS2812b strip with 20 different static lighting options featuring various color patterns. Each mode offers unique aesthetics for different types of gamers and their preferred ambiance.
- Create a floating acrylic headset holder with embedded LED strips that glow through translucent materials. Clear acrylic diffuses light effectively while maintaining structural integrity for heavy gaming headsets.
- Make a minimalist wooden stand with routed channels for concealing LED wiring and control boards. Natural wood grain contrasts well with bright RGB elements for a clean, professional appearance.
- Develop a dual-purpose stand that charges wireless headsets while displaying synchronized lighting effects. Qi charging pads work well with programmable LED arrays for maximum functionality.
- Use Instructables tutorials that offer step-by-step assembly guides for complex RGB projects. Online resources provide circuit diagrams, code samples, and troubleshooting tips for beginners.
- Add motion sensors that activate lighting sequences when you approach your gaming station. Proximity detection incorporates interactive elements that respond to your presence automatically.
- Set up color-changing effects that coordinate with your computer’s audio output or game events. Real-time lighting reactions create immersive experiences that extend beyond your monitor.
How do I create 3D-printed gaming-themed cable organizers?

Messy cables can ruin your gaming setup’s clean look and cause frustration during intense gaming sessions. 3D printing allows gamers to create custom accessories that solve cable chaos while adding personal style to their desk space.
- Download gaming-themed cable organizer designs from Thingiverse or MyMiniFactory, featuring popular game logos, character shapes, or console designs that match your setup.
- Use PLA filament for basic organizers or PETG for stronger pieces that will hold heavier cables like power cords and HDMI cables.
- Scale your designs based on cable thickness, making sure USB cables, charging cords, and headphone wires fit properly through the slots.
- Print multiple small organizers instead of one large piece to create flexible cable management that adapts to different desk layouts.
- Add magnets to the bottom of your organizers so they stick to metal desk surfaces or PC cases for easy repositioning.
- Create themed sets matching your favorite games, like Portal-inspired cubes, Minecraft blocks, or Pokemon-shaped holders for a cohesive desk aesthetic.
- Design custom clips that attach to your monitor stand or desk edge, keeping frequently used cables within easy reach during gaming sessions.
- Print cable tunnels with gaming motifs that hide power strips and thick cables while maintaining your setup’s visual appeal.
- Use dual-color printing or paint finished pieces to match your RGB lighting scheme or gaming chair colors for a professional look.
Unique and Fun DIY Gamer Gifts

Sometimes the best gaming gifts don’t come from stores… they come from your own creativity and a few hours of crafting. These DIY projects let you create personalized treasures that show you really understand what makes a gamer tick, whether they love tabletop adventures or spend hours perfecting their favorite characters.
How do I make handmade pillows featuring game characters or logos?

Creating custom gaming pillows brings your favorite characters and logos to life in soft, huggable form. These personalized accessories make perfect gifts that showcase your gaming culture references while adding comfort to any setup.
- Choose soft, durable fabric like Poly-Fil Fiber Fill for the stuffing material. This filling maintains shape and provides lasting comfort for daily use.
- Cut fabric pieces to fit your desired pillow size, leaving extra material for seams around all edges. Standard gaming pillows work well at 16×16 inches or 18×18 inches.
- Design fabric details that represent buttons, character features, or game logos using contrasting colors. Felt works great for creating Mario’s overalls or Pac-Man’s distinctive yellow shape.
- Add fabric appliques by cutting character shapes from different colored materials. Sew these pieces onto the main pillow cover before assembling the final product.
- Consider making oversized floor pillows for a more personalized gaming experience. These larger cushions provide extra comfort during long gaming sessions on the floor.
- Create neck pillows with zippers and straps for security during travel or portable gaming. These accessories help gamers stay comfortable while playing on the go.
- Use fabric paint or markers to add fine details like character faces or text logos. Allow paint to dry completely before stuffing and closing the pillow.
- Sew pillow covers with removable designs so you can wash them easily. Machine-washable covers keep your gaming pillows fresh and clean over time.
What are collapsible dice trays and how can I customize them?
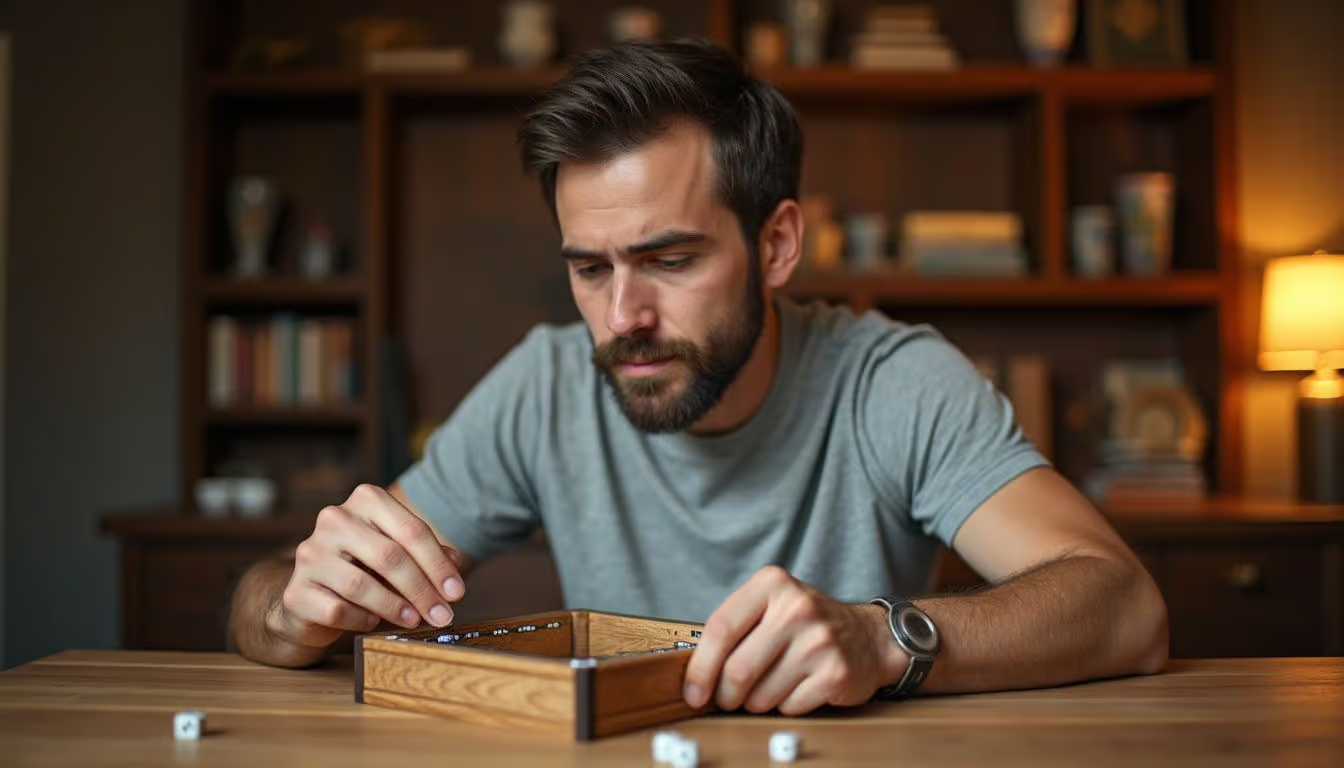
Moving from soft gaming pillows to tabletop accessories, dice trays offer another fantastic DIY project for board game lovers. Collapsible dice trays provide portable, space-saving solutions that fold flat for easy storage and transport.
- Choose your base material – Felt creates the softest rolling surface, while wood offers durability and leather provides a premium look that ages beautifully over time.
- Cut fabric pieces to size – Standard trays measure 8×6 inches when unfolded, but you can adjust dimensions based on your favorite games and available table space.
- Add snap fasteners at corners – Metal snaps hold better than plastic ones and create clean fold lines that maintain their shape after repeated use.
- Select colors that match gaming themes – Dark blues work great for space games, forest greens suit fantasy adventures, and bright reds complement superhero themes perfectly.
- Attach decorative elements before assembly – Iron-on patches, embroidered symbols, or painted designs should go on flat pieces before you install the corner mechanisms.
- Create unique shapes beyond rectangles – Hexagonal trays work well for hex-based games, while octagonal designs offer more rolling space in compact areas.
- Use recycled cardboard for budget builds – Cereal boxes provide sturdy backing material, and you can cover them with fabric scraps from other sewing projects.
- Add foam padding underneath – Thin craft foam reduces noise during late-night gaming sessions and protects delicate table surfaces from scratches.
- Install LED strip lighting around edges – Battery-powered strips create cool effects and help players see dice results in dimly lit game rooms.
How can I upgrade board game tokens with resin or acrylic?

Board game tokens get a major glow-up with resin and acrylic materials. These upgrades create stunning pieces that make your gaming sessions feel more premium and personalized.
- Research online platforms like Etsy for inspiration and materials before starting your token upgrade project.
- Choose resin pieces to create unique aesthetic designs that stand out on any game board.
- Select acrylic materials to craft vibrant, durable tokens that resist wear from frequent handling.
- Measure original tokens carefully to ensure upgraded versions remain size-appropriate for usability in your games.
- Create molds using silicone putty to replicate token shapes perfectly for consistent results.
- Mix resin with pigments or glitter to achieve custom colors that match your game’s theme.
- Cut acrylic sheets with laser cutters or craft knives for precise geometric token shapes.
- Sand rough edges smooth after cutting to prevent scratches on game boards or player hands.
- Apply clear protective coatings to finished tokens for extra durability during gameplay sessions.
- Test upgraded tokens with your gaming group first, since community feedback can guide effective upgrades.
- Store completed custom tokens in padded containers to protect your investment between game nights.
What New DIY Gaming Gift Trends Will Transform 2025?

DIY gaming gifts are expected to become more popular in 2025, with makers focusing on smart tech integration and eco-friendly materials. Custom gamer neon signs will include voice activation and app controls, while LED headphone stands will have wireless charging pads in the base.
Resin wood night lights are gaining attention as creators combine natural materials with gaming aesthetics, creating pieces that serve as room decor and functional lighting. 3D printing will use biodegradable filaments, allowing crafters to make cable organizers and controller stands that look great and are environmentally friendly.
Etsy offers over 5,000 customizable gaming items for purchase, but 2025 will see DIY creators taking inspiration from these commercial successes to build their own versions. Augmented reality templates will help makers visualize their projects before cutting materials, while modular designs will allow gift recipients to swap out components to match different games or seasons.
“The trend emphasizes gifting personalized items for special occasions like Christmas and birthdays, with high customer satisfaction indicated by four and five-star ratings for many gifts.”
Smart sensors in handmade dice trays will track rolls and connect to mobile apps, turning traditional tabletop accessories into high-tech gaming tools that combine the physical and digital worlds.
People Also Ask
What are the best DIY gifts for gamers who love custom setups?
Custom mouse pads with their favorite game characters work great, and you can make personalized keyboard keycaps too. LED strip lighting kits let them create the perfect gaming atmosphere.
How can I create character-themed gifts for my gamer friend?
You can craft figurines of their main characters using clay or 3D printing. Custom artwork featuring their avatar makes a thoughtful present.
Are DIY gaming gifts expensive to make?
Most projects cost between $10 to $50, depending on materials you choose. Simple items like custom stickers or painted controllers stay budget-friendly.
What tools do I need for gaming setup customizations?
Basic craft supplies like paint, brushes, and adhesive vinyl work for most projects. For electronics modifications, you’ll need a soldering iron and wire strippers.
References
https://www.lemon8-app.com/@latashacustomblingllc/7447493261645791790?region=us
https://www.instructables.com/DIY-ARGB-Gaming-Headphone-Stand-Using-Acrylic/
https://www.instructables.com/USB-Headphone-Stand-With-RGB-LED-Lighting/
https://www.xda-developers.com/gaming-accessories-3d-print/ (2025-02-15)
https://www.fairfieldworld.com/gaming-room-projects/
https://blitsy.com/diy-dice-tray/
https://boardgamegeek.com/thread/3348320/the-best-way-to-upgrade-your-board-game-tokens-col (2024-08-10)
